Here’s our comprehensive guide on how to complete every encounter in the new Equilibrium dungeon in Destiny 2.
Equilibrium is Destiny 2’s newest 3-player dungeon, launched in the second week of Renegades, and it drops some exciting new rewards, including the Heirloom Exotic plus a full set of new dungeon weapons and armor.
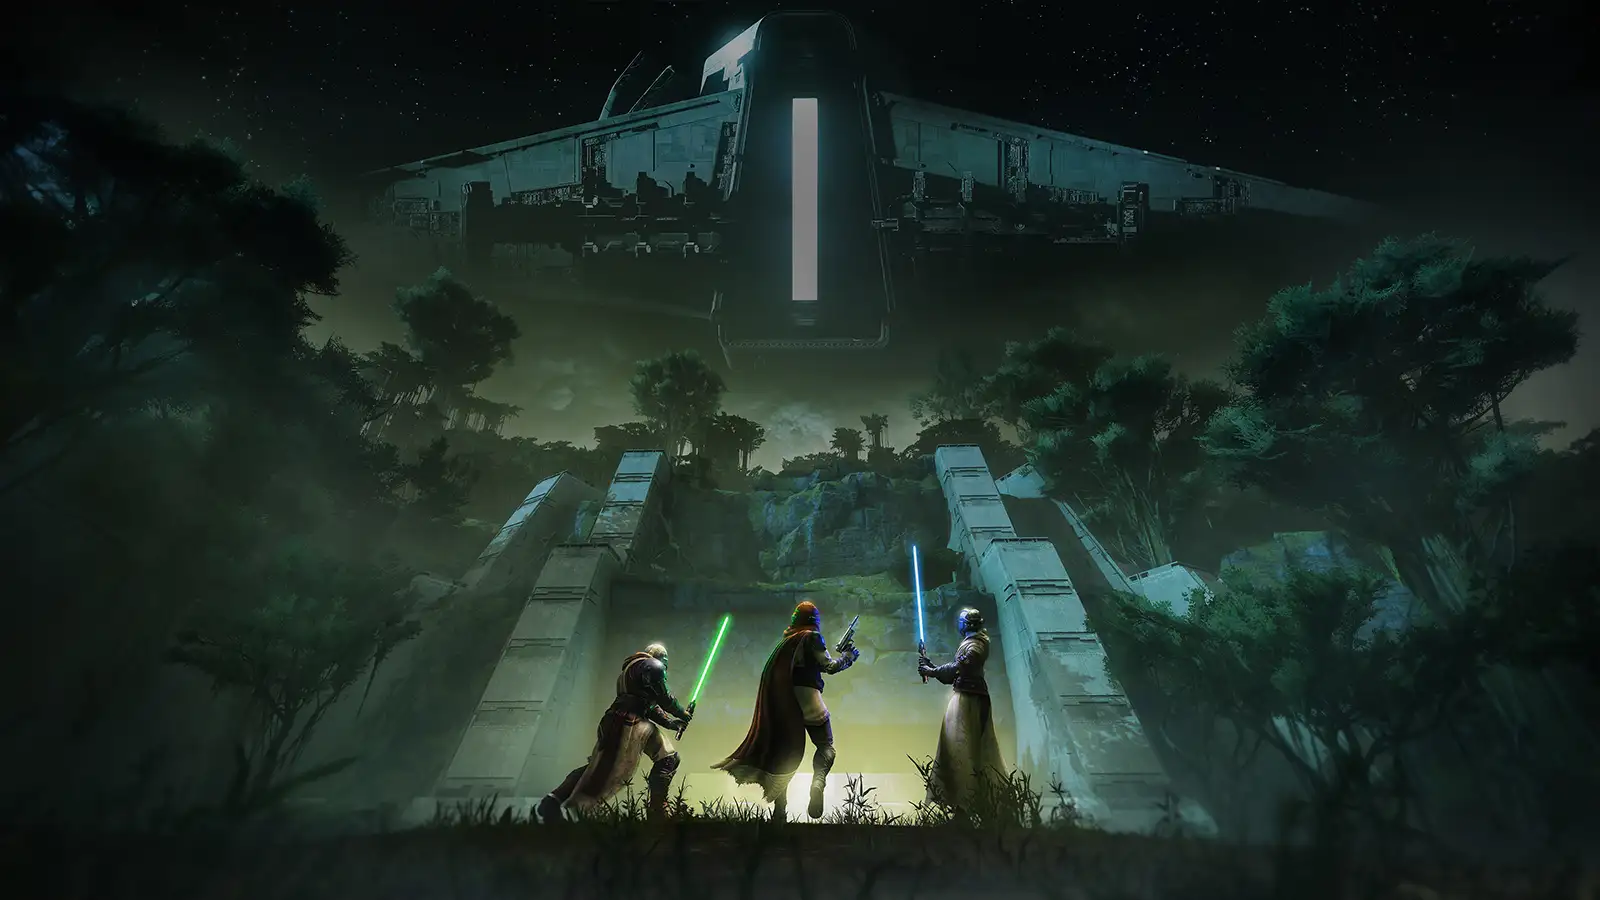
Story-wise, Equilibrium puts you alongside Aunor Mahal as you track down the acolytes of Dredgen Bael. The opening encounter takes place on Venus, but the following encounters are actually on the ship. If you’re trying to get in right away, make sure you actually have access: you need to purchase the Renegades expansion.
In this guide, we’ll walk you through the whole dungeon, each and every mechanic you can find, and how to solve all the puzzles. We’ll keep the walkthrough simple: what to do, what usually causes wipes, and quick role callouts.
Opening Encounter
When you load into Equilibrium, you’ll spawn in the Temple Grounds with a simple first objective: clear the area. Right away, a wave of Cabal enemies will drop in. Wipe them out before you push forward. Nothing here is meant to be a hard fight, but it’s easy to get slowed down. There’s a yellow bar Cabal called “Imperium Generalis,” that spawns here.
There will be a bunch of Cabal drop pods that will drop on each side, which will instant-kill you. So, stay clear of each side.
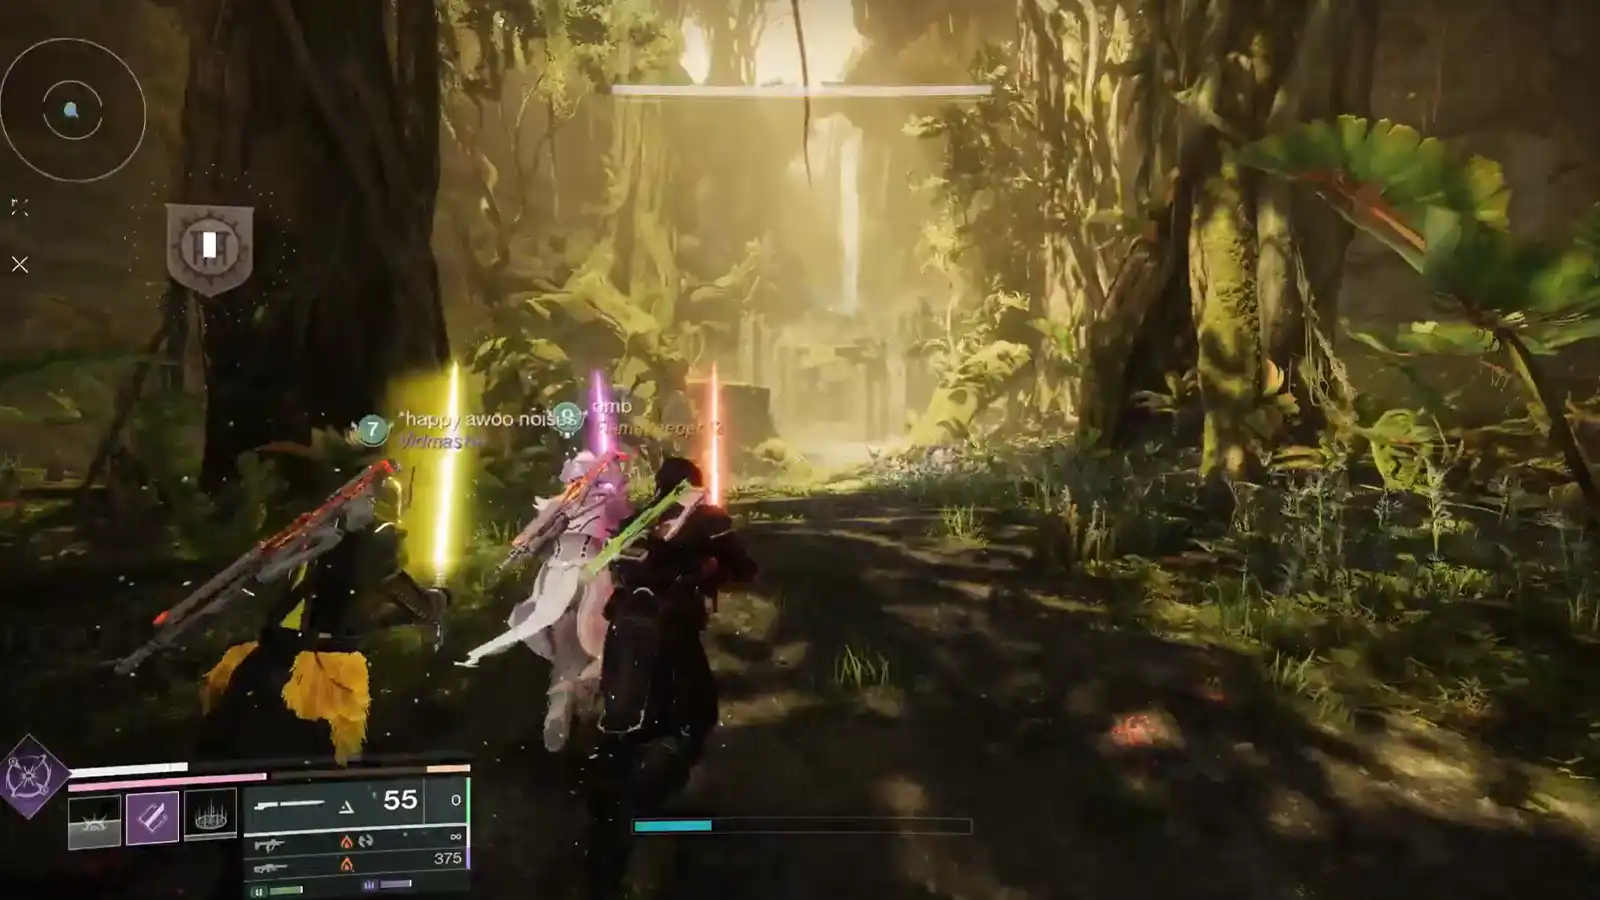
Once the area is clear, move forward until you see a waterfall ahead. Jump down and drop all the way to the bottom, then head forward into a tunnel. Inside the tunnel, you’ll run into a few Cabal War Beasts. Clear them quickly, then keep moving, since this section is mostly just a short run to the first real arena.
Keep moving forward through the tunnel and follow the path until you come out the other side. As soon as you exit, the first encounter area will be directly in front of you.

First Encounter: Harvester
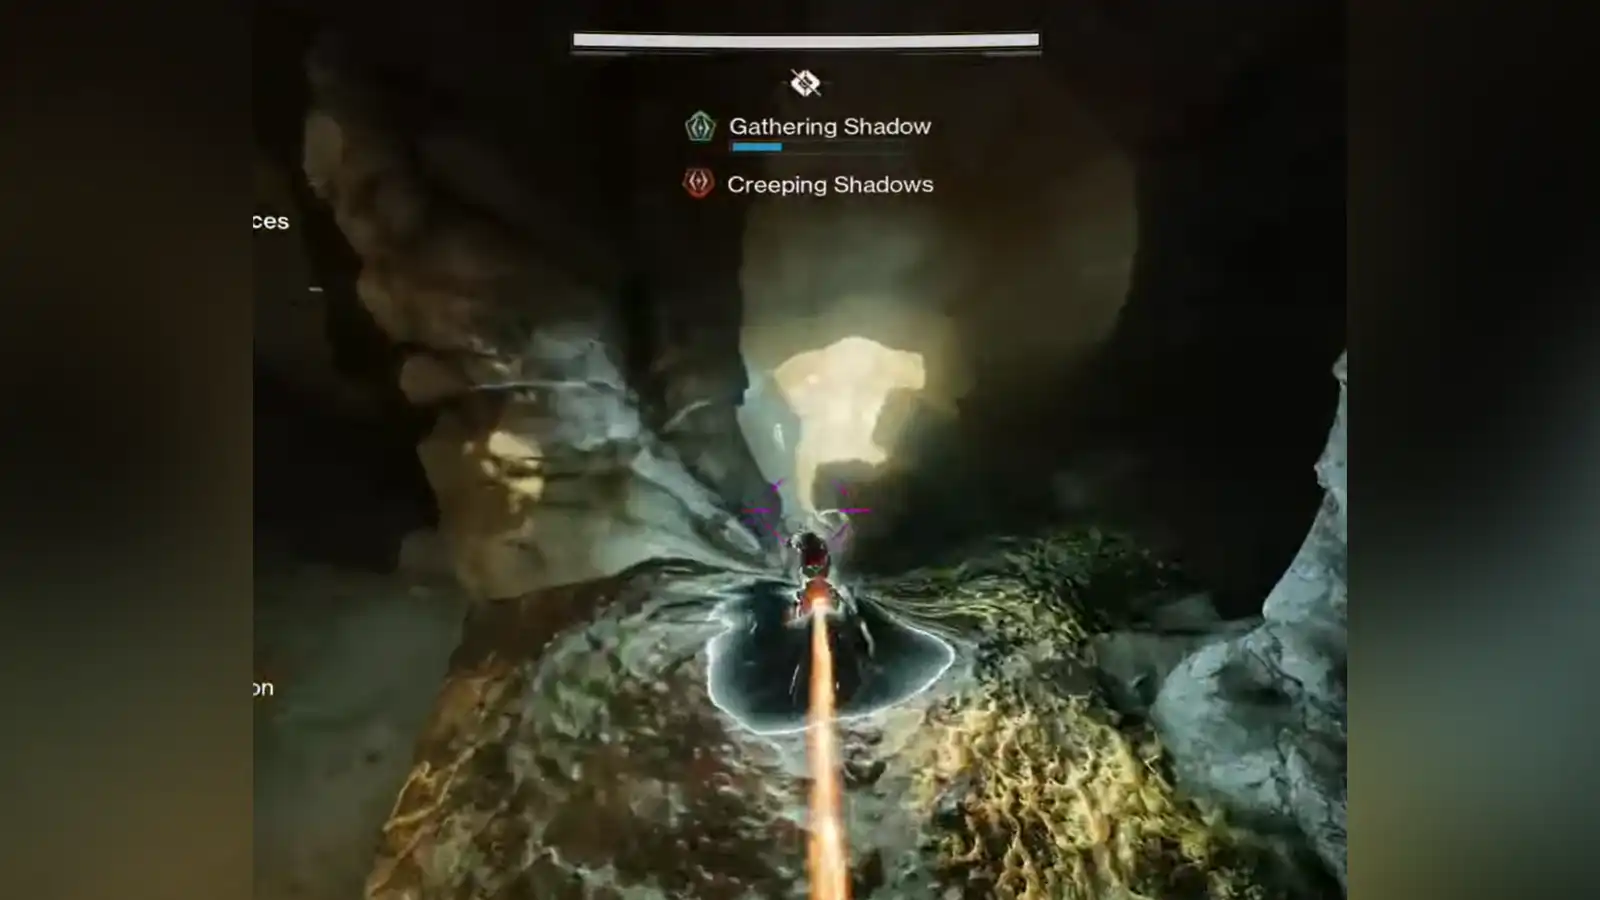
This first encounter is Harvester. You start by interacting with the ship in the middle, then you’re basically juggling two things at once: keeping the arena under control while your team builds up Gathering Shadows so you can use Shadow Novice to break enemy shields and push the encounter forward.
After the encounter kicks off, focus on clearing enemies, because the arena can get messy fast. During this, you’ll see red Nameless Apprentices show up. These are the ones that look like they’re about to explode, and they’re tied to the red doors around the arena.

When an Apprentice is close to detonating, you need to activate the arrays (Satellites) next to the matching red door. Bait the Nameless Apprentice to the array you, and activate it as the enemy explodes. It will destroy the array. Doing that opens the red barrier door and keeps your run moving. There are six Apprentices total, and once they’re dealt with, no more should spawn.
Again, there will be a bunch of Cabal drop pods that can take you out instantly. So, make sure you keep moving.

Now use the Sparrows inside the side rooms, and that’s your key to building Gathering Shadows quickly. Hop on a Sparrow and run the short courses around the arena, grabbing the Taken wells as you go. Keep collecting until your Gathering Shadows meter is filled. Once it’s full, it’ll turn into Shadow Novice with a 45 second timer.
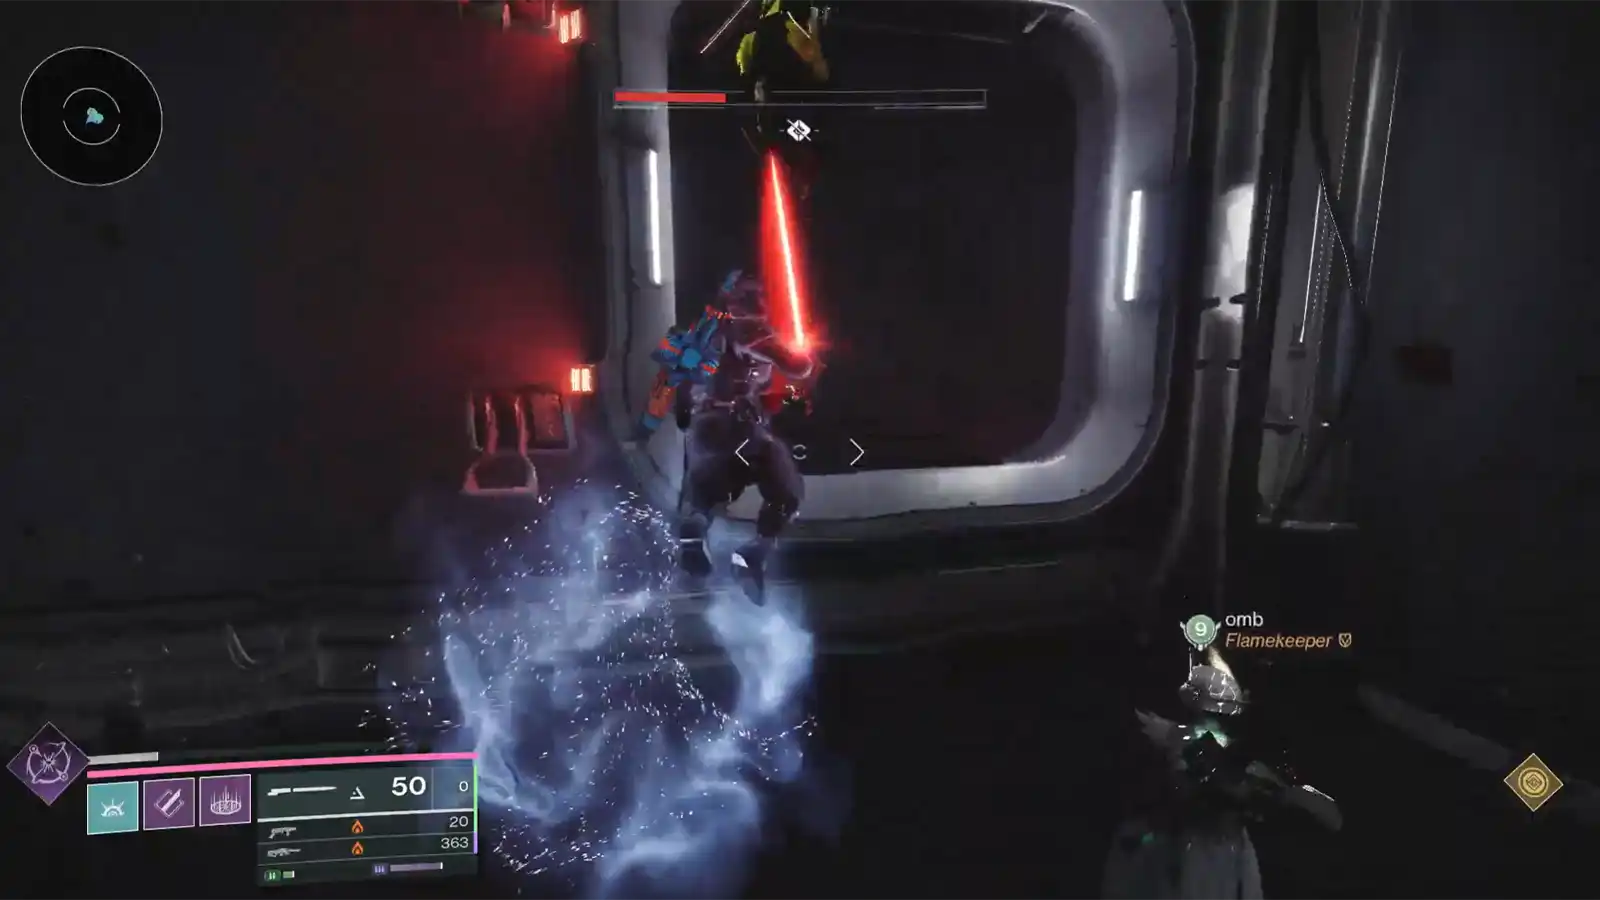
Once you’re full, hit the Renegade ability button to swap into Shadow power. Go back in the middle area and use it to destroy the immune shields on enemies, then take them down. You can also refresh your Shadow Novice by picking it up from dead Gladiators, so don’t ignore those drops if your meter runs out mid-rotation.
To finish Harvester, you need to kill all remaining adds and also take down the Behemoth Walkers that show up. After collecting the loot, head to the ship in the middle and interact to board. It will take you to the main ship.
Order of Operations
- Interact with the ship in the middle to begin Harvester.
- Clear immediate ads and keep moving. Watch for Cabal drop pods, since they can instang-kill you.
- Watch out for red Nameless Apprentice, move toward the array (satellite) next to red barrier door.
- Bait the Nameless Apprentice onto the array, then activate the array as it explodes. The explosion destroys the array and opens the red barrier door.
- Head into the opened side rooms and use the Sparrows inside to start building Gathering Shadows.
- Ride the course and collect Taken wells until Gathering Shadows is full. When full, it converts into Shadow Novice with a 45-second timer.
- Hit the Renegade ability button to activate the Shadow power using your Shadow Novice window.
- Return to the middle area, use Shadow power to break immune shields, then kill shielded targets and keep clearing adds.
- If your timer runs low or you fall out of Shadow Power, pick up Shadow Novice drops from dead Gladiators to keep the cycle going.
- Keep rotating this process until you’ve dealt with all six Nameless Apprentices. (no more should spawn after the sixth)
- Once the arena is under control, kill all remaining adds and then take down the Behemoth Walkers that spawn to complete Harvester.

Traversal
After the short cutscene where the Harvester takes you to the main ship, you’ll load into the next section with the Harvester sitting behind you. Turn around and start working your way up the floating platforms above. As you climb, you’ll see a breakable vent. Shoot it to destroy the cover and open the entrance forward.
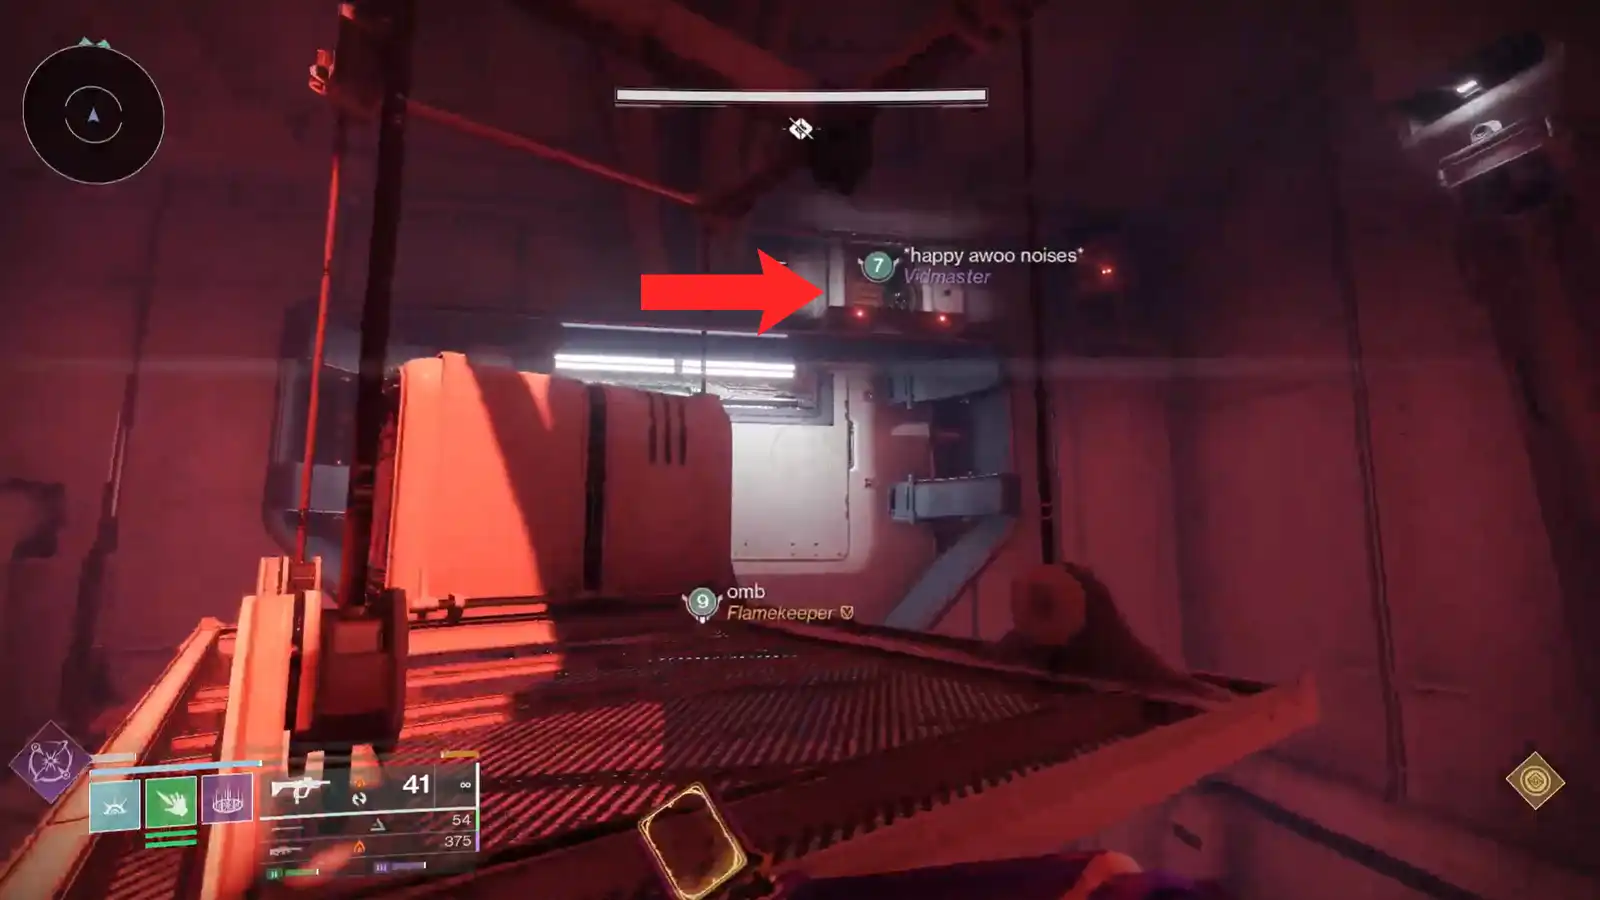
Once you’re inside, just follow the main path. You’ll eventually hit a large gate that opens into a room packed with Cabal. Clear them out, but keep an eye out for a yellow-bar Imperium Decurion Praetorian, since it hits harder than the rest and can slow your push if you ignore it.
Keep moving until you reach a smaller room with Psions. This is the first “progress check” of the traversal: you need to shoot three Arc fuses to open the hatch. These fuses are small, blue, and visibly crackling with electricity.
Two are located on either side of the main door, and the third is across from them, sitting above the box in the middle of the room. Shoot all three, and the hatch opens.
From here, you’ll have to jump across to the next platform on the other side, but be ready for the ship’s movement to shove you to the right while you’re in the air. Using an Eager Edge sword makes this part much safer because it lets you correct midair and clear gaps quickly. You’ll also have Psion snipers shooting you, so clear them out as soon as you can.
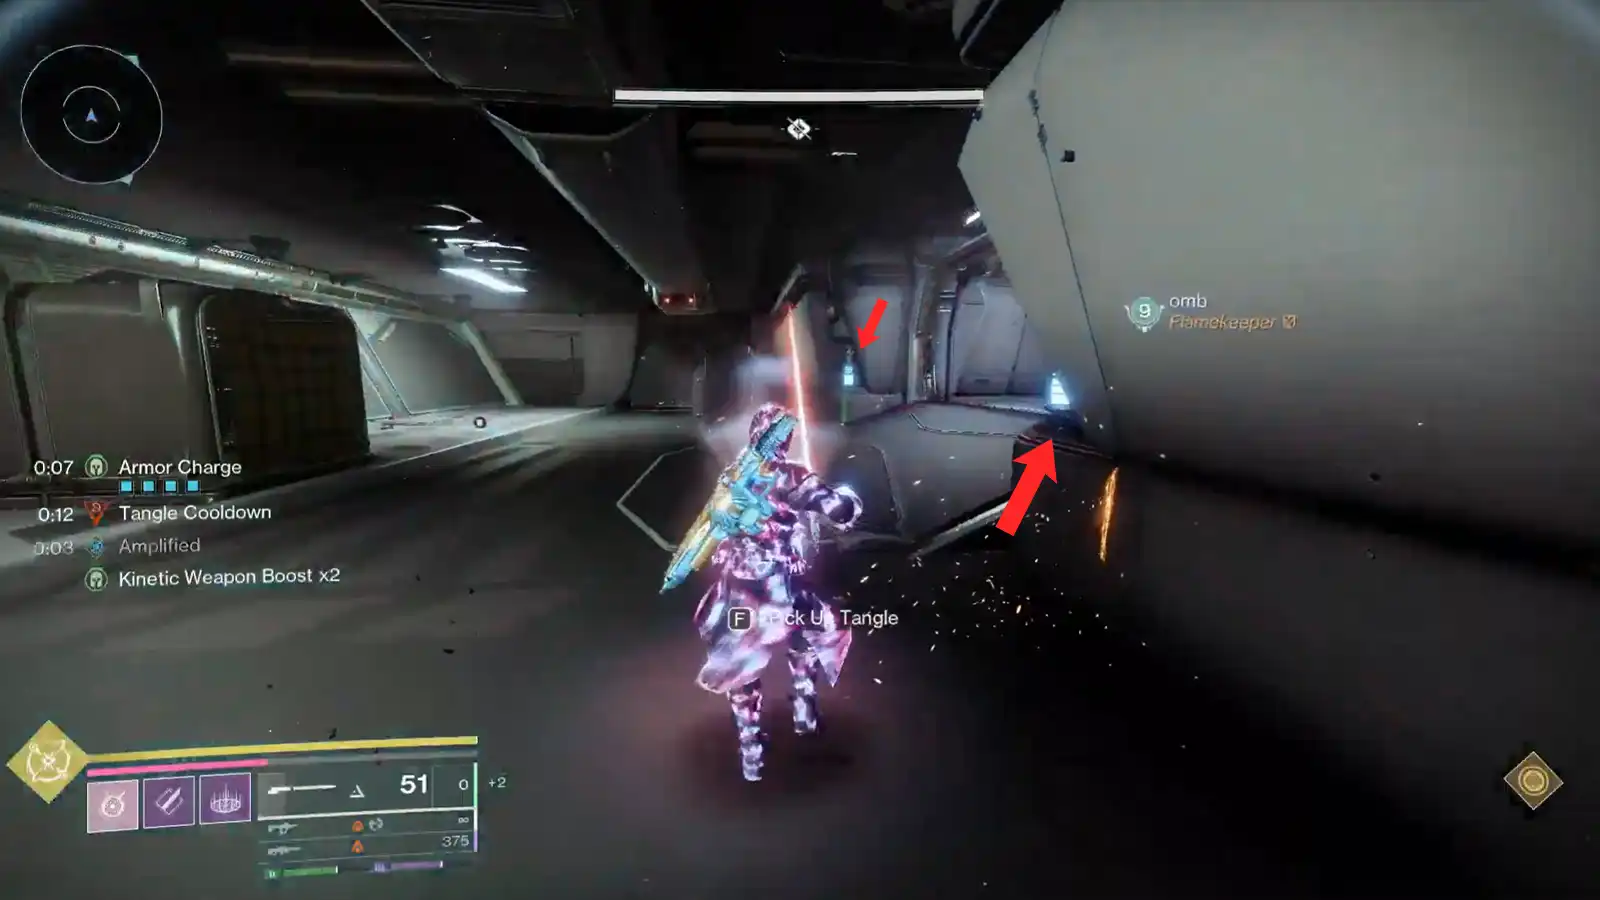
After the jump, you’ll see two open doorways lit with red light, one on the left and one in the middle. Both rooms are blocked by red barrier fields that you’ll need to disable before you can fully move through them.
First Secret Chest Location
The first secret chest is in the middle room: head inside, clear the enemies, then look toward the back-right side of the room. The chest is on top of a platform near the back, on the right.
To progress, go into the left room and look for a fuse you can shoot. Destroying it drops the barrier separating the left and middle rooms. After that, locate the second fuse on the right side of the area and shoot it to disable the next barrier, which opens the route forward.
Continue ahead, following the main path while clearing Cabal along the way. You’ll come to another breakable vent that you need to shoot to open the next section. Shoot the vent from a safe distance, then move in once the blast is done.
Note: There’s an explosive inside this vent, so don’t stand right next to it when you break it.
After the vent, drop down and keep pushing forward through another batch of Cabal enemies. Clear what you need to, stay moving, and you’ll eventually reach a small vent opening with a red glowing light that leads directly into the area for the second encounter.
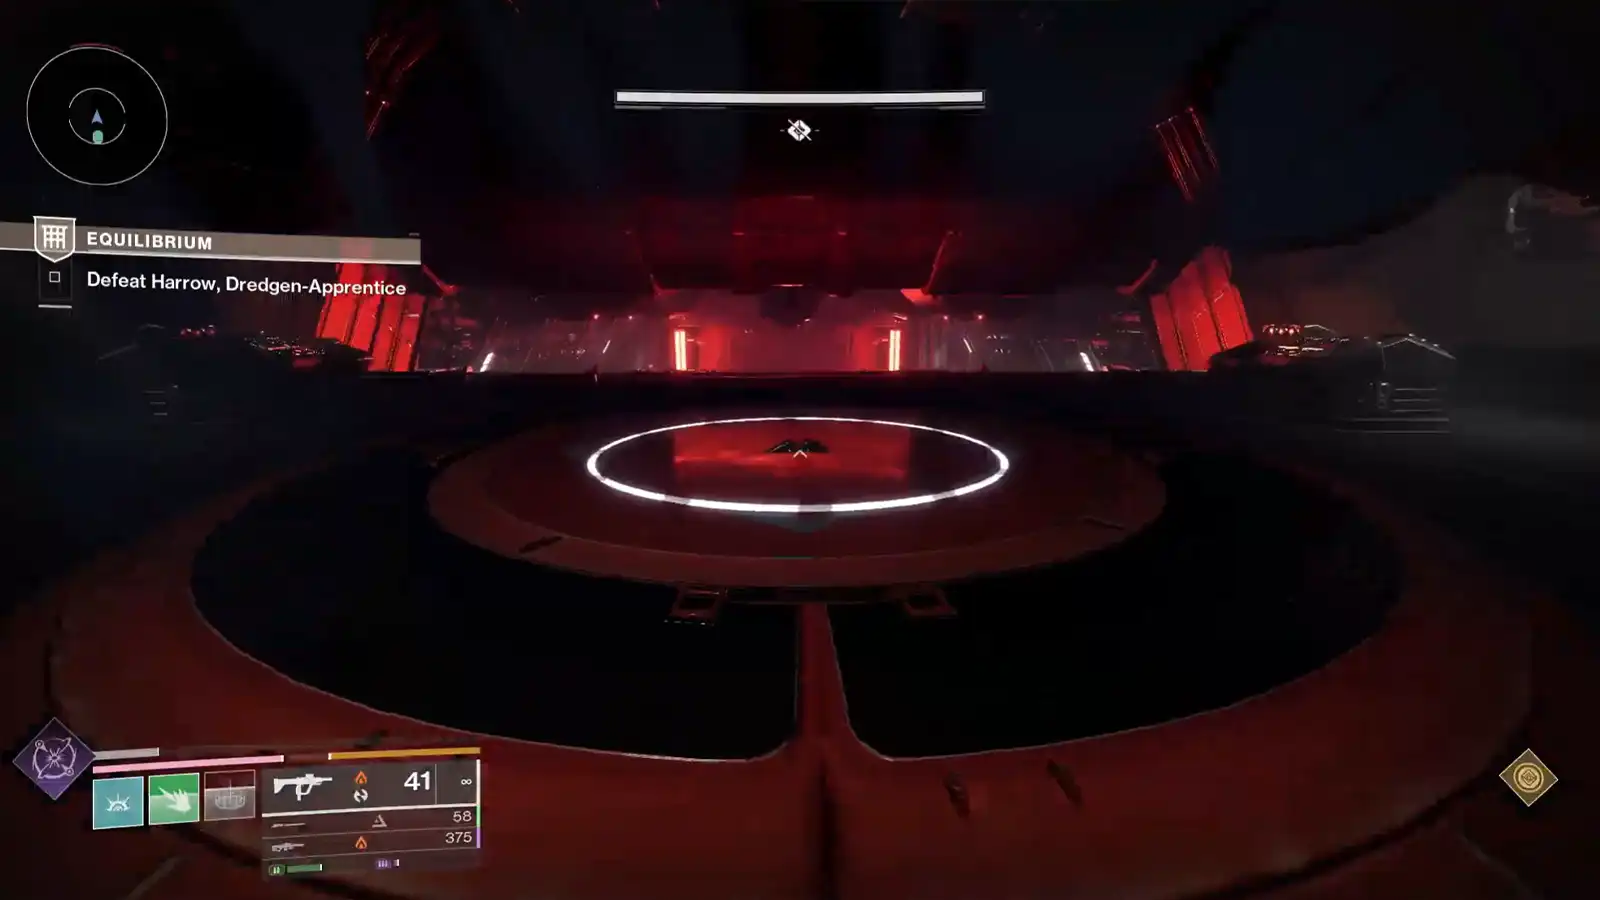
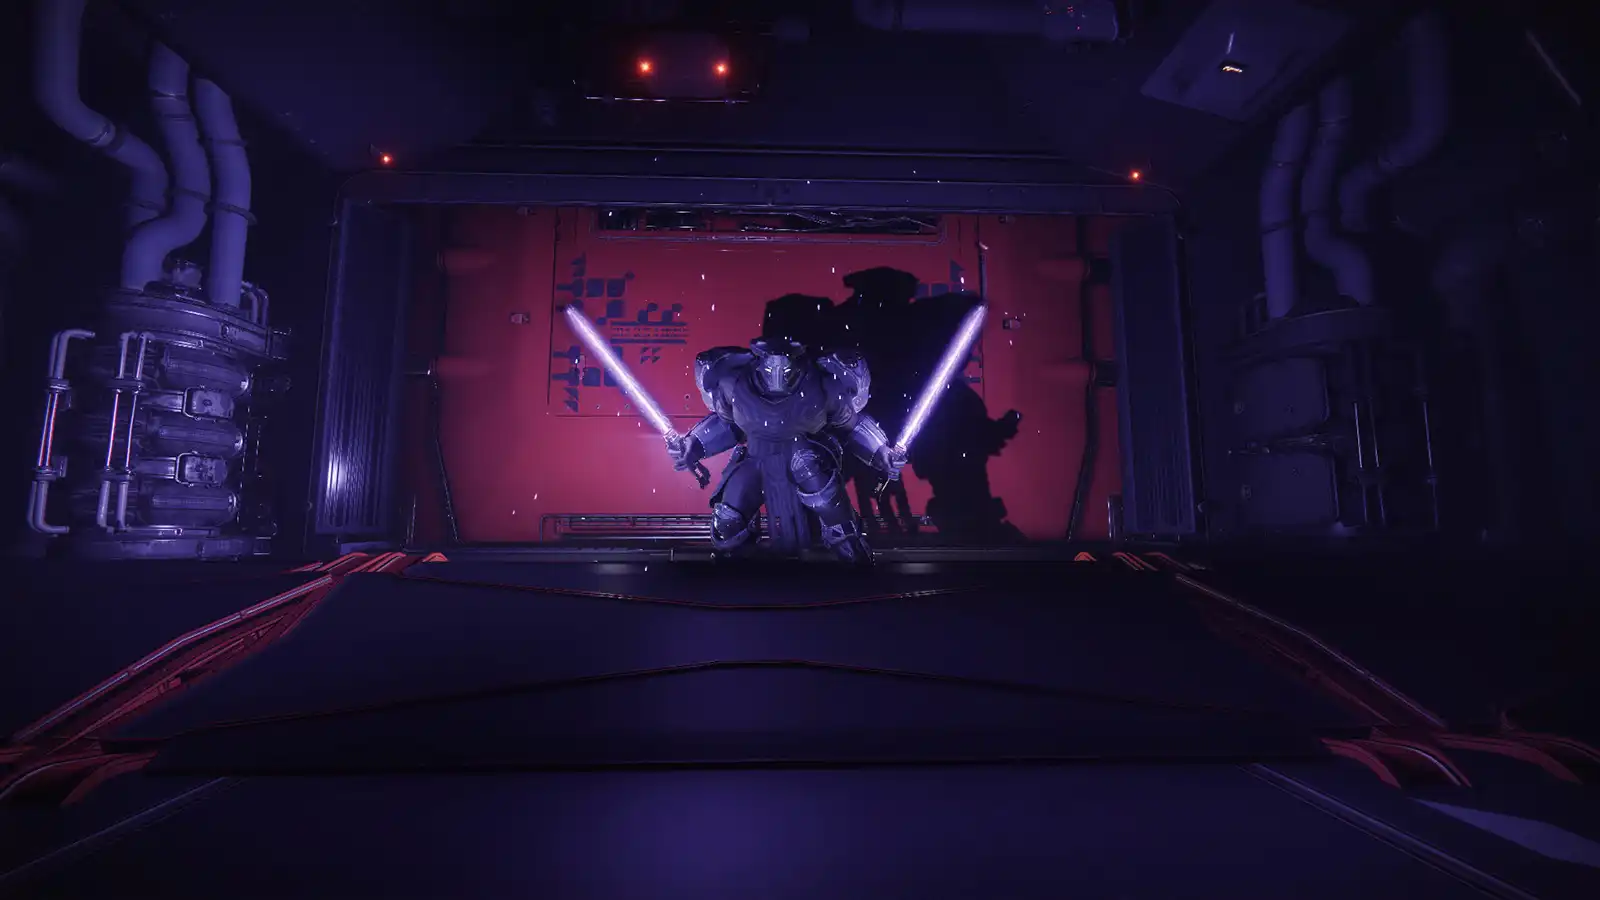
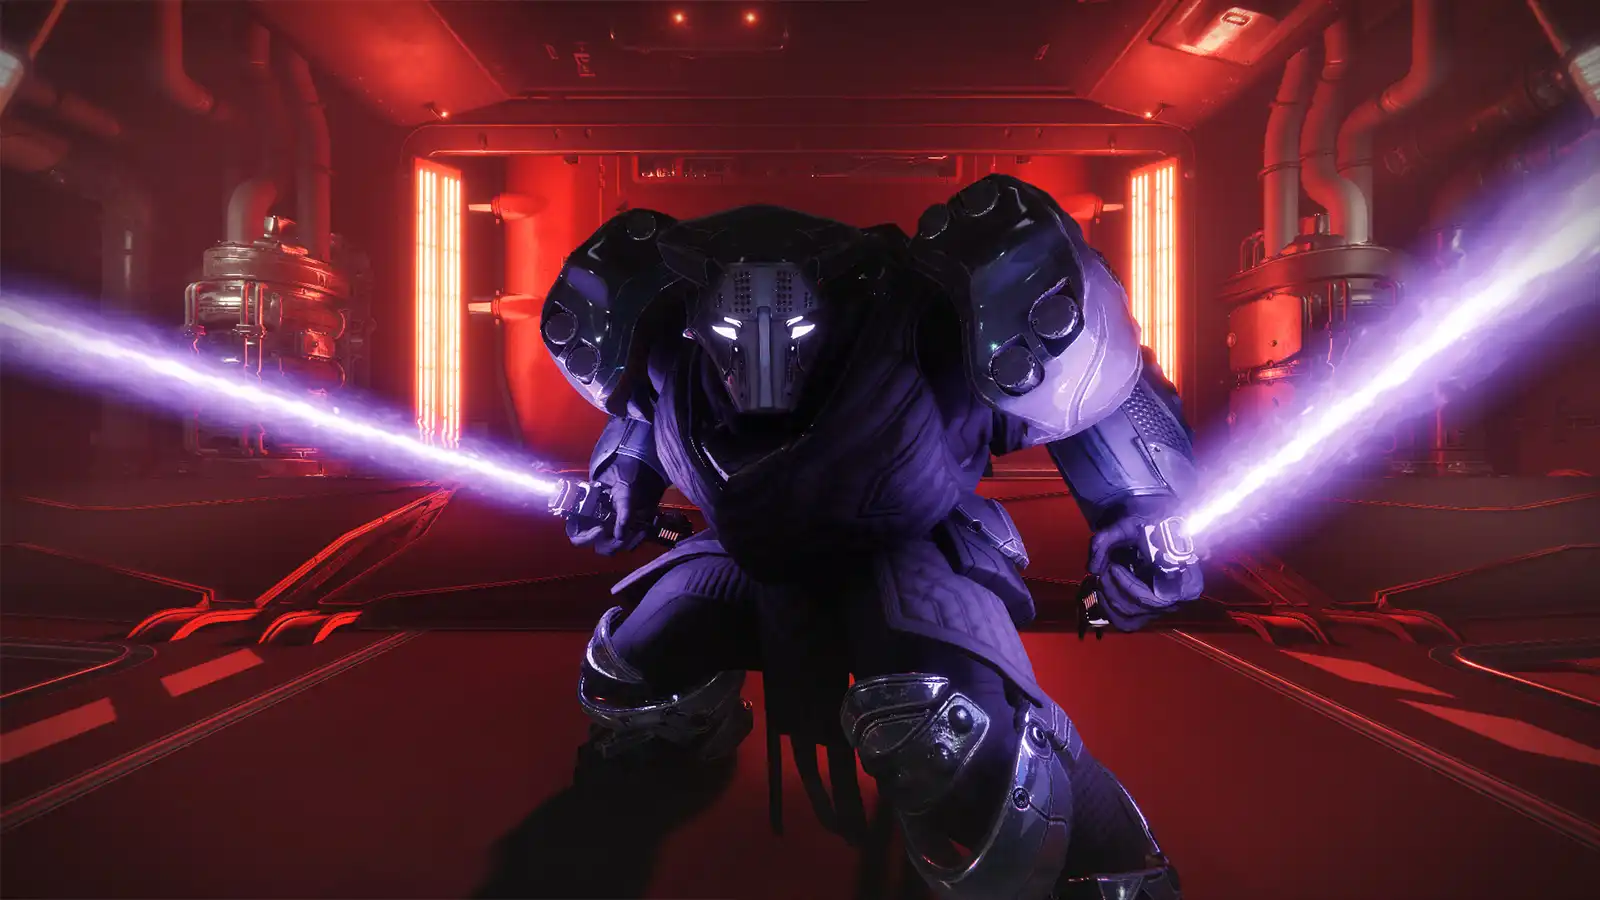
Second Encounter: Harrow, Dredgen-Apprentice
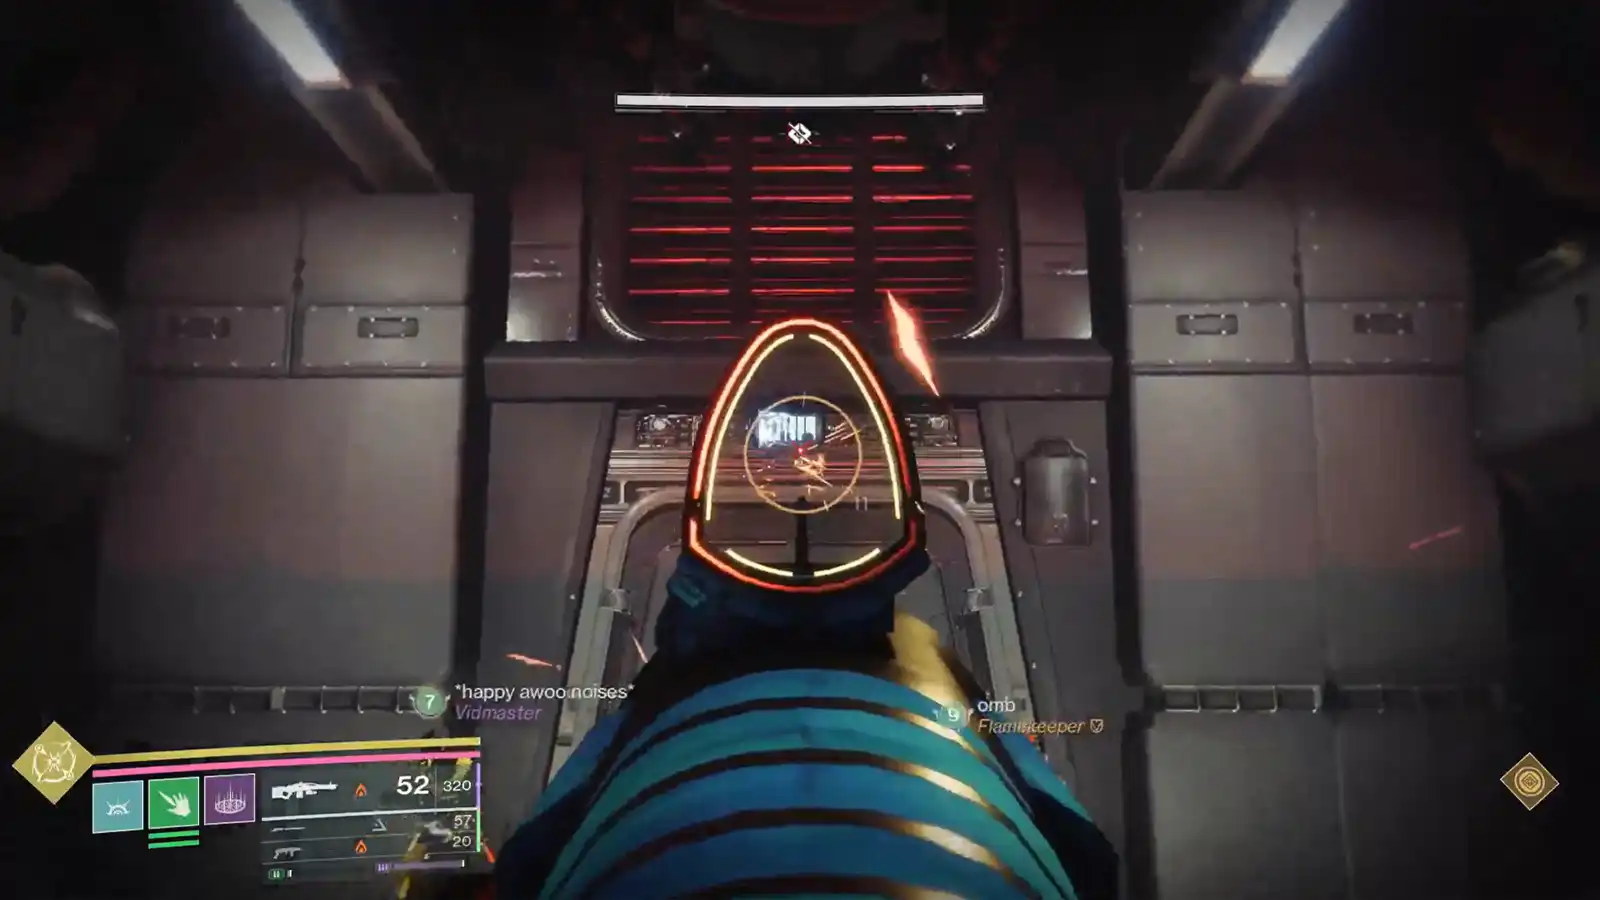
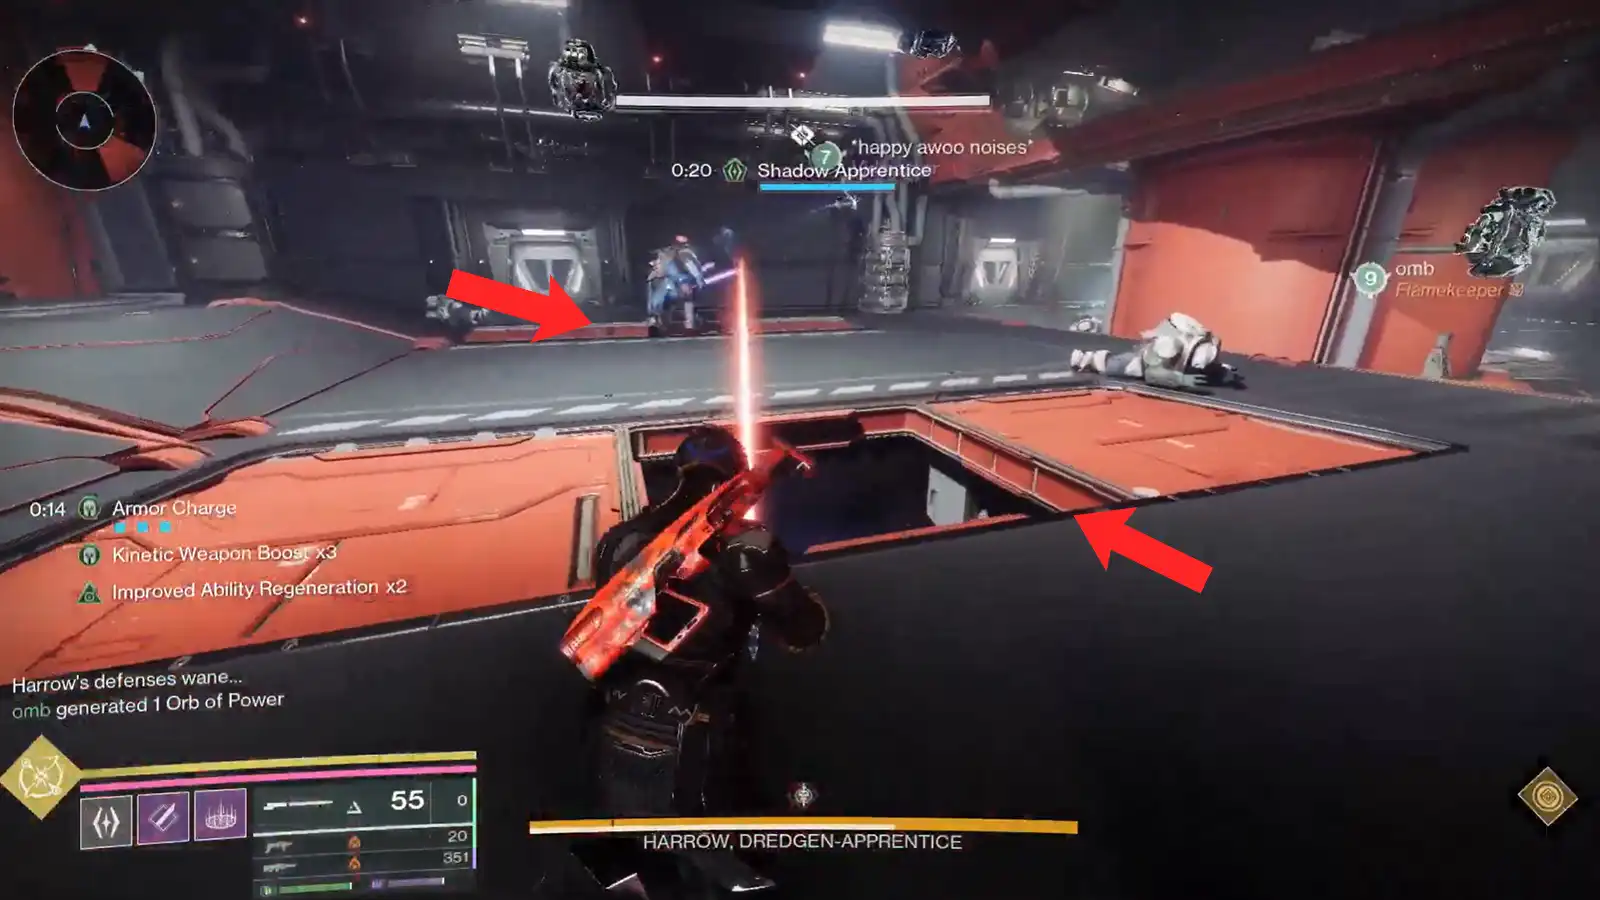
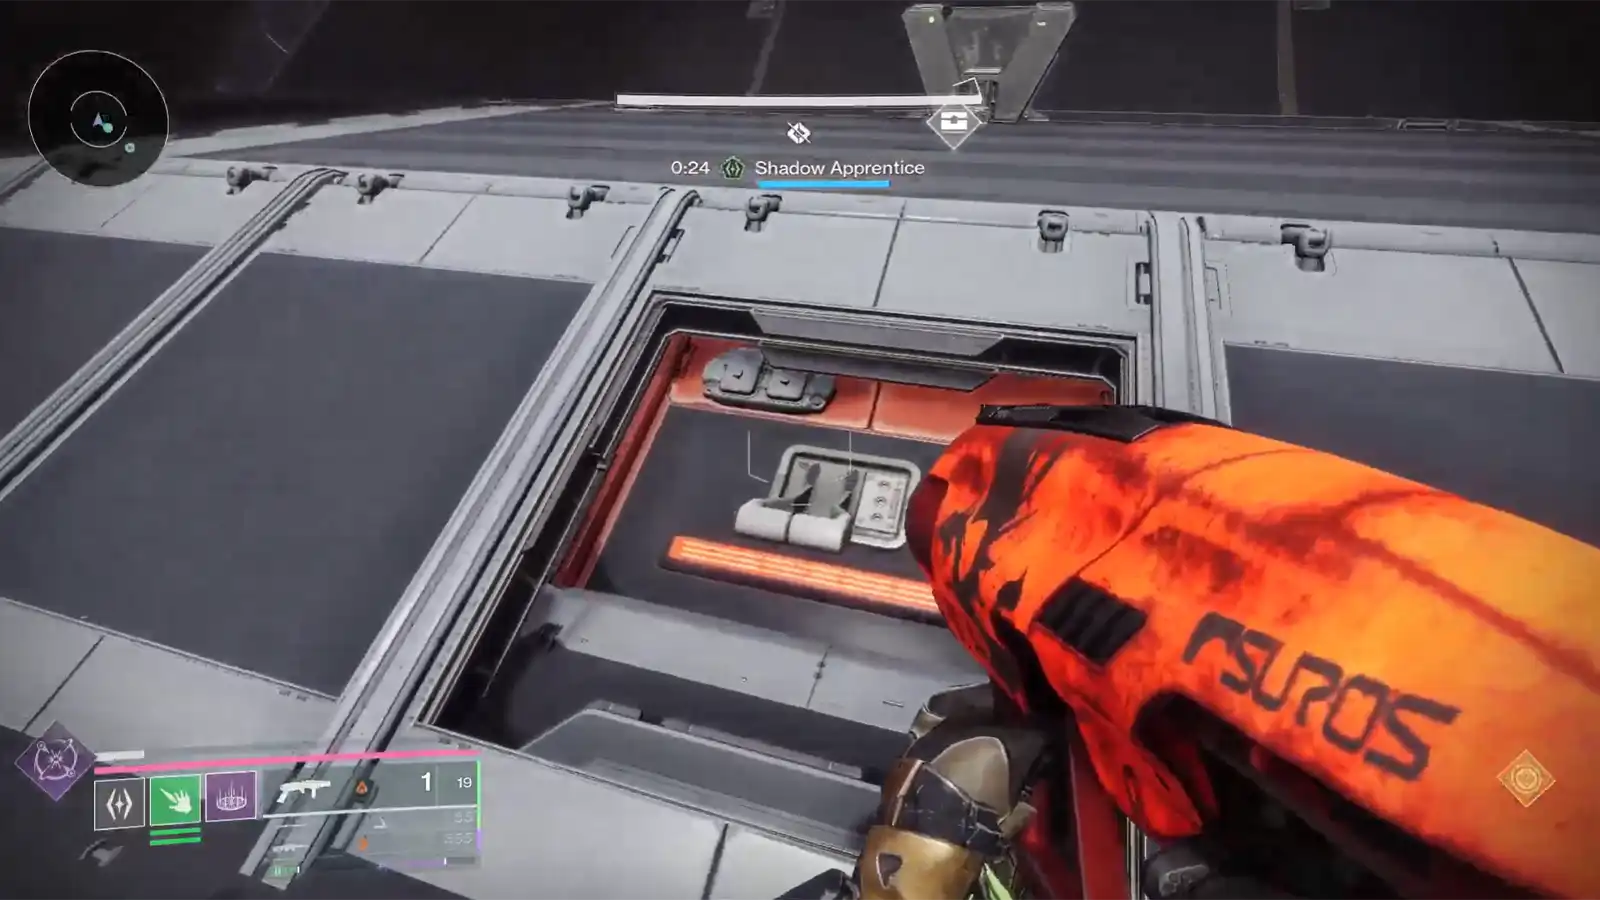
To start the encounter, from the Rally banner, look above the door in front of you. Shoot the fuse above the door, and it will open the hatch on the floor. Drop down through that hatch to enter the boss arena and begin the fight against Harrow, Dredgen-Apprentice.
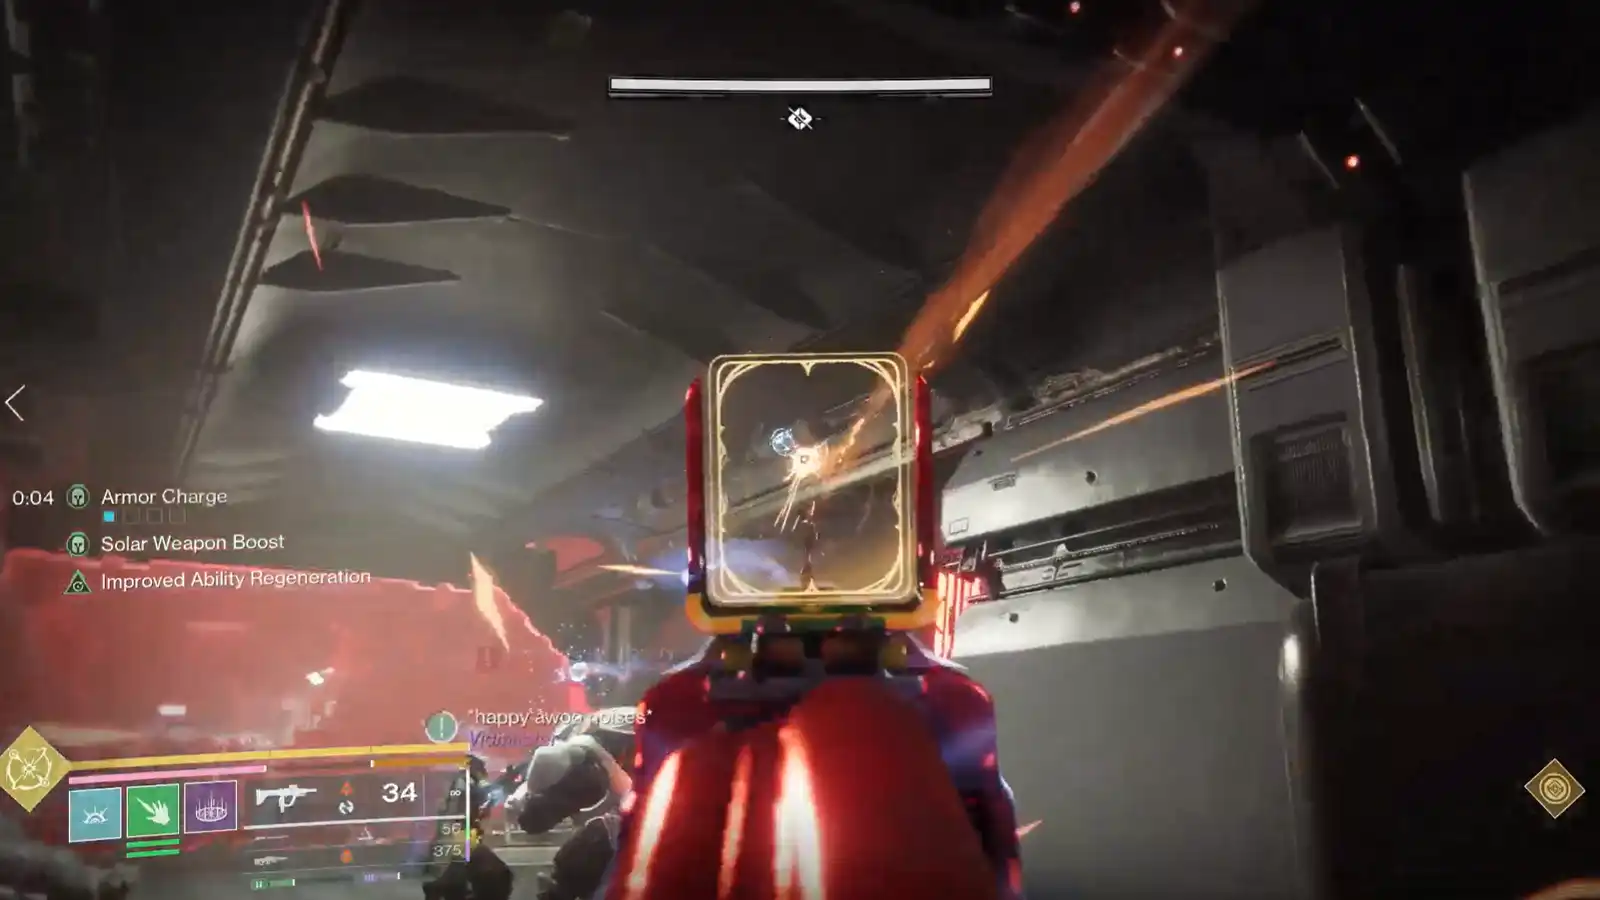
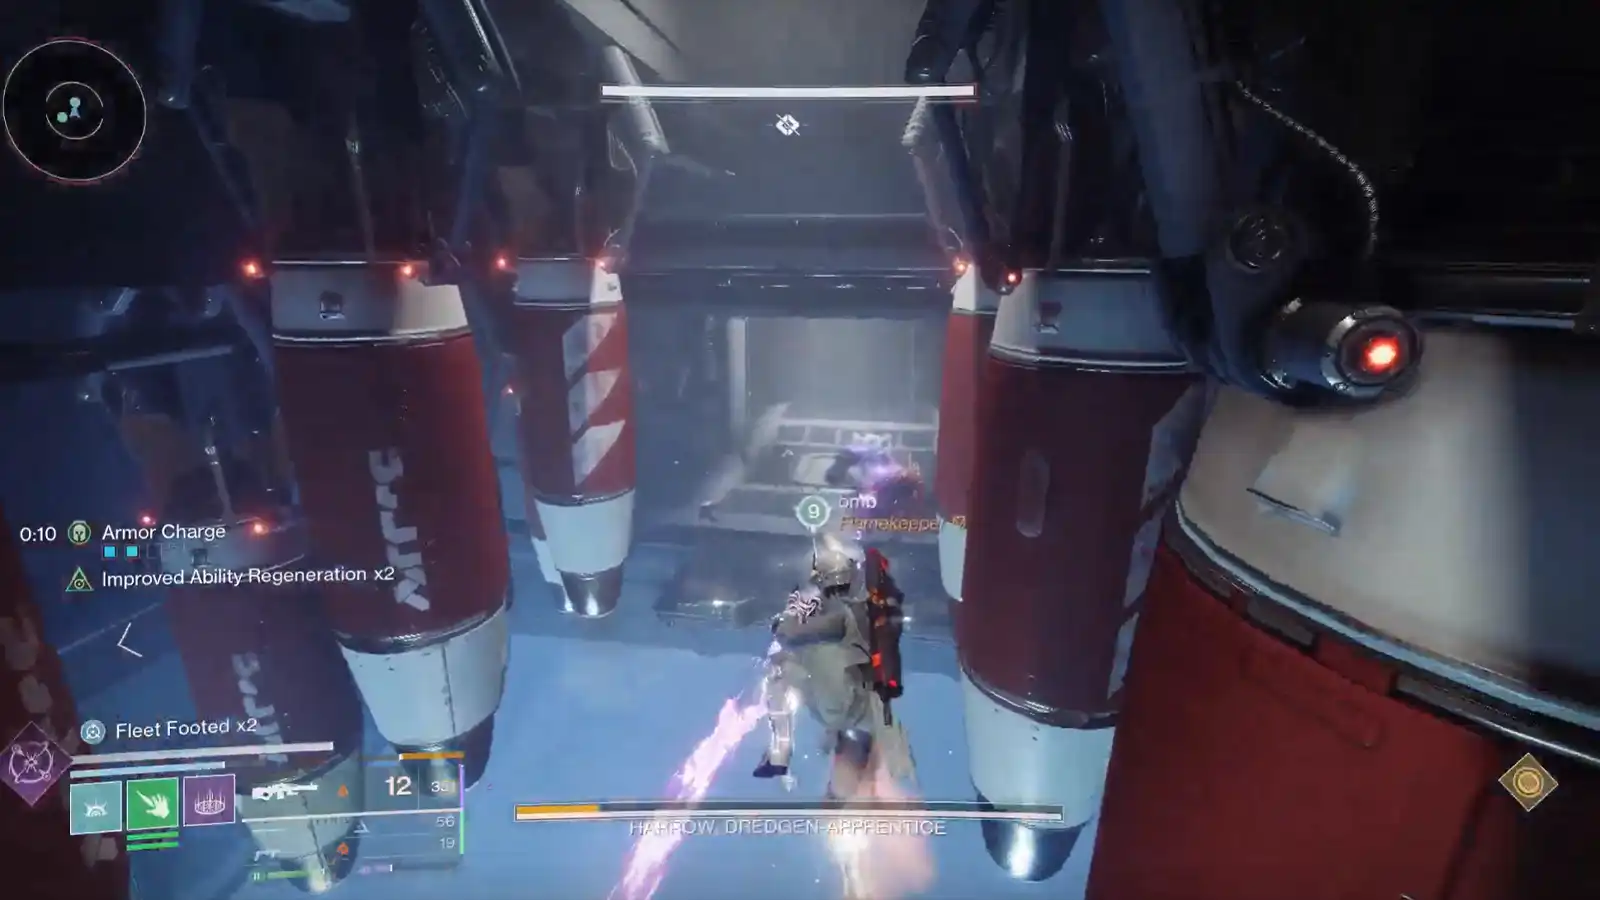
Once you’re in, make sure you do not get caught in the middle for too long. Harrow can appear suddenly and insta-kill you if you’re not paying attention, so play like the boss is always about to show up. Your early goal is to rotate out to the outer rooms (they connect in a U-shape), where you can farm enemies and build your Shadow energy.
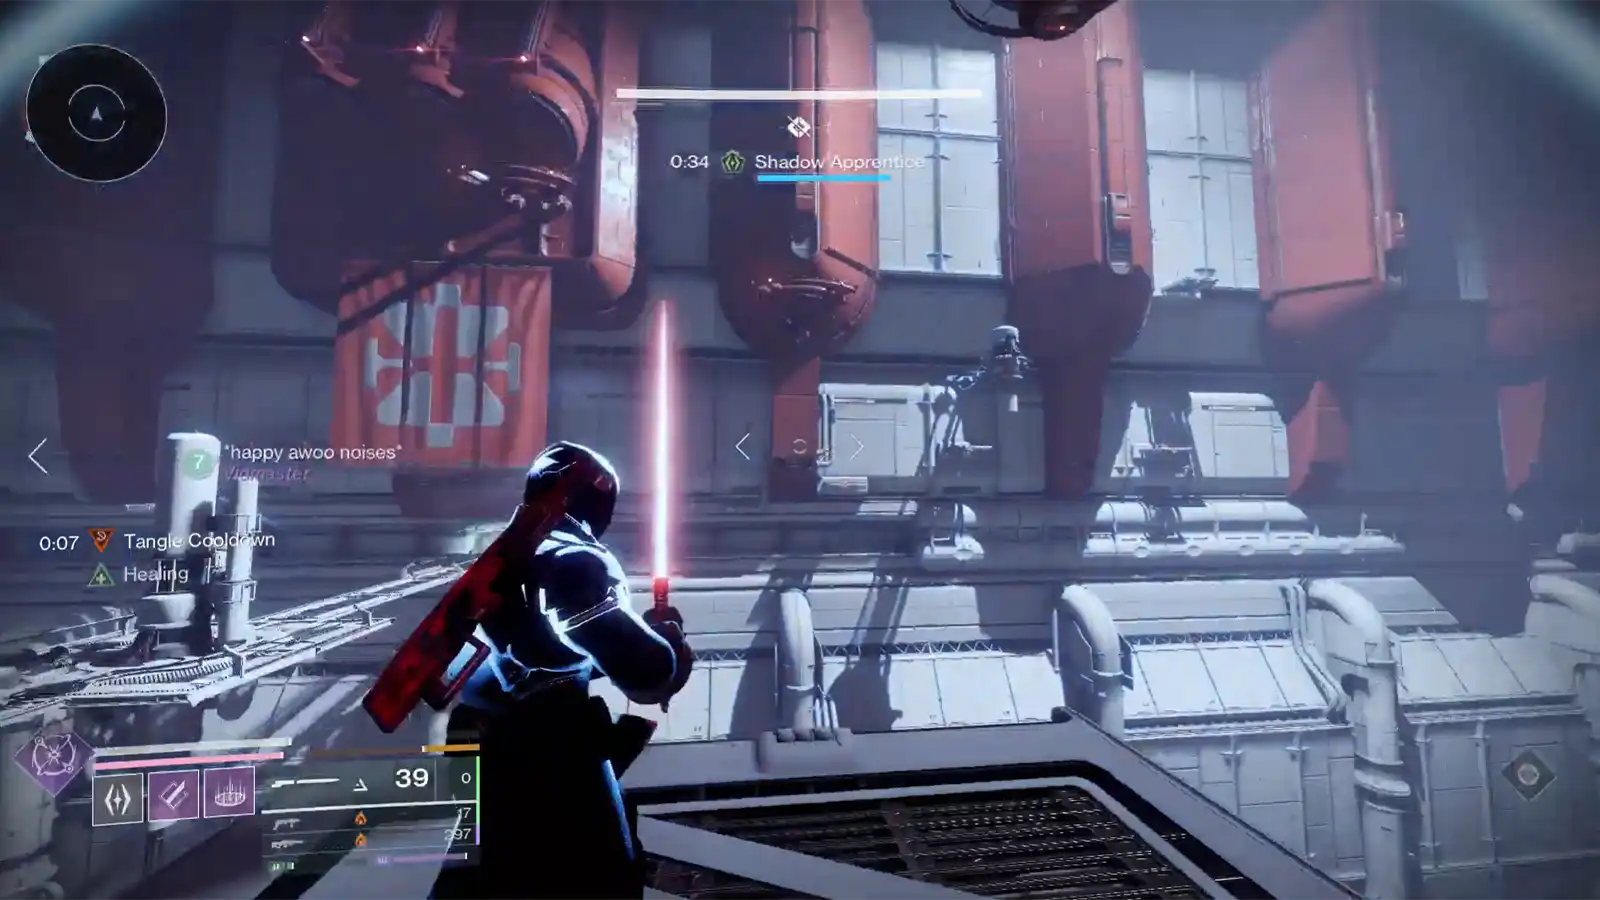
In the outer rooms, kill ads and pick up the Taken wells they drop to build Shadow. You’ll start at Gathering Shadow, and by collecting more, it’ll upgrade into Shadow Novice just like before. But there’s a third step to it this time. You need to collect even more Shadow energy to upgrade it into Shadow Apprentice.
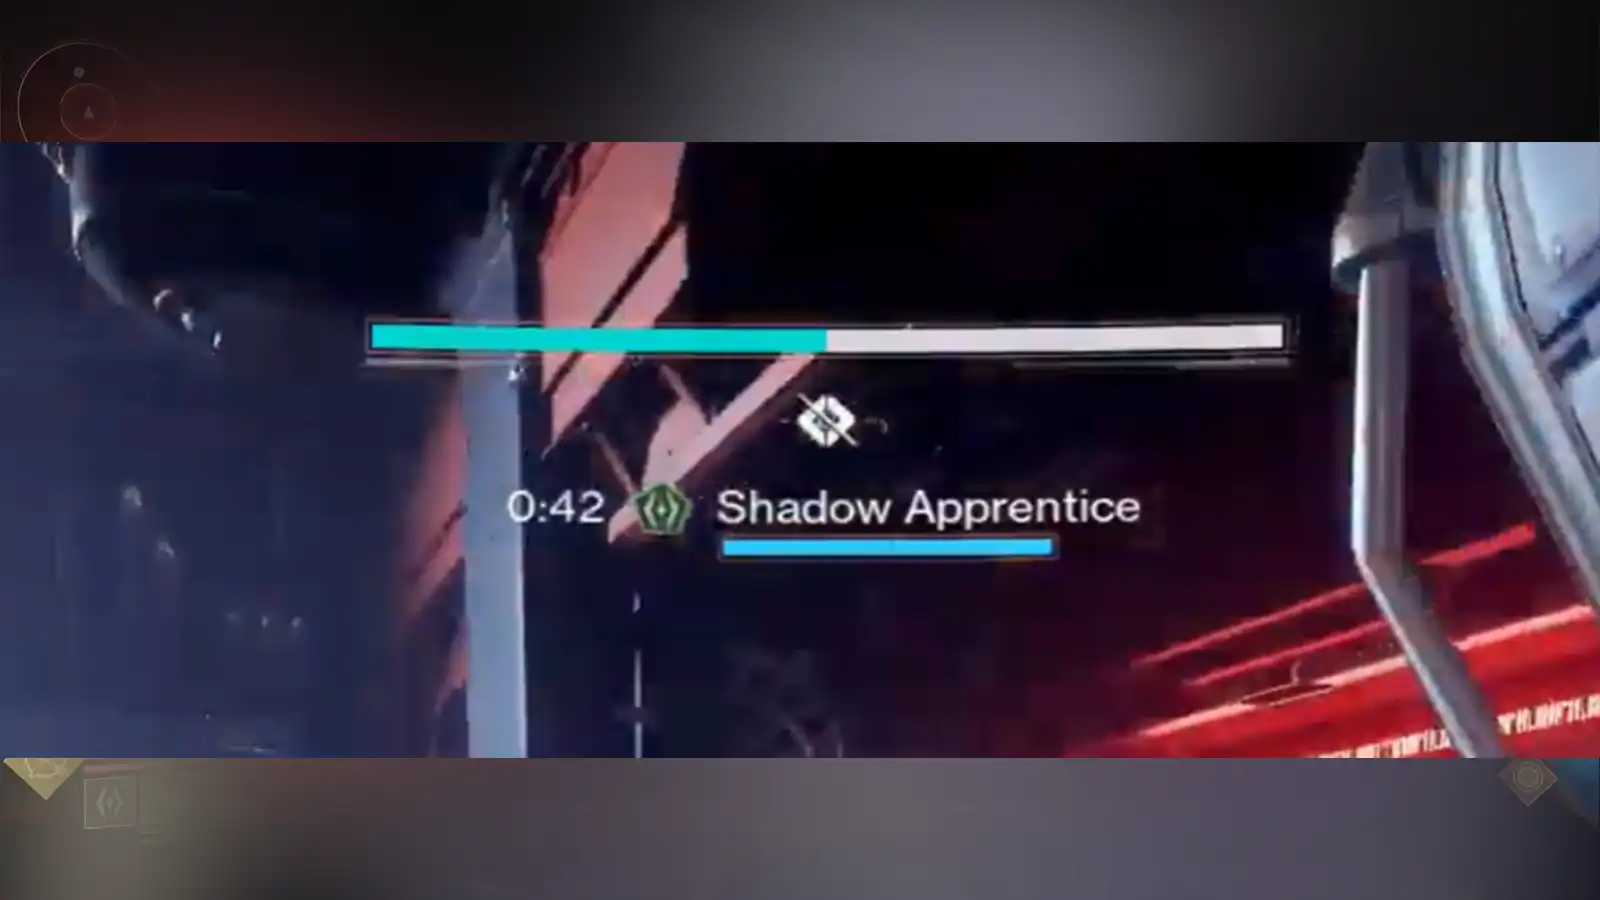
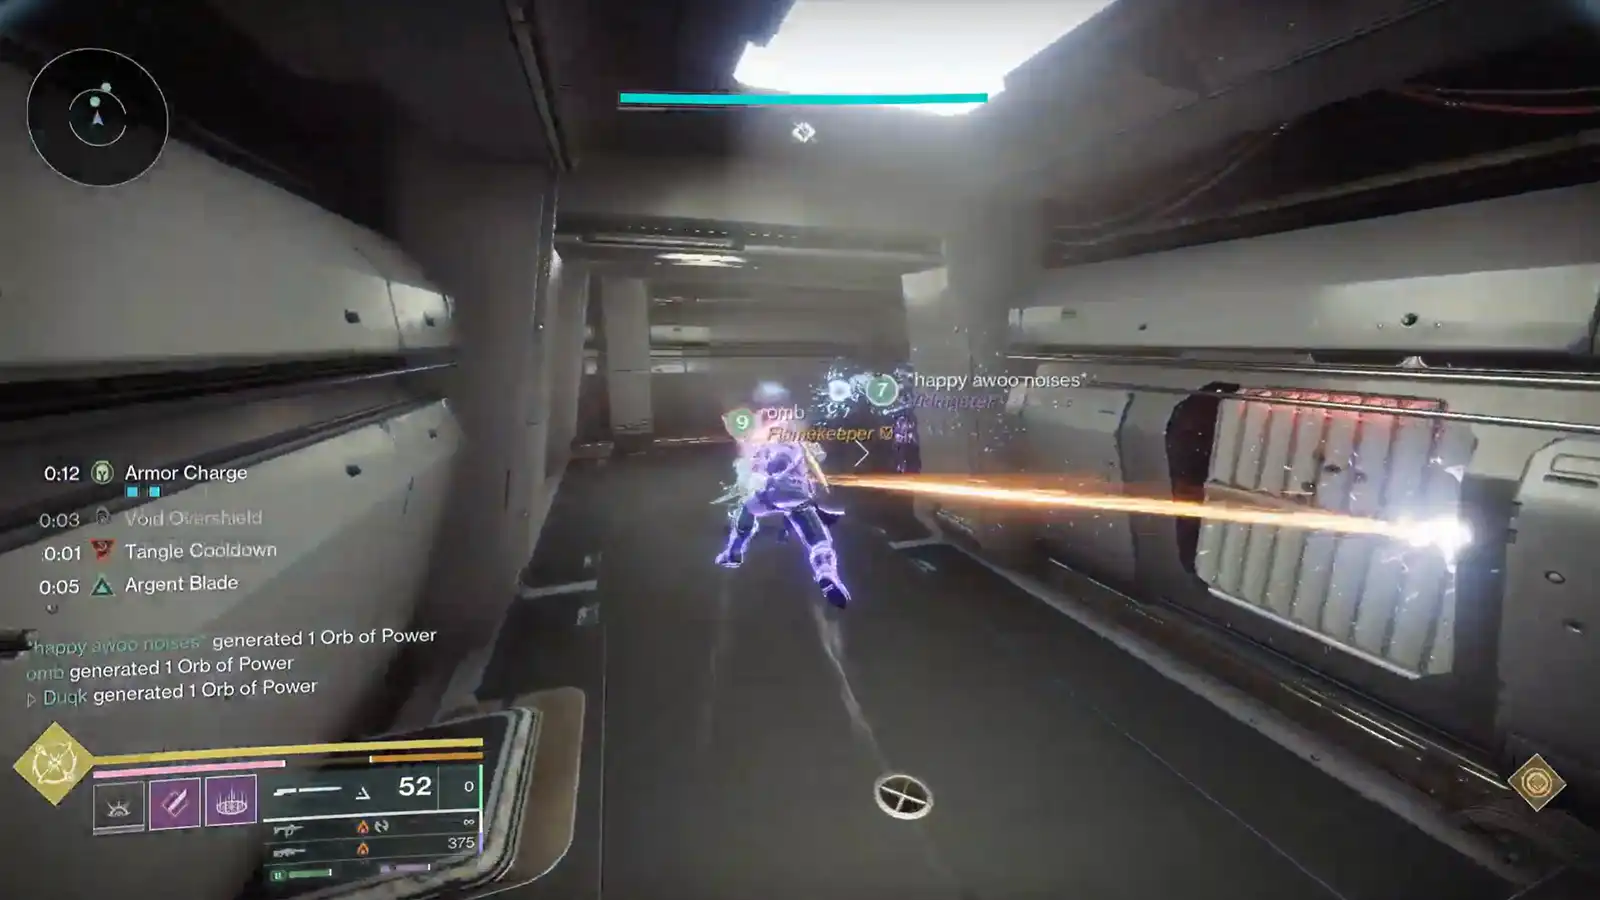
When you have the Shadow Apprentice buff, you need to activate the glowing Taken-like panels scattered around each room (you’ll see them on walls and even up higher on the sides and ceiling). You can do this by using the Renegade ability key, just like before. It’ll throw out a Taken energy blow from your hand.
The current goal is that you activate these panels in succession, and there’s a timer, so you want to commit to the route instead of wandering. Keep moving through the U-shaped set of rooms, repeating the panel sequence as you go, and refresh your Shadow energy.
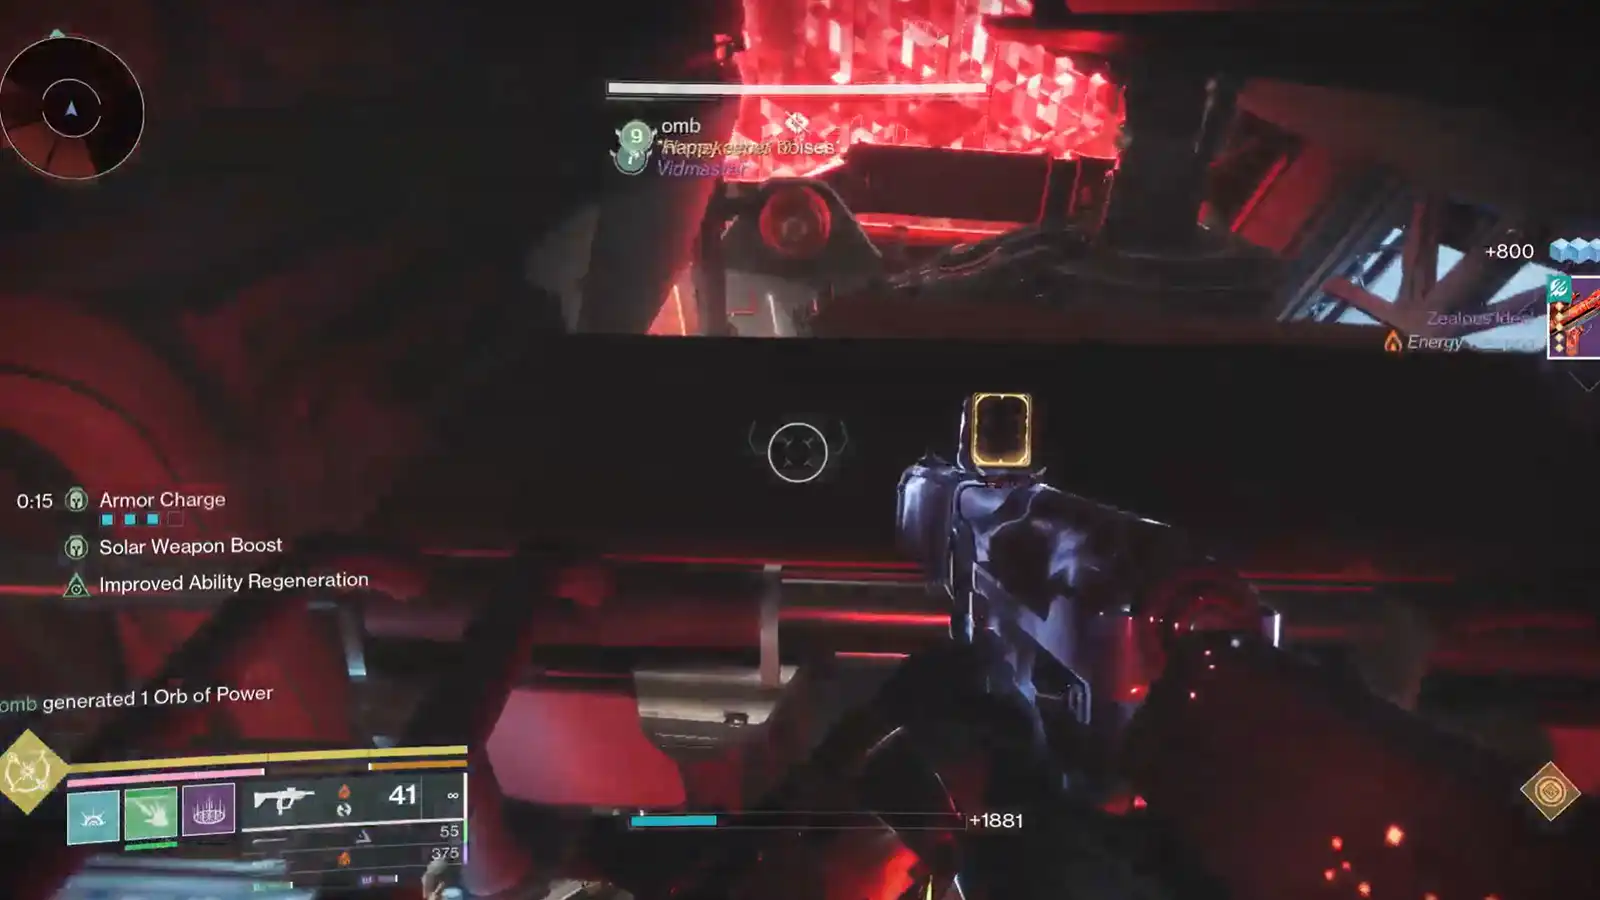
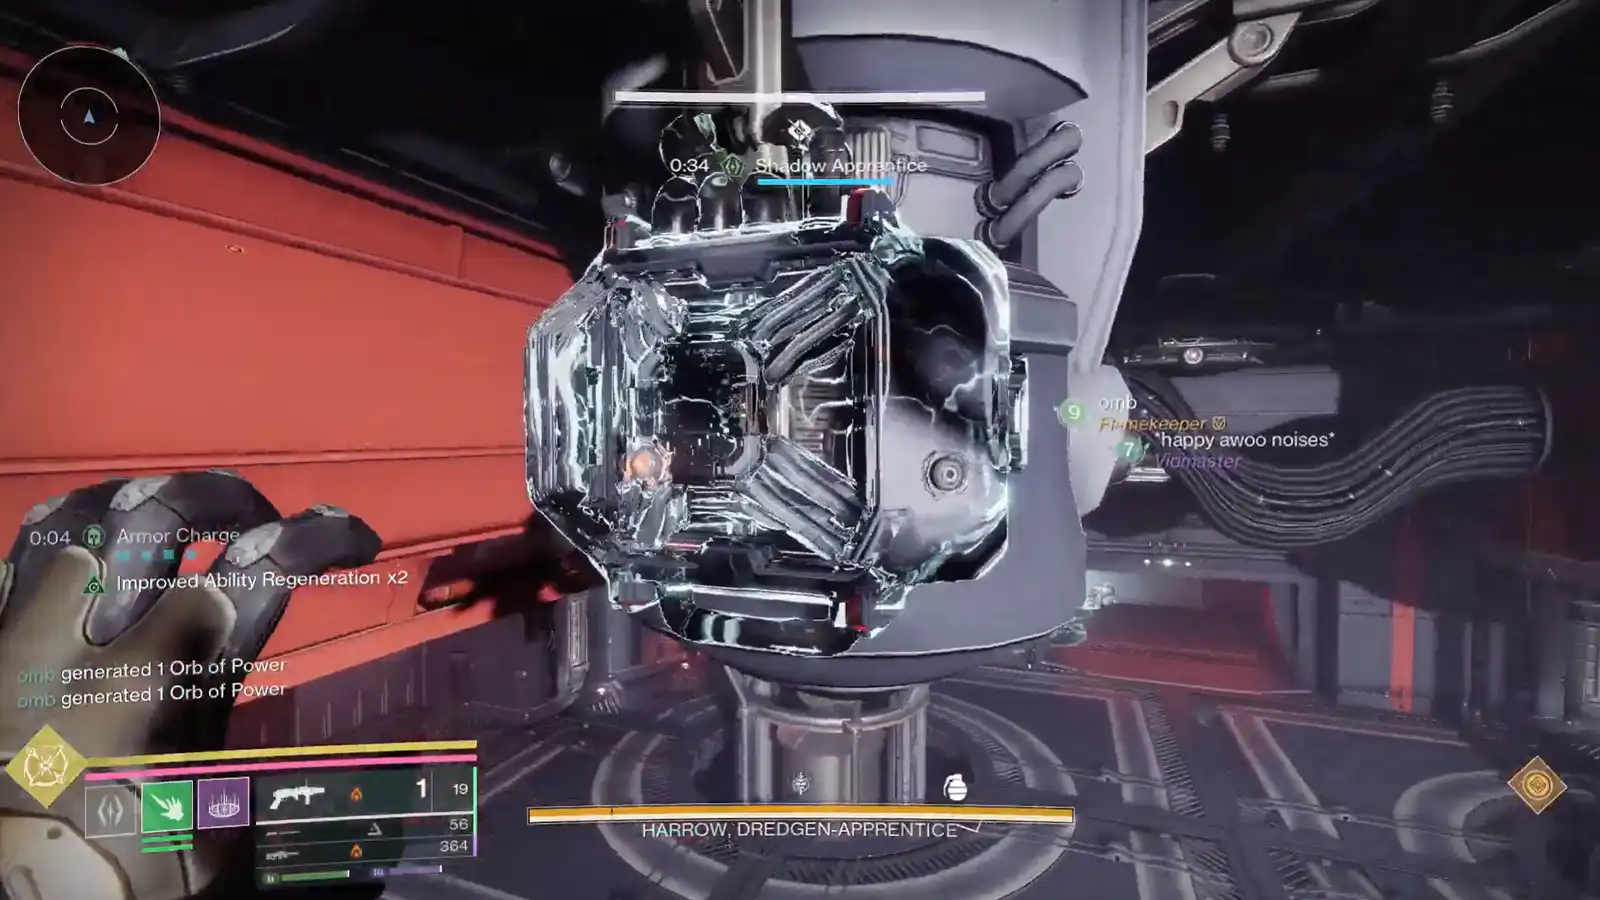
When you correctly activate all the panels in all rooms, you’ll get the on-screen prompt that says “Emergency subsystems activate“. After this, return to the center room immediately. This is where a lot of wipes happen because Harrow can charge up energy and explode, and that blast can instantly kill you. Once you’re back in the middle, you’ll see a bunch of more Taken energy “panels” that you need to activate. Keep clearing out ads and collecting the Shadow energy.
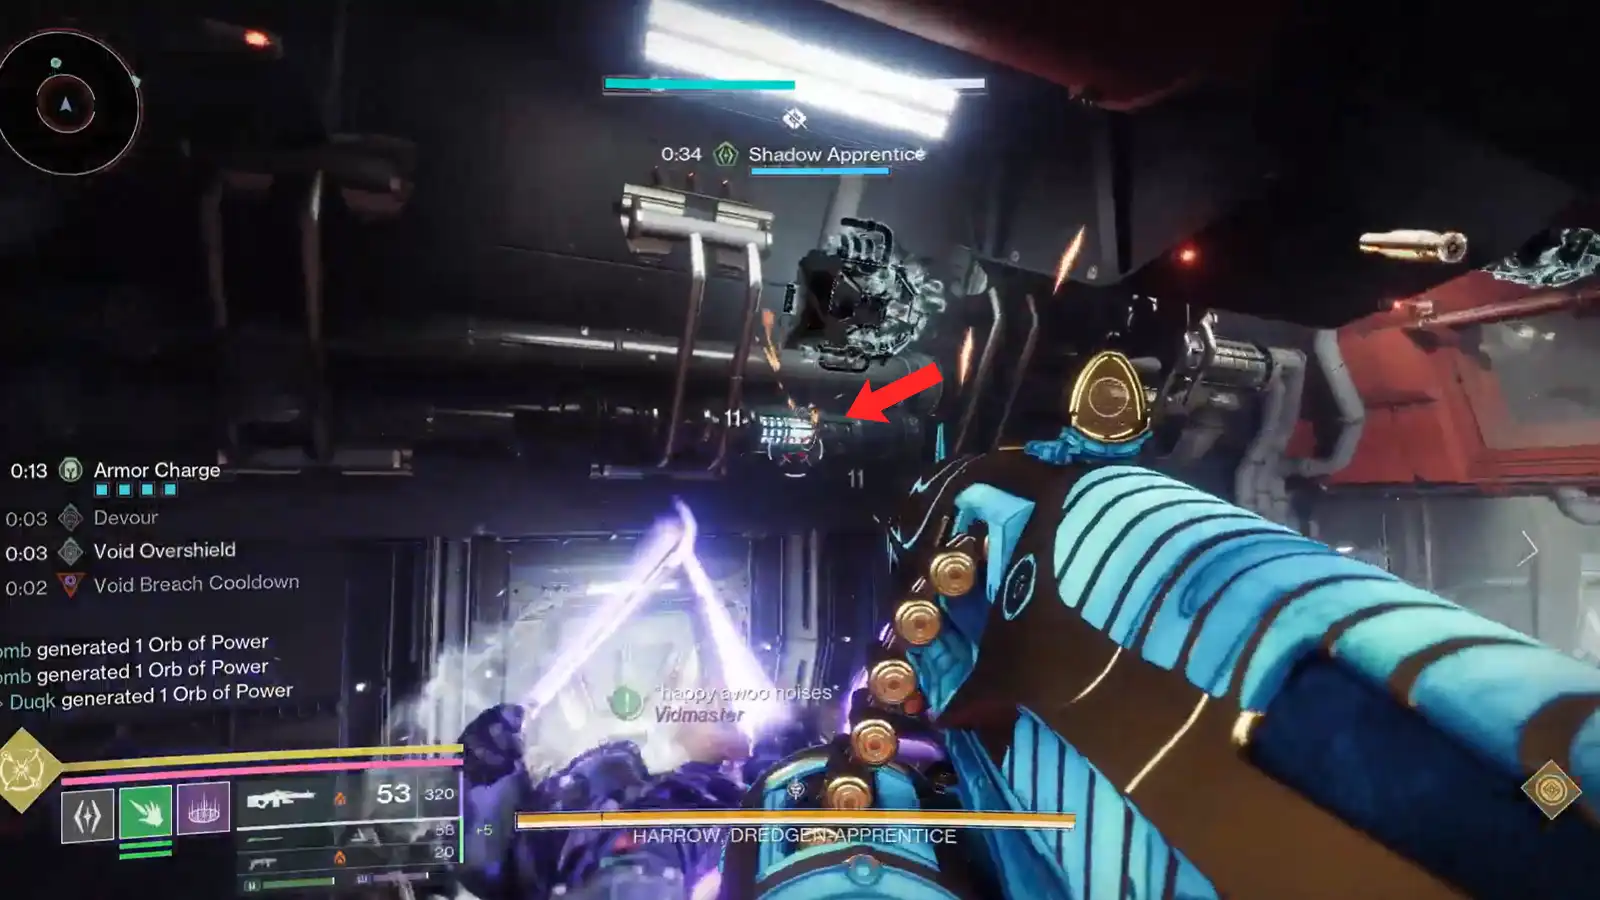
Alongside activating the panels, you’ll need to open two holes in the center arena. These are used to take out the boss’s immune shield. To open them, shoot the Arc fuses on each side of the area. With the holes open, bait the boss into the holes to take out its shield. Each hole takes out one-third of its shield.
After that, you need to, once again, activate all the panels using the Shadow Apprentice buff, and it’ll activate the overload generator. The overloaded generator is located on the far left of the room. Once the boss has around 33% shield left, bait him to the generator, and it’ll drain out the last bit of its shield.
Tip: You can speed up the immune shield breaks of the boss by using the Taken melee ability right as Harrow jumps back up out of a hole. If you time it correctly, the push can take down up to 50% of his shield in one go. Do this twice, then bait Harrow into the generator on the wall to extend the DPS window by roughly 10 extra seconds. You can repeat this setup once per phase, for up to three total uses across the full fight.
After that, the boss DPS phase starts. Use everything you have to damage the boss as much as you can. Repeat the process until you reach the final stand. When you hit a final stand, the boss will destroy the big gate in the middle, and you’ll need to follow him to the next area, jumping across. There will be a bunch of Cabal Centurions and turrets that spawn in here.
Clear the Centurions fast so they don’t overwhelm you, then start damaging the boss to take out its final bit of health.
Order of Operations
- Place the Rally banner if available, then shoot the fuse above the door to open the hatch. Drop down to enter the boss arena.
- As soon as you drop down, keep moving, avoid standing in the center too long, and clear out any enemies that spawn in.
- Make your way into the outer U-shaped rooms and begin your main loop there. Your priority is to add clear enemies and build up the Shadow energy.
- Kill enemies and pick up Taken wells to build Shadow energy, upgrading from Gathering Shadow to Shadow Novice to Shadow Apprentice as you collect more.
- In every outer room, find the glowing Taken-like panels and activate them by using your Renegade ability button before the timer expires. Keep your team moving room-to-room through the U-shape while repeating this.
- Keep rotating, refreshing your Shadow energy with more wells and continuing the panel sequence as needed until you see the emergency prompt.
- When the text prompt “Emergency subsystems activate” appears, go back to the center room.
- In the center, clear the ads and watch out for Harrow as he can charge and then explode, instantly killing you. When he does this, just take cover, and you’ll be safe.
- Activate the panels in the middle during this phase while keeping the arena clear.
- Shoot the Arc fuses on each side of the arena to open the two holes.
- Bait Harrow into the holes to take out his shield.
- After that, activate more panels that show up using the Shadow Apprentice energy.
- When done, the overload Arc generator will activate on the far left of the room.
- Bait the boss to this generator, and it’ll drain the last bit of the immune shield. Start damaging the boss.
- Repeat until the final stand.
- Follow the boss, kill the Centurions, and destroy the turrets that spawn. Keep damaging the boss to complete the encounter.
Traversal
After you finish the Harrow encounter, look in front of the reward chest for a switch. On each side of the room, there’s the same panel that you need to activate with the Shadow energy. After activating the panels, flip the switch to open the bay door and start the next platforming section.
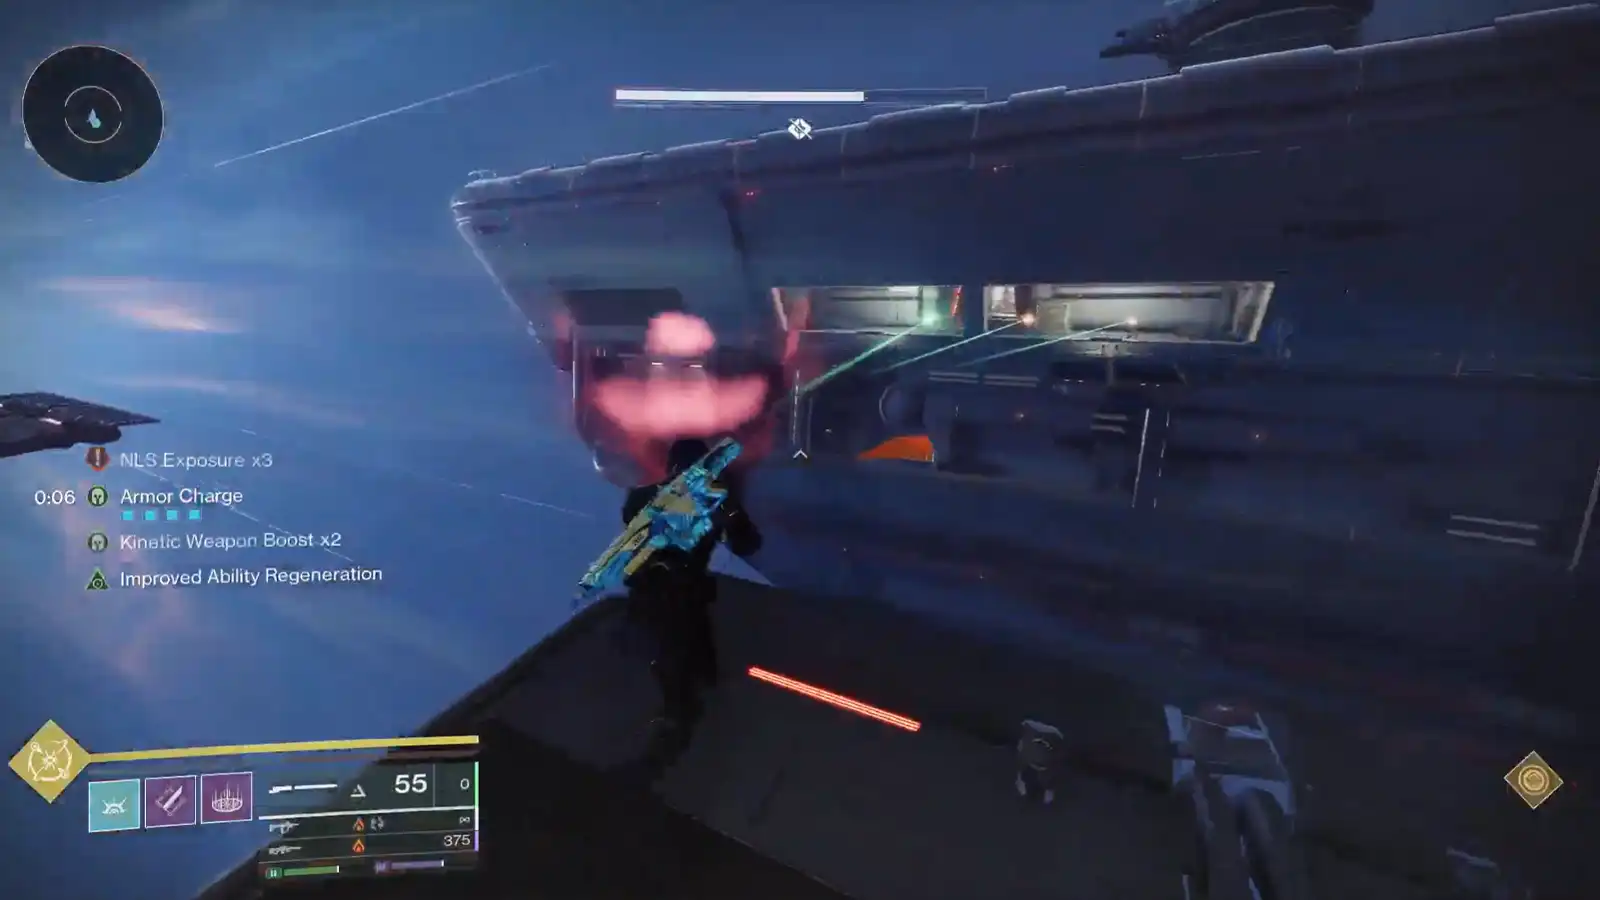
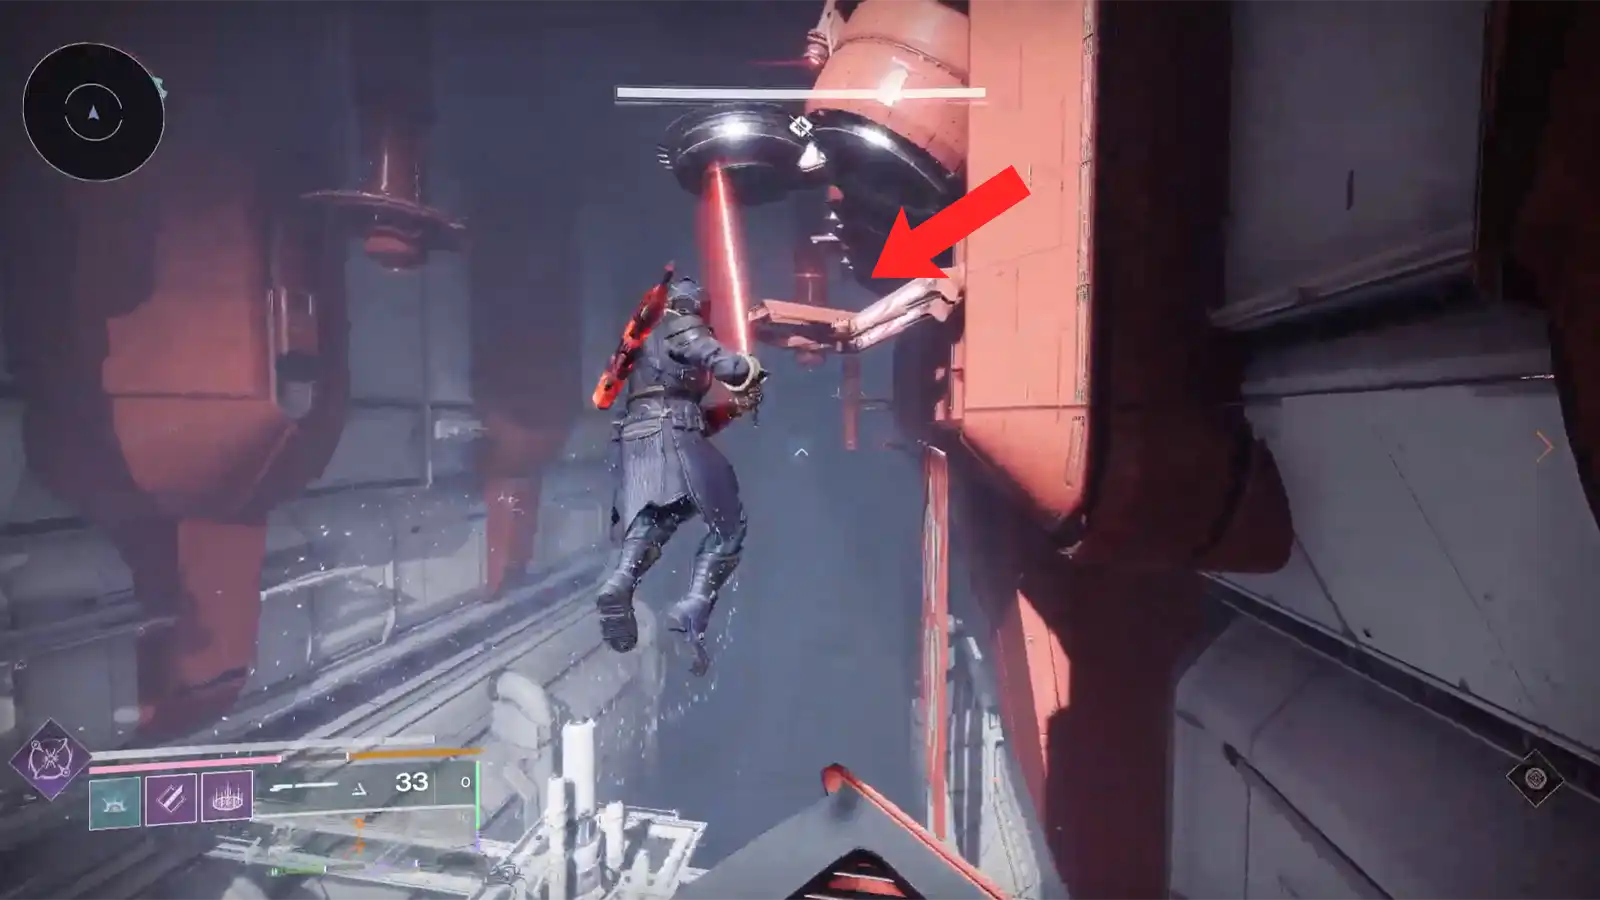
Don’t jump immediately. Wait a second until you exit the hyperspace, and watch below you and to the left until the Malphas Contemptus ship shows up, then drop down onto the small platform sitting on the ship’s outer edge.
From there, follow the outer platforms all the way to the far end and then turn left. You’ll see two red-lit switches. Activate both to open the door on the left wall, then jump inside and start descending. Your goal here is basically “go down and forward,” so drop to the lowest level you can safely reach, then continue moving along the ship’s underside using the red-lit platforms as your main route.
As you keep progressing, you’ll eventually spot a breakable vent on your left. Shoot it open and go through. Keep following the path until you see the Malphas Contemptus area marker appear on your HUD, then continue forward until you enter a massive hangar. Clear the Cabal enemies inside (there’s a Behemoth Walker here as well), then head to the central console and activate it to turn on the moving platforms.

Once the platforms are active, ride them up and to the right. From there, use the central circular platform to lift yourself into the ship proper. This next section is mostly straightforward corridors, so keep moving through the linear hallways with a ton of pipes until you reach a larger room with two Behemoths and an inactive Cabal tank (with four legs) on the platform. Take out the Walkers, then head to the tank elevator at the back of the room and crouch to enter the tunnel underneath it.

Inside the tunnel, you’ll drop into a vertical tube with four shootable grates/vents at the bottom. Three of these lead to dead ends, and only one continues forward, so don’t overthink it. Shoot a grate, check the path, and if it’s a dead end, backtrack and try the next one until you find the correct route. (one of them as a collectible)
That path will take you into another huge room where the objective is to reach an open pipe high above the far side of the arena, across the gap. The pipe is up and to the left relative to the platform where enemies spawn. There are a bunch of ways to get there, so use whatever your team is comfortable with.
At first, it will be closed. To open it, you need to activate one of the three panels with the Shadow Apprentice energy, and it’ll open the entrance on the pipe. Defeat the Cabel that spawns here and activate one of the panels.
Tip: You can use Grapple and/or an Eager Edge sword to cross the gap faster and safer.
Once you make it into the open pipe, it’s another linear run through tight passageways until you reach a room with a Cabal Behemoth Walker and a bunch of War Beasts. Clear them, then go through the door, and you’ll see two Cabal Praetorian enemies. Take them out and enter the door they were guarding. This will take you to the final boss encounter.

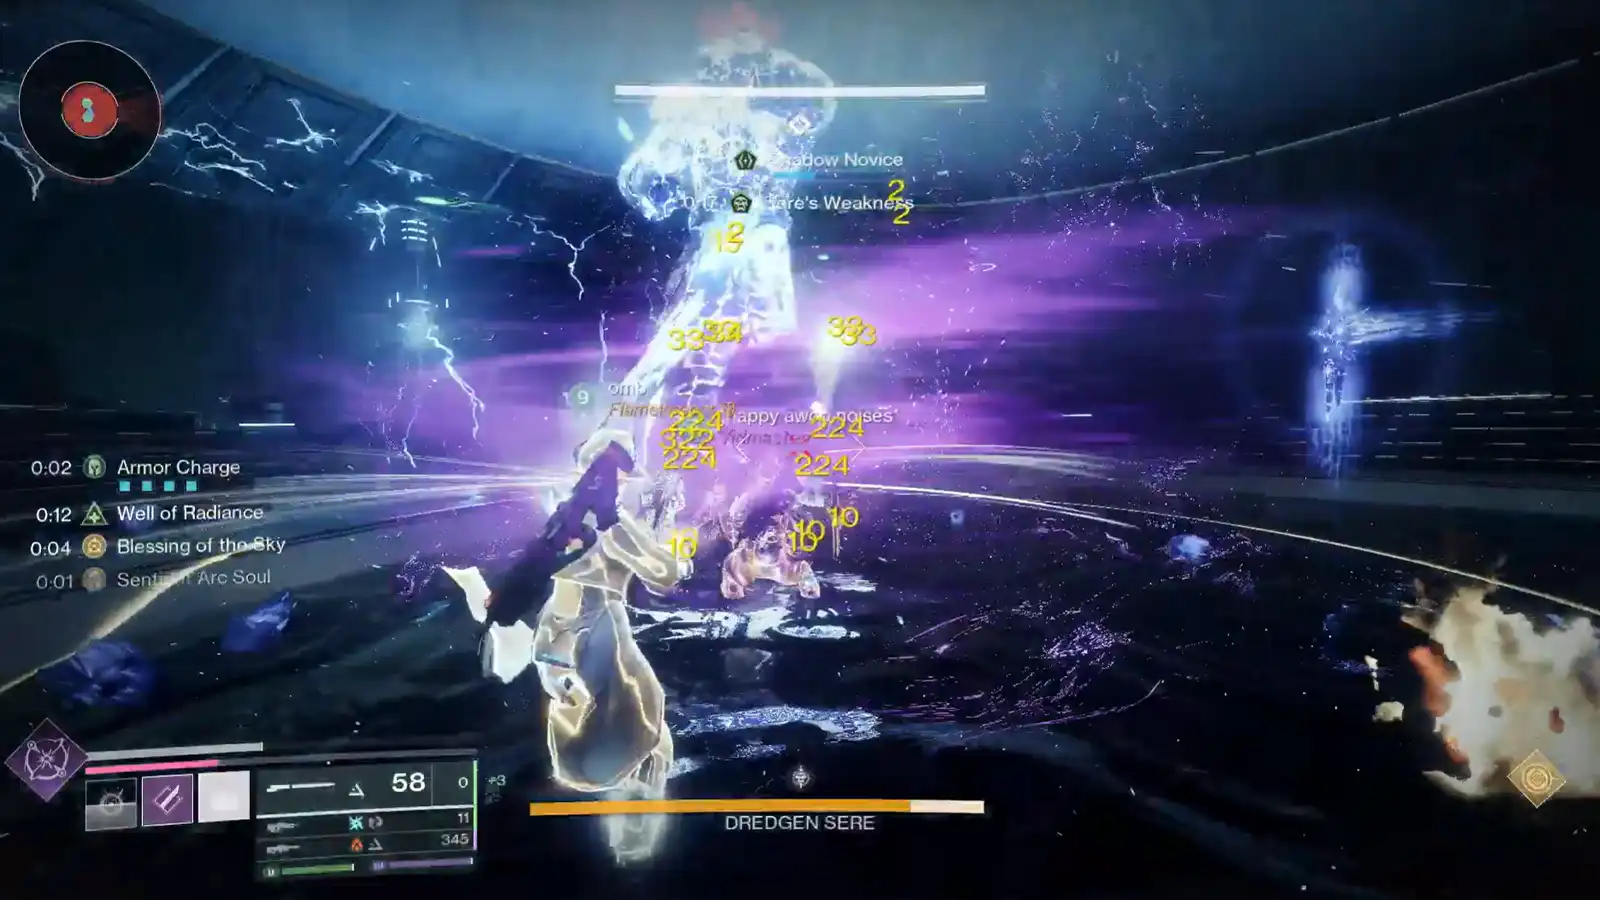
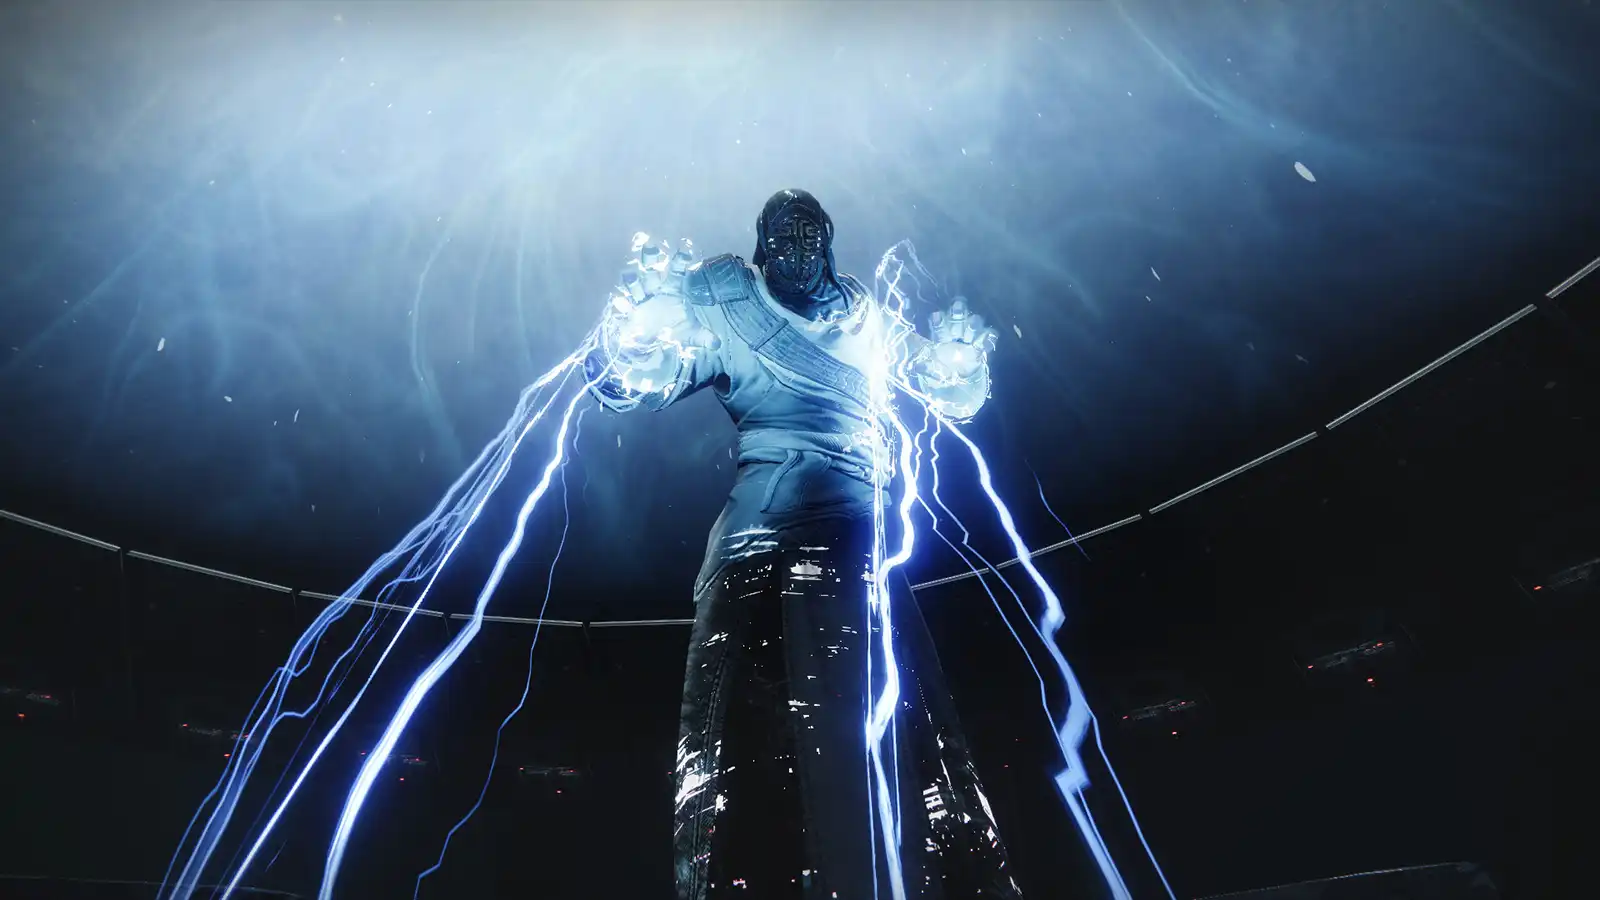
Third Encounter: Dredgen Sere
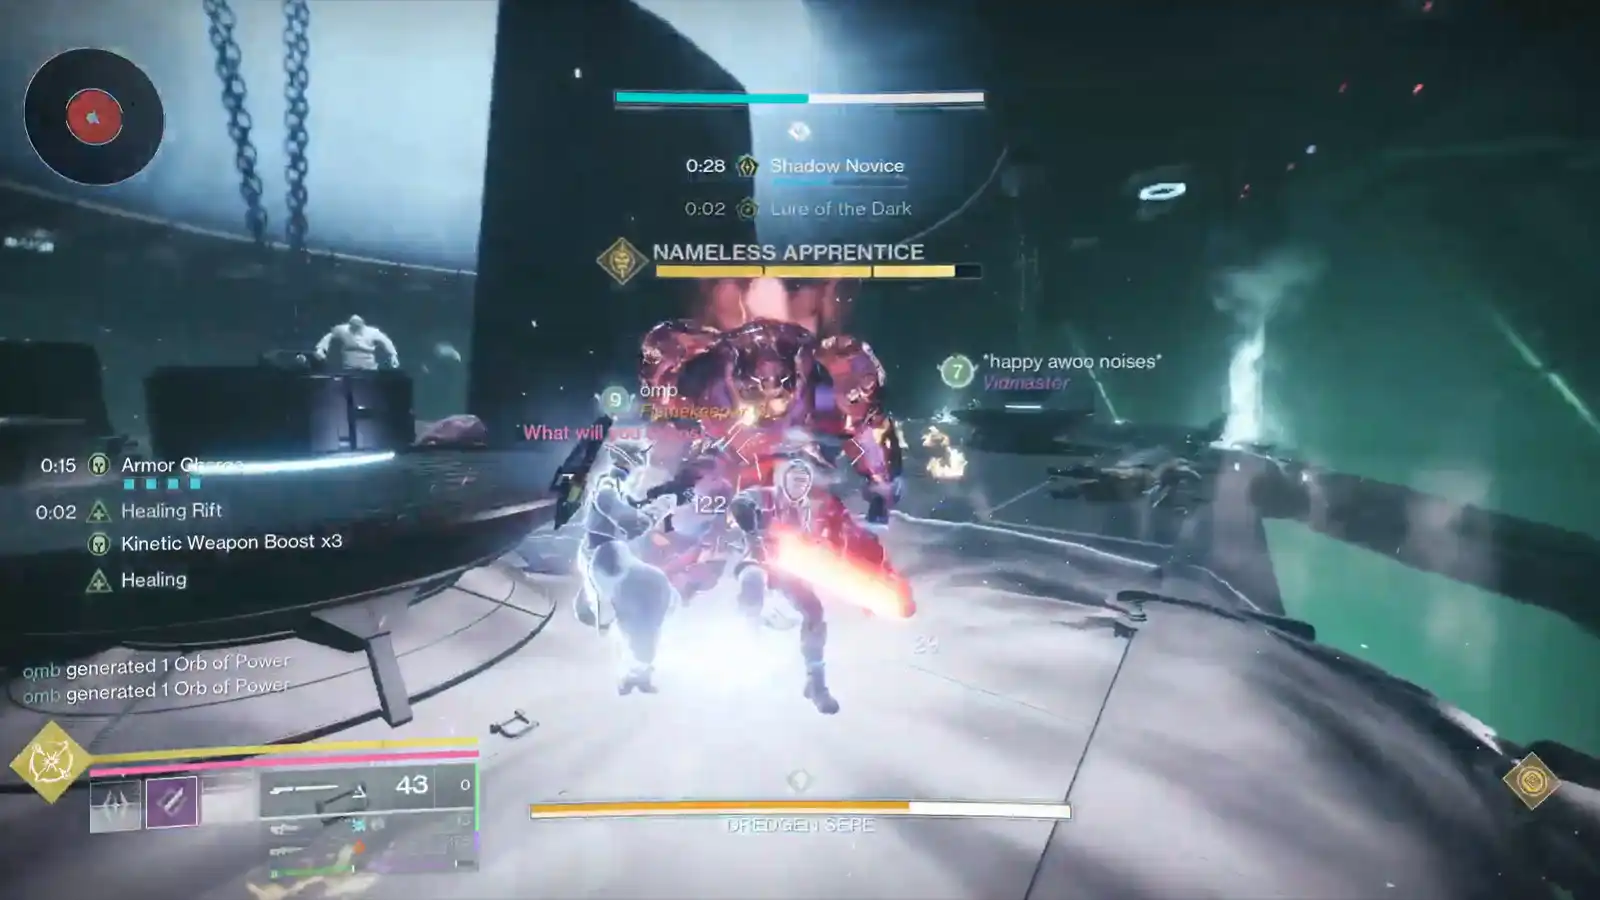
This is the final encounter of the dungeon, and you’re up against Dredgen Sere. You can start it by walking up to him or shooting him (or the kneeling Apprentices). Don’t stand too close at the start, because his first slam can kill you.

As soon as the fight starts, you get a 45-second timer called Lure of the Dark. During that timer, you need to do two main things. First, build Gathering Shadow until you reach Shadow Master. Second, kill as many Nameless Apprentices as you can, because they’re tied to letting you destroy the five Taken orbs sitting in the middle of the arena.
When the timer hits zero, you get pulled into a Taken version of the same arena. Inside that Taken area, there are five copies of Sere called Blistered Shadows, and there are Shadow energy pools around the room to help you keep building Shadow.
With Shadow Master, you walk up to each Blistered Shadow and press interact to Compel them. Each time you Compel one, you get one stack of Lure of the Dark, and you also earn the ability to shoot one Taken orb when you go back to the normal arena.
One of the Blistered Shadows is higher up. To reach it, you’ll need to hit a Darkness-corrupted device like the ones you used earlier in the dungeon. That makes ghost platforms appear, and you can use them to climb up and Compel the last Blistered Shadow.
When you return to the normal arena, the goal is to come back with five stacks of Lure of the Dark. Then you finish off any remaining Nameless Apprentices you still need, destroy the last Taken orbs in the middle, and that starts the damage phase on Sere.

Tip: During the damage phase, if Sere is shooting lightning, look at his hands. If you shoot his glowing hands, you can stop the lightning and stun him for a moment, which gives you a little breathing room.
When the damage phase ends and Sere is still alive, the middle of the arena becomes deadly because it fills up with Arc energy. You need to run out to the edges until it calms down, then repeat the same cycle: build Shadow, go to the Ascendant arena, Compel the five Blistered Shadows, break the Taken orbs, and damage Sere again.
After successfully defeating Sere, a reward chest will appear in the middle of the room.
Order of Operations
- Walk up to Sere or shoot Sere/the kneeling Apprentices to begin. Don’t stand close, because the opening slam can kill you.
- A 45-second Lure of the Dark timer starts immediately. Treat this as your setup window.
- During the timer, collect Shadow until Gathering Shadow upgrades all the way to Shadow Master.
- Also, during the timer, kill Nameless Apprentices whenever you can, since they’re tied to letting you destroy the five Taken orbs in the middle.
- When the timer hits zero, you’ll be pulled into the Ascendant version of the arena.
- In the Taken arena, locate the five shades called Blistered Shadows.
- With Shadow Master, walk up to a Blistered Shadow and press interact to Compel it.
- Each Compel gives you one stack of Lure of the Dark and the ability to shoot one Taken orb when you return.
- Aim to leave the Taken arena with five stacks of Lure of the Dark.
- Back in the normal arena, finish killing any needed Nameless Apprentices, then destroy the five Taken orbs in the middle to trigger DPS.
- If Sere starts blasting lightning, shoot his glowing hands to stop it and briefly stun him.
- When DPS ends, sprint to the edges of the arena. The middle fills with Arc energy and will melt you.
- Start the next cycle and repeat steps 2-12 until Sere dies.
That’s it for our Destiny 2 Equilibrium dungeon guide. As players lock in the best builds and loadouts for each encounter, we’ll keep updating this guide with the best loadout tips and strategies. If you want to see every reward in one place, check out our complete Equilibrium dungeon loot table here.
Have you completed this dungeon yet? What weapon rolls did you get? Let us know in the comments below!
Don't miss the big stories. Make us your preferred source on Google to get breaking news, leaks, and exclusives first.