Here’s our full step-by-step guide for Destiny 2’s Equilibrium dungeon quest “The Way Between,” including all four relic locations, puzzle solutions, how loot focusing works, and how to unlock the Heirloom catalyst.
Equilibrium is Destiny 2’s newest dungeon, and if you’re here, you’ve probably already completed it once. It’s a three-player activity that leans hard into the Shadow mechanics you learn early on, which builds on in the later encounters. If you’re still working on the clears themselves, start with our complete Equilibrium dungeon walkthrough guide first, then come back here once you’re ready to chase the deeper rewards.
Equilibrium also has a full dungeon loot pool, including the Exotic Heirloom, plus a full set of dungeon weapons and armor. If you want the full list of drops, roll potential, and which items exist at all, check our complete Equilibrium dungeon loot table.
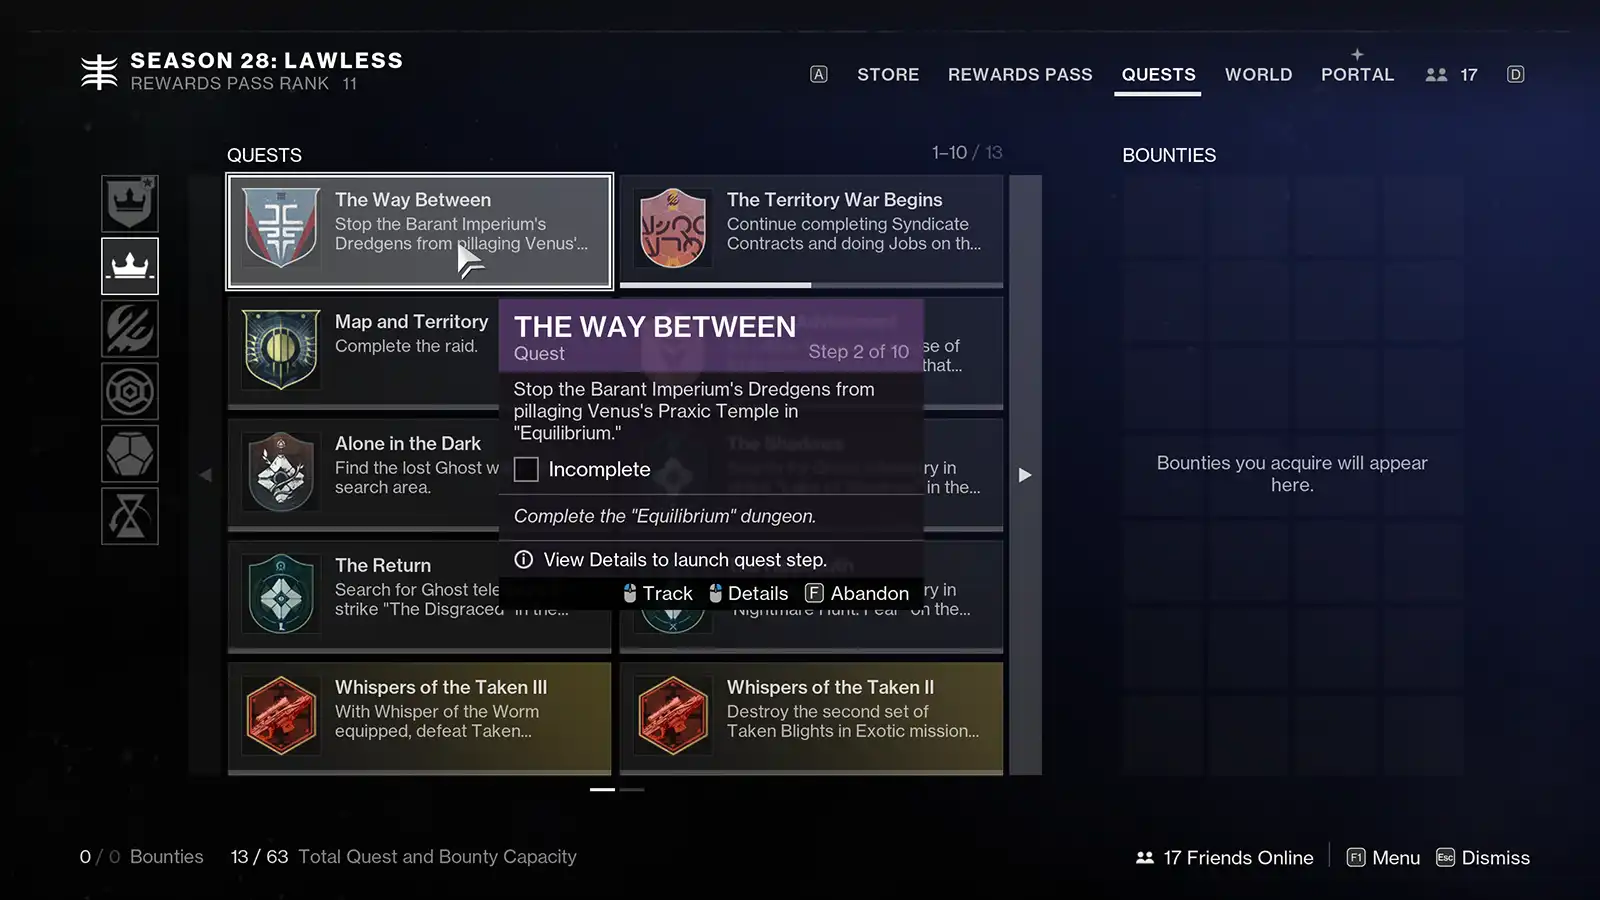
Just like a lot of previous dungeons, Equilibrium also has its own questline: “The Way Between.” It’s a 10-step quest that requires you to complete the dungeon multiple times, with hidden routes, secret fights, and four relics to find.
In this guide, we’re going to walk you through how to complete The Way Between from start to finish, where every relic is, how each puzzle works, and what you need to do at the end to unlock loot focusing and get started on the Heirloom catalyst.
How to complete The Way Between quest in the Equilibrium dungeon
The Way Between is built around repeat clears. You do a normal clear, then new secret puzzles appear in the dungeon. You solve a puzzle, collect a relic, and then the quest requires you to complete the dungeon again. Each time you progress, the dungeon opens up more steps until you’ve collected all four relics and unlocked the final secret boss.
The biggest thing to understand is that this quest is not meant to be finished in one casual run. It will take multiple clears to wrap it up, because the quest adds new objectives after you complete earlier ones. That said, there is a way to speed it up if you run with someone who is already ahead on the quest. We’ll share how this works below.
What you unlock from this quest
Completing The Way Between is worth it for two reasons. First, it unlocks the dungeon’s reward loop, including the ability to focus for specific Equilibrium loot instead of just hoping the right item shows up. Second, it’s tied to getting the Heirloom catalyst, which is something you’d really want to get.
A huge part of the quest is also finding four hidden relics inside the dungeon. Each relic is tied to a puzzle path, and the final relic leads to a secret boss fight that acts like the quest’s real finish line.
Now let’s get into it step-by-step. (thanks, Skarrow9)
The Way Between quest walkthrough
Step 1
Visit Aunor Mahal. Pick up The Way Between from Aunor at the Tharsis Outpost before you jump into the dungeon. This is your “quest is active” step, and you want it done before you spend time on clears.
Step 2
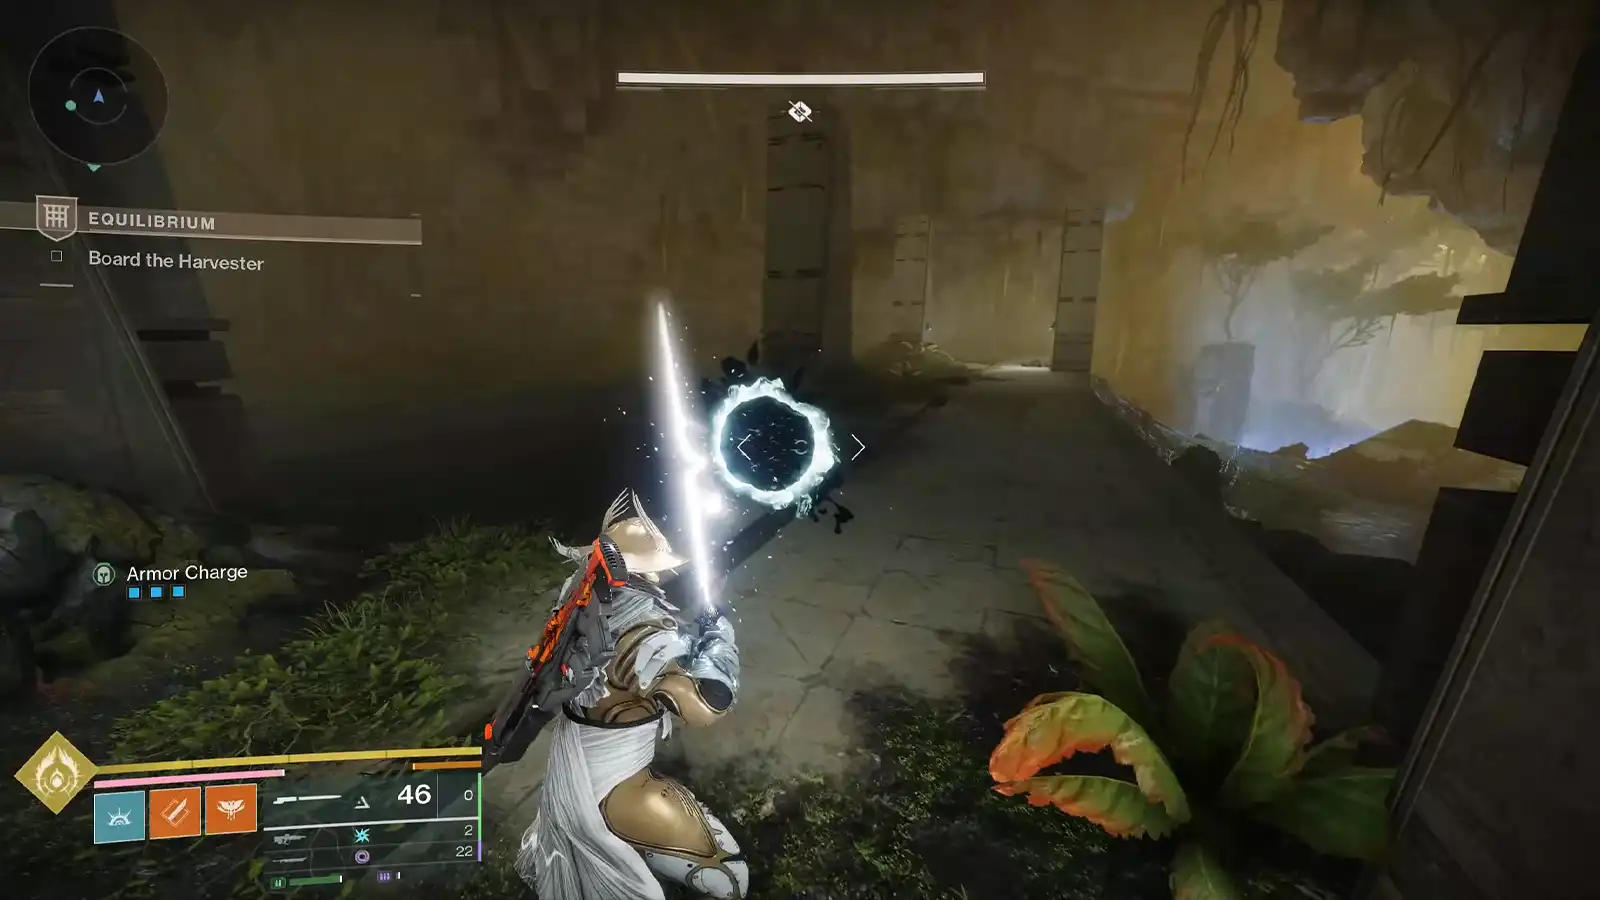
Complete the Equilibrium dungeon normally. Your first step is simply getting a full clear. No tricks, no puzzles, just finish the dungeon so the quest begins to open up the extra paths.
After you defeat the final boss, Dredgen Sere, you’ll get a new item called Integrated Relic. This is the first of the four relics you need to find and place them at a specific place in the dungeon.
Step 3
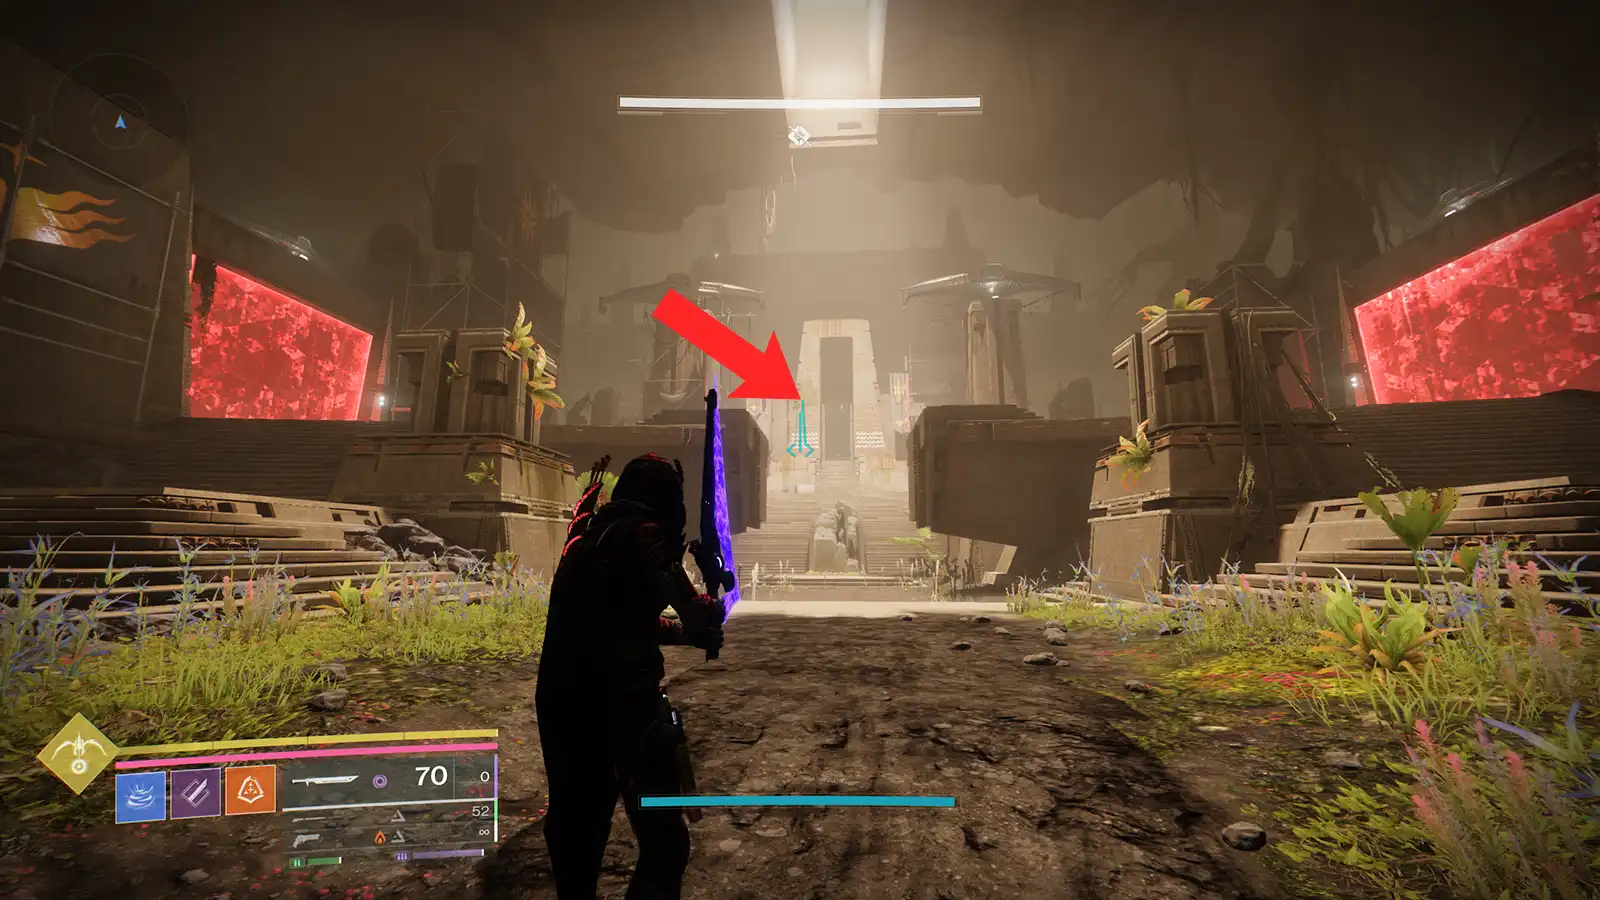
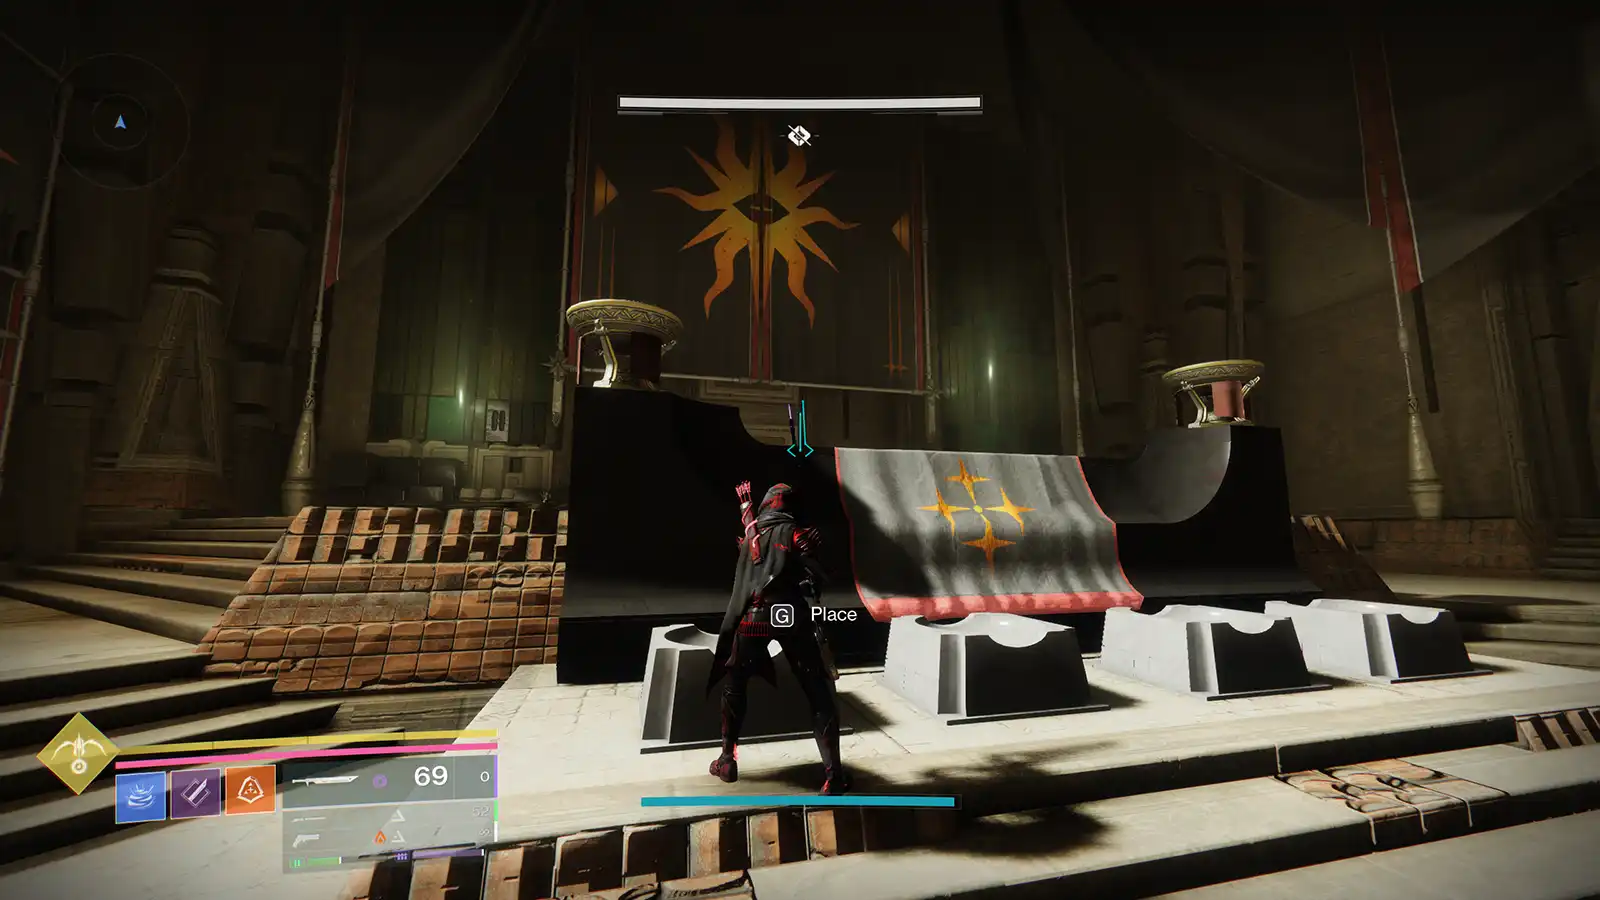
After the first encounter, enter the Praxic Temple and place the relic. Once you beat the first encounter called Harvester, do not immediately push forward like a normal run and board the Harvester ship.
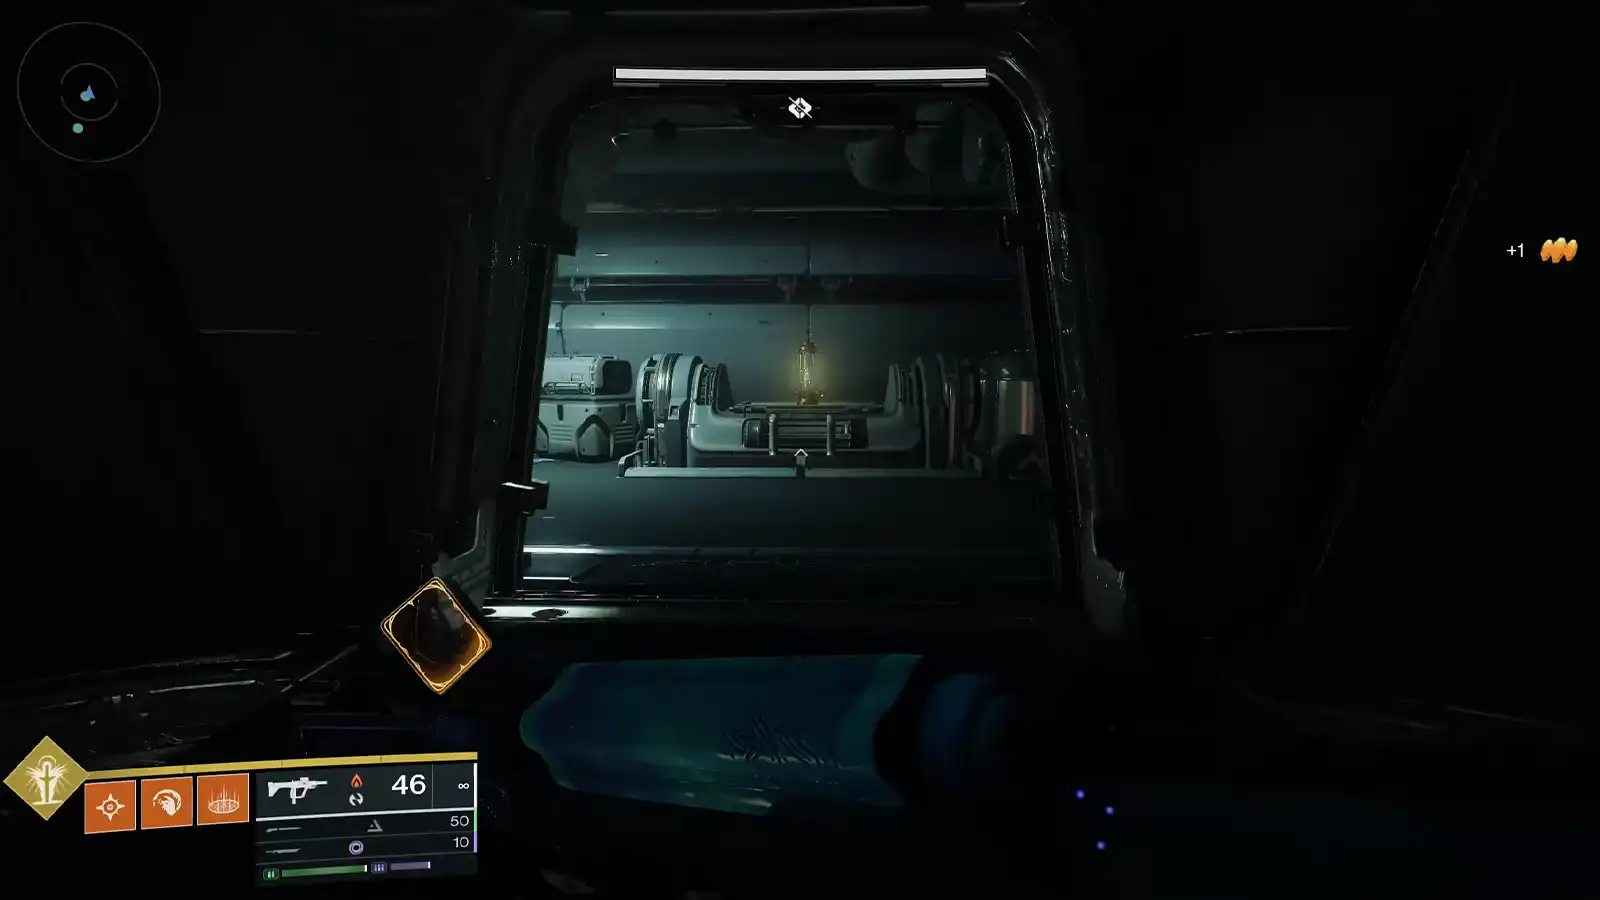
Turn back and head into the Praxic temple area behind you, which opens up for the quest. Inside, you’ll place the relic into one of the slots. This will kick off the rest of the quest. You’ll get some dialogue from Aunor Mahal.
Step 4 (Relic 1 and Puzzle 1)
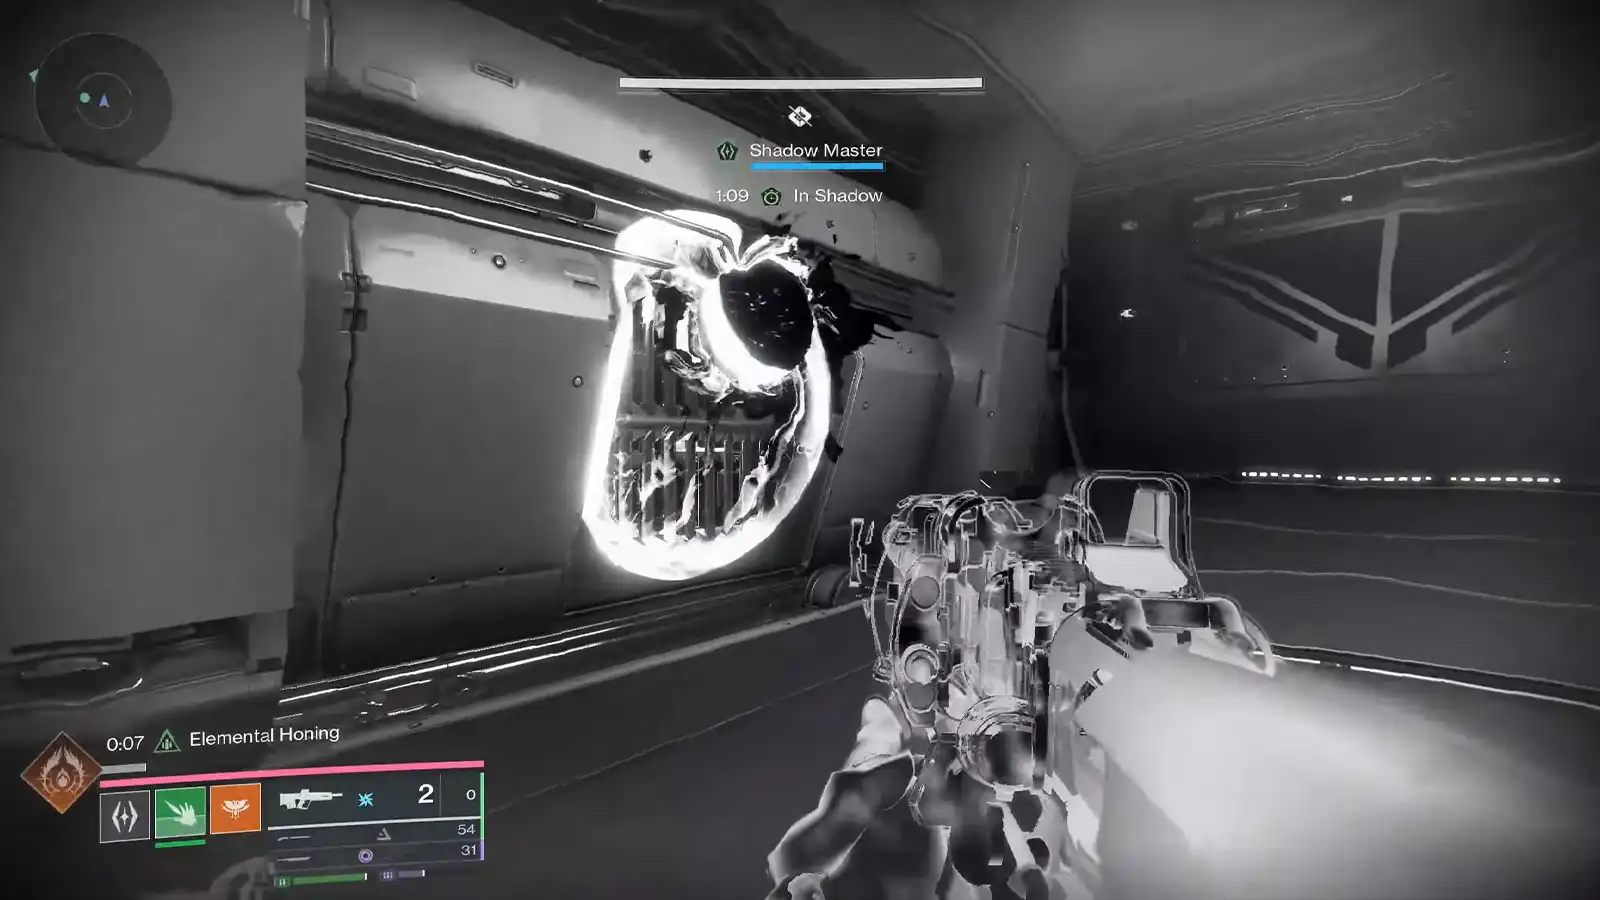
After placing the first relic, leave the temple, go left into the same zone that connects to the sparrow/pike section from earlier during the encounter. You’re looking for a Taken orb. Break that orb using the Praxic Blade, and it will create a Taken well. Get your whole team inside that puddle to start the secret encounter.
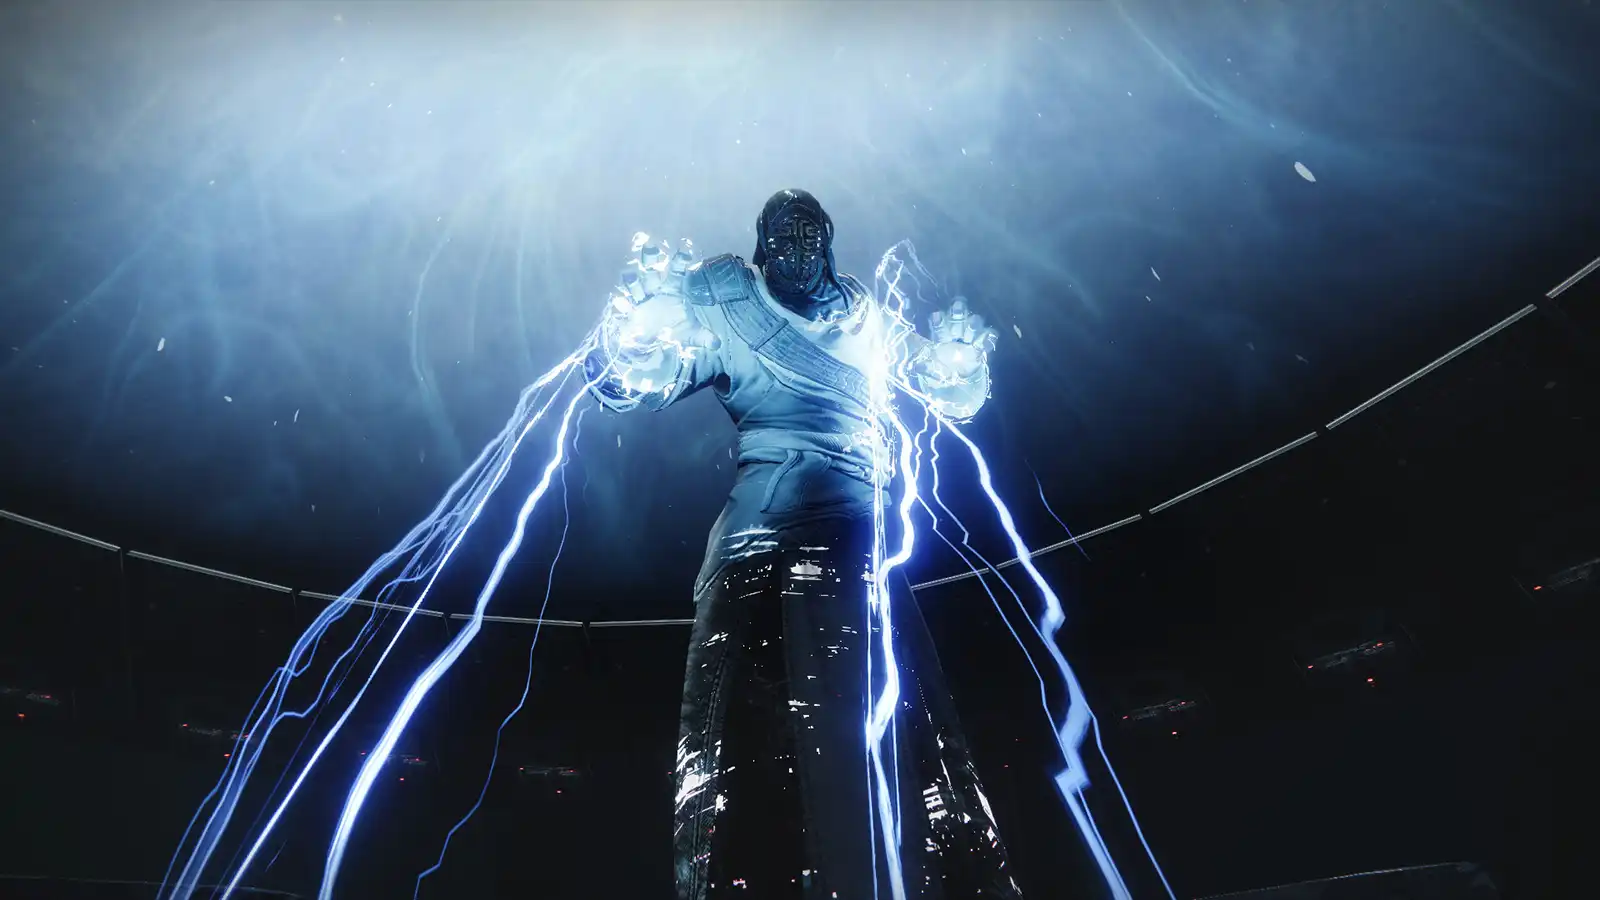
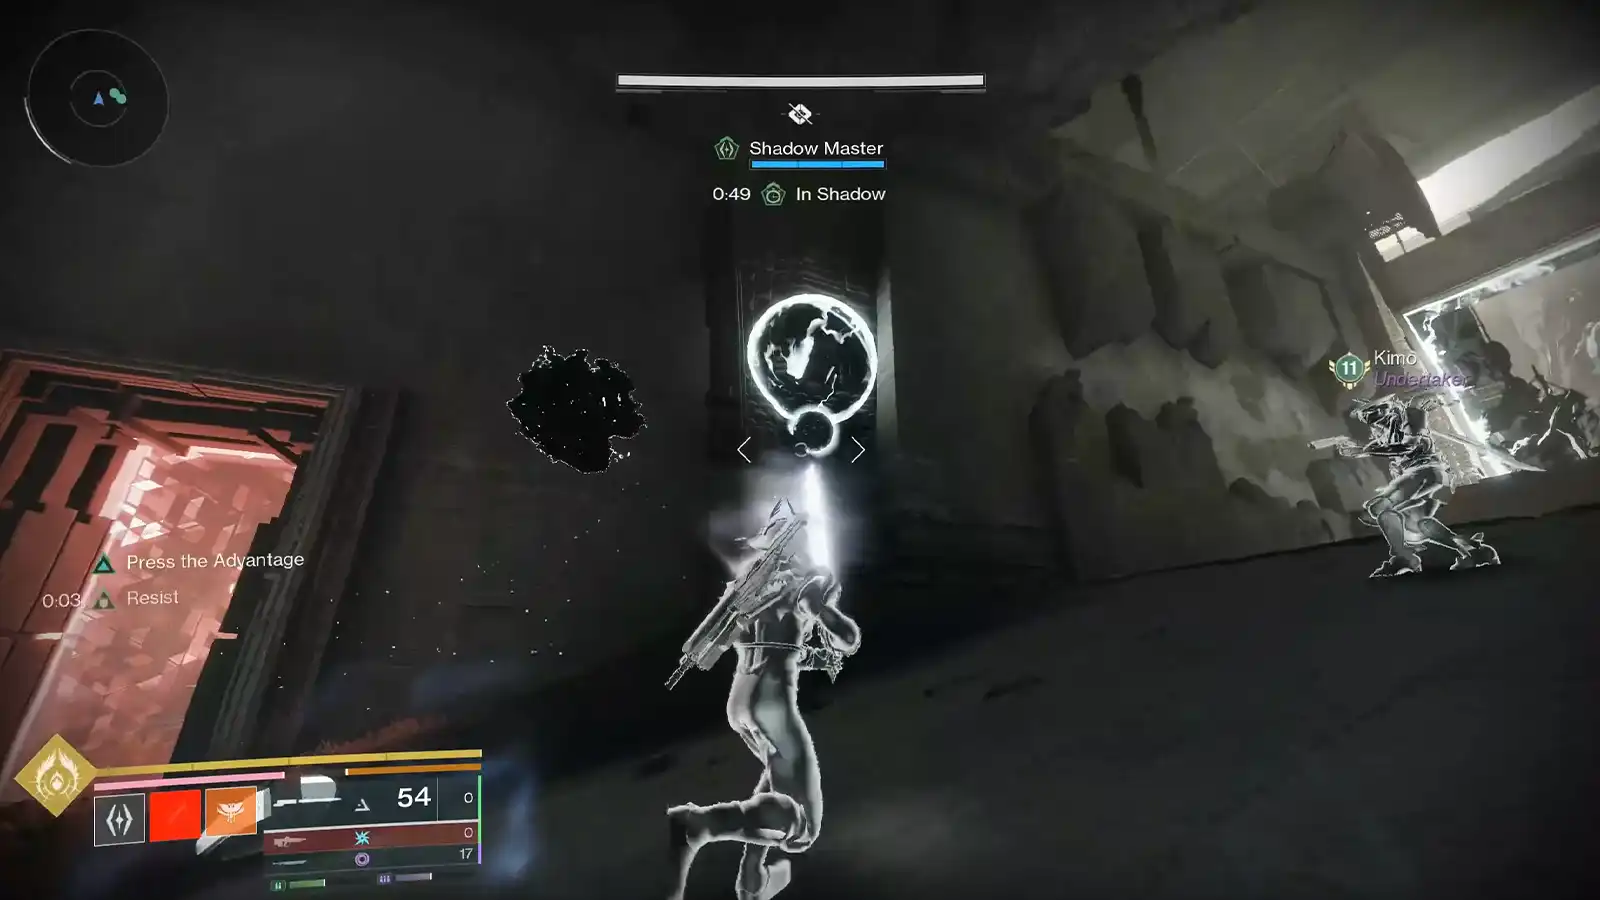
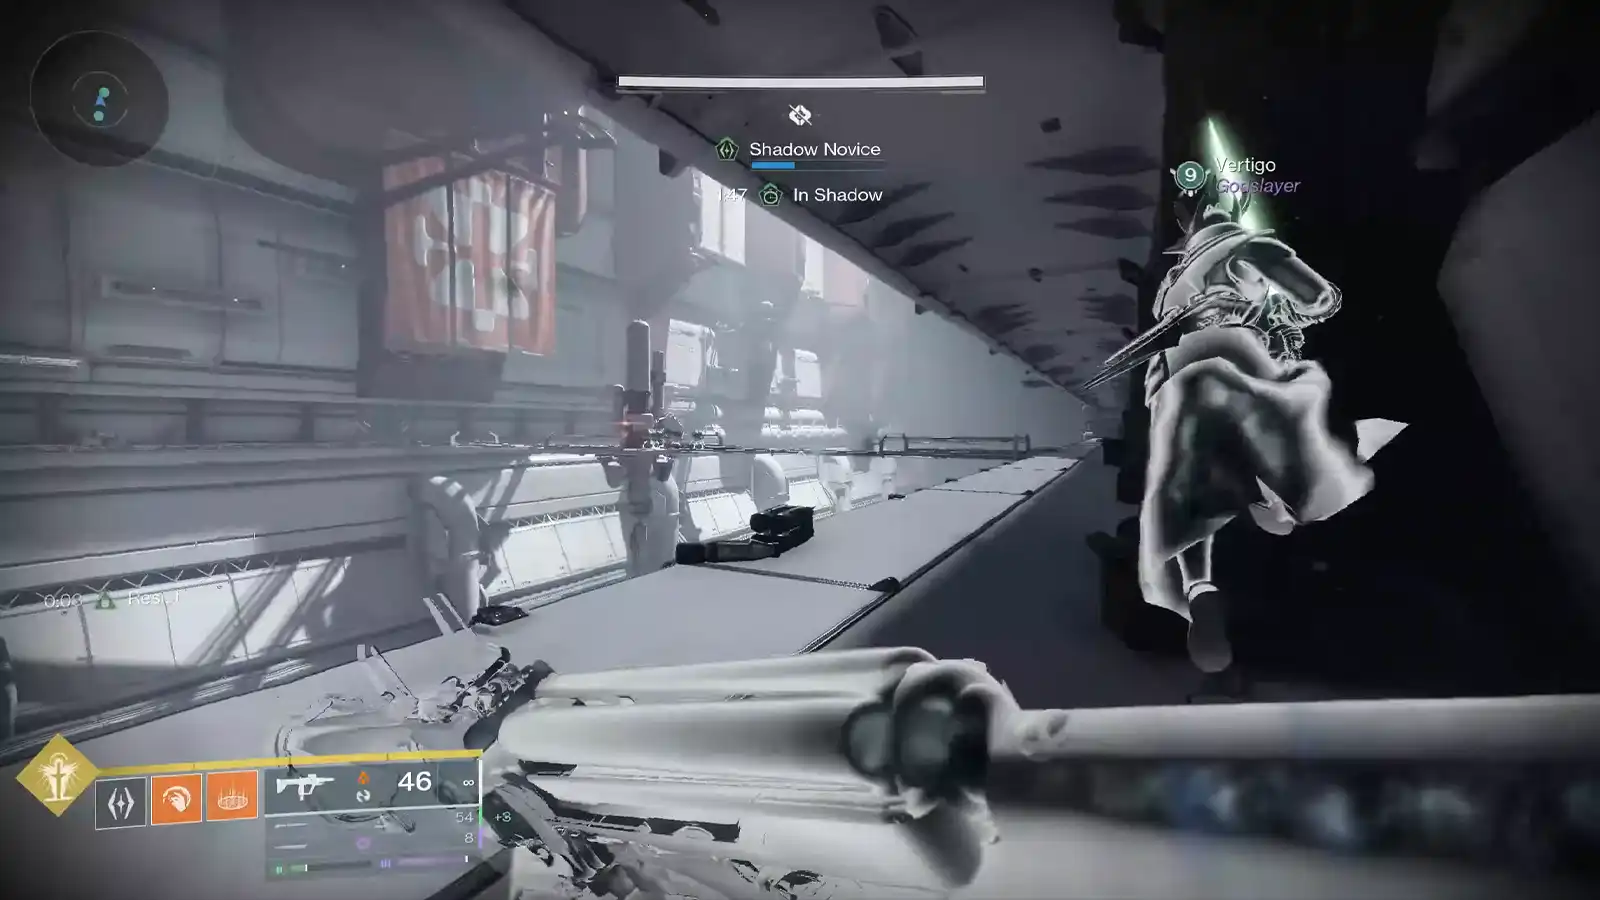
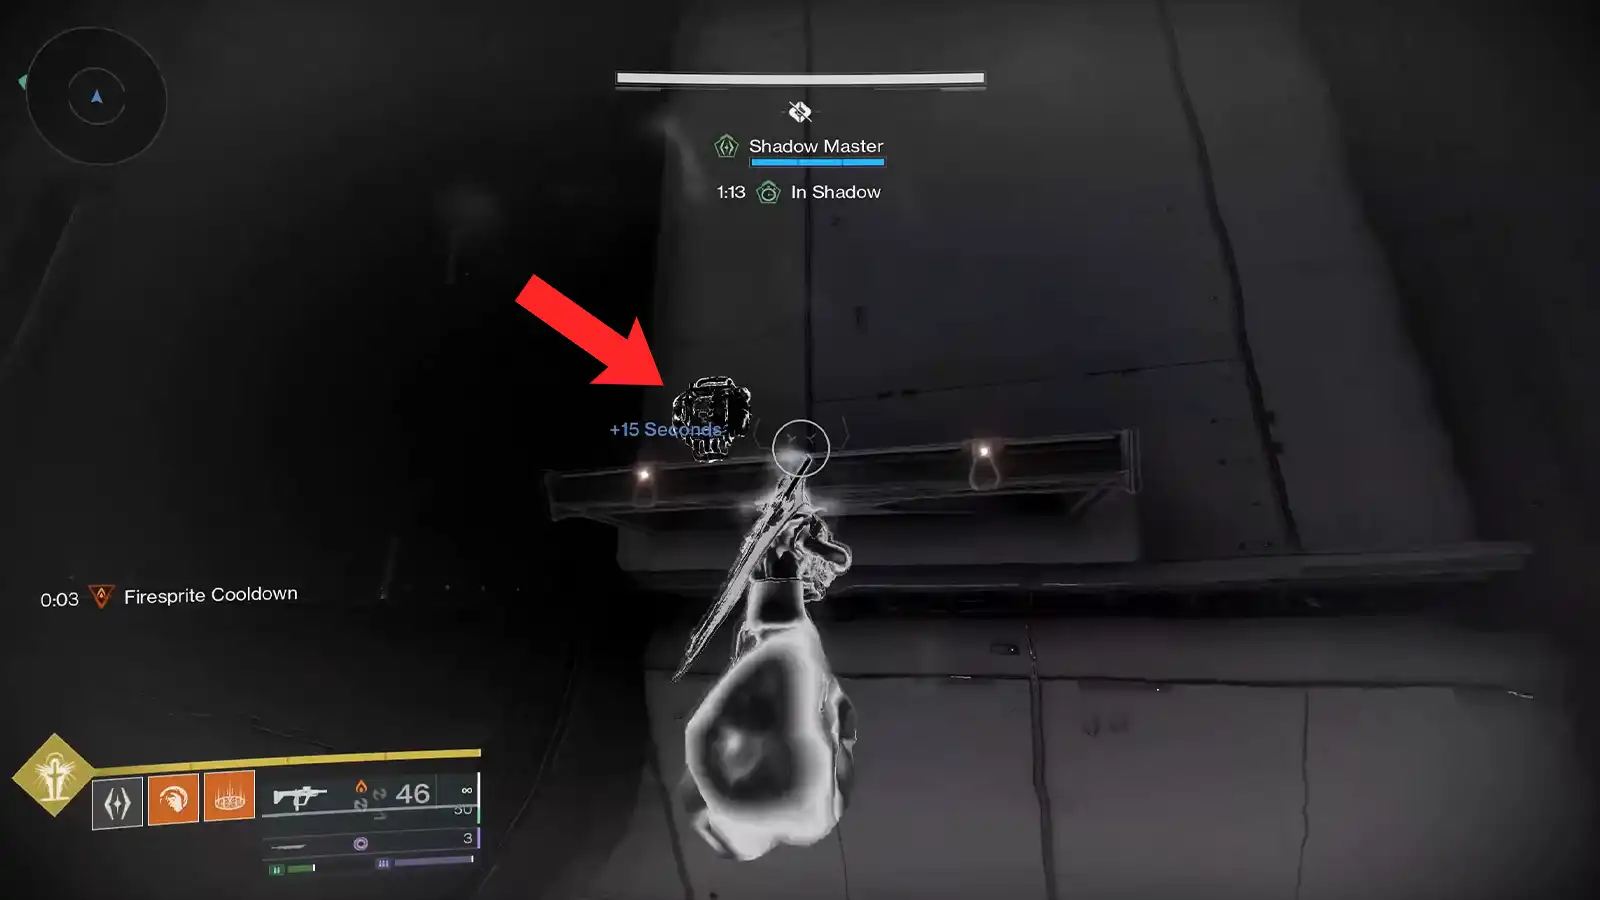
Once the secret encounter starts, you’ll be fighting Taken and dealing with Eyes of Acolytes. Killing the eyes drops, Shadow energy wells, and standing in them is how you power up your Shadow energy, working your way toward Shadow Master.
There are also immune shielded Captains that show up during this, and the clean way through is to become Shadow Master and then use your special ability, like the Shadow attack, to break their shields so your team can kill them.
Tip: If you have a friend who is ahead on the quest or has already finished it, run with them. When someone in the fireteam has already completed the quest, the Taken blights for the puzzles can show up in their run, which means you can potentially complete multiple puzzles in a single run instead of doing them across several clears.
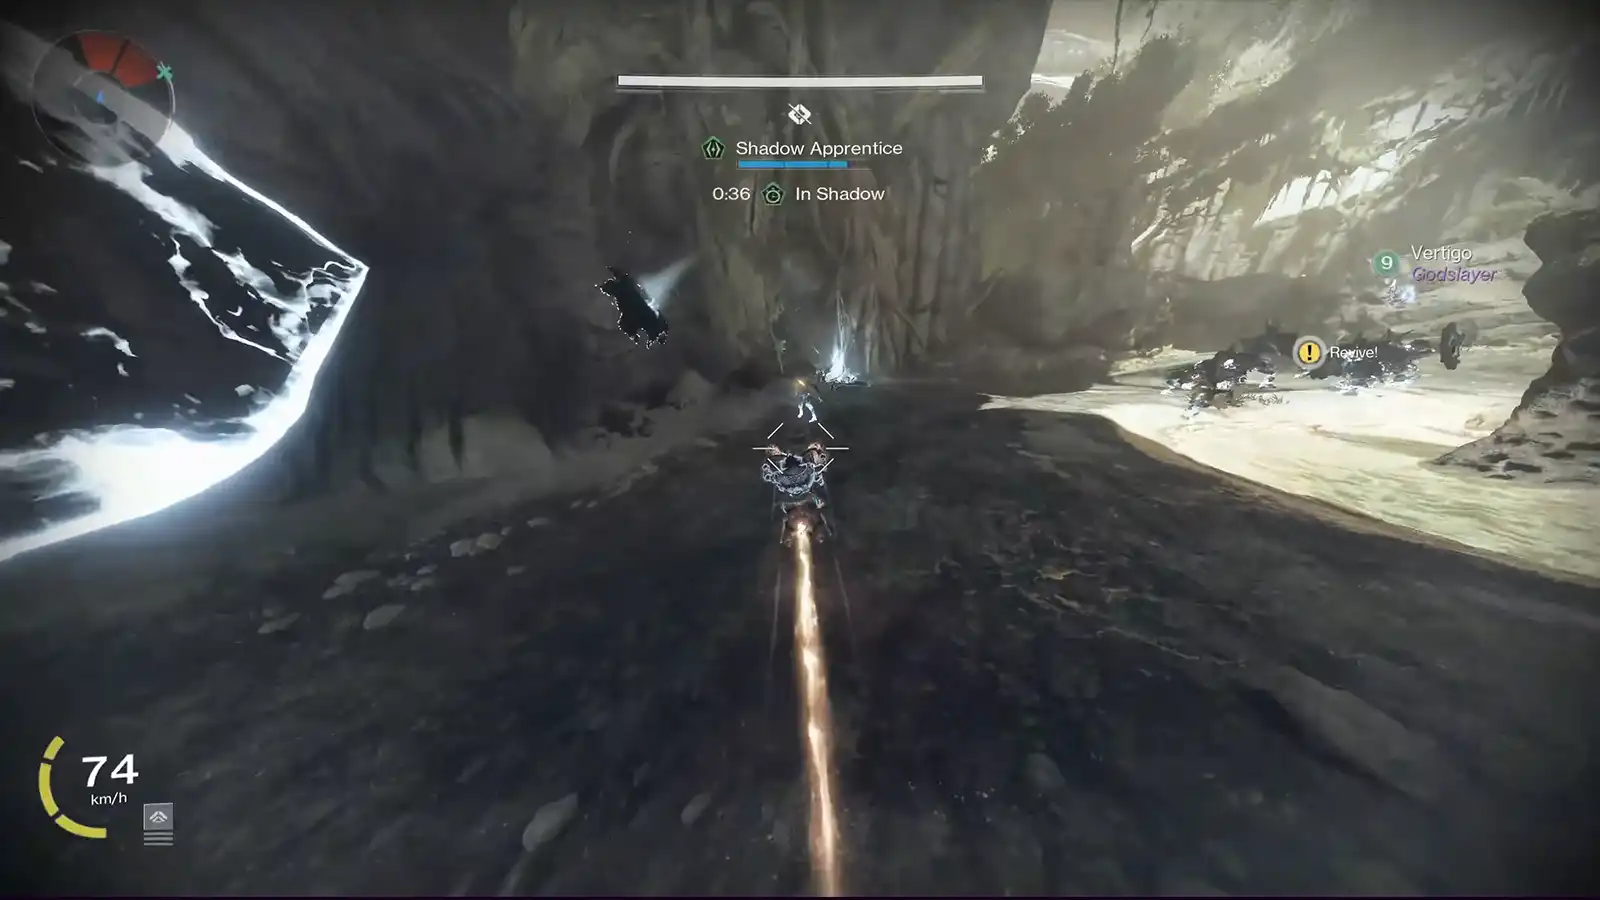
After the combat section, the puzzle shifts into a timed run on a pike. Keep moving and kill Eyes of Acolytes as you go, because those kills drop the Taken wells and bubbles that extend your timer. This part is about momentum.
If you stop moving, you run out of time. You’ll push through another area that repeats the same steps, build Shadow energy, break shields, clear, then move again through another pike section into a final fight space.
At the end of this first puzzle route, look for a Taken barrier on a wall with a small Taken orb that you can break with the Praxic Blade. You’ll also need to activate a switch using your Shadow ability, which opens the door, and you’ll be able to collect the second relic.
Step 5
Complete the dungeon again to charge the relic, then place it. After you’ve earned the second relic, you’ll need another full clear. Once you defeat the final boss, the charged version of the relic drops. After that, restart and return to the Praxic Temple in the first encounter area to place the charged relic and move forward.
Step 6 (Relic 3 and Puzzle 2)
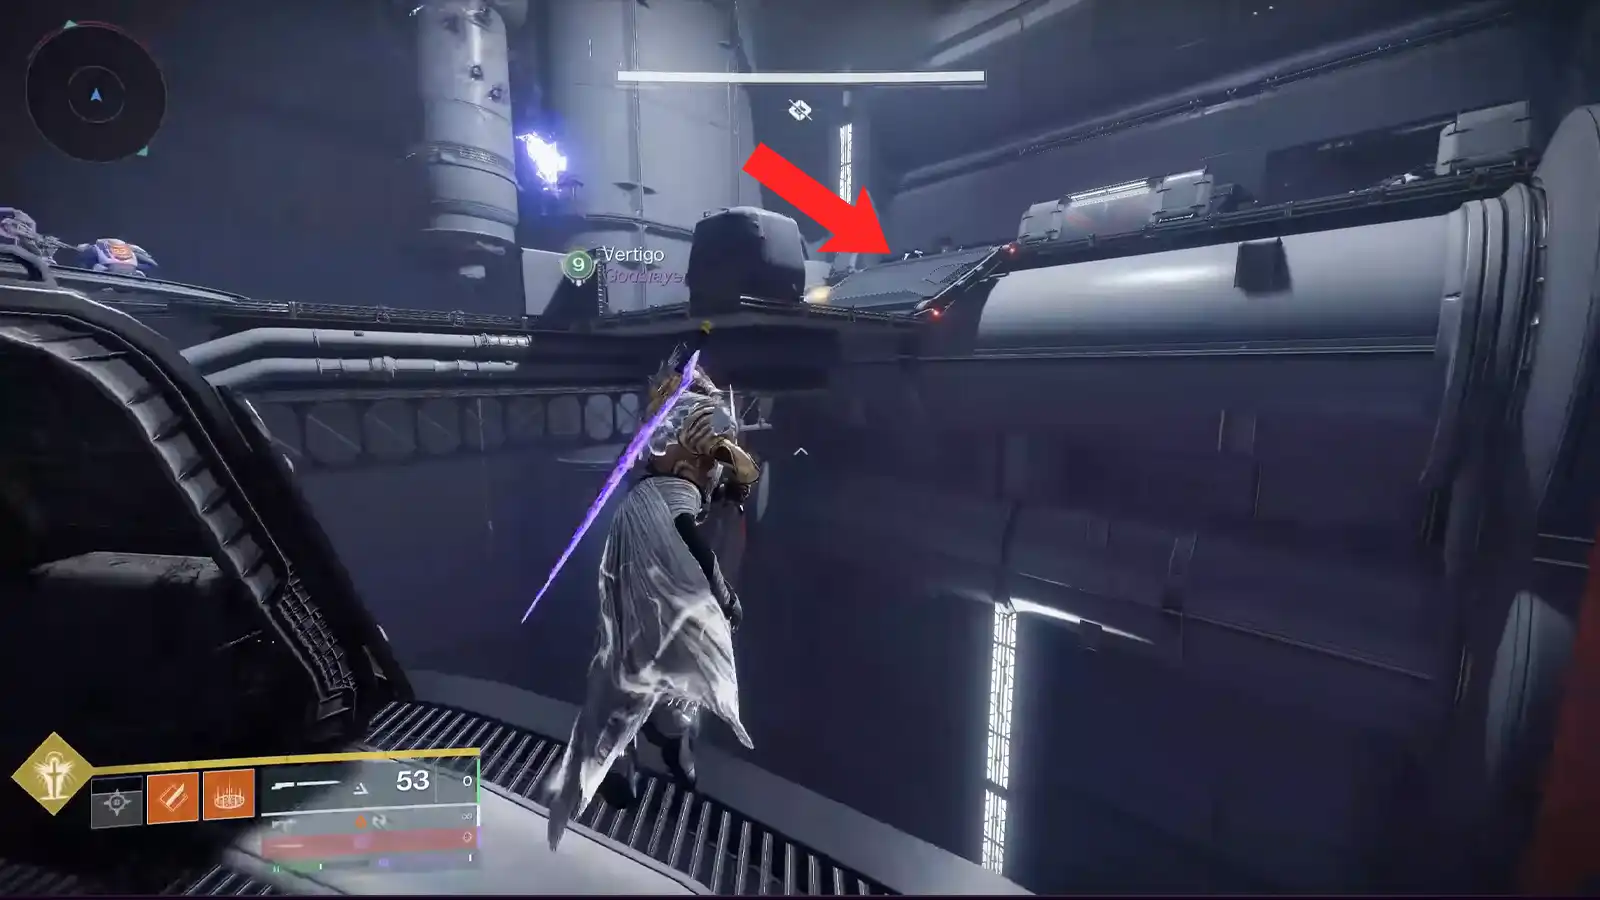
The second puzzle is located between the first and second encounters during the traversal section. As you move toward the second encounter, you’ll reach the section where you shoot three fuses to open the giant hatch that exposes the ship moving through space, and where you’ll have to jump across to some Psion snipers shooting at you.
Between those fuses, there’s a Taken blight that starts the second puzzle. Break the blight with the Praxic Blade, stand in the puddle, and the secret encounter begins.
This second puzzle mixes combat, Shadow energy building, and activating switches. You’ll need to again kill the eyes to generate Shadow wells, building up your Shadow energy, and using the Shadow Master ability to take down the immune shields on the Captains.
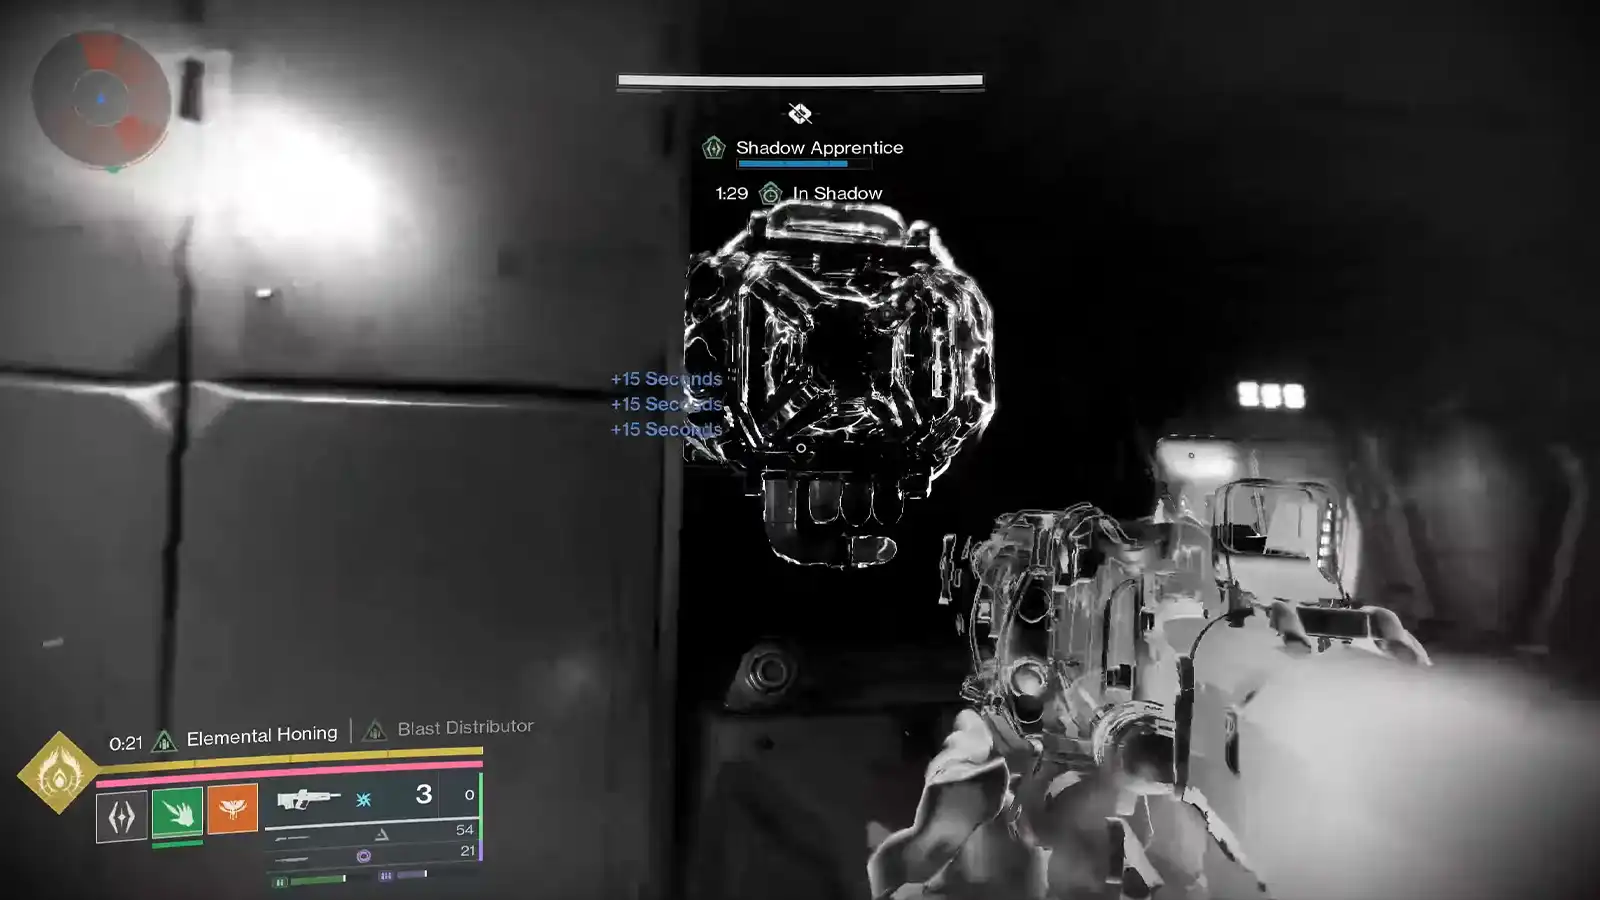
Keep your eyes open for wall switches, because you’ll need to activate those using the Shadow ability to open the doors, which will have more Eyes that will drop more Taken wells for your Shadow abilities.
After you kill the immune captain in this room, you’ll need to jump across the ship, and you’ll see the same thing there. Eyes, another immune captain, and a vent that’s blocked by the Taken barrier energy. Do the same thing here. Clear the enemies, collect Shadow energy, and take out the Captain.
Once done, head to the blocked vent, use your Praxic Blade to blade the barrier, and it’ll open the vent. Drop down, and you’ll enter a room with a bunch of Eyes and shielded Captains. Repeat the process again, activate the wall switch to open the doors.
If done correctly, you’ll find the third hidden relic.

Step 7
Complete the dungeon again to charge the third relic, then place it. Just like before, after puzzle two, you’ll be required to complete another full clear so you can collect the charged relic drop from the final boss. Once you have it, return to the Praxic Temple and place it to move the quest forward.
Step 8 (Relic 4 and Puzzle 3)
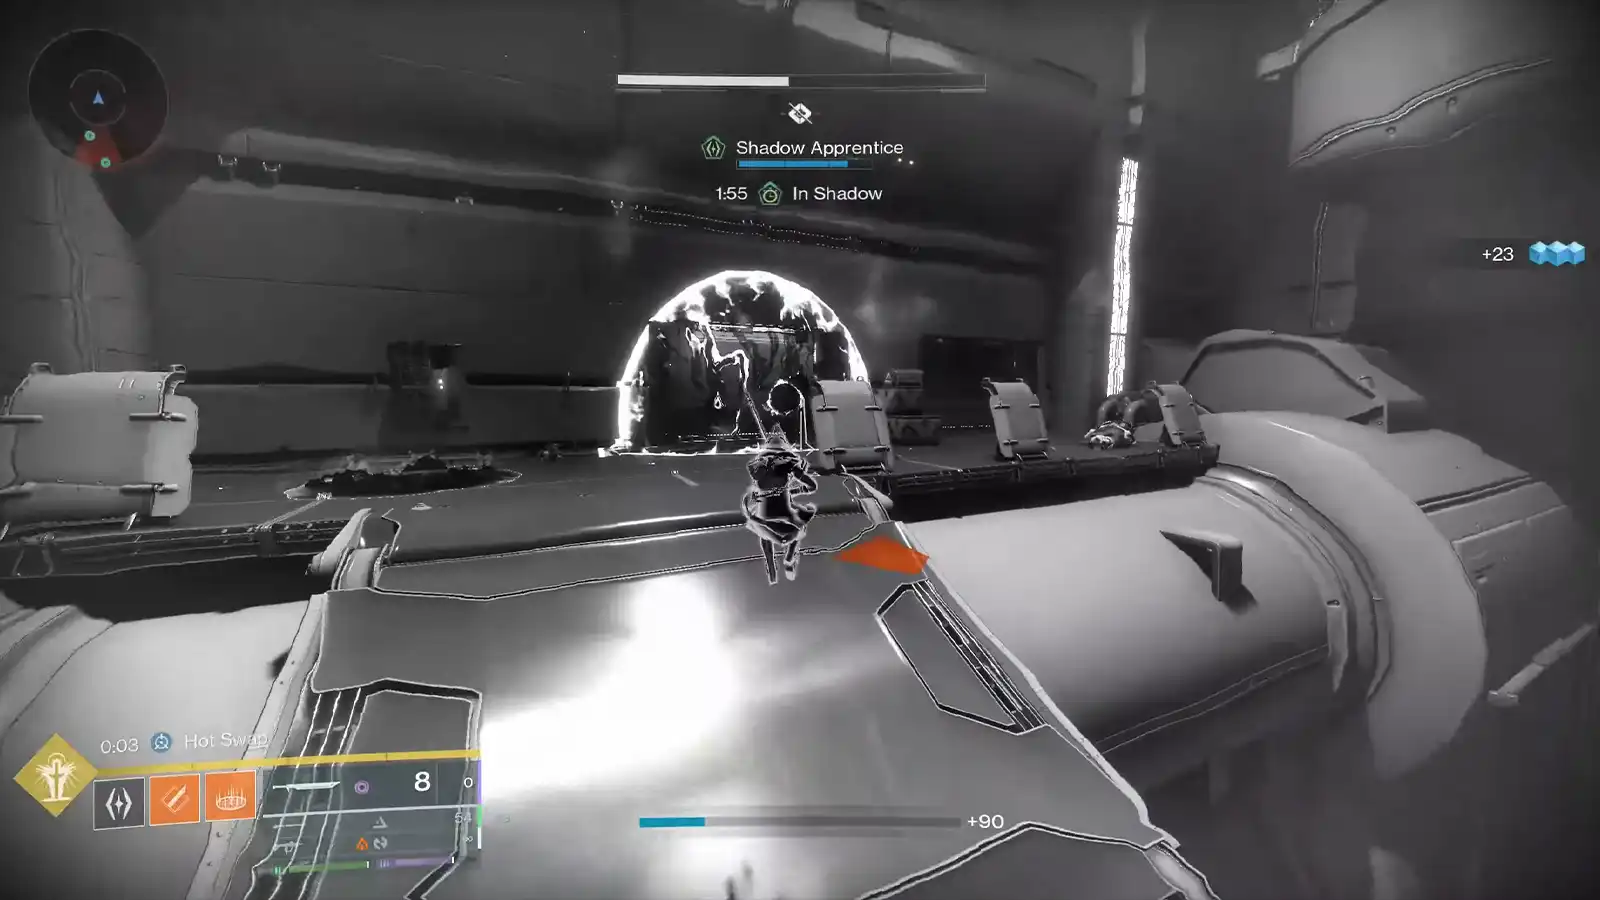
The last relic is located after the second encounter, in the huge open jumping puzzle area. After you clear the second encounter, keep going until you reach the open area with a bunch of Psion enemies. Take them out, and you’ll see the Taken Blight at the top. Break it with the Praxic blade, and you’re back into the timed shadow route again.
One thing that’s different in this puzzle is that instead of you upgrading your Shadow energy to Shadow Master, you can use your melee to knock certain Captains off the ledges. Take out the Captains in the first room, use the Praxic Blade to open the blocked door with the Taken barrier. And make your way to the next giant jumping section area.
The big middle part of this puzzle is a platform route where Taken Blights spawn, and breaking them creates large Taken platforms. Eyes of Acolytes also show up along the way, and killing them helps keep your timer alive.
In this area, you’ll also need to activate three Taken switches. Build enough Shadow energy to activate each switch, then keep moving until all three are done and the main path opens.
After you go through the tube, the puzzle continues through a few more combat rooms and switches that you’ll need to activate, and then you’ll reach the end, where you find the last relic.

Step 9
Complete the dungeon again, then place the fourth relic. Once you’ve collected the final relic, you still need another clear. Finish the dungeon, then restart and go back to the Praxic Temple to place the fourth and final relic.
Step 10
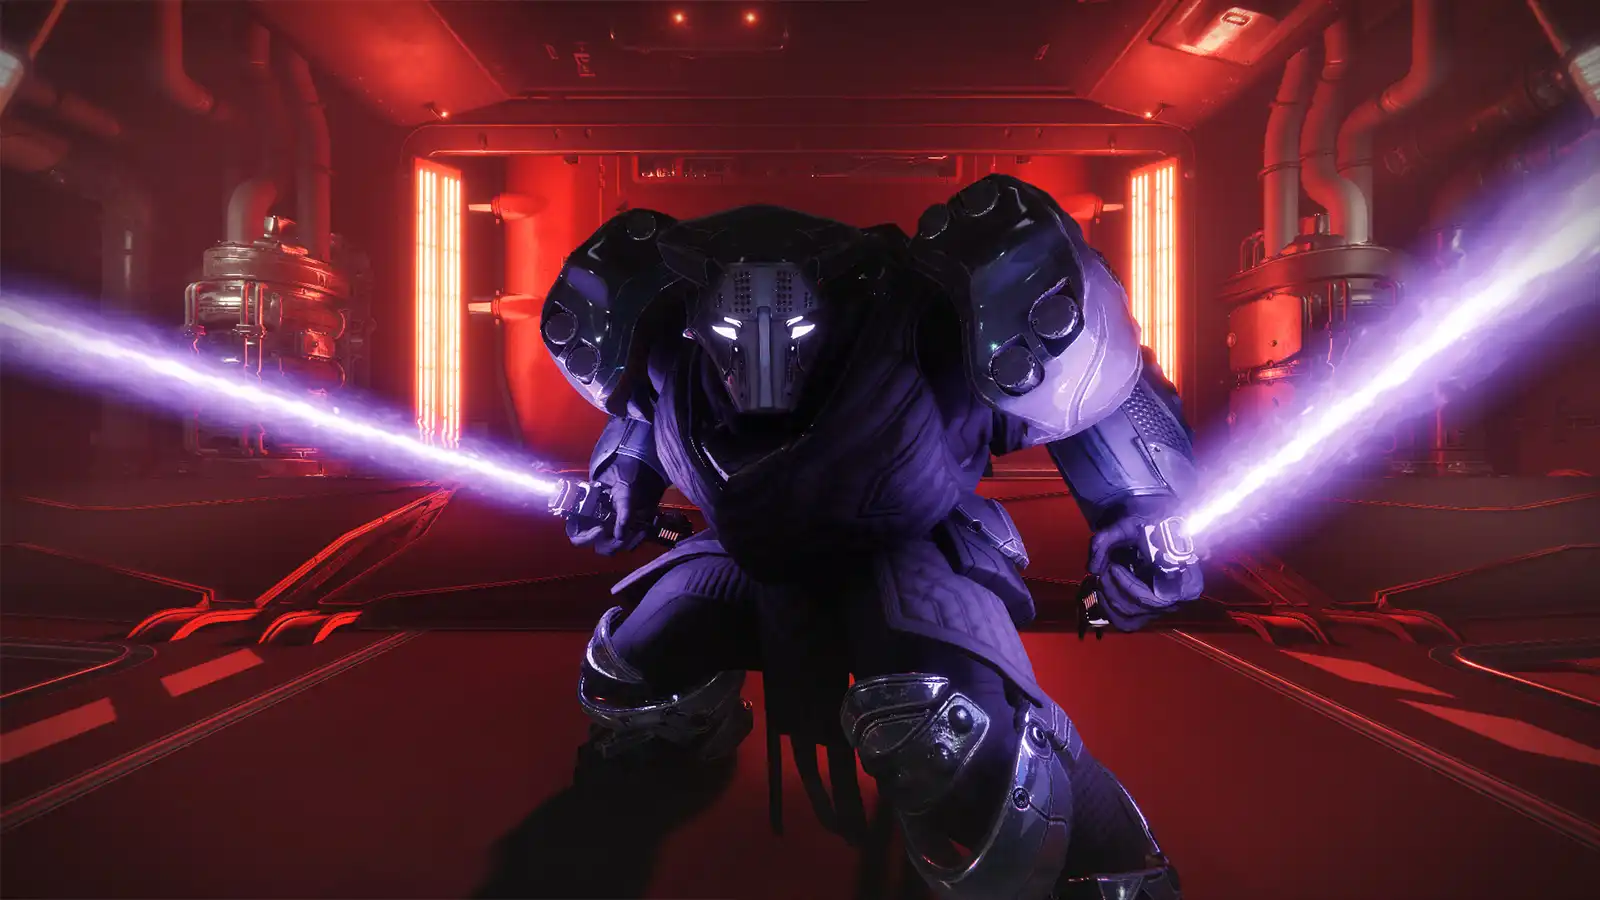
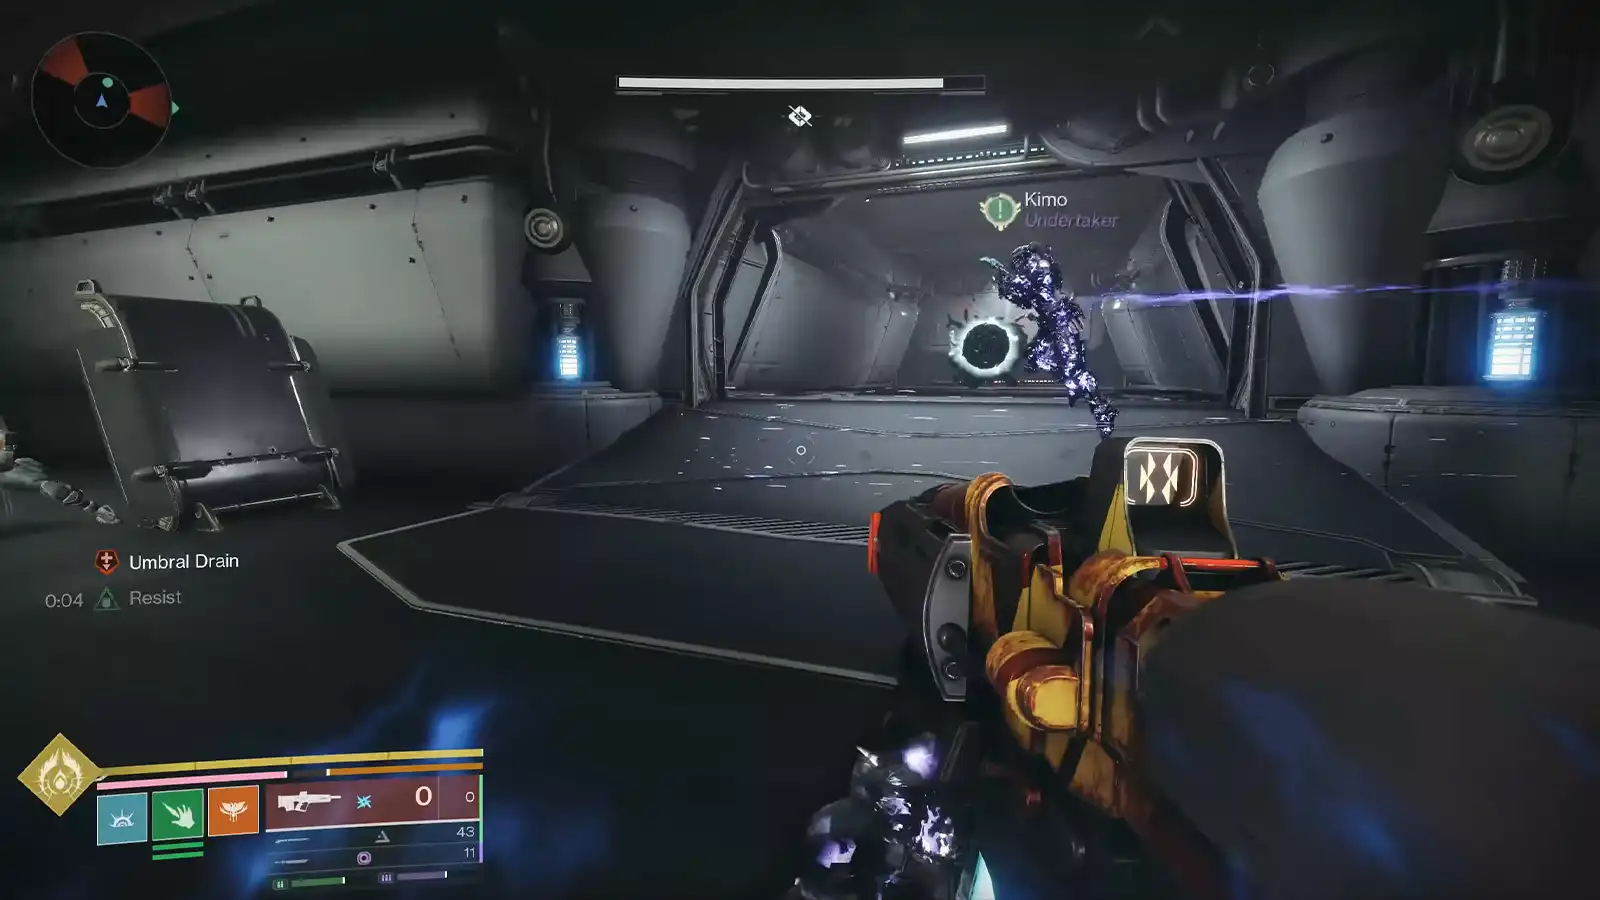
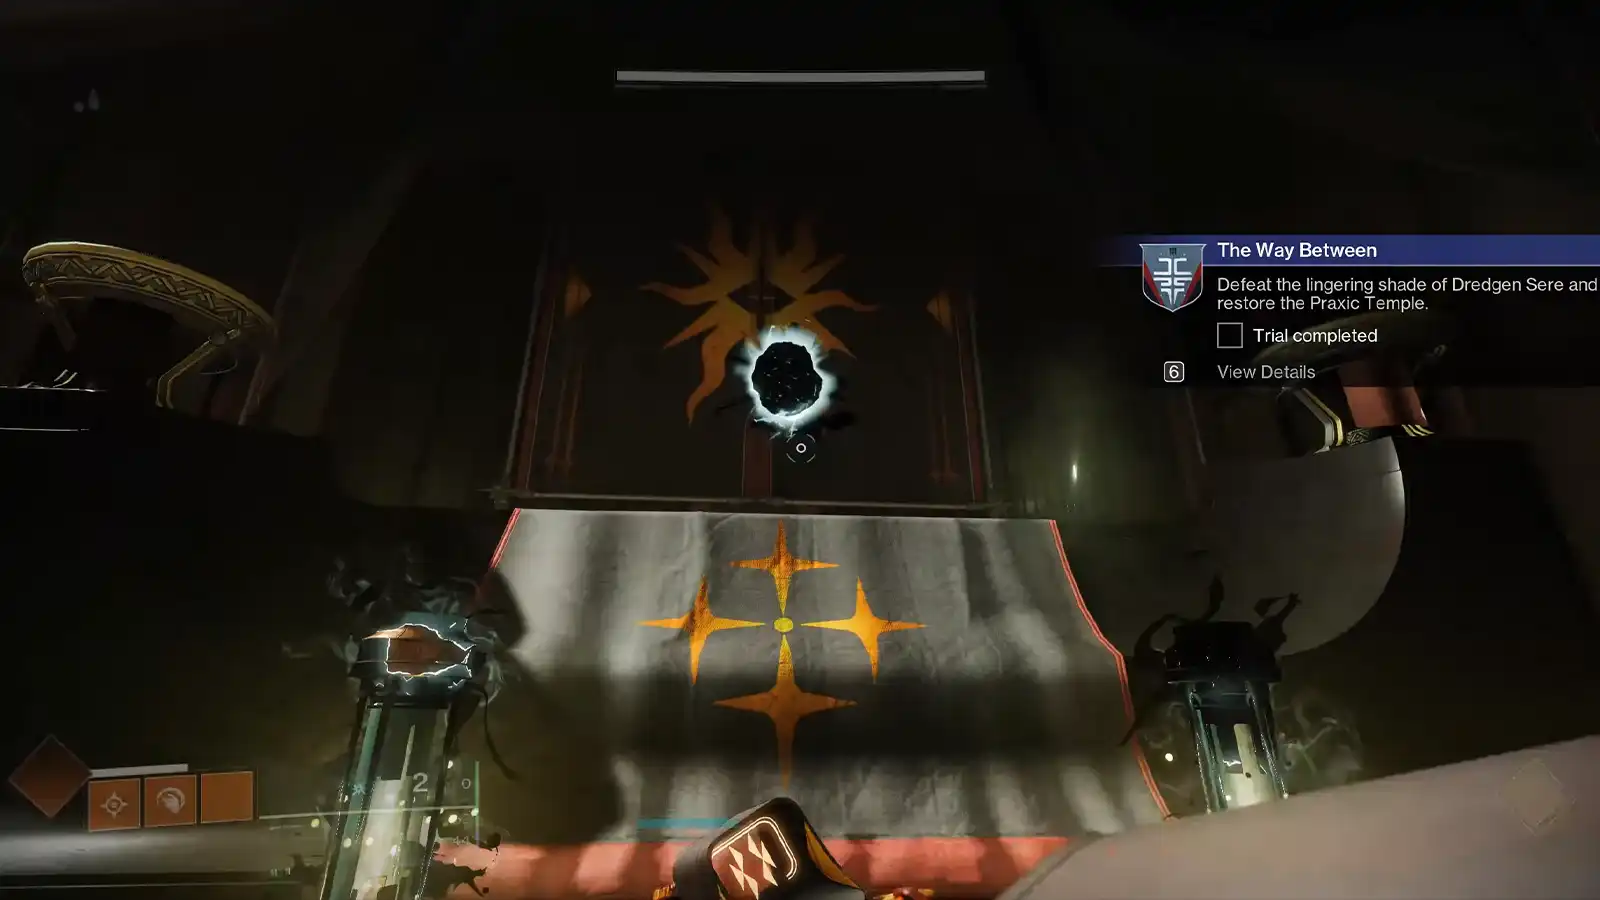
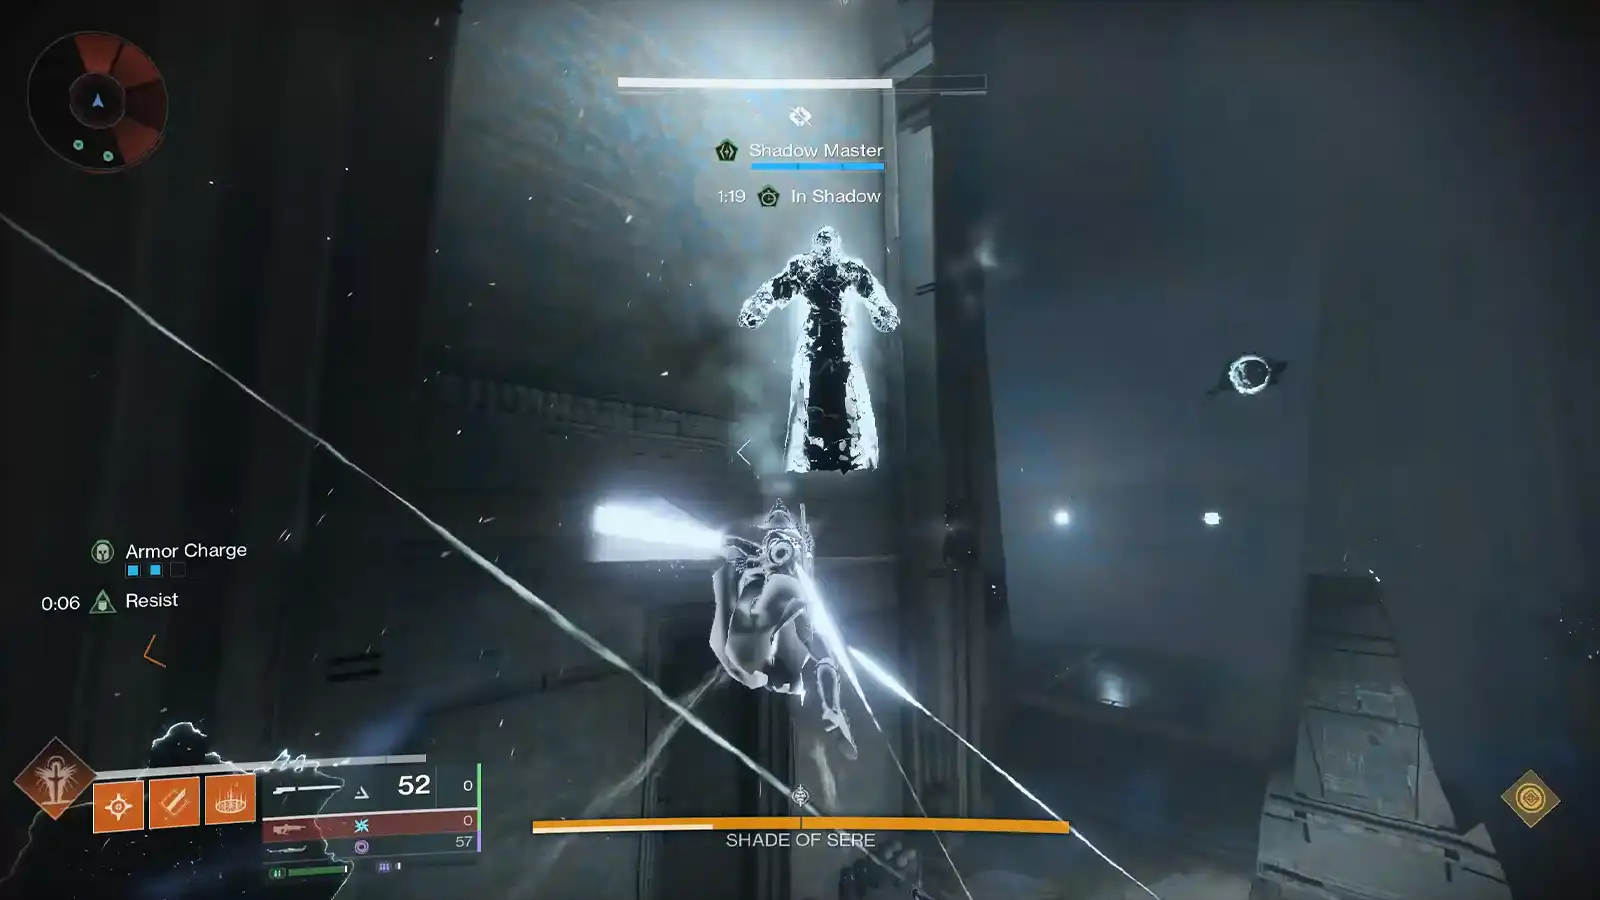
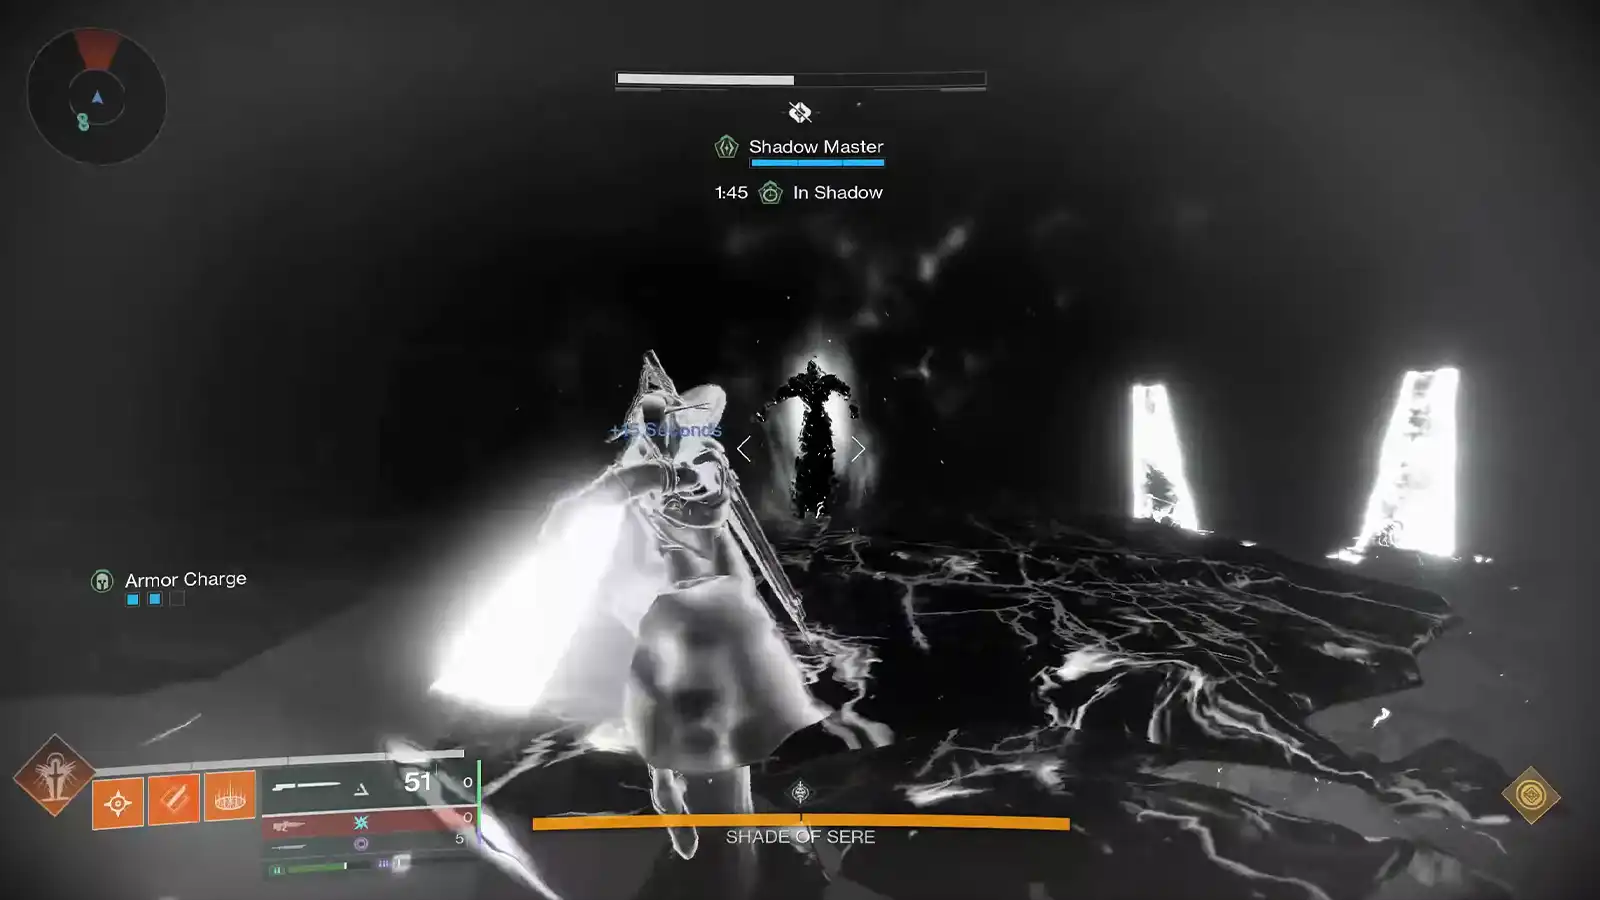
After the fourth relic is placed, you’ll see a small Taken orb spawn inside the room where you placed all four relics. Activate and destroy the orb using your Praxic Blade, and it’ll drop another Taken well. Stand inside the well, and you’ll be teleported to a secret boss fight. The boss is Shade of Sere.

The basic mechanic of the boss fight is taking out the Taken orbs with the Praxic Blade to build Shadow energy until you can reach Shadow Master, then using that state to Compel the Shade of Sere multiple times. Platforms become part of the fight as well. Floating blights appear, and breaking them spawns platforms so you can climb and keep the fight moving. Expect to repeat the process across two phases.
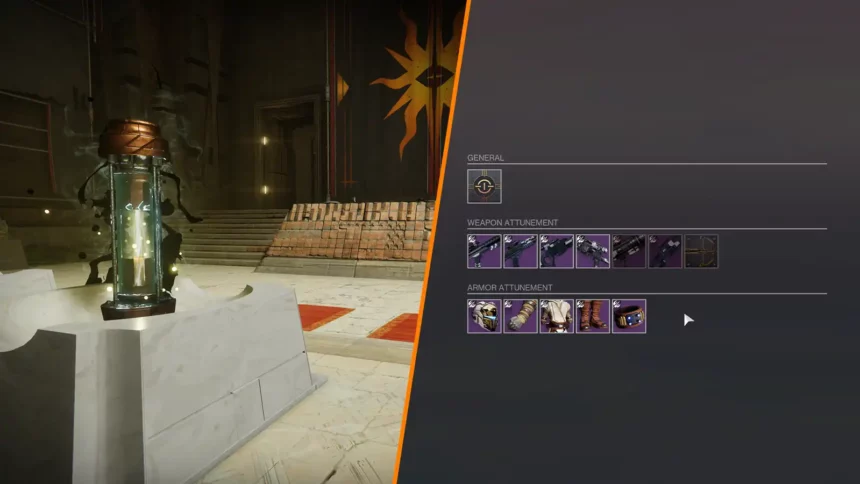
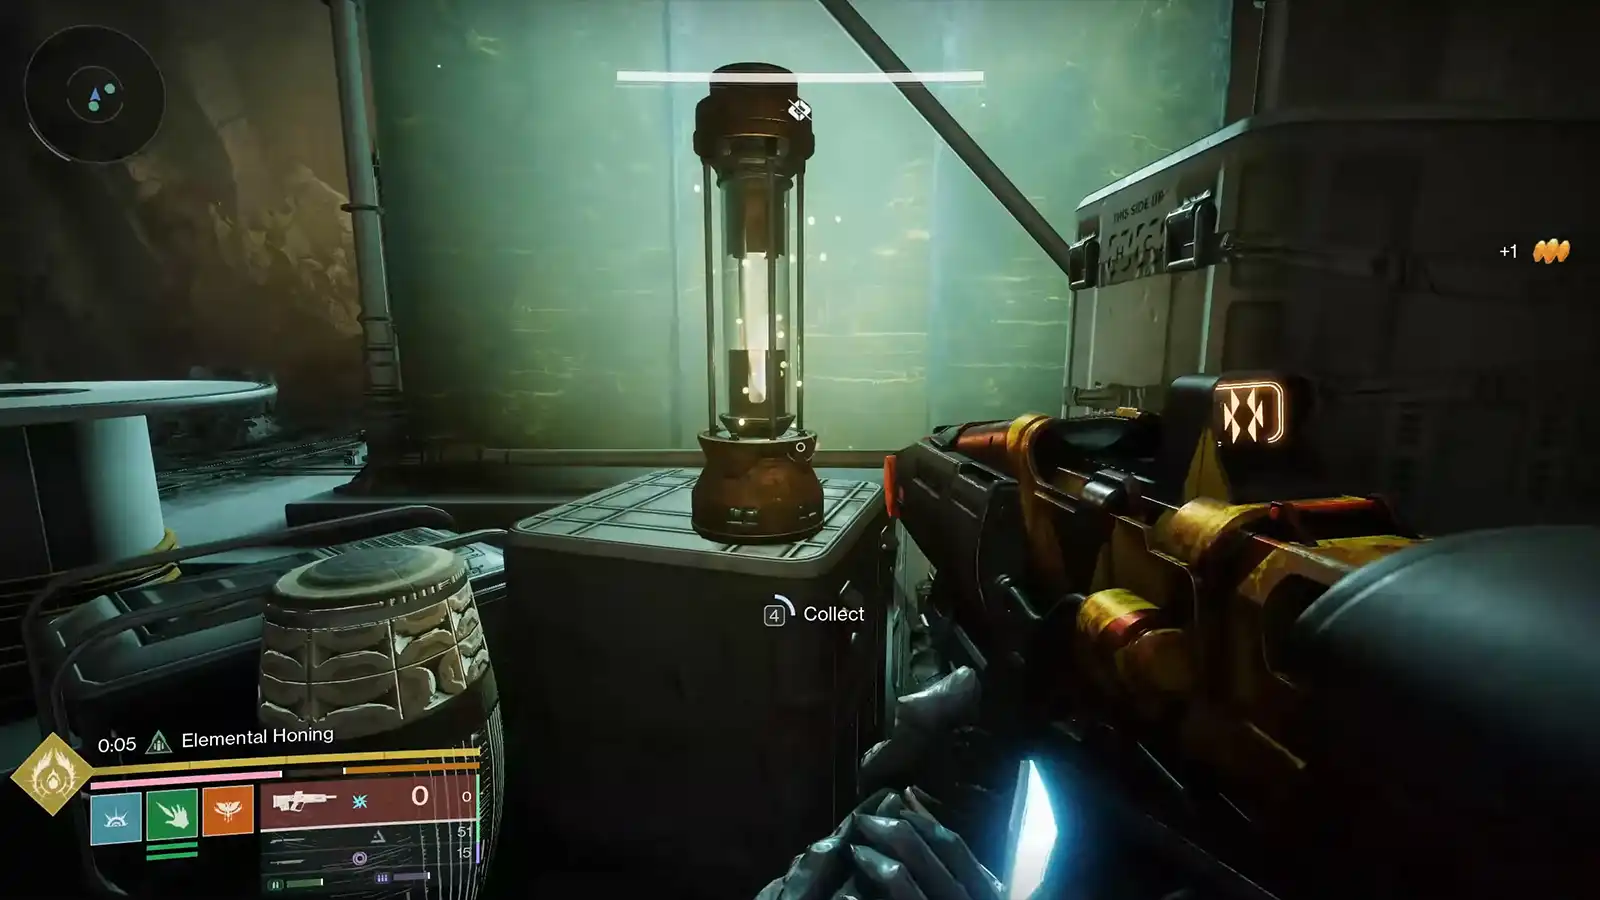
Once the boss is dead, you’ll get pulled out, activate the Praxic fire, and commune with it. This is the moment where the dungeon’s loot focusing is unlocked.
How to focus Equilibrium dungeon loot
After you finish the quest and commune with the Praxic fire, you gain access to focusing for dungeon rewards. It means you can start targeting specific armor and weapons from Equilibrium instead of relying only on random drops.
If you want to double-check what items exist and what you should be aiming at, use our complete Equilibrium dungeon loot table. It makes the focusing choices way easier, especially if you’re trying to get a specific weapon instead of just grabbing whatever drops.
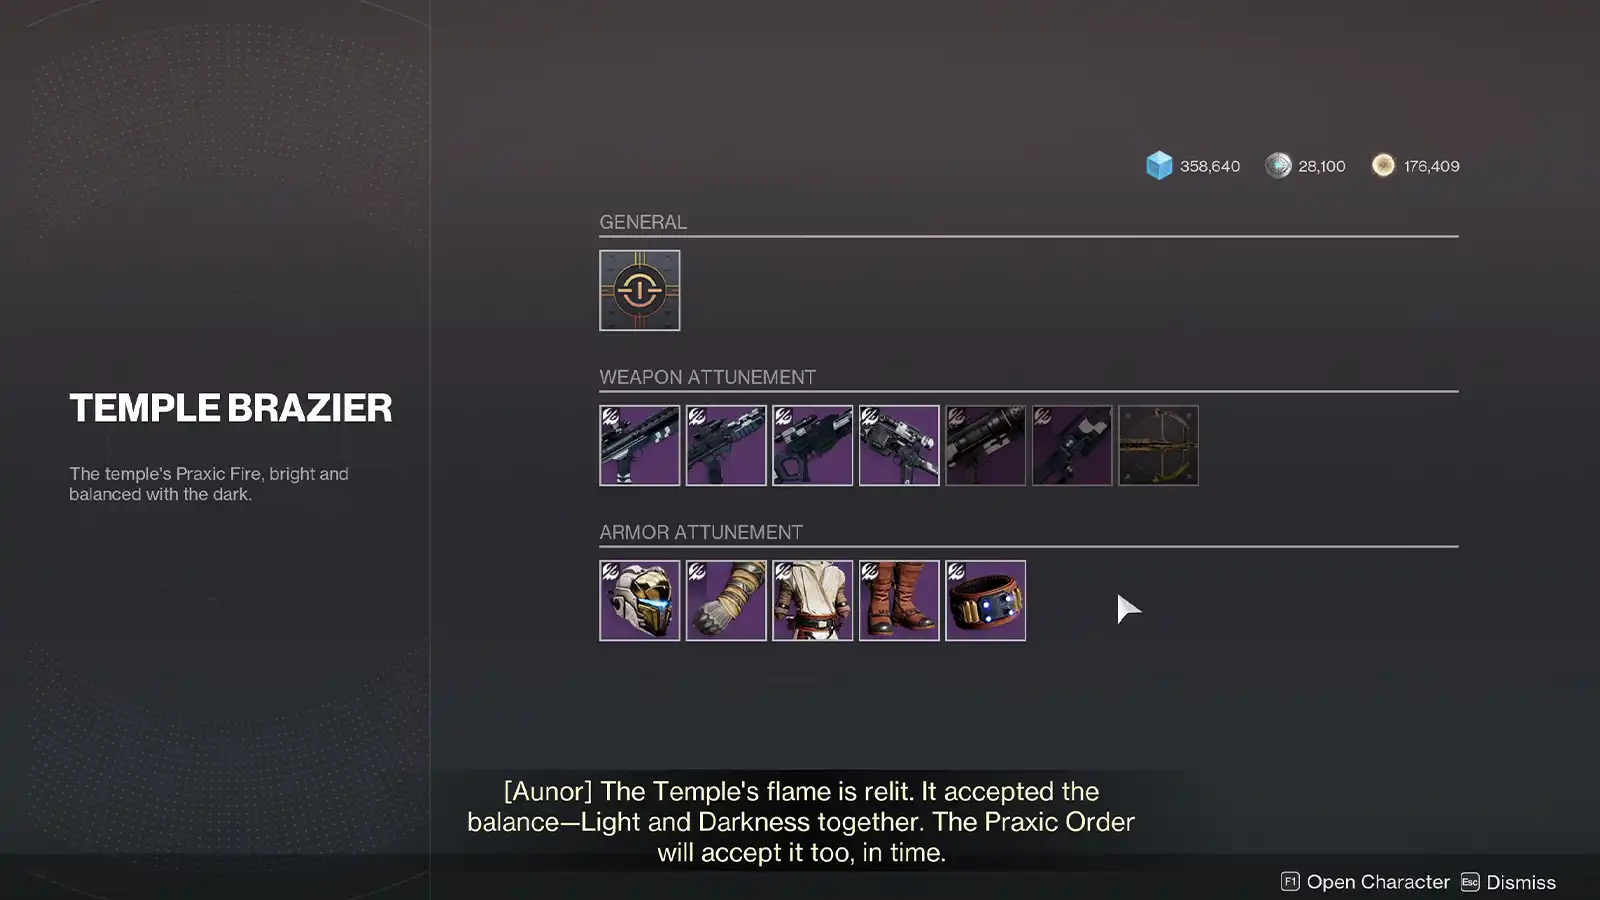
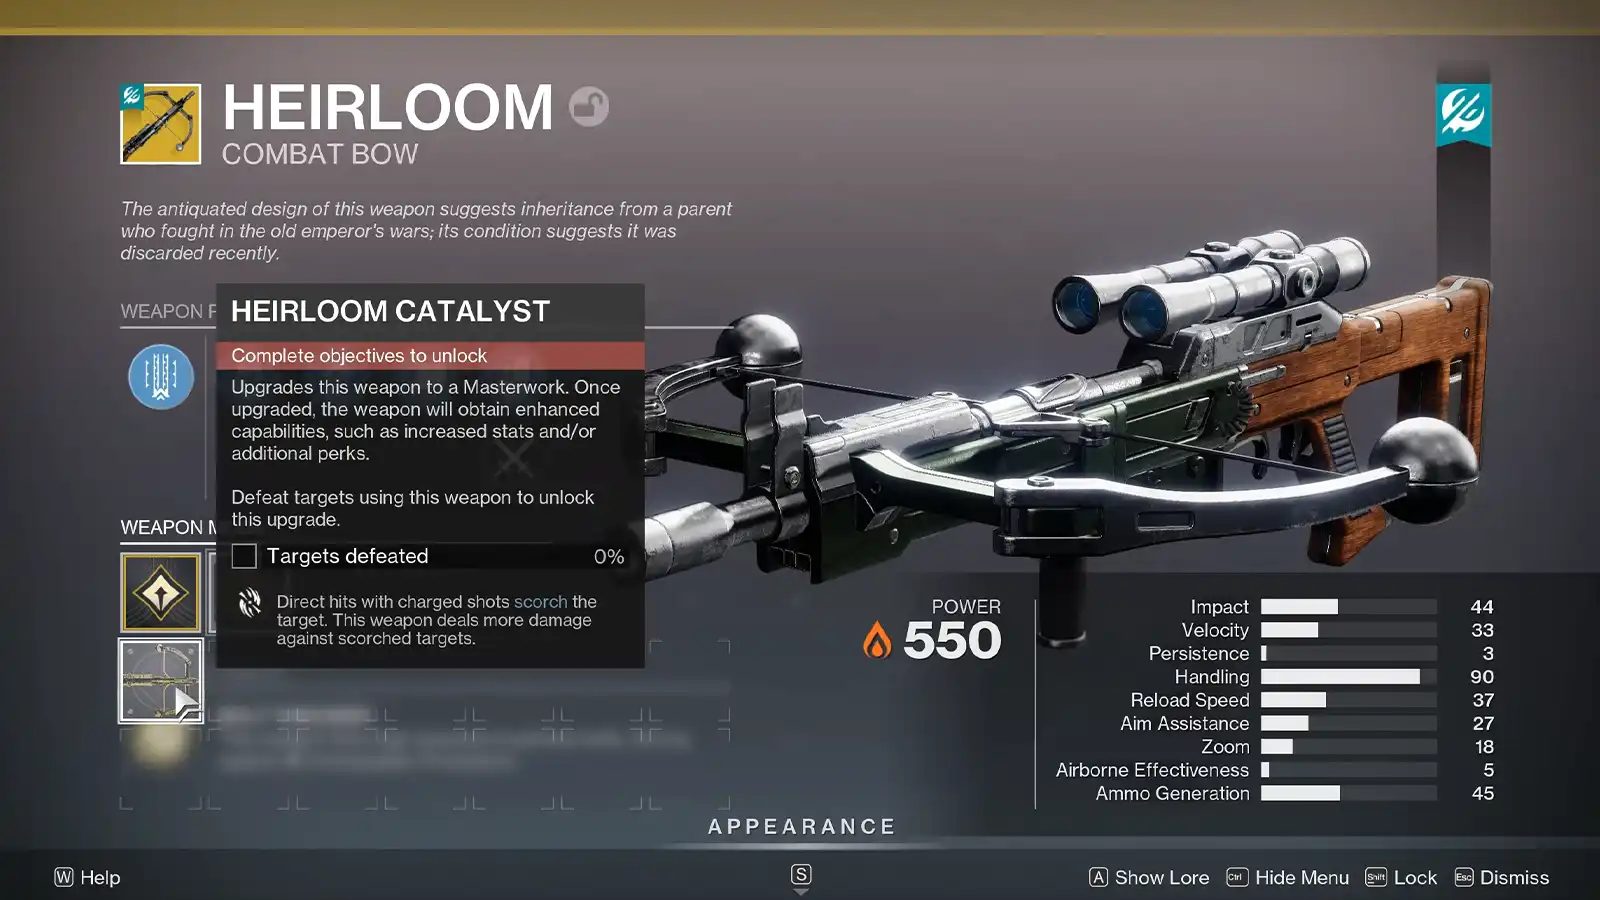
How to get the Heirloom catalyst
The quest completion is what opens the door for the Heirloom catalyst. Once loot focusing is available, you should also see an option to focus the Heirloom catalyst. Some players are saying that after they focused it, the catalyst dropped on their next encounter completion in the dungeon, but that’s not fully confirmed yet, so don’t treat it as guaranteed.
If you don’t get it to drop on your first encounter completion, just keep completing other encounters, and it’ll drop eventually.
That’s everything you need to finish The Way Between quest in the Equilibrium dungeon, find all four relics, solve all three puzzles, and unlock loot focusing and the Heirloom catalyst.
What are your thoughts on this? Let us know in the comments below!
Don't miss the big stories. Make us your preferred source on Google to get breaking news, leaks, and exclusives first.