Here’s our complete guide on how to unlock every Praxic Blade exotic catalyst in Destiny 2.
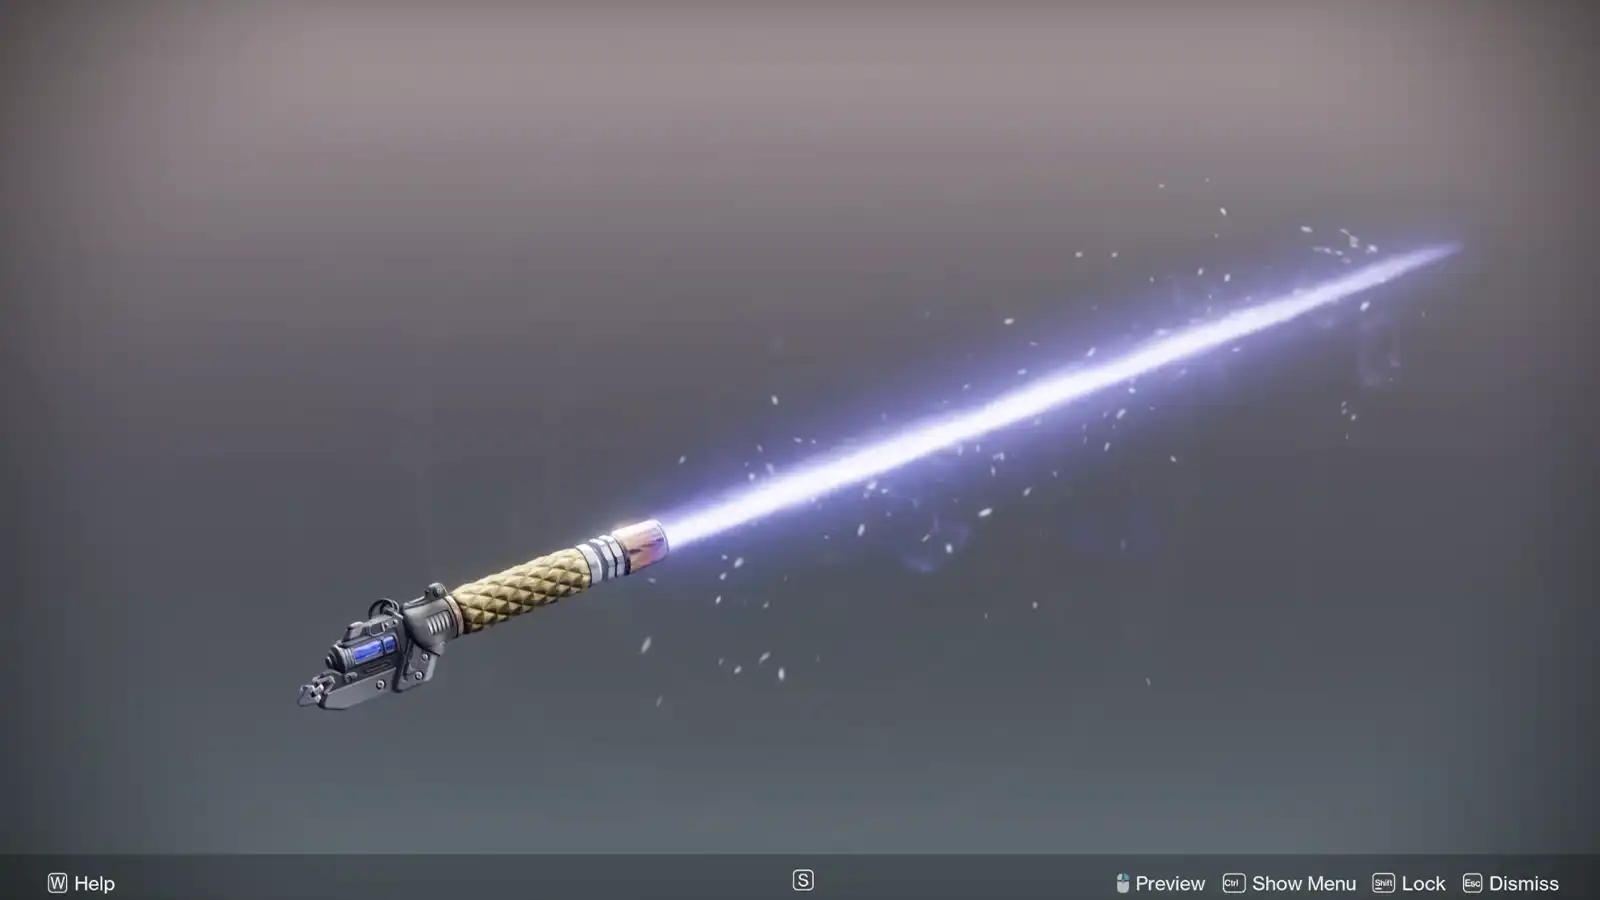
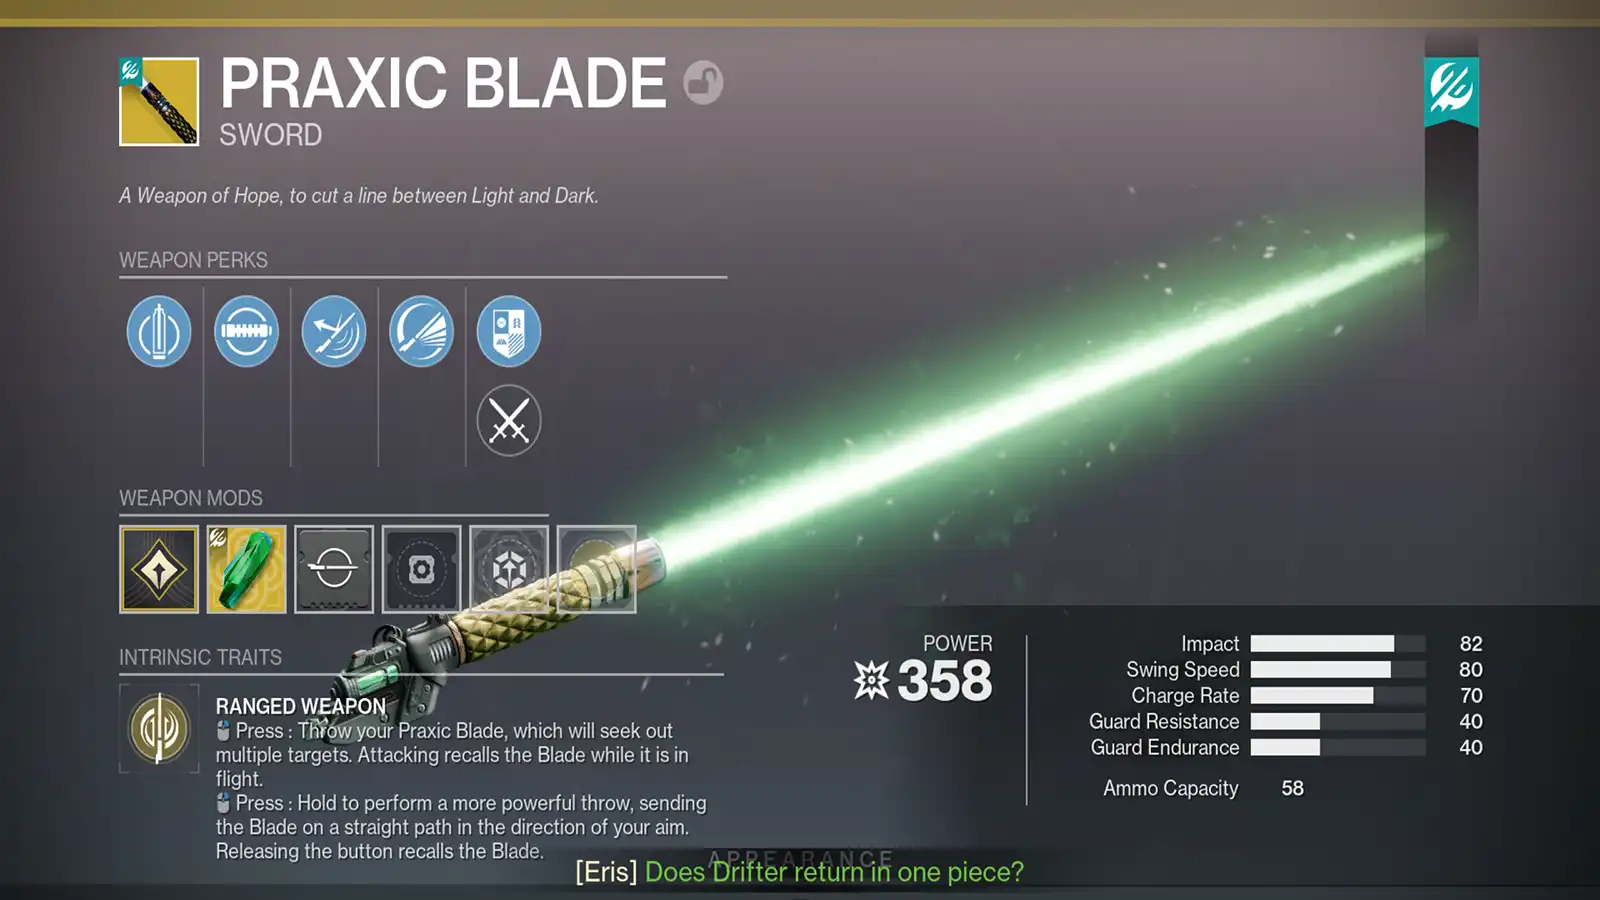
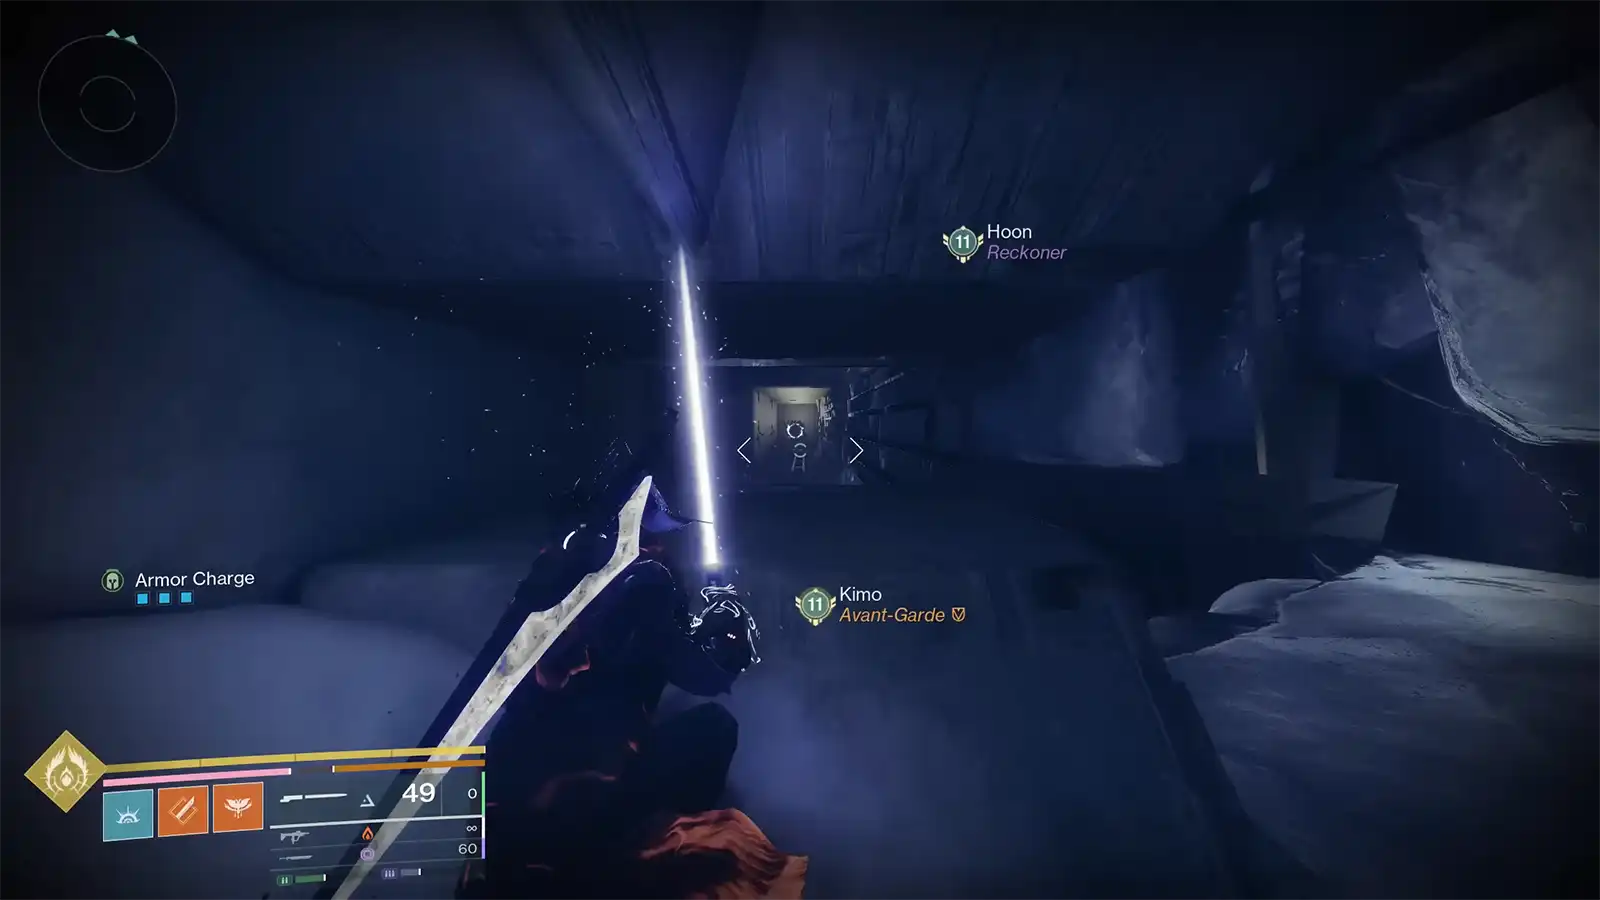
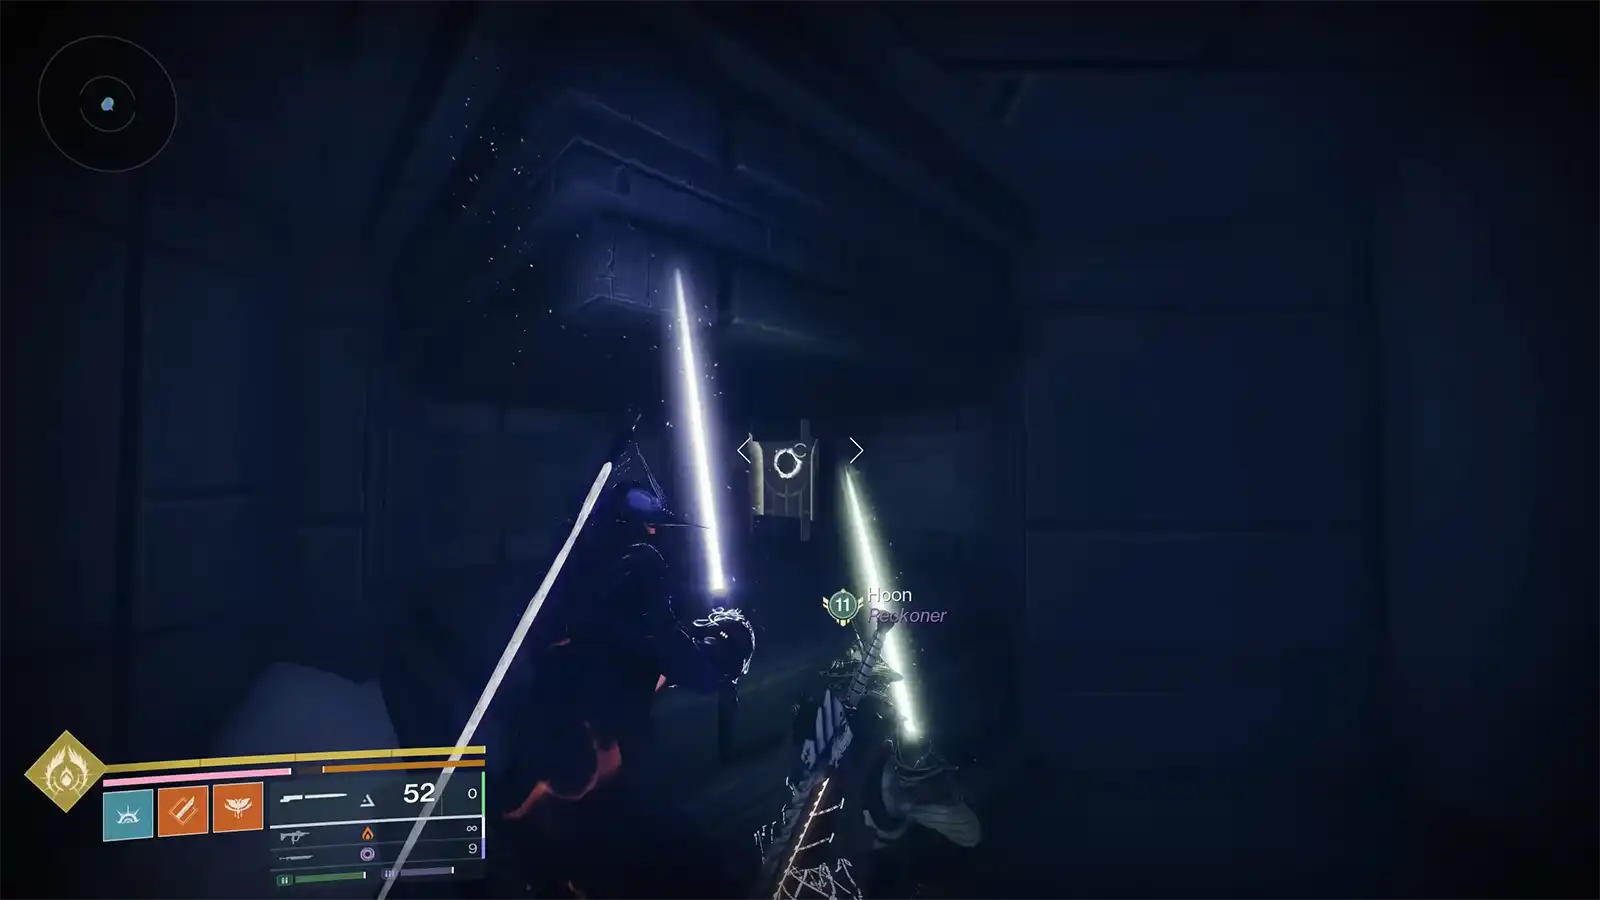
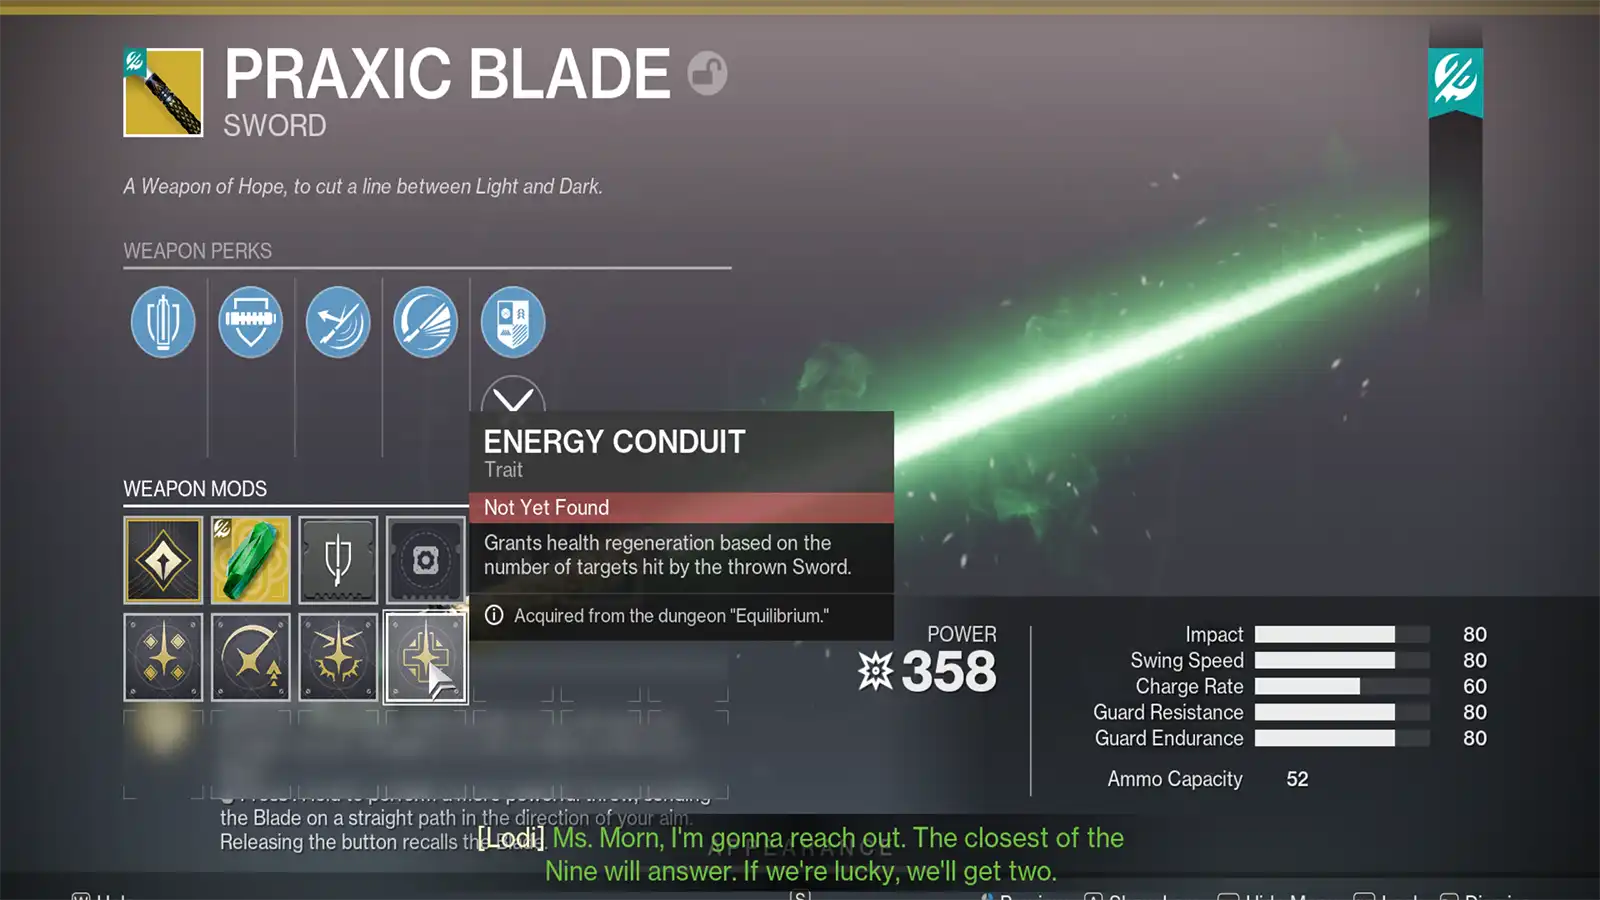
Praxic Blade is the “lightsaber” exotic sword in Destiny 2: Renegades, earned by completing the Fire and Ice exotic mission in the Praxic Vault (full guide here). You pick it up as part of the main Renegades campaign, clear the mission once, and walk out with a kinetic sword that you can throw, recall, and use to reflect projectiles like a proper space knight.
Just like most exotics in Destiny 2, Praxic Blade does not stop there. It comes with multiple exotic catalysts that unlock extra perks and utility on top of the base weapon. In this guide, we are going through what these exotic catalysts are, where they come from, and how to unlock every one of them, step by step.
All Praxic Blade exotic catalysts in Destiny 2
Praxic Blade has a total of four exotic catalysts. There are:
- Echoing Blade: Increases the number of targets that the thrown Sword can hit.
- Upper Hand: Increases the damage of the thrown Sword and reflected shots while on higher ground than the target.
- Hyperblade: Reflecting shots causes you to become amplified and grants this Sword increased lunge distance for a single swing.
- Energy Conduit: Grants health regeneration based on the number of targets hit by the thrown Sword.
Three of the four catalysts are earned from the Fire and Ice exotic mission. The fourth catalyst is tied to the Equilibrium dungeon.
Note
You need to have finished the Renegades campaign, completed Fire and Ice at least once, and already earned Praxic Blade.
Now let’s talk about how you actually unlock each of them.
Echoing Blade exotic catalyst – All Seven Oddity Locations in Fire and Ice
The first “secret” catalyst for Praxic Blade is the Echoing Blade catalyst. This one upgrades the sword’s throwing attack so it can hit more targets when you send the blade flying. You do not need to be on any special difficulty for this, and you do not need to finish any other upgrades first.
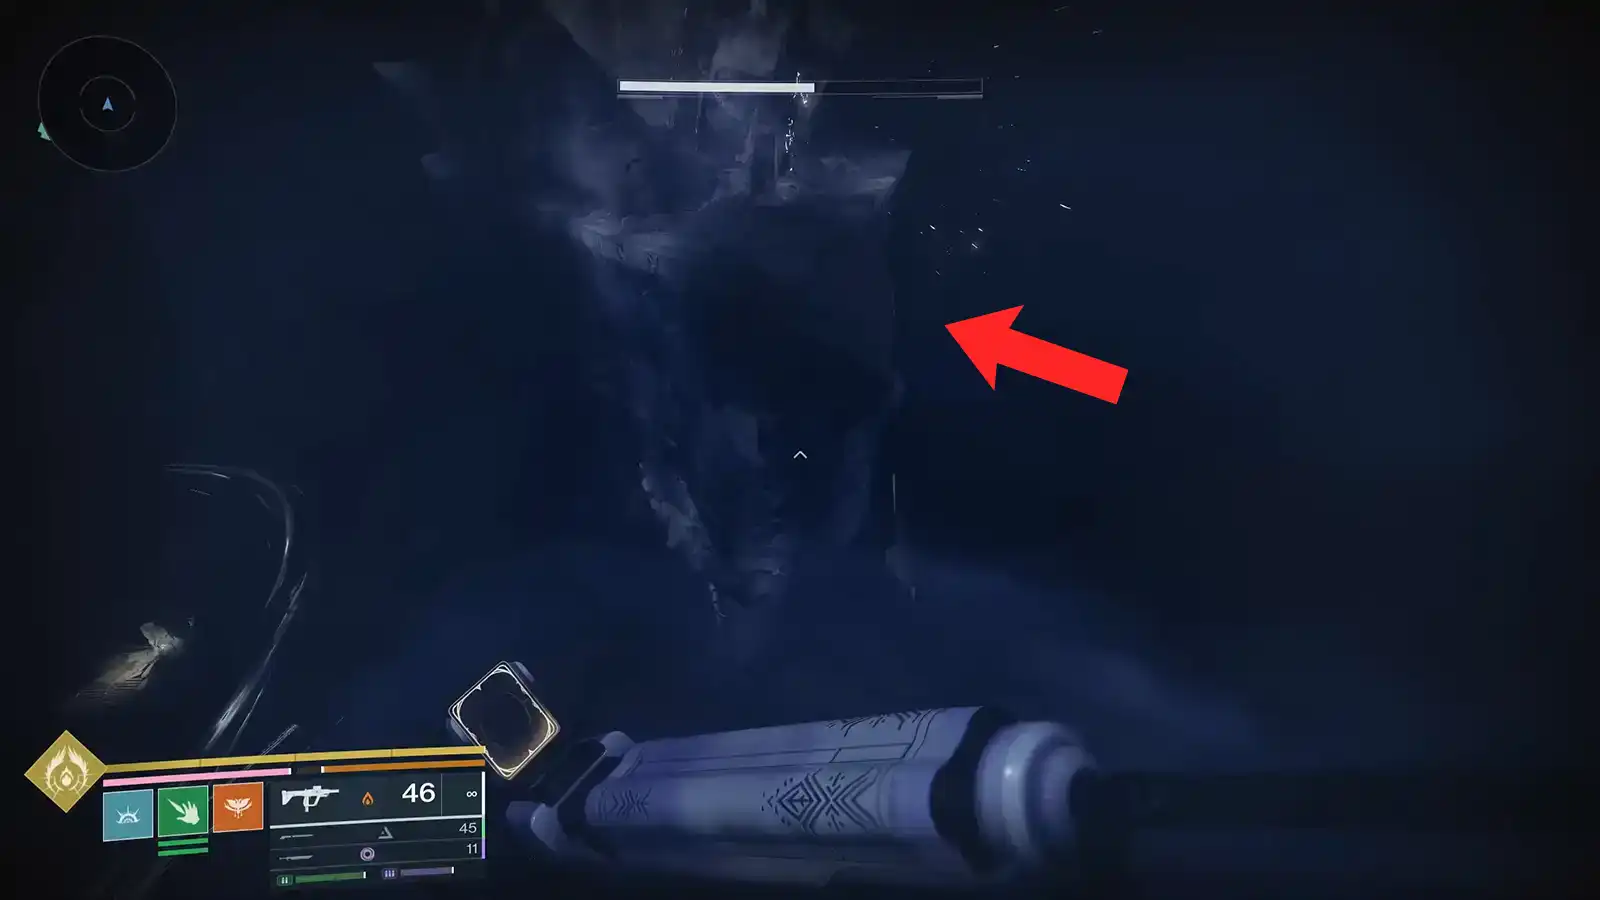
For Echoing Blade, your goal is simple is to find and destroy seven hidden small Taken Blights (called “oddities”) inside Fire and Ice, then clear the mission. In practice, some of them use awkward angles and jumps, so a few tips help a lot:
- Running a Strand subclass with Grapple makes several sections much safer.
- Try using an Edge Edge sword for the jumping puzzles.
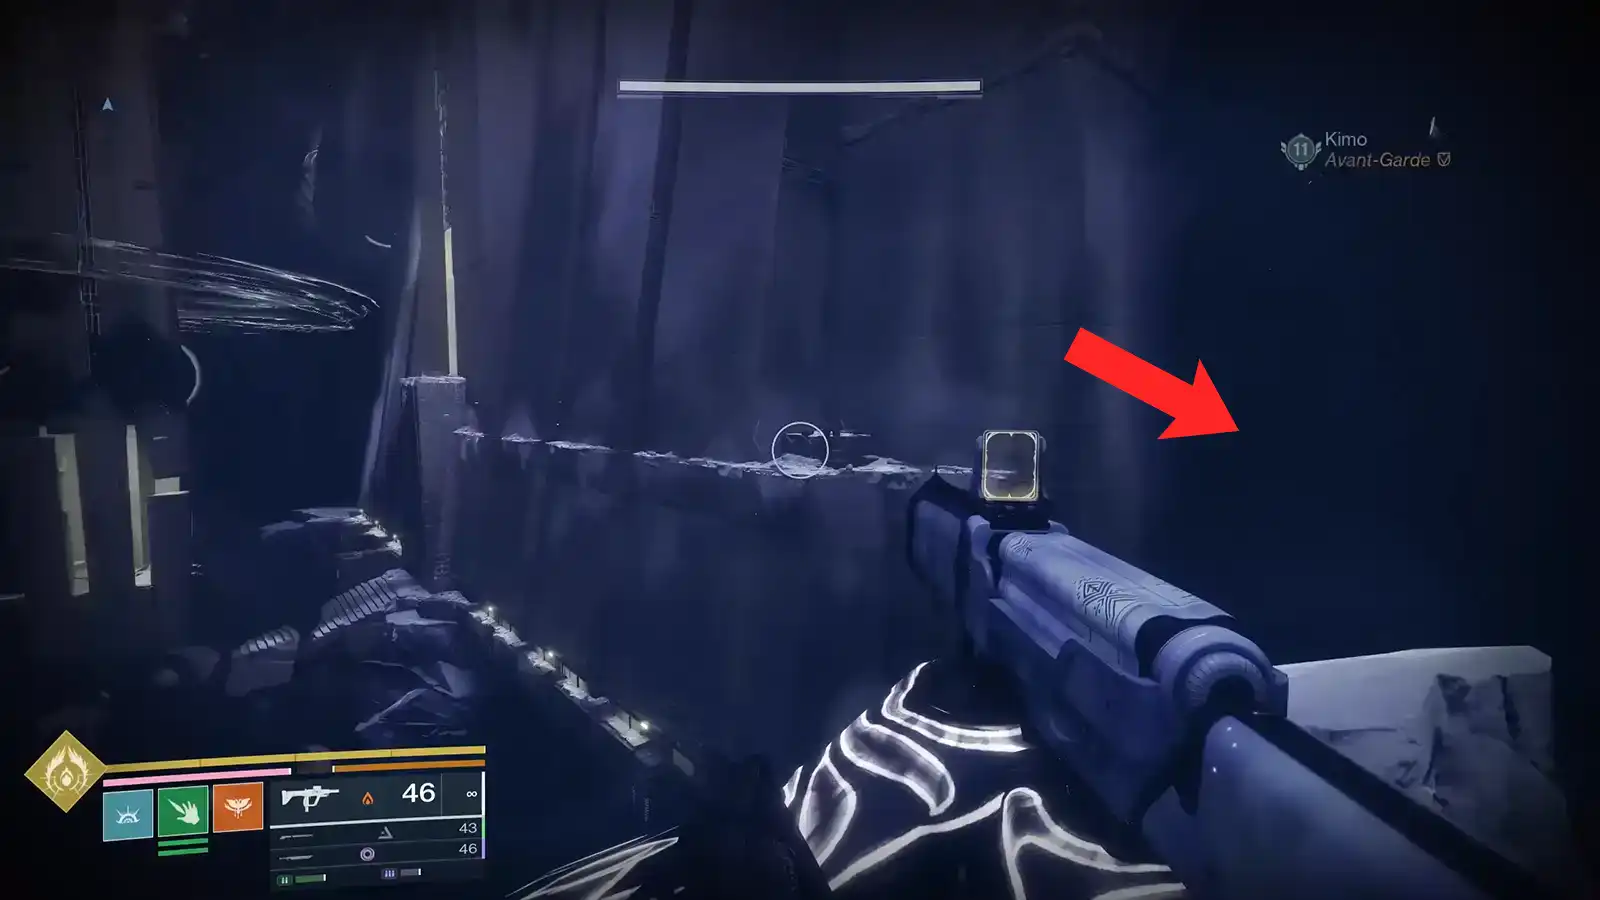
All seven oddities are in the early half of Fire and Ice, before you start the main combat arenas. Here is each one in order.
Oddity 1
You load into Fire and Ice as normal and push forward until you reach the Praxic Temple room, find the hidden hole on top of the big pillar in the center, and drop down into the lower section. Instead of dropping all the way down like you normally would, jump to the ledge in the bottom right corner. Then follow the path forward. You’ll have to jump across multiple small diamond ledges.
Keep going until you reach the long corridor that ends in a Special ammo crate. Before you go hunting for your first blight, make sure Praxic Blade is equipped, and grab special ammo from that crate so you can throw the sword.
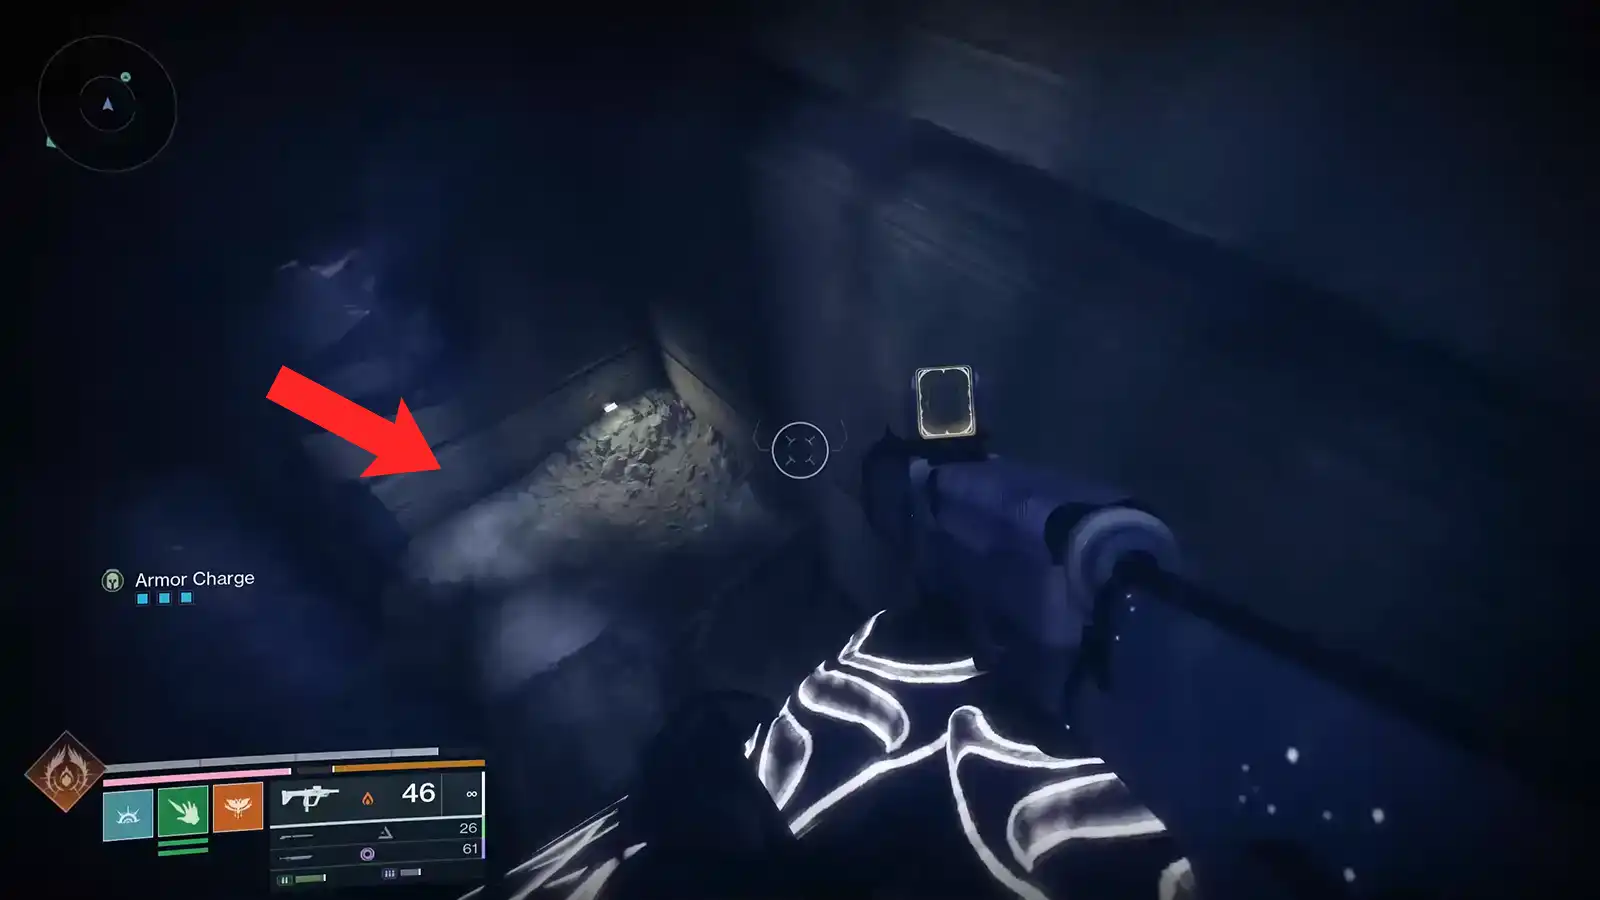
From that ammo box, you walk onto the narrow ledge next to it. There is a line of blocks (with symbols) in the room next to it that vanish when you touch them. Walk along the ledge and clear all of these disappearing blocks.
Once they are all gone, return to the ammo crate, look into the hallway below, and throw Praxic Blade straight down the corridor. Your throw will travel through the line of sight and destroy Blight #1, which is tucked away there.
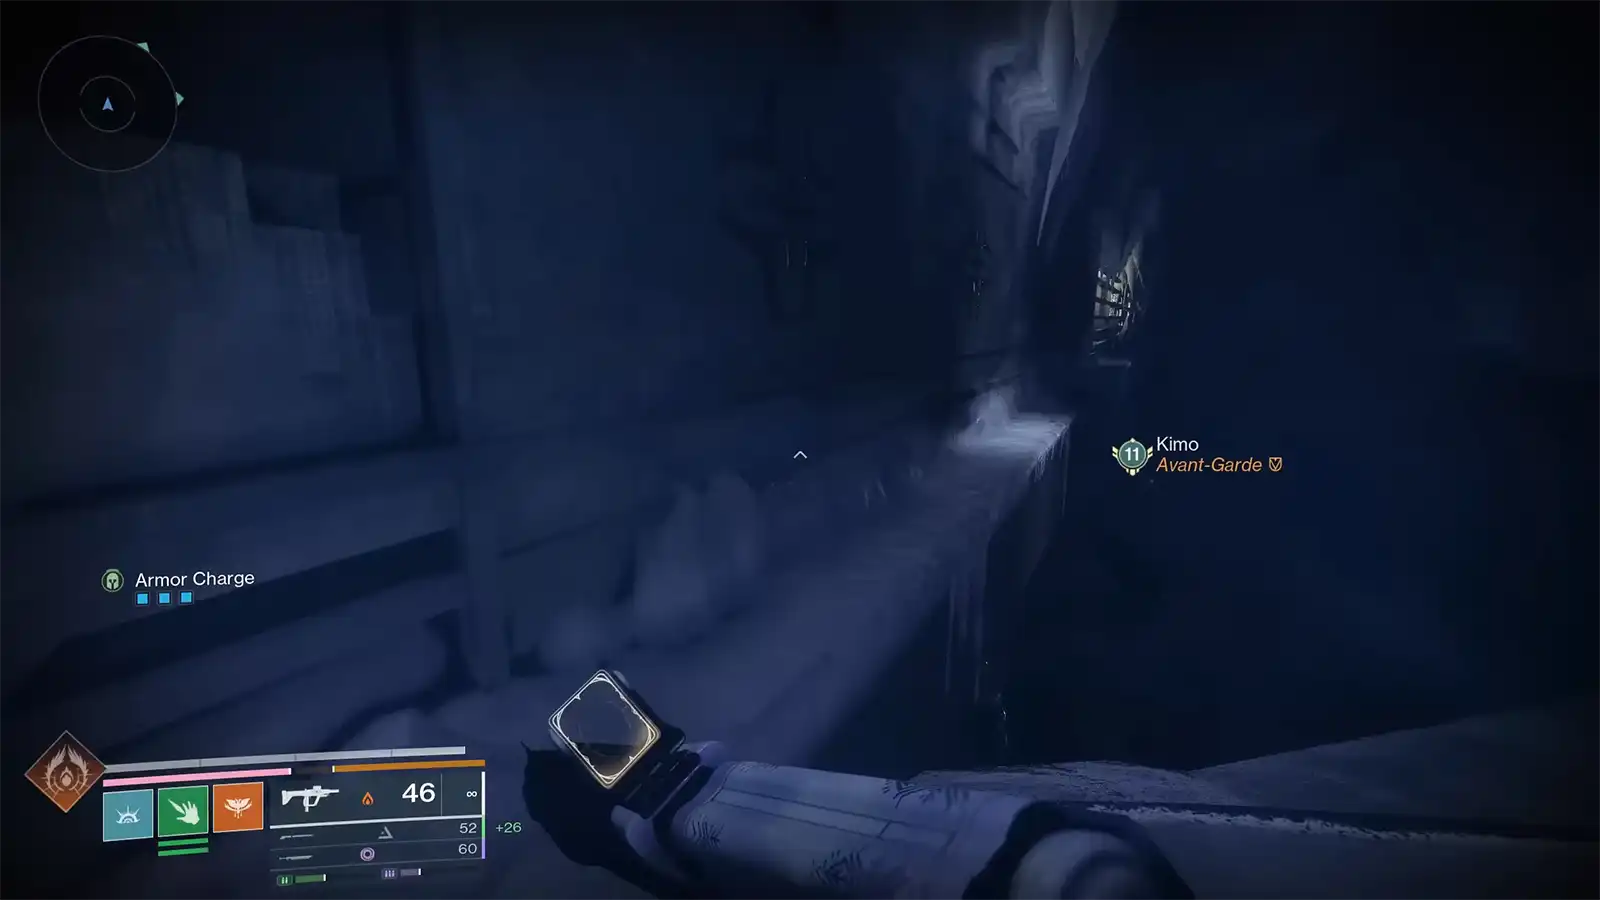
Oddity 2
From the central pillar you jump into at the start, drop all the way down like you normally do. Follow the path until you reach the point where you’d usually turn left. Instead, stop and look to your right: you’ll see another vanishing block with a symbol on it.
Touch it so it disappears, which opens up a room behind it. Inside that room, you’ll find the second Taken Blight. Destroy it with your Praxic Blade.
Oddity 3
Next, you progress into the section with the small ledges that knock you off when you run past them, along a big wall. Eventually, you land on a kind of tower structure at the end of this area. Instead of jumping across to the next area, from the giant rock, look to your right-hand side; you’ll see smaller ledges. Jump across, and you’ll find the third Taken blight on the top.
Oddity 4
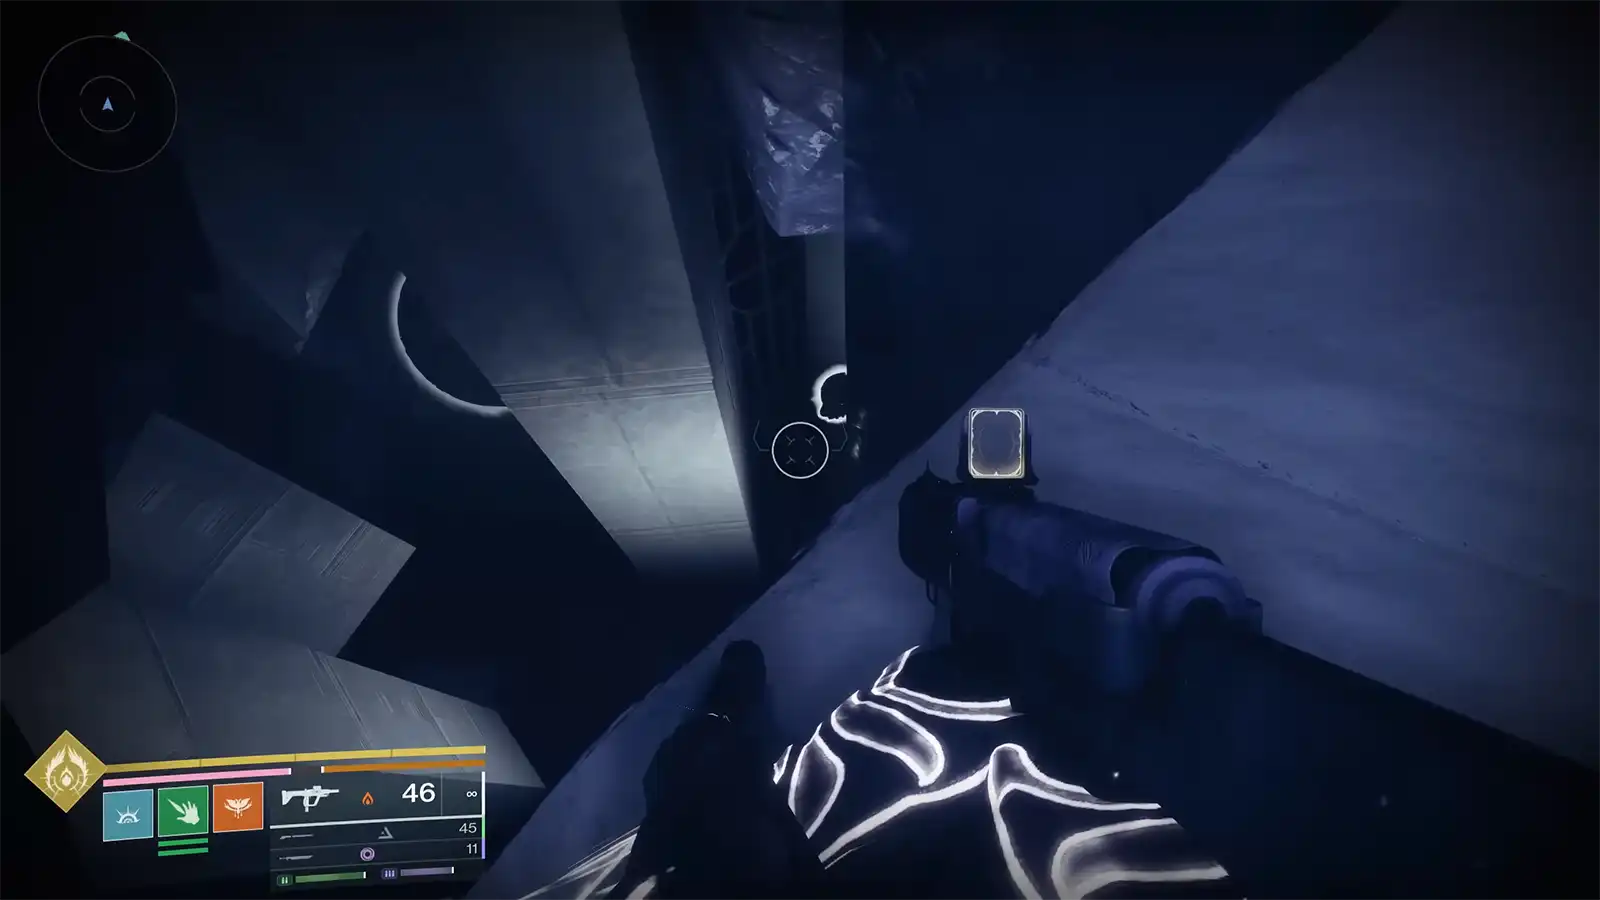
After that, you continue into the room with the fake door loop and then into the room filled with blocks that you normally climb to progress. The fourth Blight is hidden here. As you move through, you will notice a set of low spaces where you need to crouch. (This room is kind of tilted with a bunch of lights on the ceiling.)
Inside that room, there is actually a ledge above you that you can jump up onto. From that ledge, you have to cross a gap into a space. You can do this by using a light sword swing mid-air to carry you across, or by timing your jump and spamming your jump input. It might take a couple of tries, but once you cross the gap and follow the path, you will reach the fourth blight and destroy it.
Oddity 5
Now you push into the disappearing floor puzzle. Move through it the usual way until you reach the end. Instead of moving forward, start climbing along the ceiling-level routes, working around the top of the room. If you follow this high path, you will find a pillar hanging from the ceiling that you can jump into.
Jump up into the inside of this hanging pillar, and look up, and you’ll find another vanishing block. Touch it to make it disappear, jump into the secret room, and you’ll find the fifth blight outside the room. Use the narrow opening to throw your Praxic Blade to destroy it.

Oddity 6
From here, you progress into the more open jumping puzzle with a bunch of giant Taken blights with floating platforms all over the place. In this area, you’ll also find Vex Hobgoblins.
Make your way as you normally would, but instead of moving all the way forward, look for a rock ledge that often has a Taken Phalanx near it (it’s located in the far middle). That Phalanx is your landmark for blight six.
Climb onto that rock. The blight itself sits deep below the edge of that rock, floating in the air, and it can be hard to see. Stand at the edge and throw Praxic Blade downward. With the right angle, your throw will travel below the rock and destroy the sixth blight.
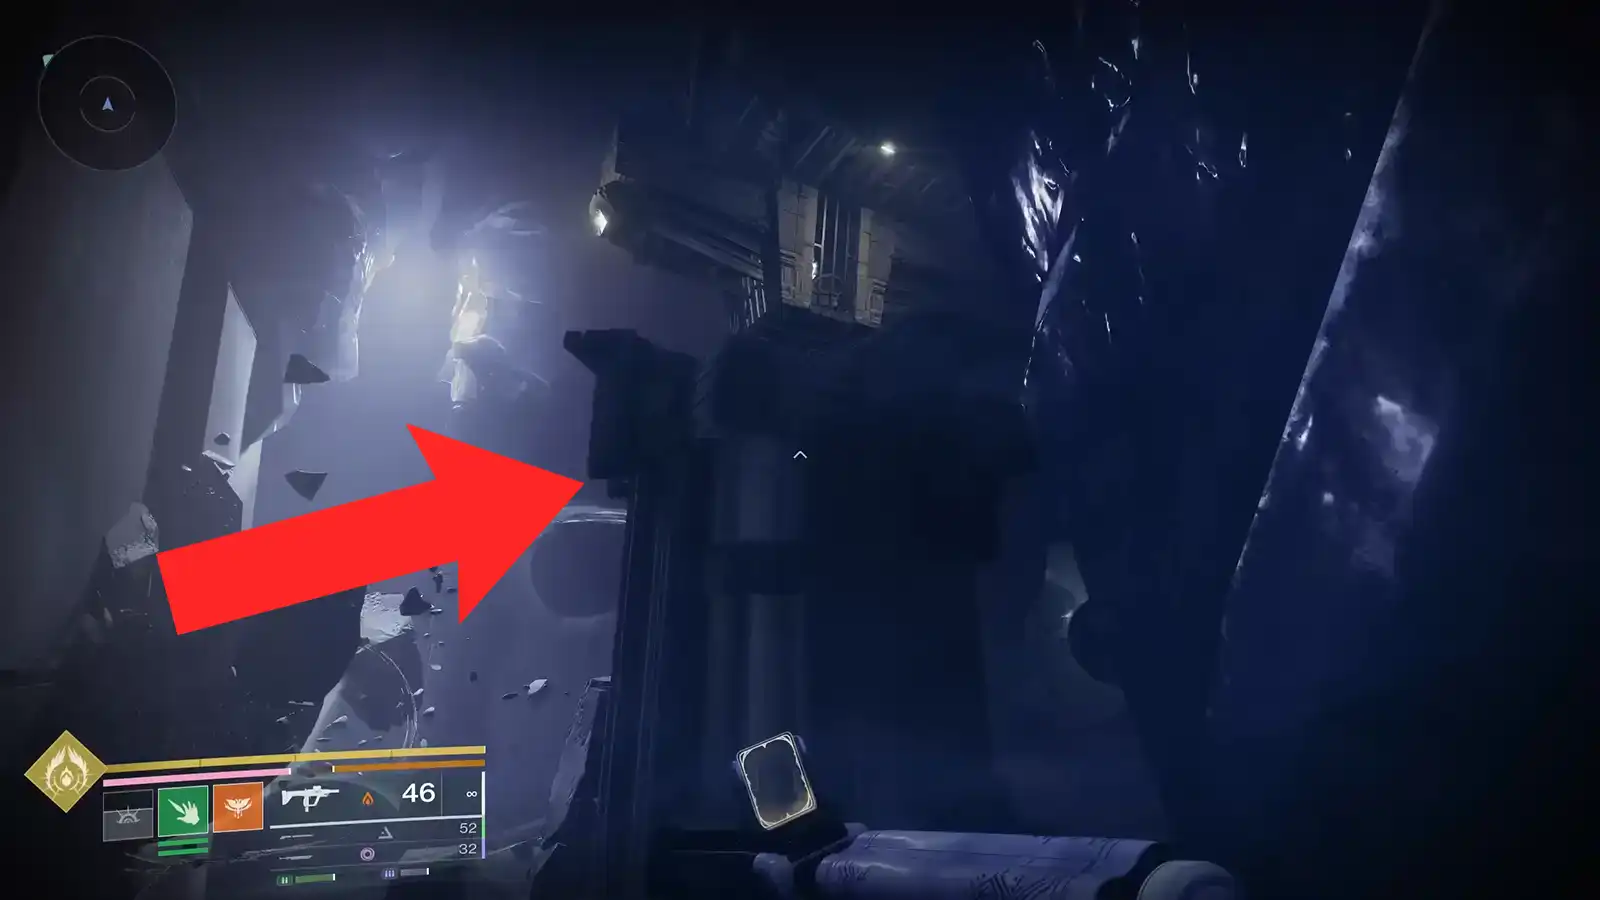
Oddity 7
Still in that area, look around for a tall tower right next to that dark rock. This structure is huge and rises up through the space. Climb the tower however you can, using any ledges and jumps available, until you reach the very top. At the top, you will find another ammo crate and a small structure built into the platform.
Stand on the edge, look into that little structure, and throw your sword again. The seventh and final blight is hidden inside that small structure, and your throw will destroy it.
Once all seven blights are done, you do not get the catalyst right away. You still need to finish the Fire and Ice mission, complete the encounters, and beat the boss. At the very end, inside the Praxic vault where the chests sit. This is where you’ll unlock the first Praxic Blade exotic catalyst.
Upper Hand and Hyperblade exotic catalysts
The next two Praxic Blade catalysts, Upper Hand and Hyperblade, are both tied to a single secret route inside Fire and Ice. Based on testing, the safest way to secure them is to do everything in one run.
These two catalysts reuse the same core mechanic from Fire and Ice: Barant Centurions, Taken Centurions, the buffs that appear at the top of your screen, and the Paired Energy (light) and Opposite Energy (dark) orbs you throw into hoops.
Killing a Barant Centurion gives you a Barant buff, and killing a Taken Centurion gives you a Taken buff. While that buff is active, killing the same type again spawns a Paired Energy ball, and killing the opposite type spawns an Opposite Energy ball. In the normal mission, you spread those balls around to keep the hoops balanced. For these catalysts, you intentionally break that balance.
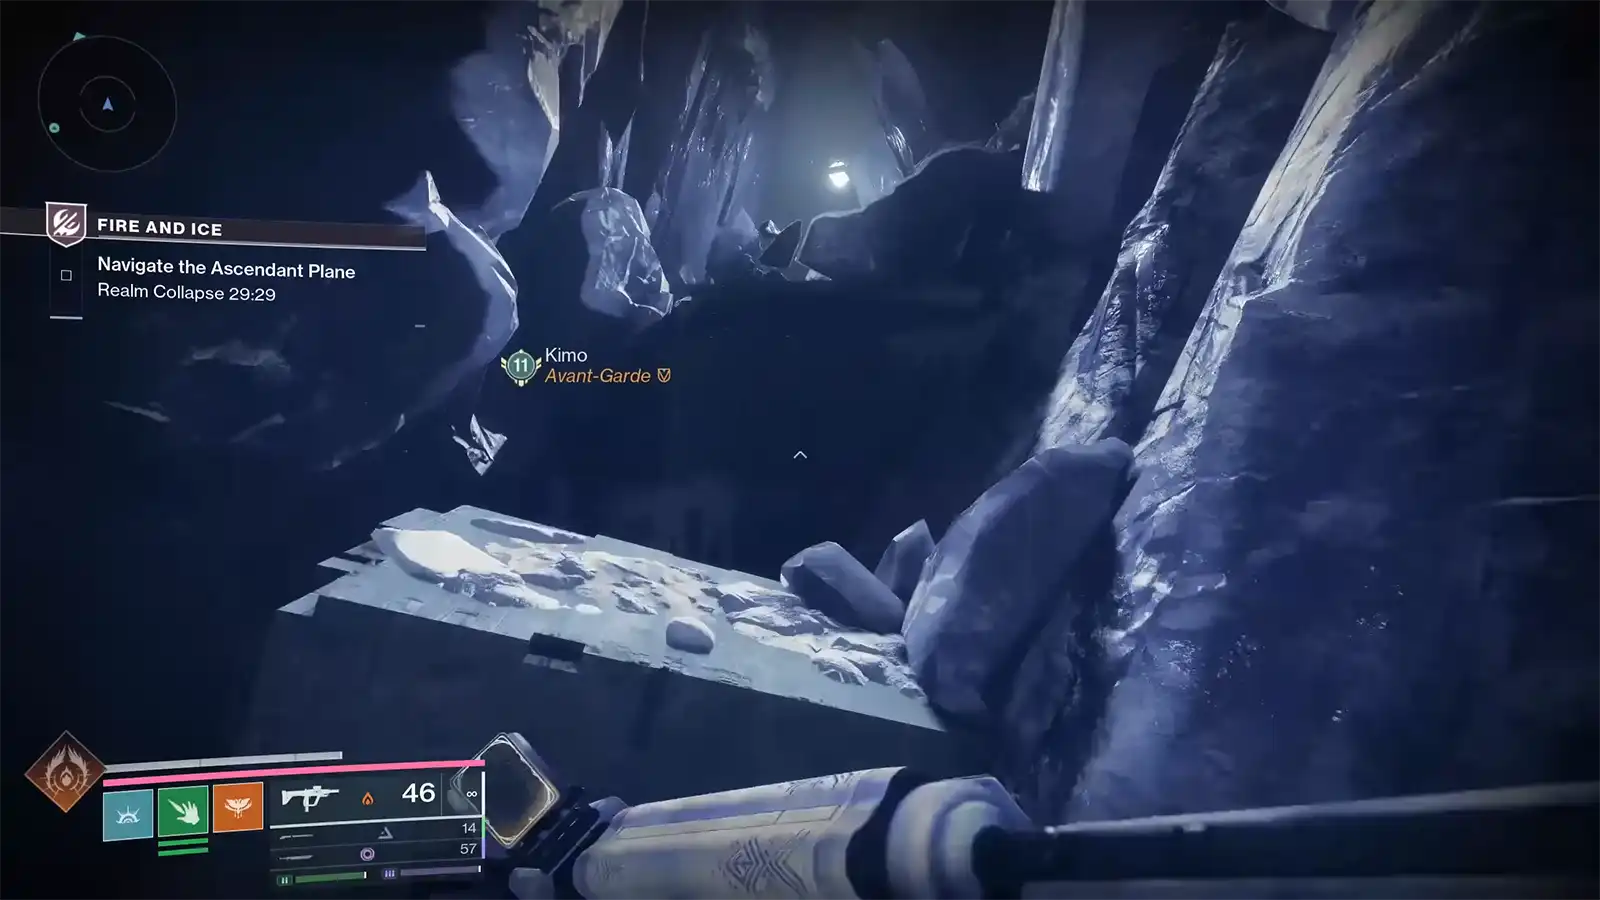
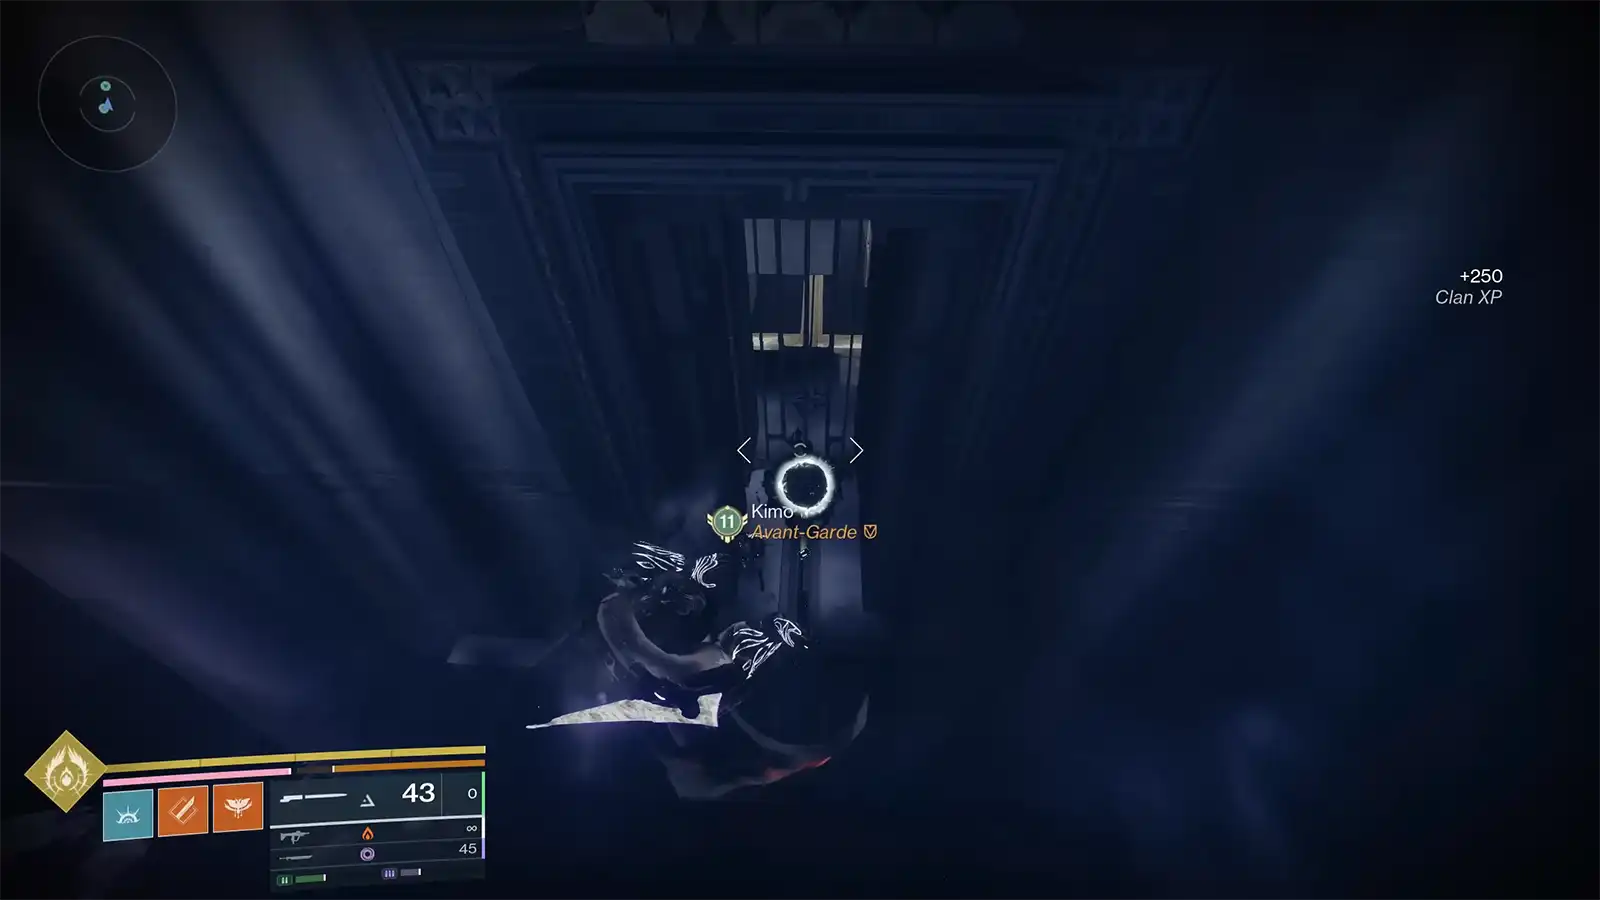
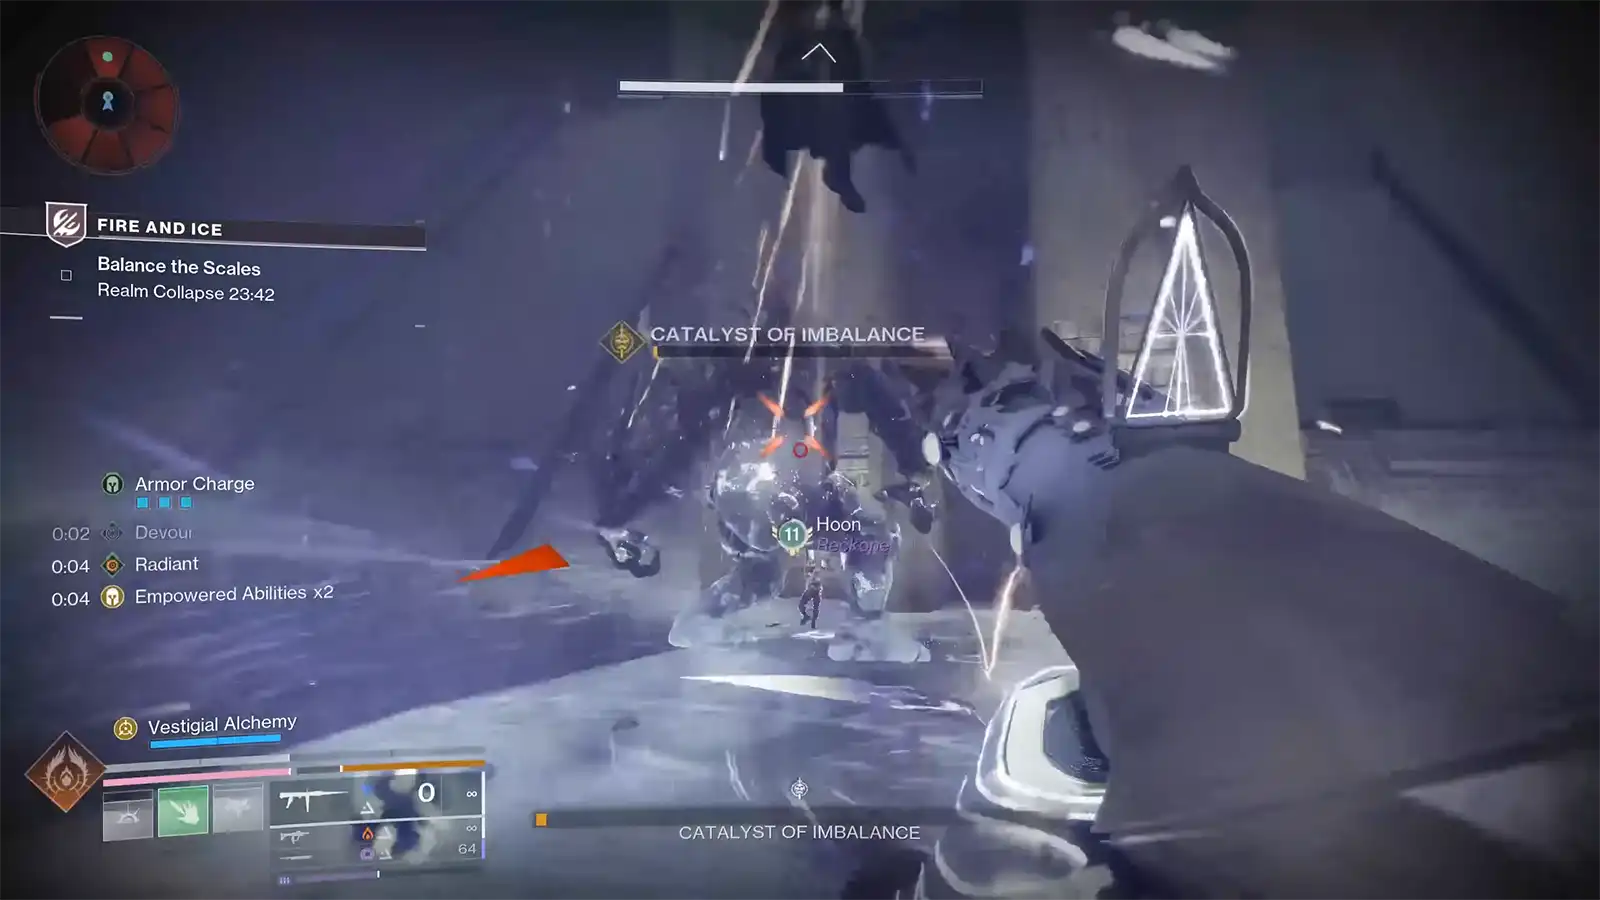
Before you start, make sure you already have Praxic Blade unlocked, and you have access to the replayable Fire and Ice node. Once you load into the Fire and Ice mission, do not rush straight down the main path. Instead, look for two yellow-bar enemies called Imbalanced Wardens in the opening area of the mission.
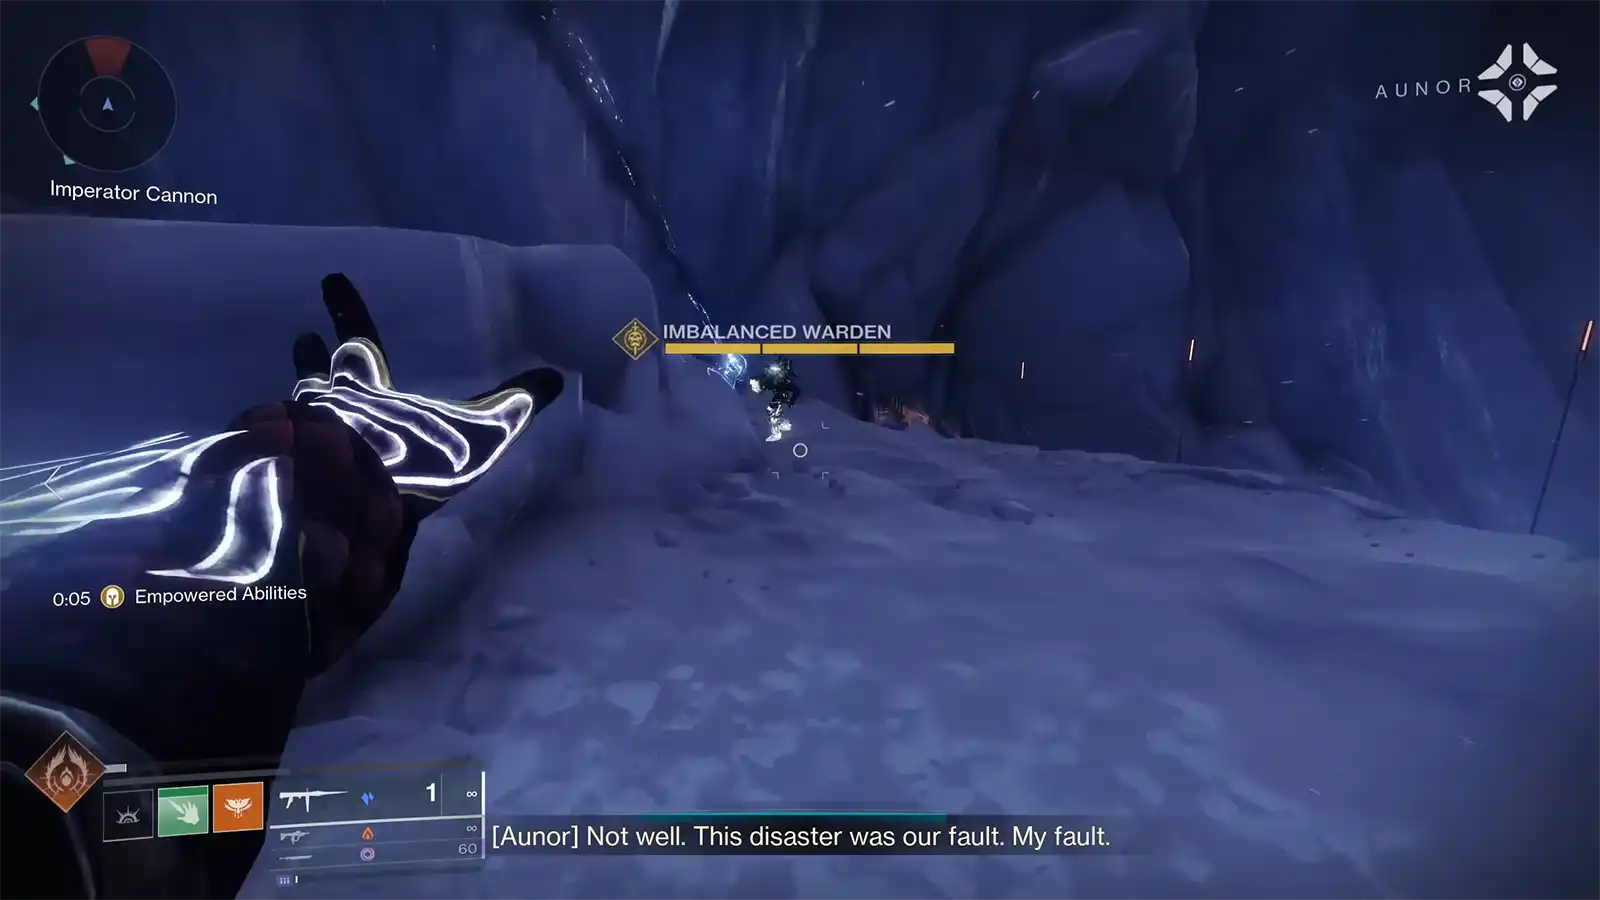
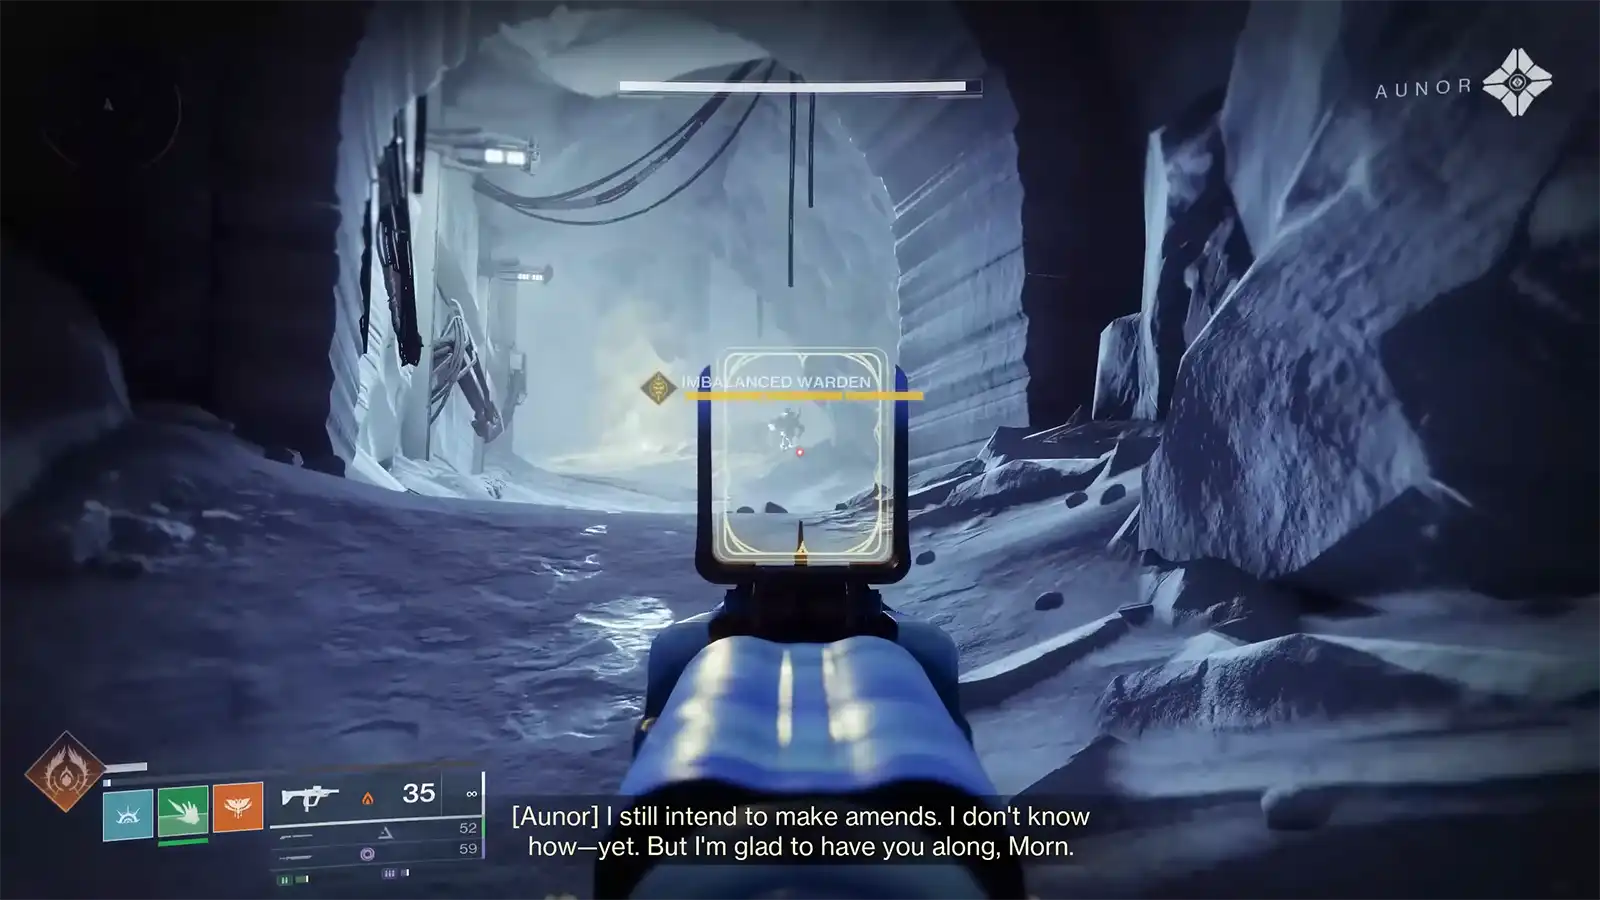
One Warden is located far off to the right, on a side platform. The other is tucked away to the left, inside a cave-like area. You need to find and kill both of them before moving on. When they are dead, you will see a message pop up on your screen. If you miss one of them, the rest of the puzzle will simply not work.
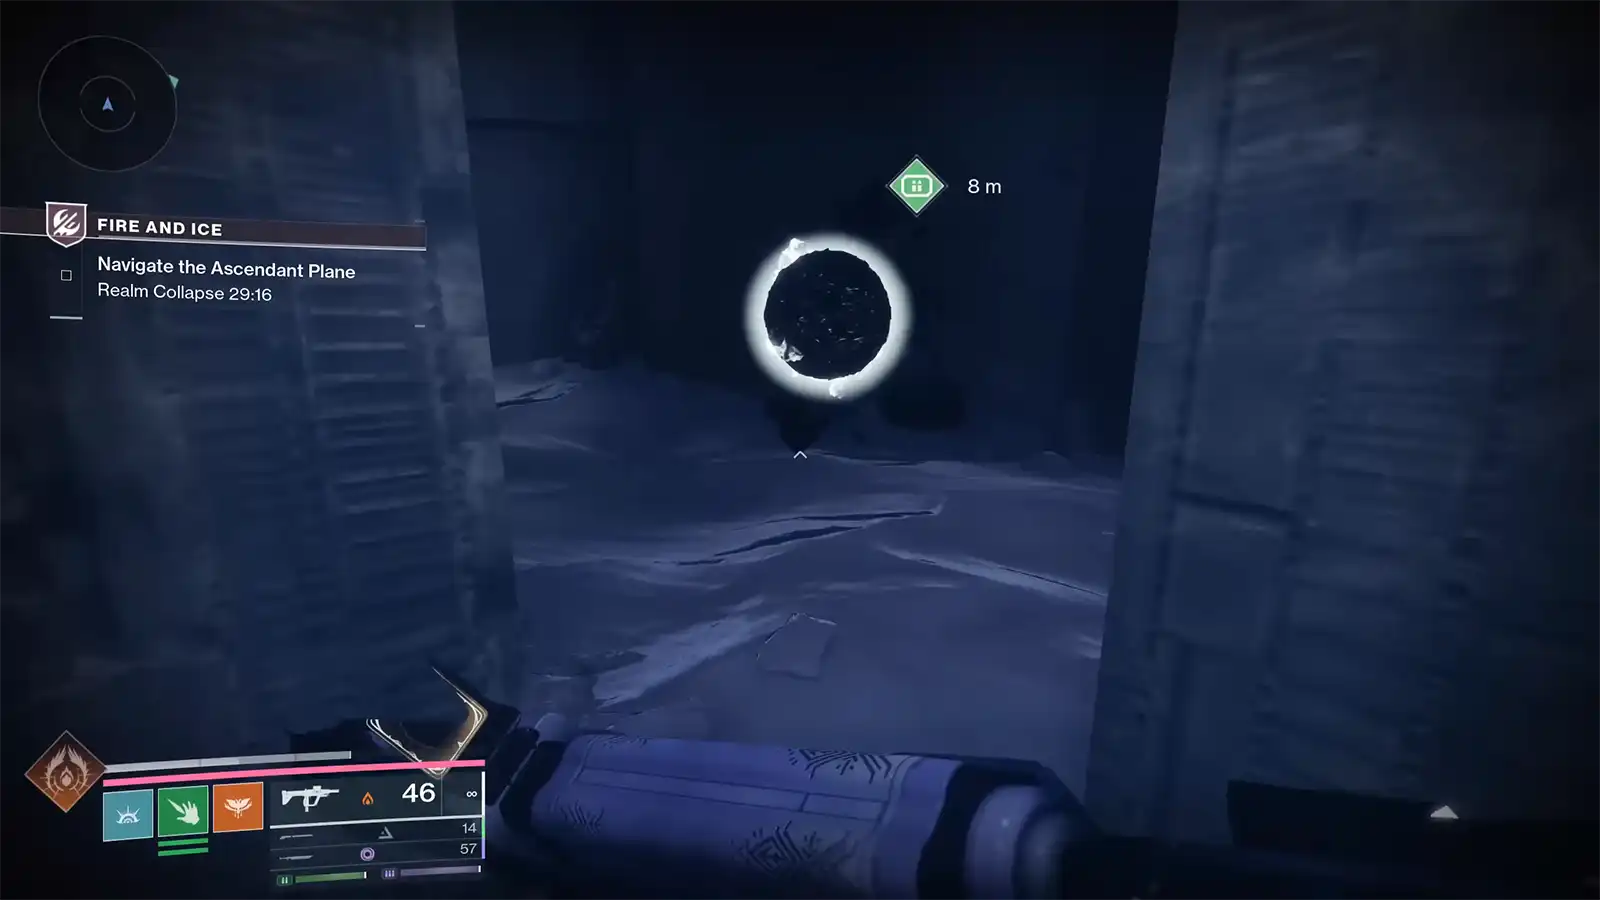
After the two Wardens are down, make your way to the first room where you find the Darkness splinter. Before you drop down, shoot the four Rasonant diamonds that spawn in the room. When you have done this correctly, the game starts a 30-minute timer in the background. That timer seems to be required to tie the rest of the steps together.
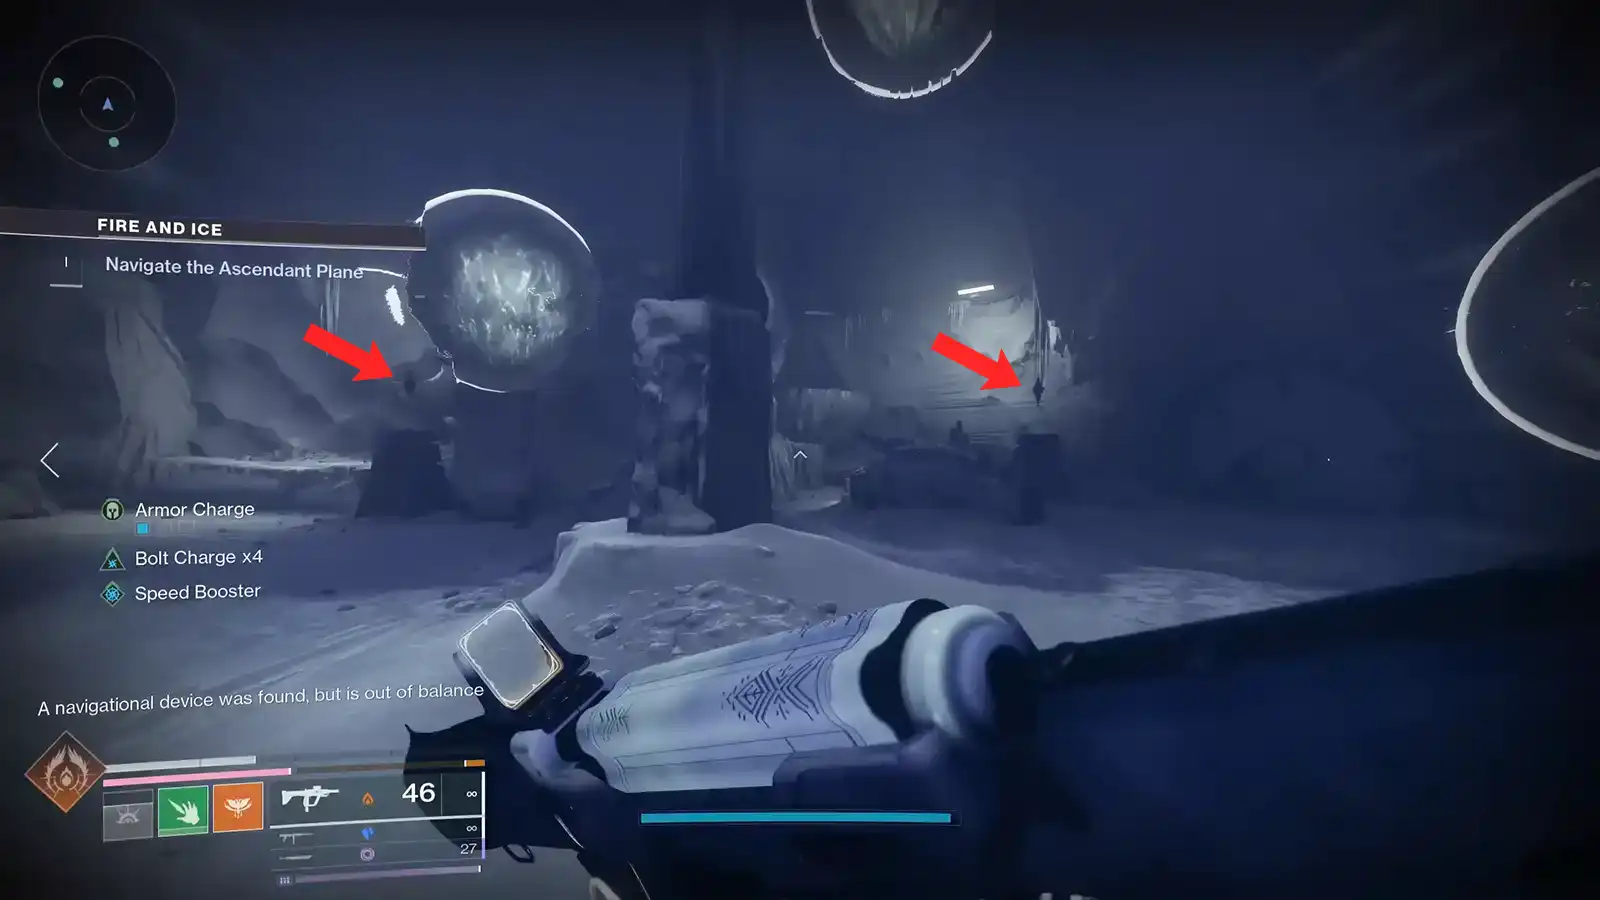
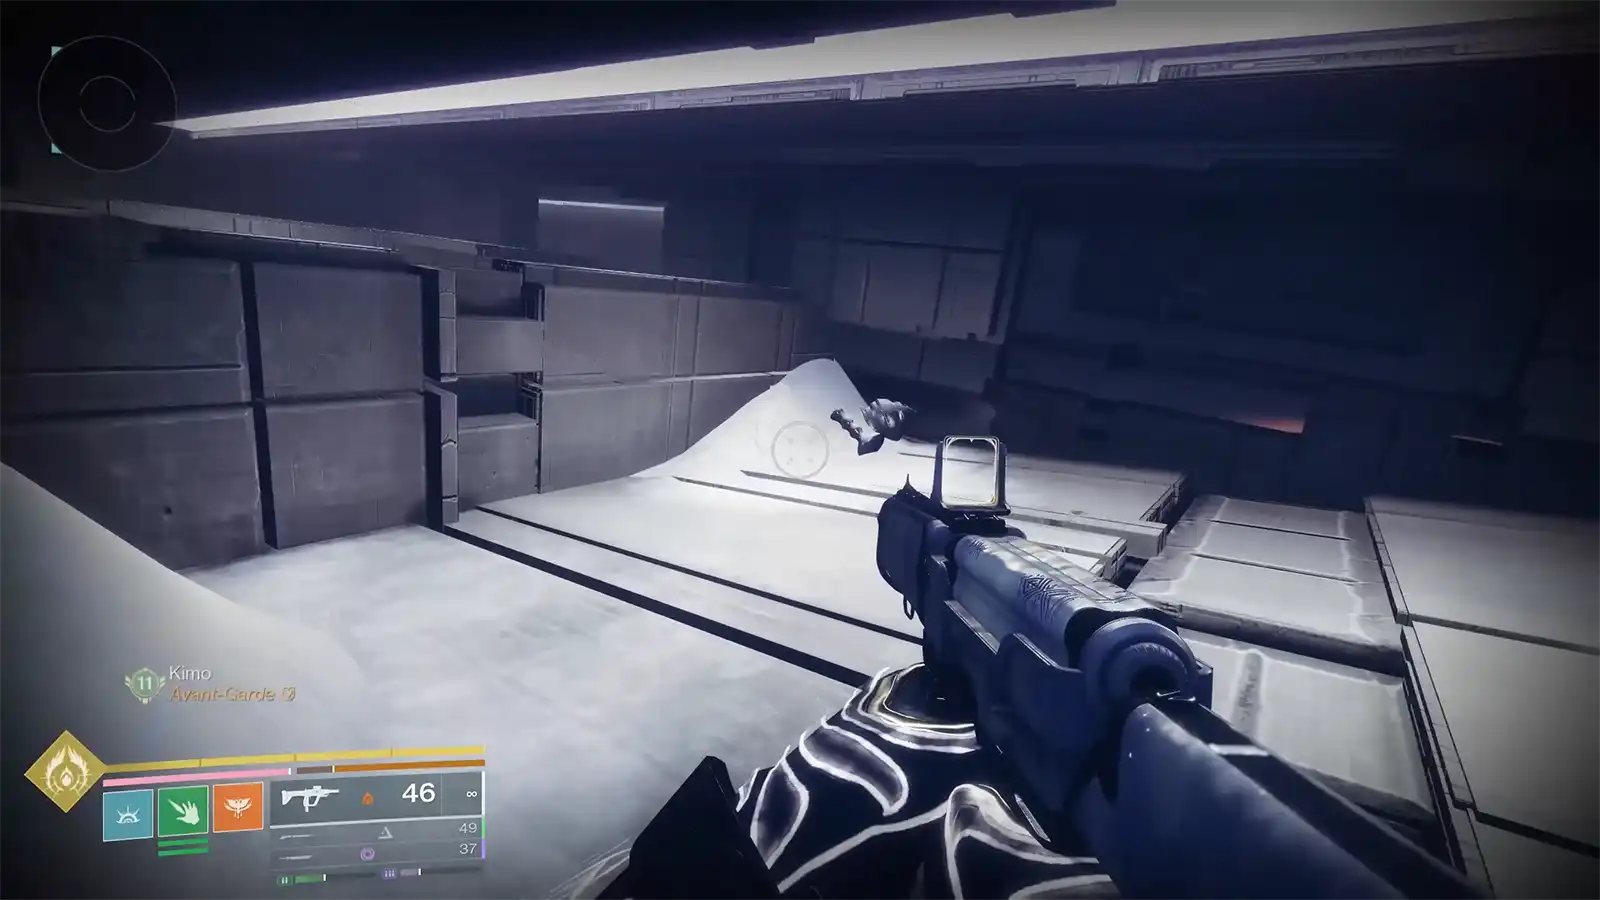
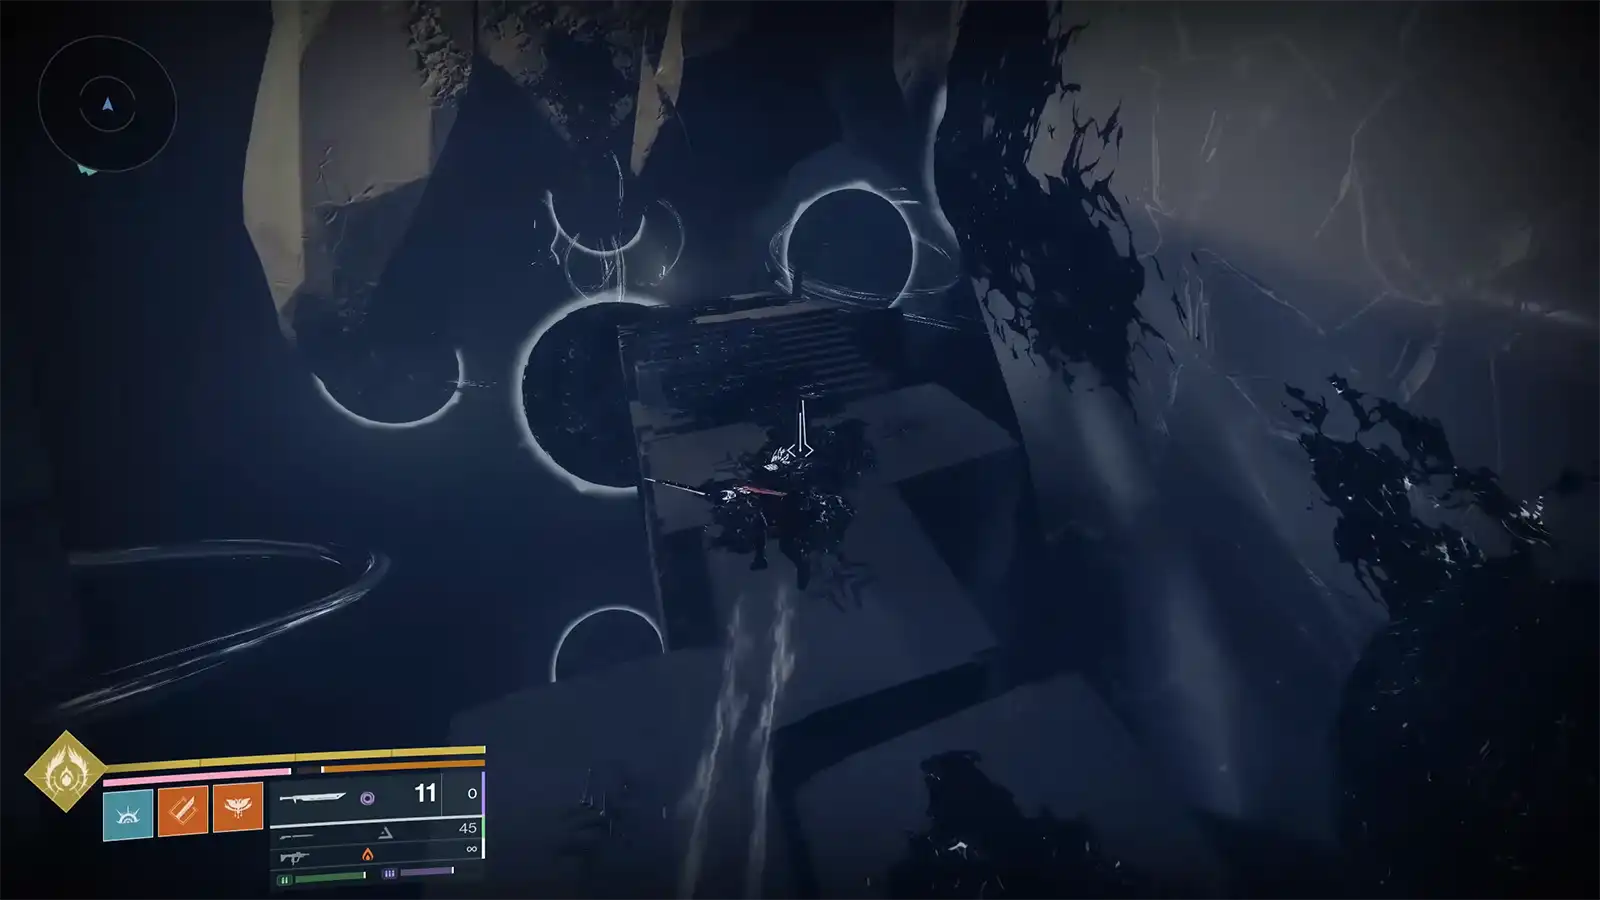
Now, make your way to the first combat encounter of the mission, where you find the four blights floating (two light and two dark). This is where you stop playing “properly” for a bit. Instead of balancing the energy between hoops, you use the orb mechanic to overload them.
Build up four energy balls of any type, then throw all four into a single hoop. The game complains that the energy is imbalanced and, as a punishment, it spawns a Warden. Kill that Warden, then repeat the process on the other hoops. Your goal is to overload each hoop once, spawning four Wardens in total and killing all of them. When the fourth Warden dies, a group of small blights appears in the middle of the arena.
At this point, you move into the center and destroy those blights using Praxic Blade. When the blights are gone, a boss Ogre appears. Kill the Ogre, and you should see the message “Something shifts within the Praxic Vault.”
That line is your confirmation that you have done the encounter step correctly. From here, you go back to playing the encounter normally. Use the regular light and dark orb mechanic to finish the encounter. There is no reason to overload hoops again; that part is already locked in.
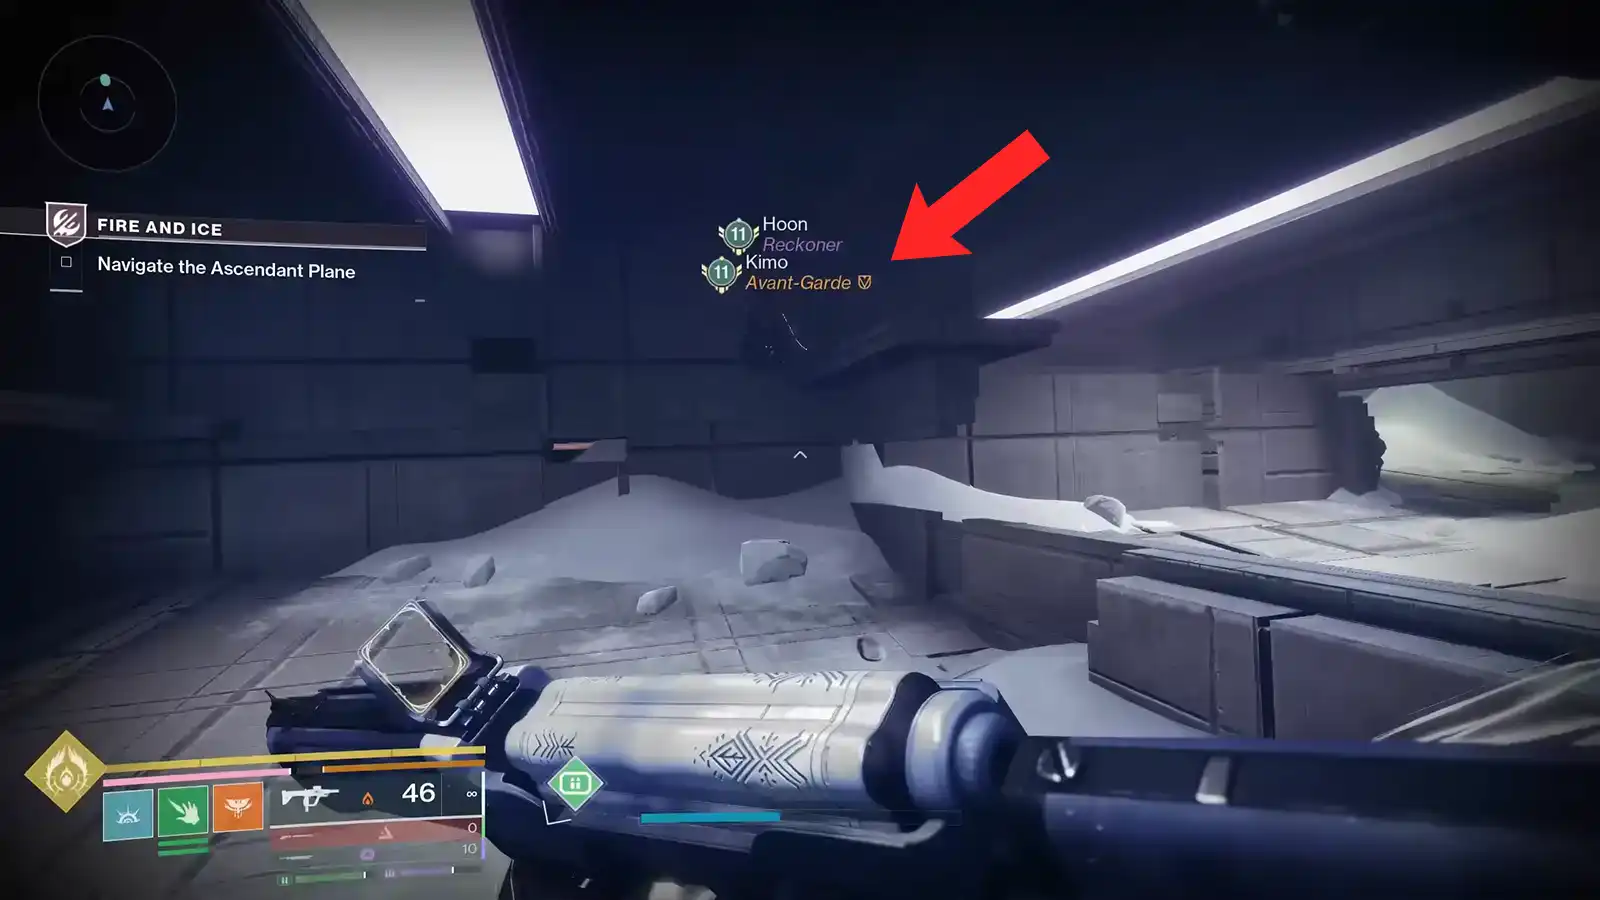
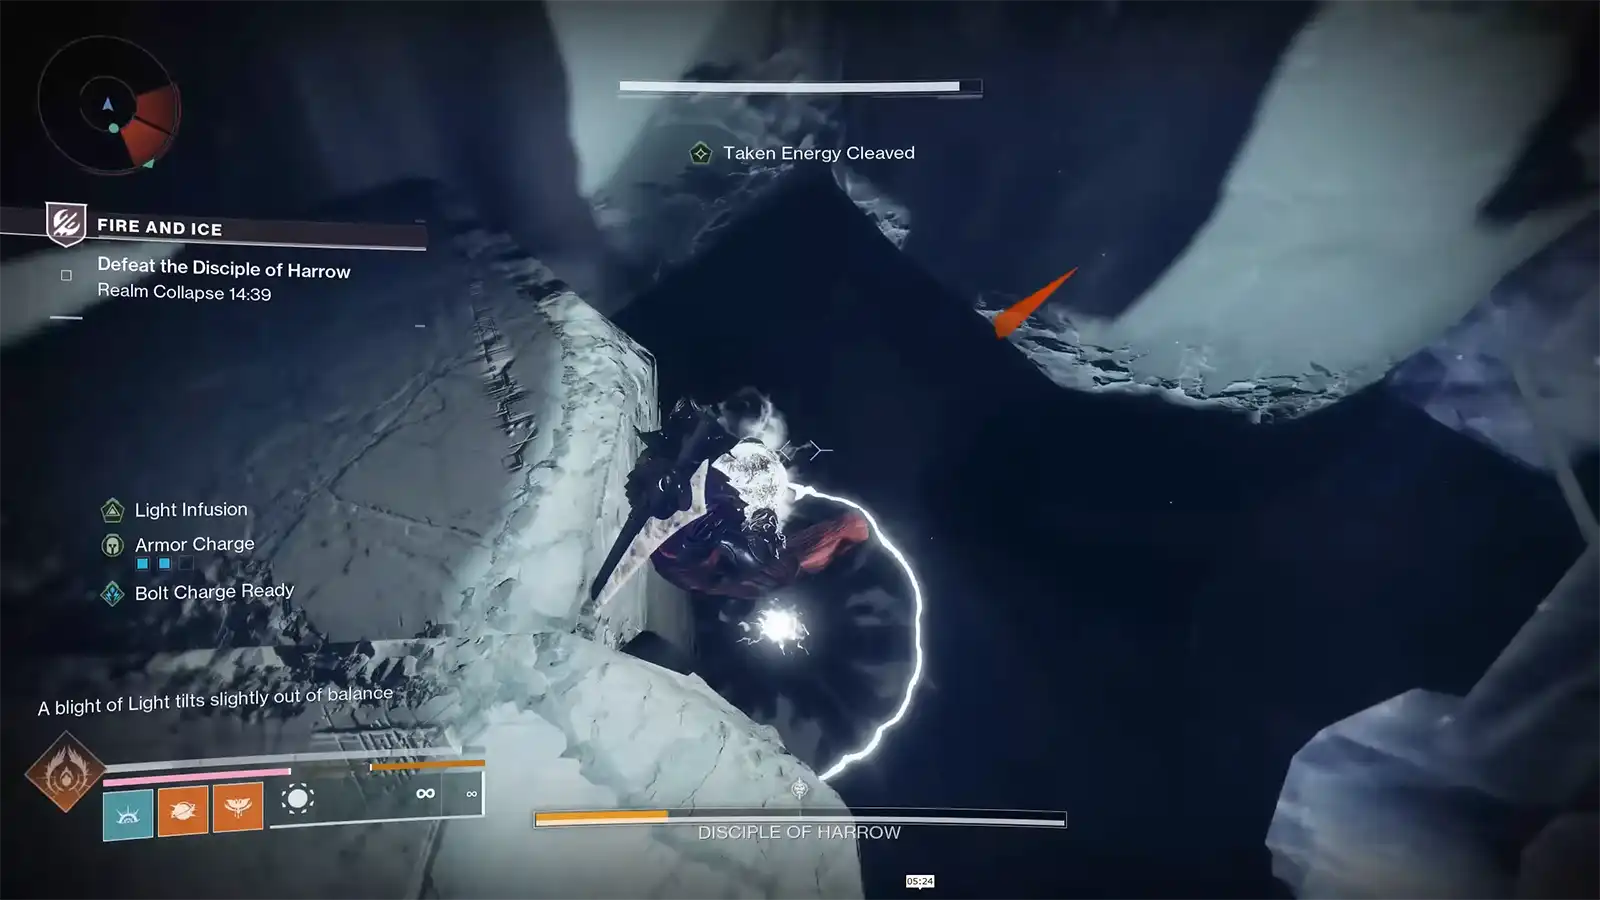
When the encounter is clear, go through the portal that opens as usual. Outside, interact with the node that flips the Ascendant Realm to change the environment, just like you would in a normal run. Instead of pushing forward into the next section, turn around and backtrack toward the start of the mission. Your goal is to return to the two spots where you killed the Imbalanced Wardens at the very beginning.

If everything has worked so far, there will now be a small Taken blight at each old Warden location. If the blights are there, destroy both of them. Doing this advances the hidden route again, and you will see another confirmation message. Once that is done, you can head back toward the portal and follow the mission path to the final encounter.

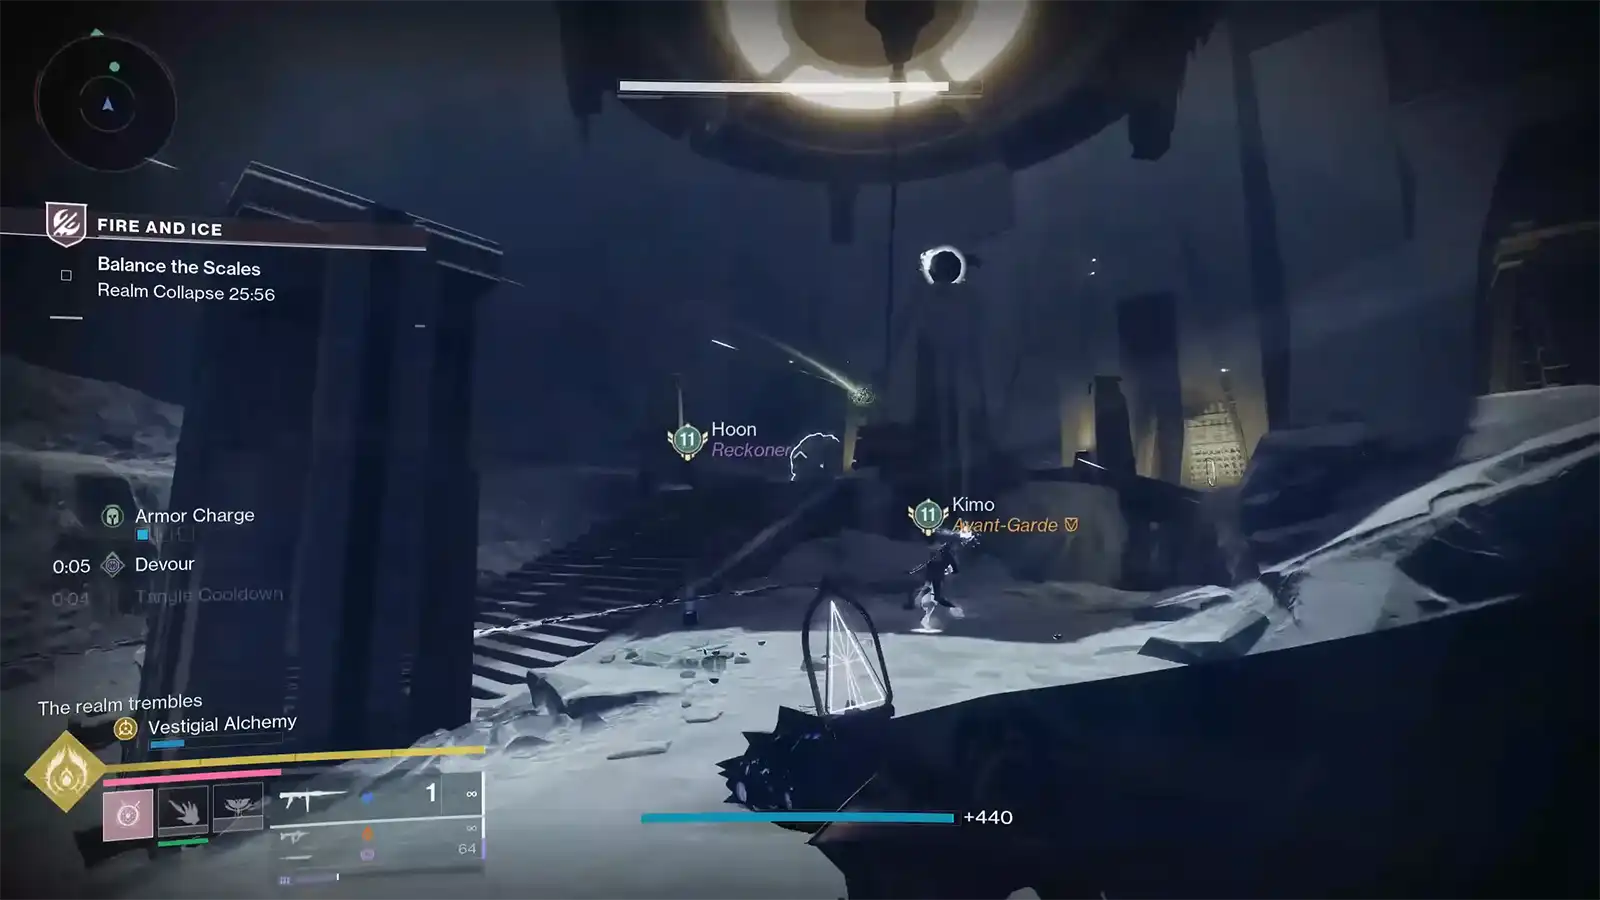
In the final boss fight, the last piece of the puzzle kicks in. Fight the boss as normal until its health reaches roughly 25 percent. When it hits that threshold, two white hoops appear under the floor you are fighting on. This special phase only appears if you have completed all the previous hidden steps in the same run.
To use these hoops, activate the Darkness splinter node above the boss in the middle of the arena to spawn more Centurions, then go back to the usual Barant/Taken buff logic to create the energy balls you need. The key detail here is that you must fill the white hoops first. If you finish the dark hoops before you finish the white ones, the fight moves into its normal end phase, and your chance at the catalysts for that run is gone.
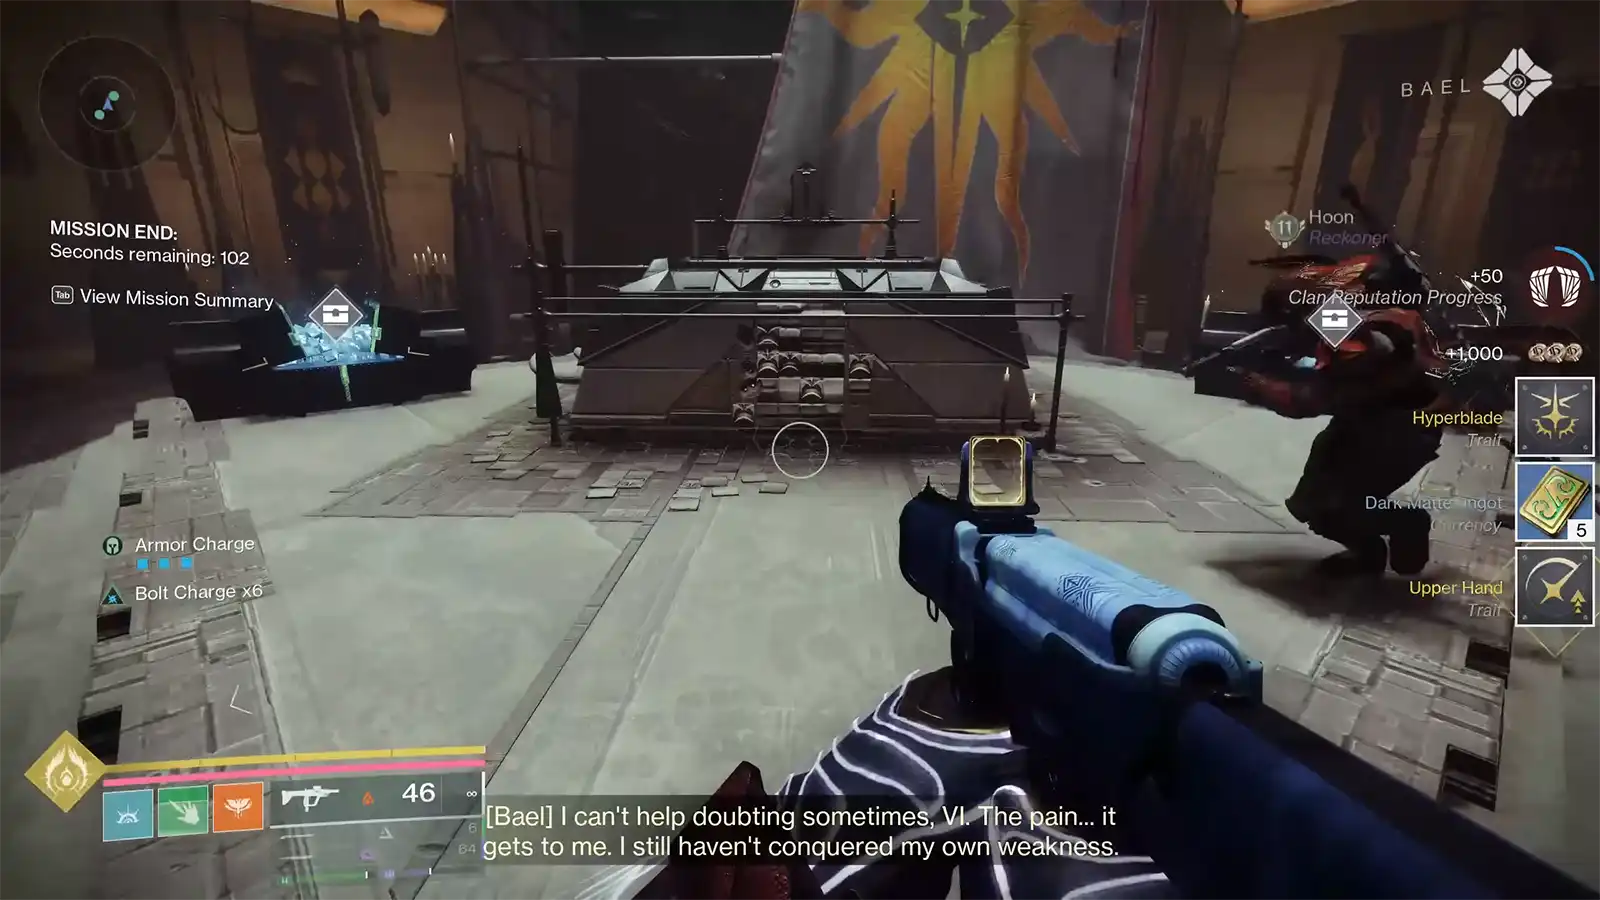
Once the white hoops are done, you can wrap up the encounter the way you usually would. Break the remaining immunity phases, finish off the boss, and complete Fire and Ice. If you have done every single step in a single mission clear – the two Imbalanced Wardens at the start, the four nodes and the 30-minute timer, the overloaded hoops and four Wardens in the first arena, the central blights and Ogre, the new blights at the old Warden spots after flipping the realm, and the white hoops at 25 percent boss health – the game awards both Upper Hand and Hyperblade at the end of the mission.
Energy Conduit exotic catalyst
The fourth Praxic Blade exotic catalyst is available through the new Equilirium dungeon, which is not yet available. We will update this guide once the dungeon becomes available and the quest steps are found.
Note
For your convenience, make sure to bookmark this guide so you can come back to it easily. And if it helps you out, share it with your friends too.
That is everything you need to know about Praxic Blade’s exotic catalysts right now. If you’re still looking to unlock the exotic weapon itself, check out our dedicated guide here. (special thanks to Skarrow9 and Datto)
Have you gone through Fire and Ice for these secrets yet? Let us know in the comments below!
Don't miss the big stories. Make us your preferred source on Google to get breaking news, leaks, and exclusives first.