Here’s how to focus specific weapons and armor in Destiny 2’s Sundered Doctrine dungeon.
Destiny 2’s Sundered Doctrine dungeon is packed with secrets, new exotic and legendary weapons, and brand-new armor sets. Released on February 7, this new dungeon takes place inside Rhulk’s pyramid ship in Savathun’s Throne World.
Similar to other dungeons, Sundered Doctrine also has its own very long quest, The Drowning Labyrinth, which requires you to complete the dungeon multiple times, find hidden hive worms, and solve puzzles. Now, players have found another hidden secret: the ability to focus specific weapons and armor in the dungeon.

This works similarly to the Vesper’s Host dungeon, where players can target specific gear instead of relying on random drops. If you’re looking to get the exact roll you want, here’s what you need to do.
How to Focus Weapons and Armor in Destiny 2 Sundered Doctrine
If you want to focus a specific dungeon weapon or armor piece, there are a few steps you need to complete first.
Note
We will be updating this article as we find more details on this secret. So, make sure to bookmark for your convenience.
Step 1: Complete “The Drowning Labyrinth” Quest
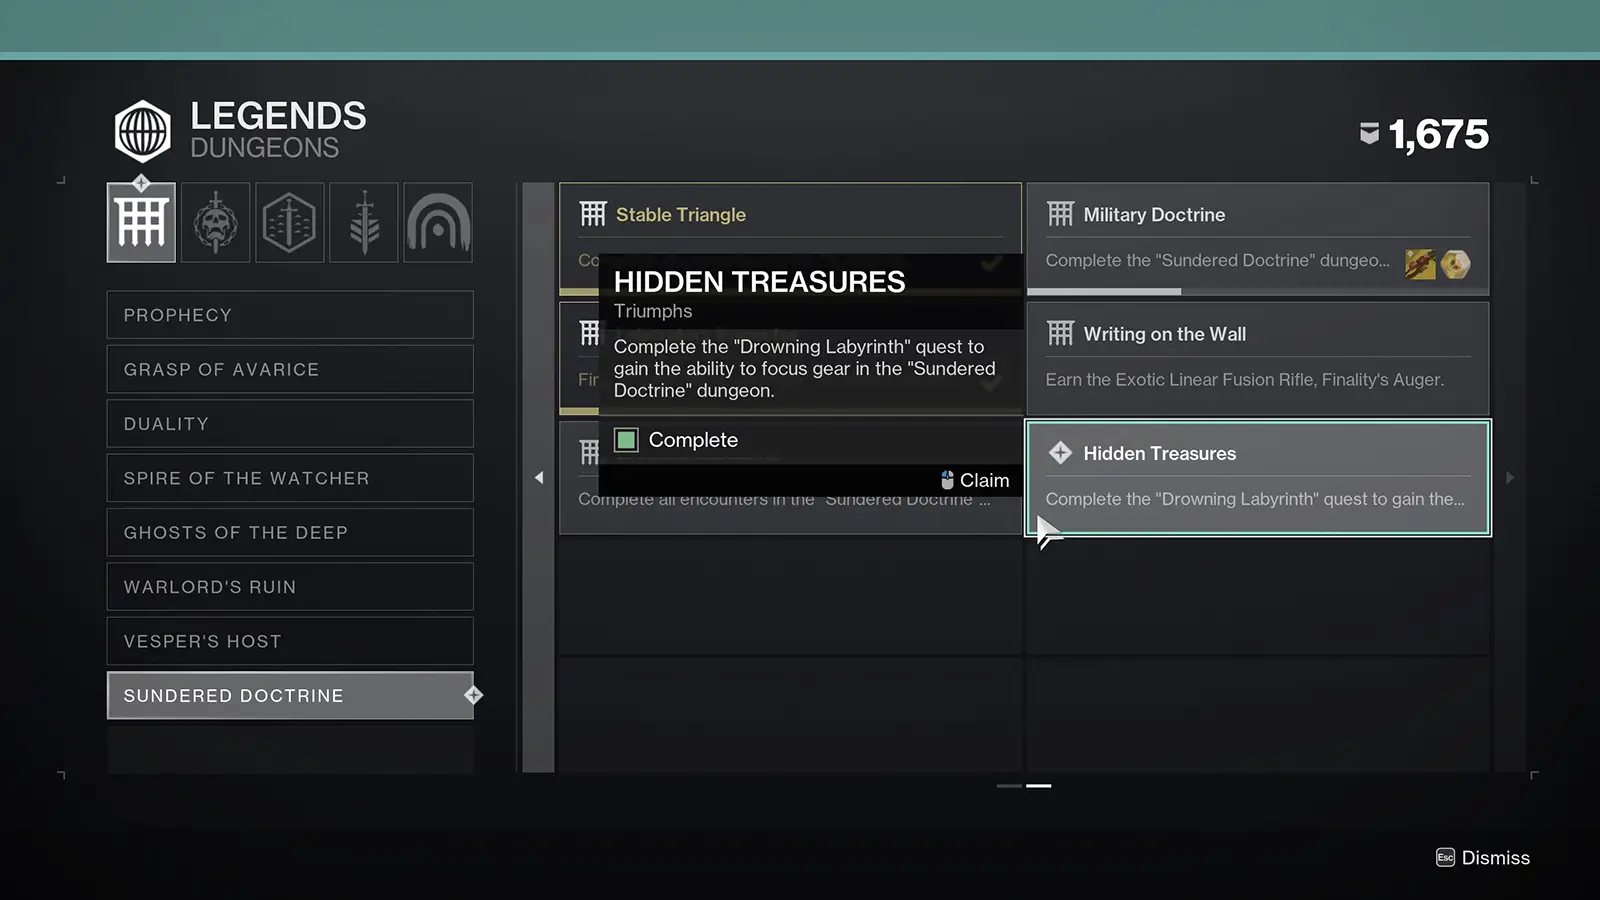
Before you can start focusing gear, you need to finish The Drowning Labyrinth quest from Ikora Rey. After that, turn in the Triumph “Hidden Treasures” in your Triumphs tab.
If you want a step-by-step guide on how to complete the Drowning Labyrinth quest, make sure to check out our guide here.
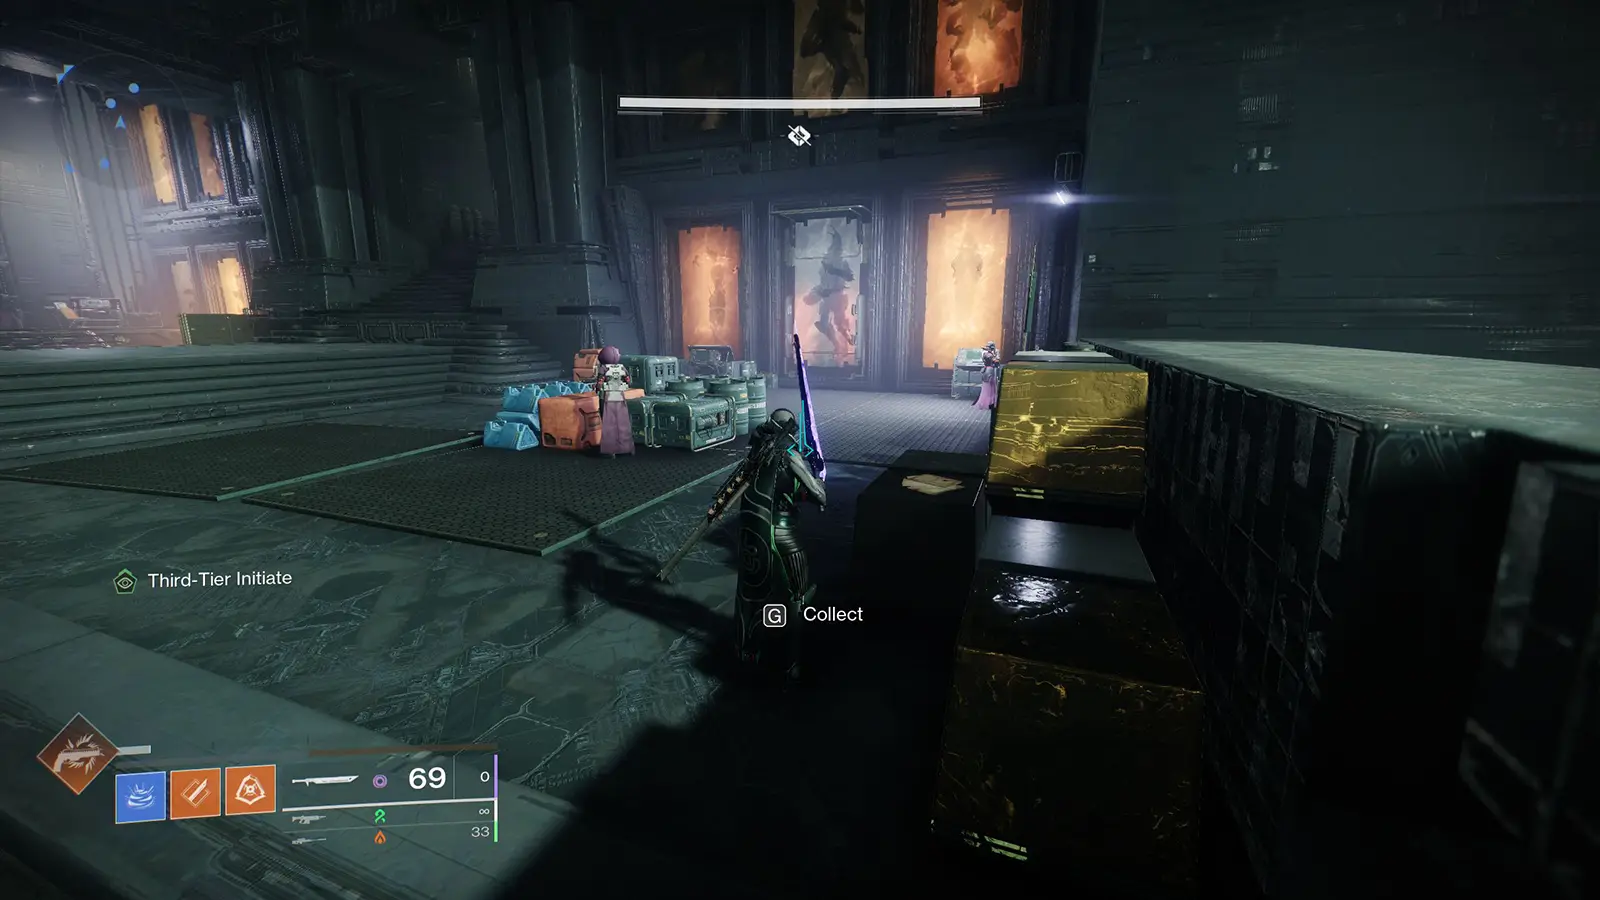
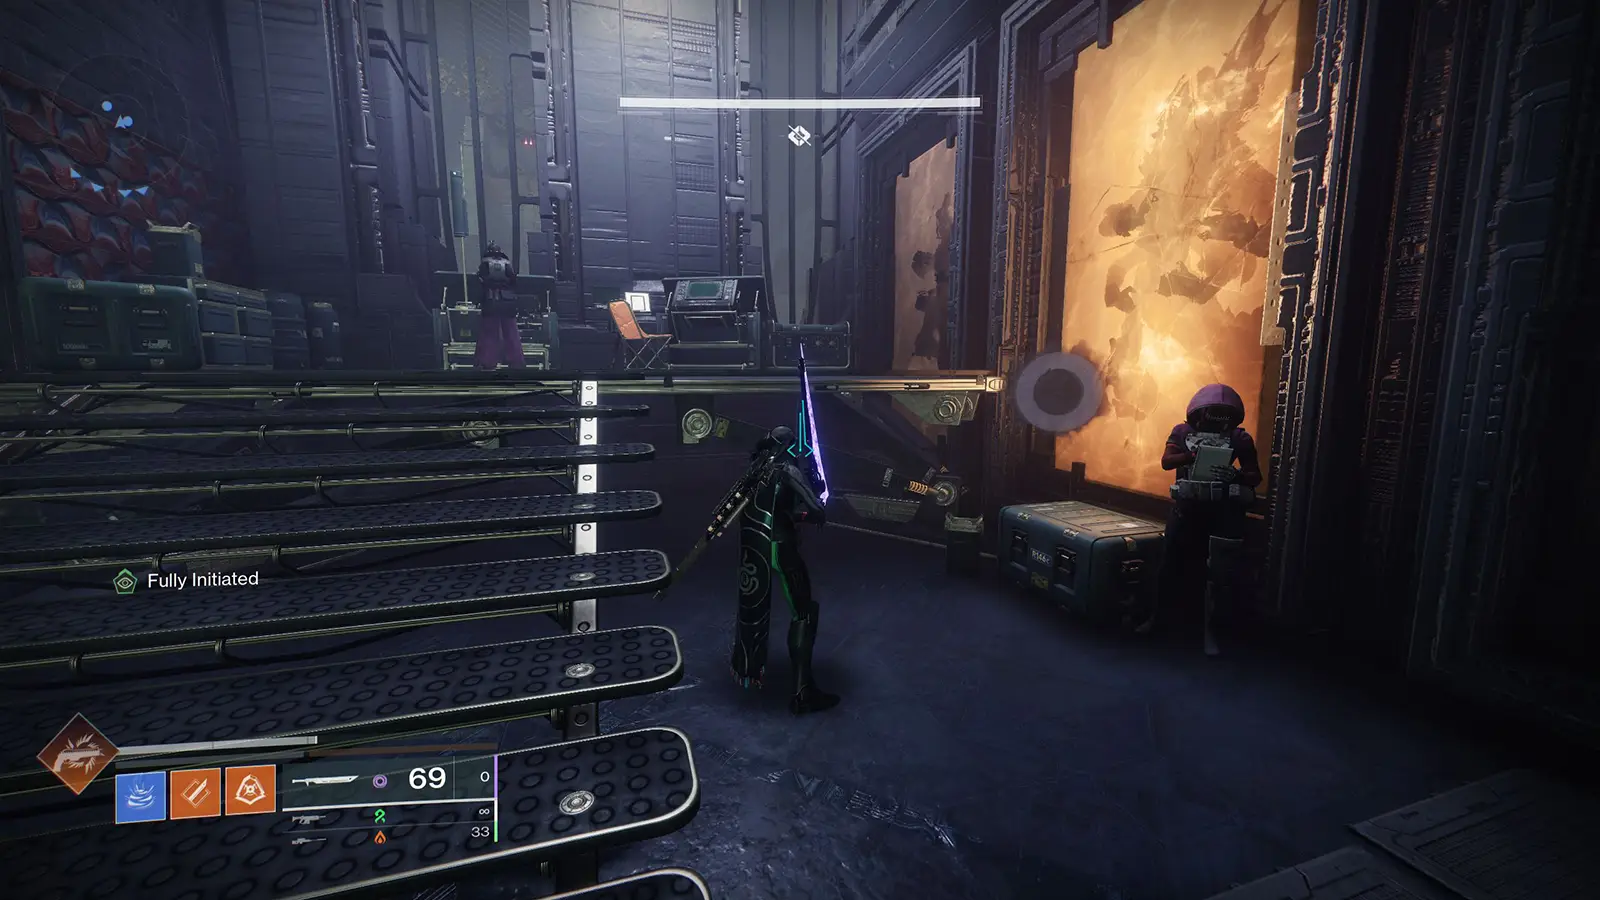
Step 2: Enter the Dungeon and Collect the Hidden Report
Relaunch the dungeon and head to the Hidden base camp at the start. Upon entering, turn left, where you’ll see a Warlock and a Hunter standing near a stack of crates.
The Hidden Report is located on the blocks behind the Hunter.
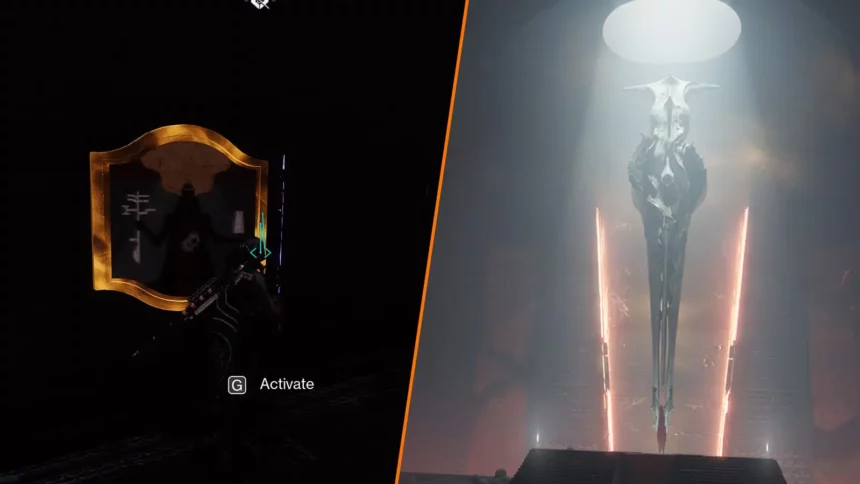
Step 3: Shoot the Correct Symbols
Now, make your way to the giant Pyramid wheel/machinery where you entered the symbols for the Drowning Labyrinth questline. Here, you need to shoot the following symbols in order:
- Worm
- Give
- Guardian
This unlocks the ability to select a specific weapon or armor piece to focus. Now, turn around and make your way to the far right of the room from your location. You’ll notice that there’s now a blank symbol spawned next to the Hidden Hunter.
Now, if you go to the very first worm room, underneath the bridge, you’ll notice that the Witness symbol now has a glowing border, which means it can be activated. This is the case for all the symbols in the worm rooms.
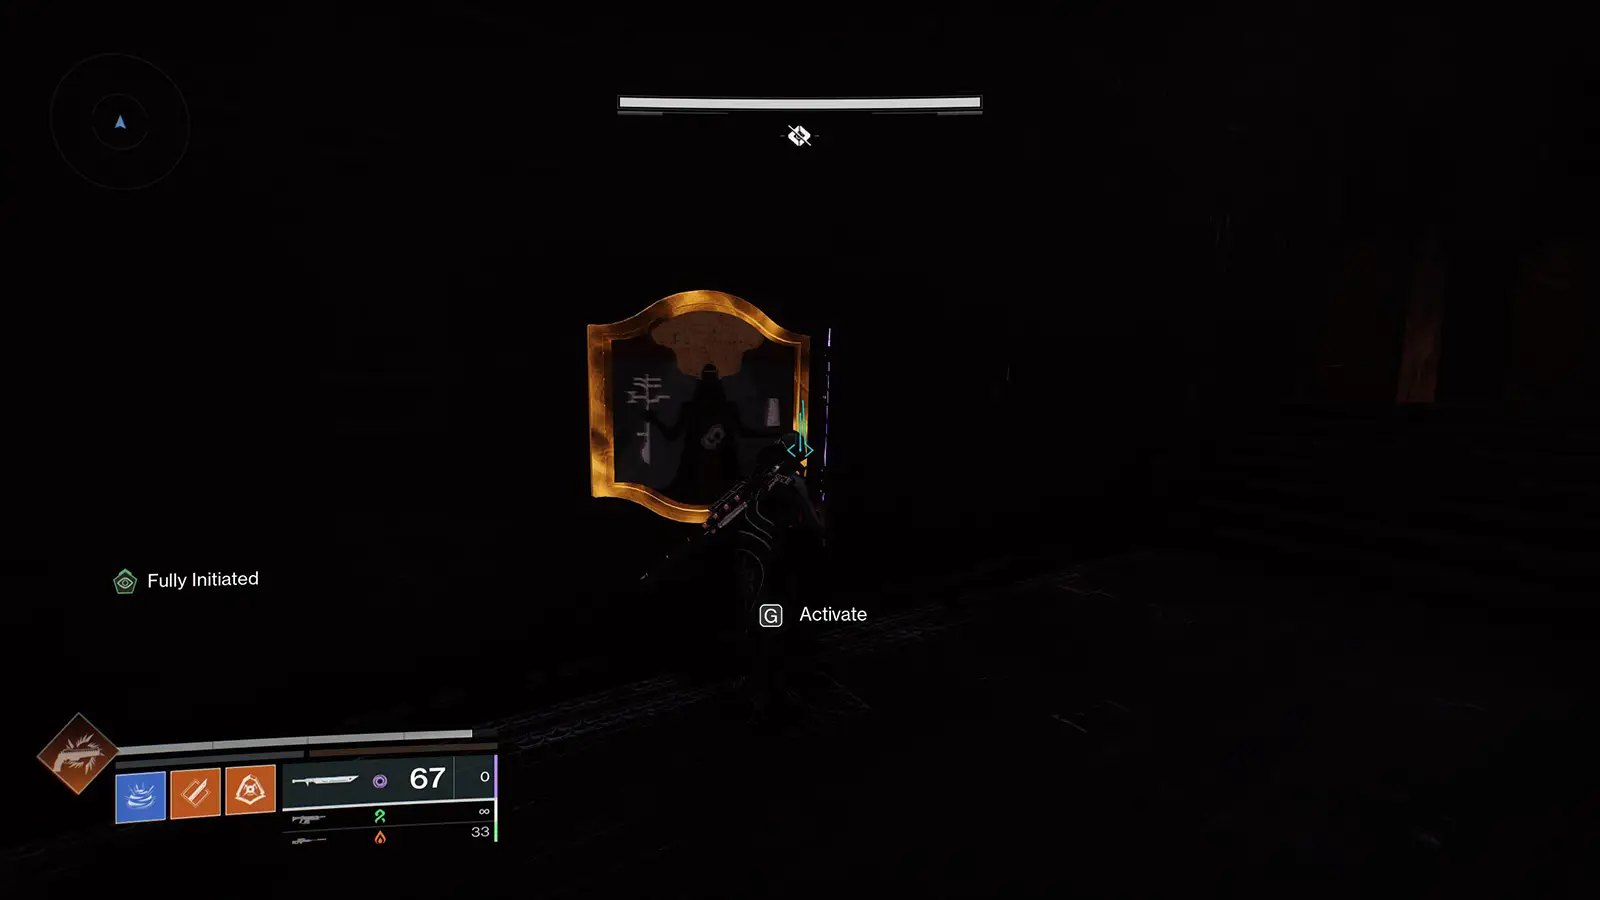
Step 4: Activate the Correct Symbol in the Worm Room
Once the focus system is active, you’ll need to interact with a specific symbol inside the Worm rooms. Each symbol corresponds to a different weapon or armor piece.
Here’s what we know so far about the loot table:
- Darkness: Hand Cannon
- Grieve: Shotgun
- Remember: Scout Rifle
- Worm: Trace Rifle
- Hive: Helmet?
- Give: Arms
- Witness: Chest Armor
- Fleet: Leg Armor
- Guardian: Class Item
Symbols appear in different areas of the dungeon:
- Before 1st Encounter: Witness, Hive, Guardian
- Before 2nd Encounter: Give, Grieve, Remember
- Before 3rd Encounter: Darkness, Worm, Fleet
Check out our complete guide that has the location for every worm and the symbol you’ll find in that room.
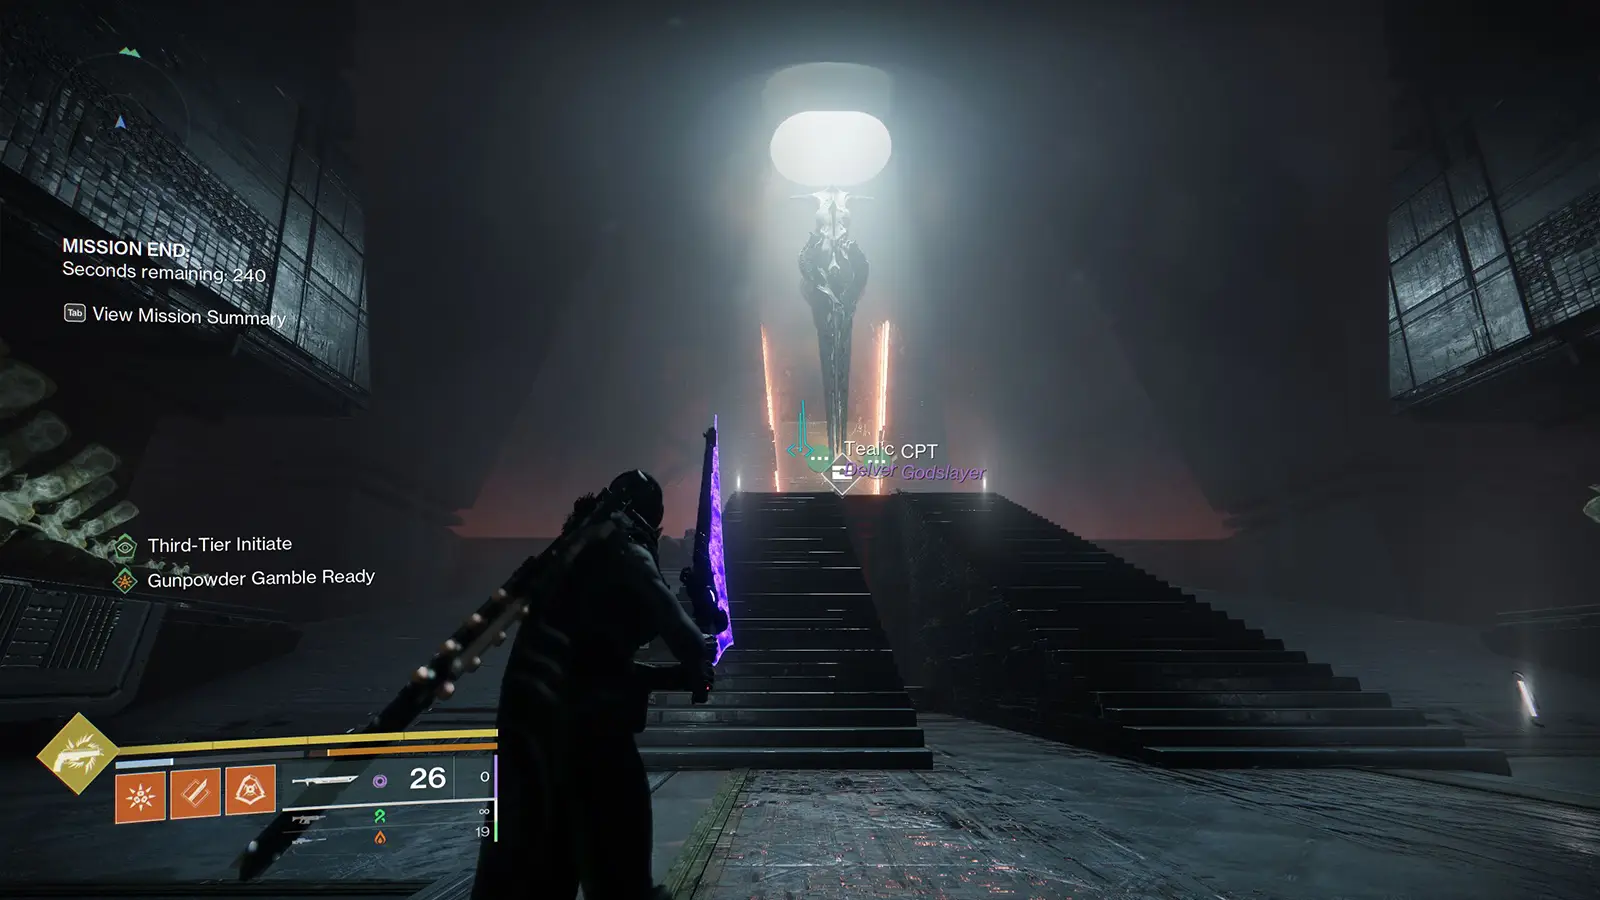
After you’ve activated a symbol, you need to complete the dungeon in full. After defeating the final boss, the door behind the chest will open and you’ll be able to get the focused loot from the chest in the Rhulk’s Vault – which will show the activated symbol above it.
Since this secret is still being tested, we’ll update this article as soon as more gear-symbol connections are confirmed.
Don't miss the big stories. Make us your preferred source on Google to get breaking news, leaks, and exclusives first.