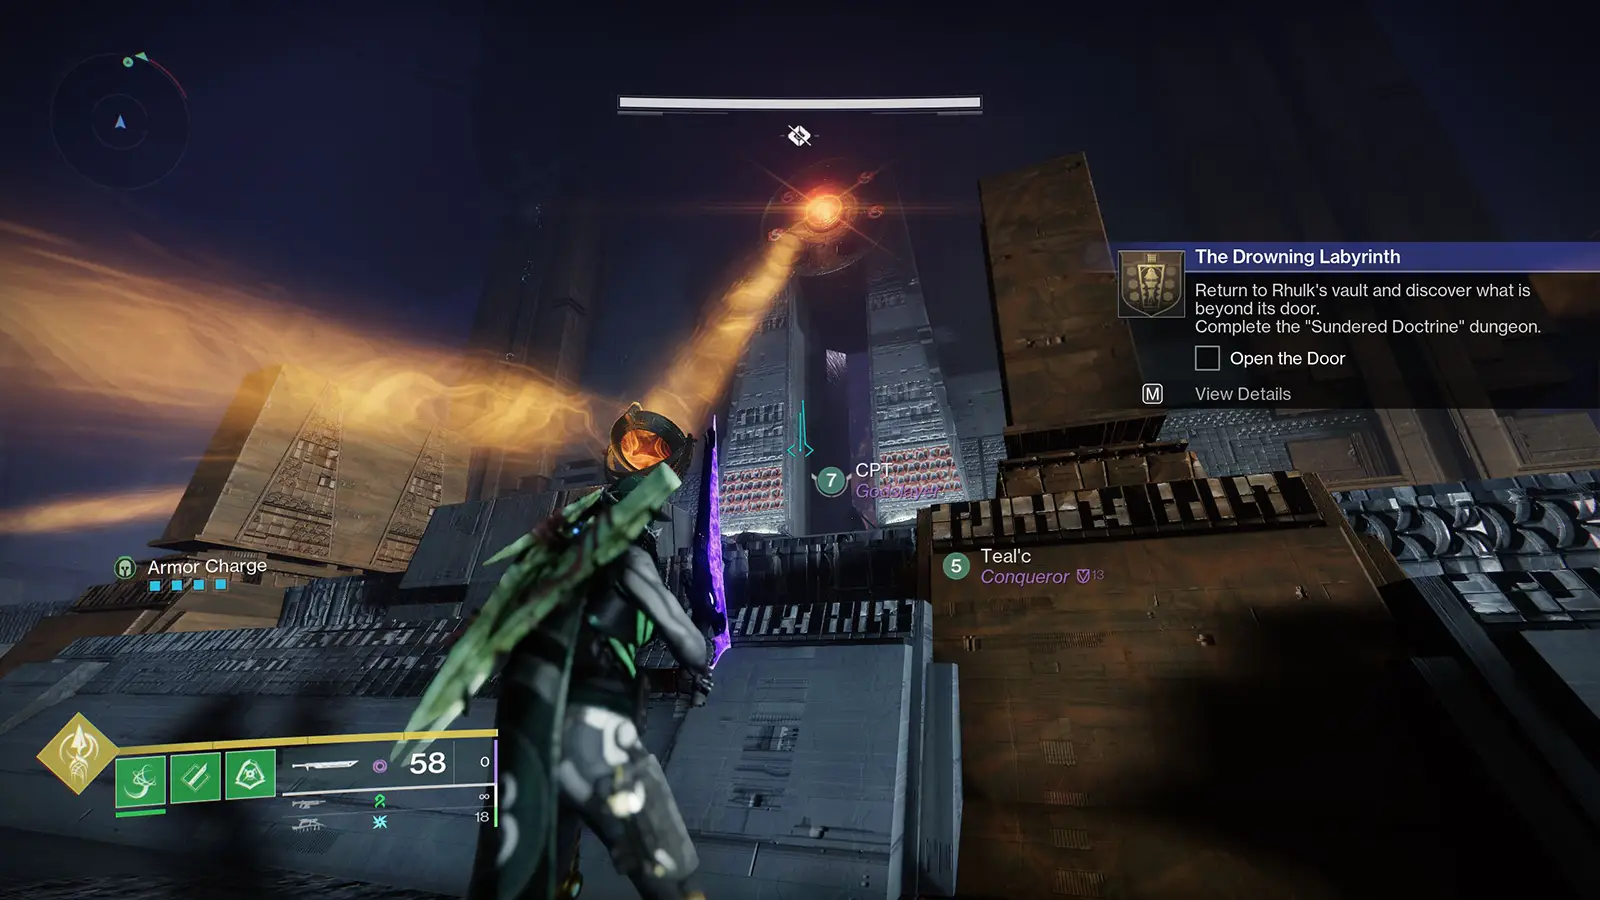
Destiny 2’s Sundered Doctrine dungeon introduces a secret quest called “The Drowning Labyrinth.” Here’s a full guide on how to complete each step.
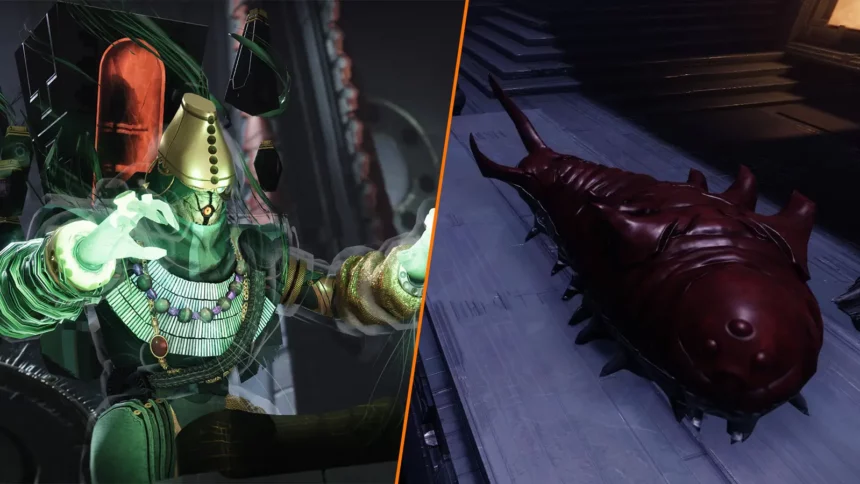
Destiny 2’s latest dungeon, Sundered Doctrine, is finally here, and it’s packed with new weapons and armor. The dungeon takes place inside Rhulk’s Pyramid Ship, bringing back some familiar mechanics from Vow of the Disciple, but with new challenges.
Players can earn a brand-new exotic linear fusion rifle, Finality’s Auger, alongside some powerful new legendary weapons like the Unvoiced shotgun, Unworthy scout rifle, and Unsworn trace rifle.
But beyond the loot, there’s a new quest called The Drowning Labyrinth, which involves finding some secrets in the dungeon. If you’ve been wondering how to start it and what to do next, we’ve got you covered. Here’s a full step-by-step guide on how to complete it.
Destiny 2: How to Complete “The Drowning Labyrinth” Quest in Sundered Doctrine Dungeon
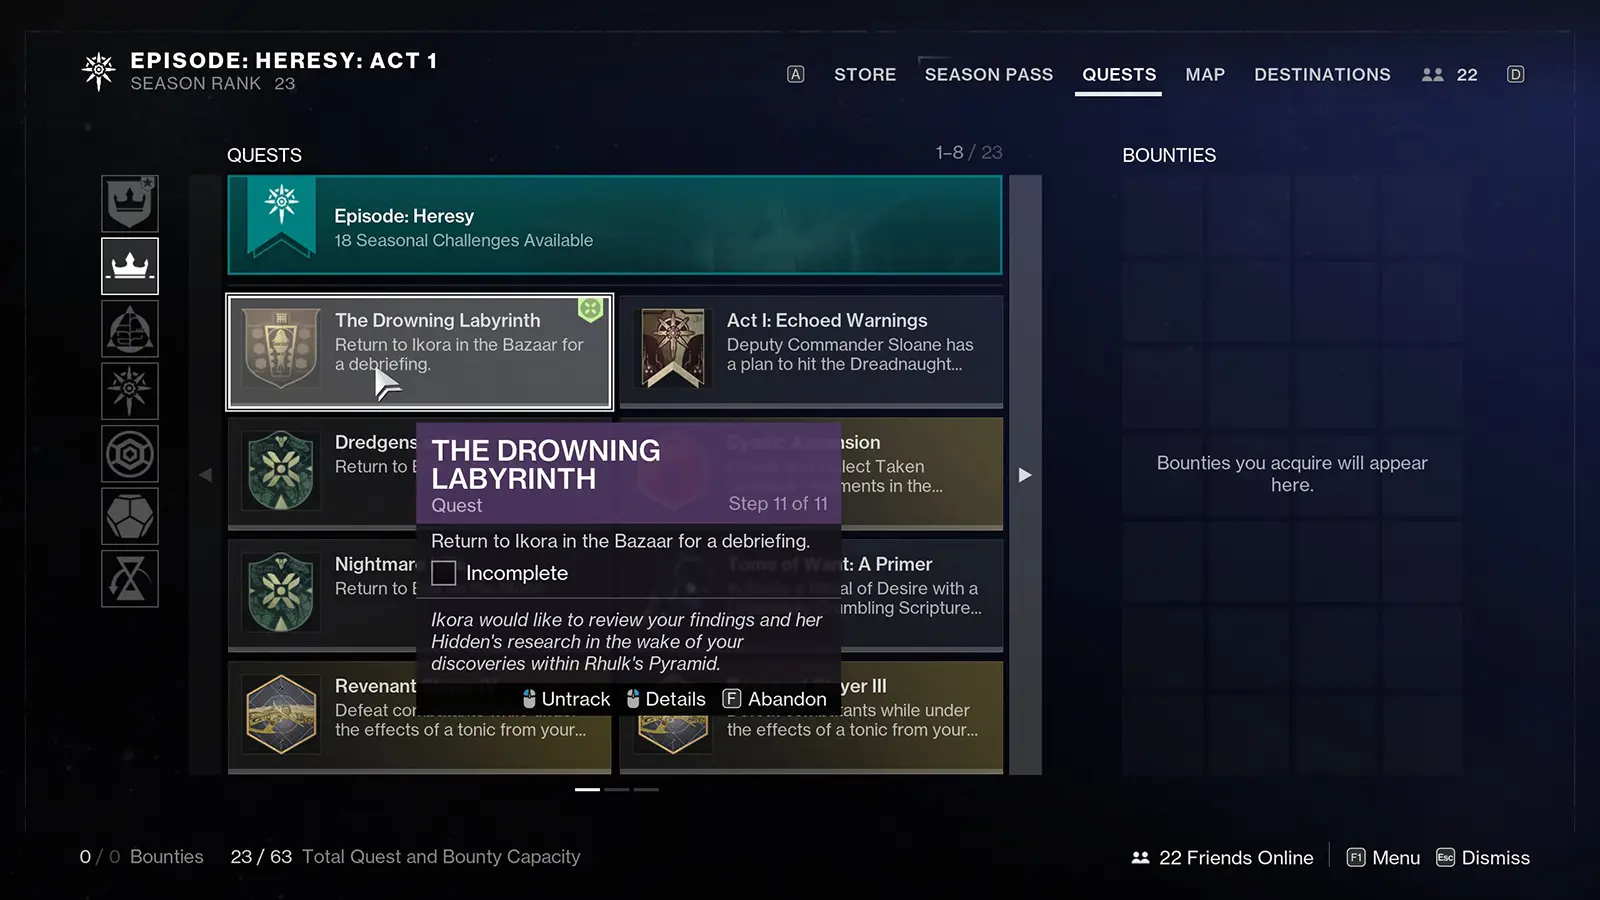
The Drowning Labyrinth is an 11-step questline, which you can pick up from Ikora Rey in the Tower Bazaar. The quest requires you to complete the dungeon multiple times, find hidden worms, and solve some puzzles.
Now, let’s go through the first five steps, what they require, and how to complete them. Feel free to bookmark this article.
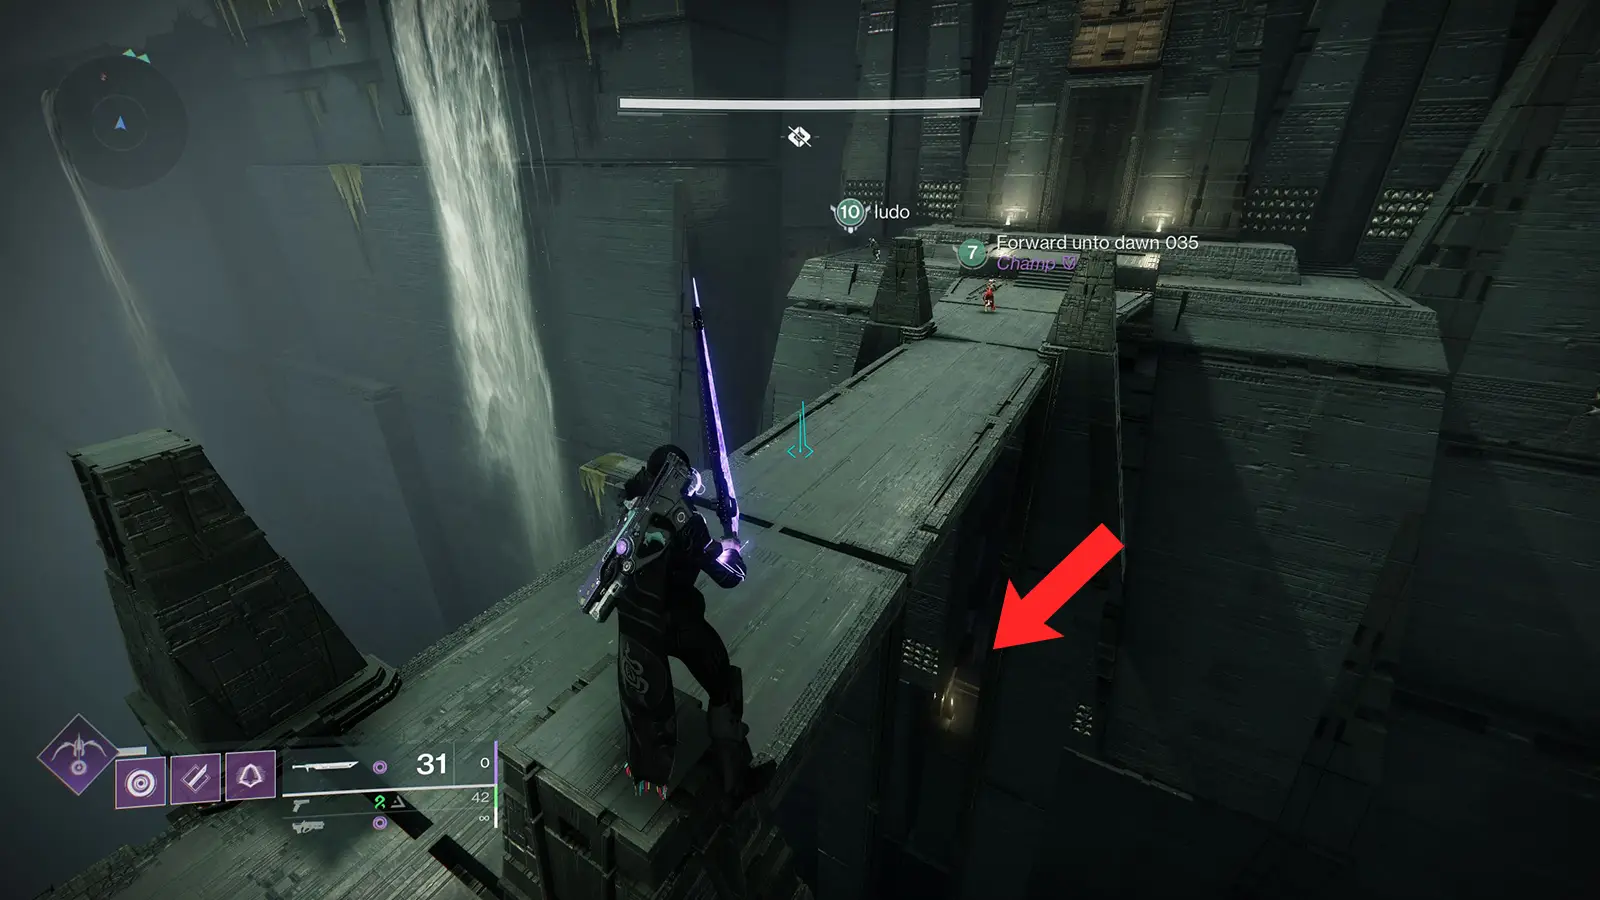
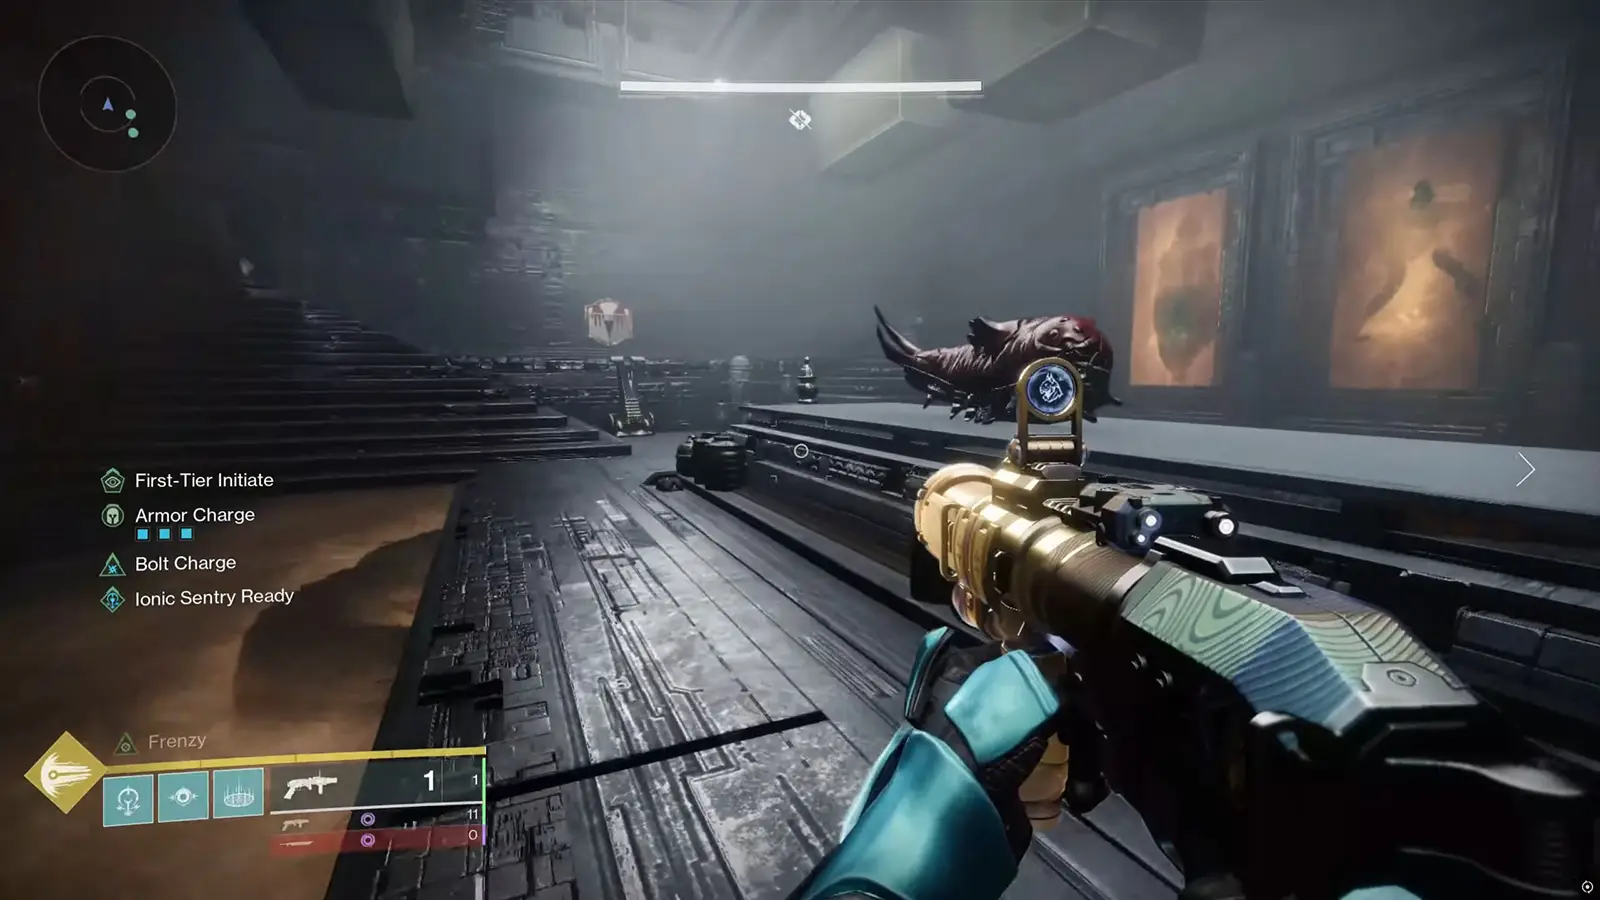
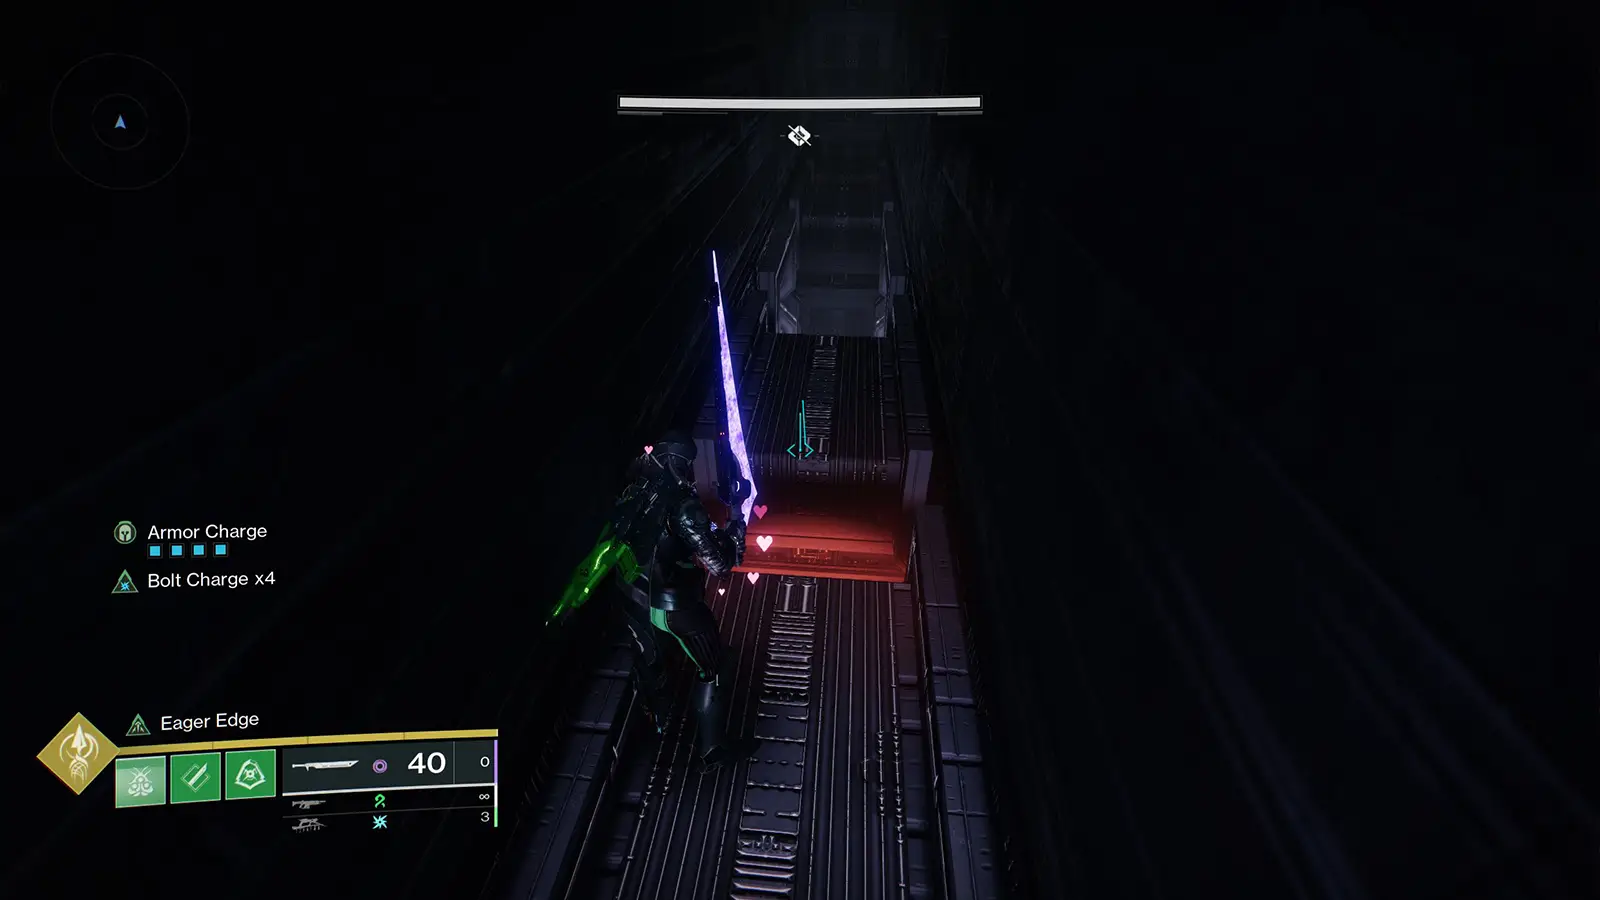
Step 1: Complete the Dungeon
This step is as simple as it sounds. To start the quest, you need to complete the Sundered Doctrine dungeon at any difficulty. Whether you run it on Normal or Master, you’ll get the next steps for the quest once the final boss, Kerrev, The Erased, is defeated.
Check out our complete Sundered Doctrine dungeon guide here.

Step 2: Enter the Code
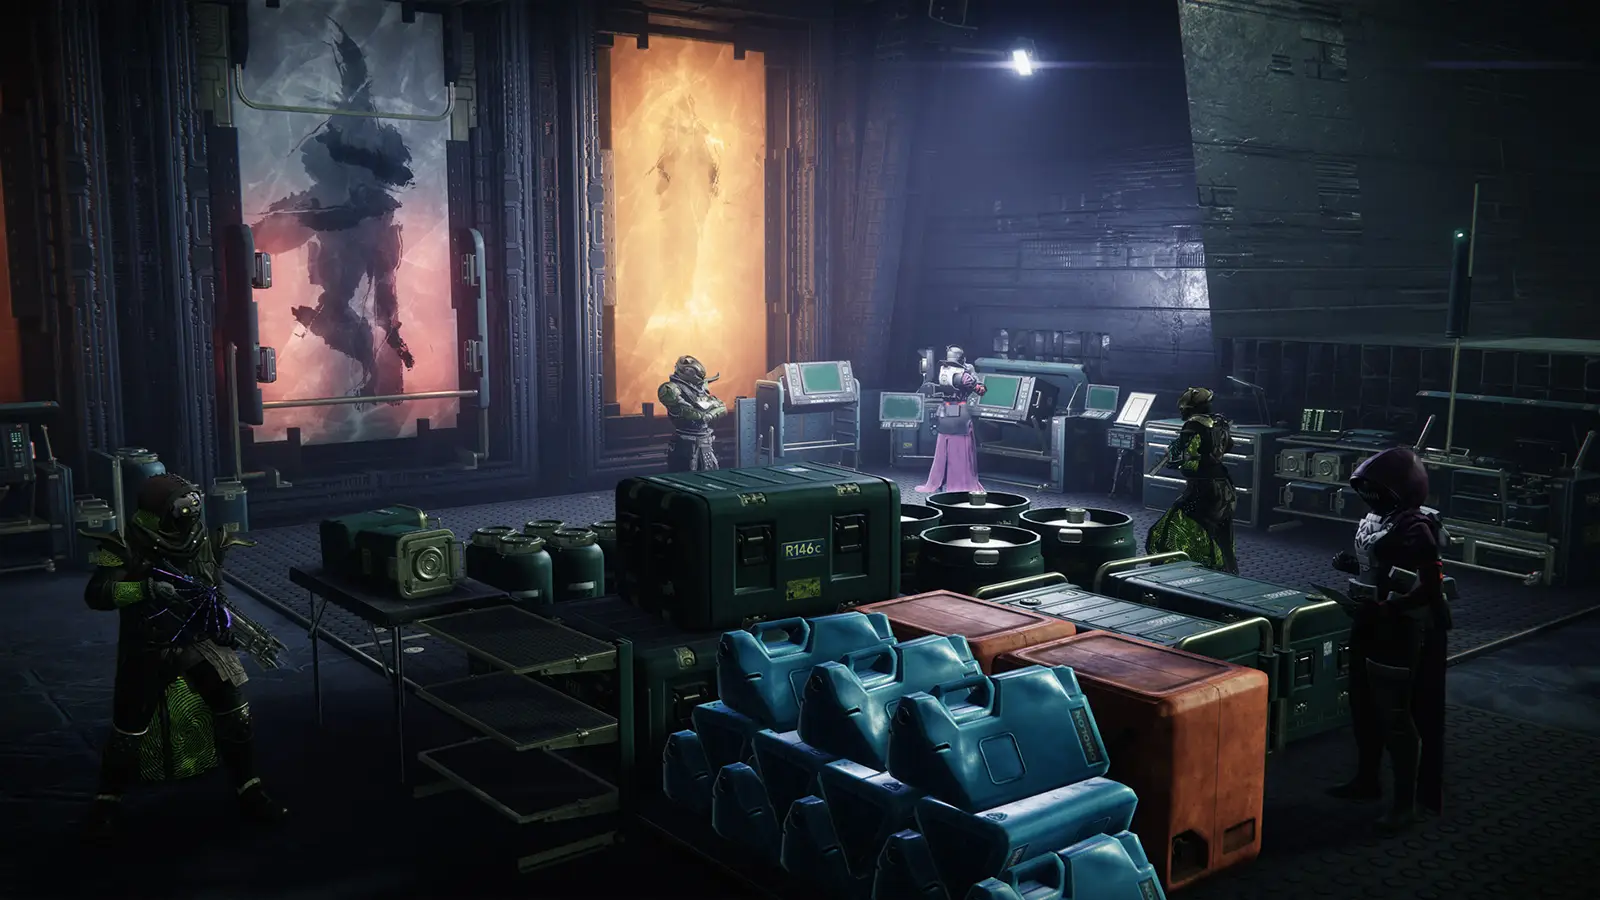
After completing the dungeon, the next step is to find the Hidden Base Camp, which is located at the very beginning of the dungeon. You actually run past it right before the bridge.
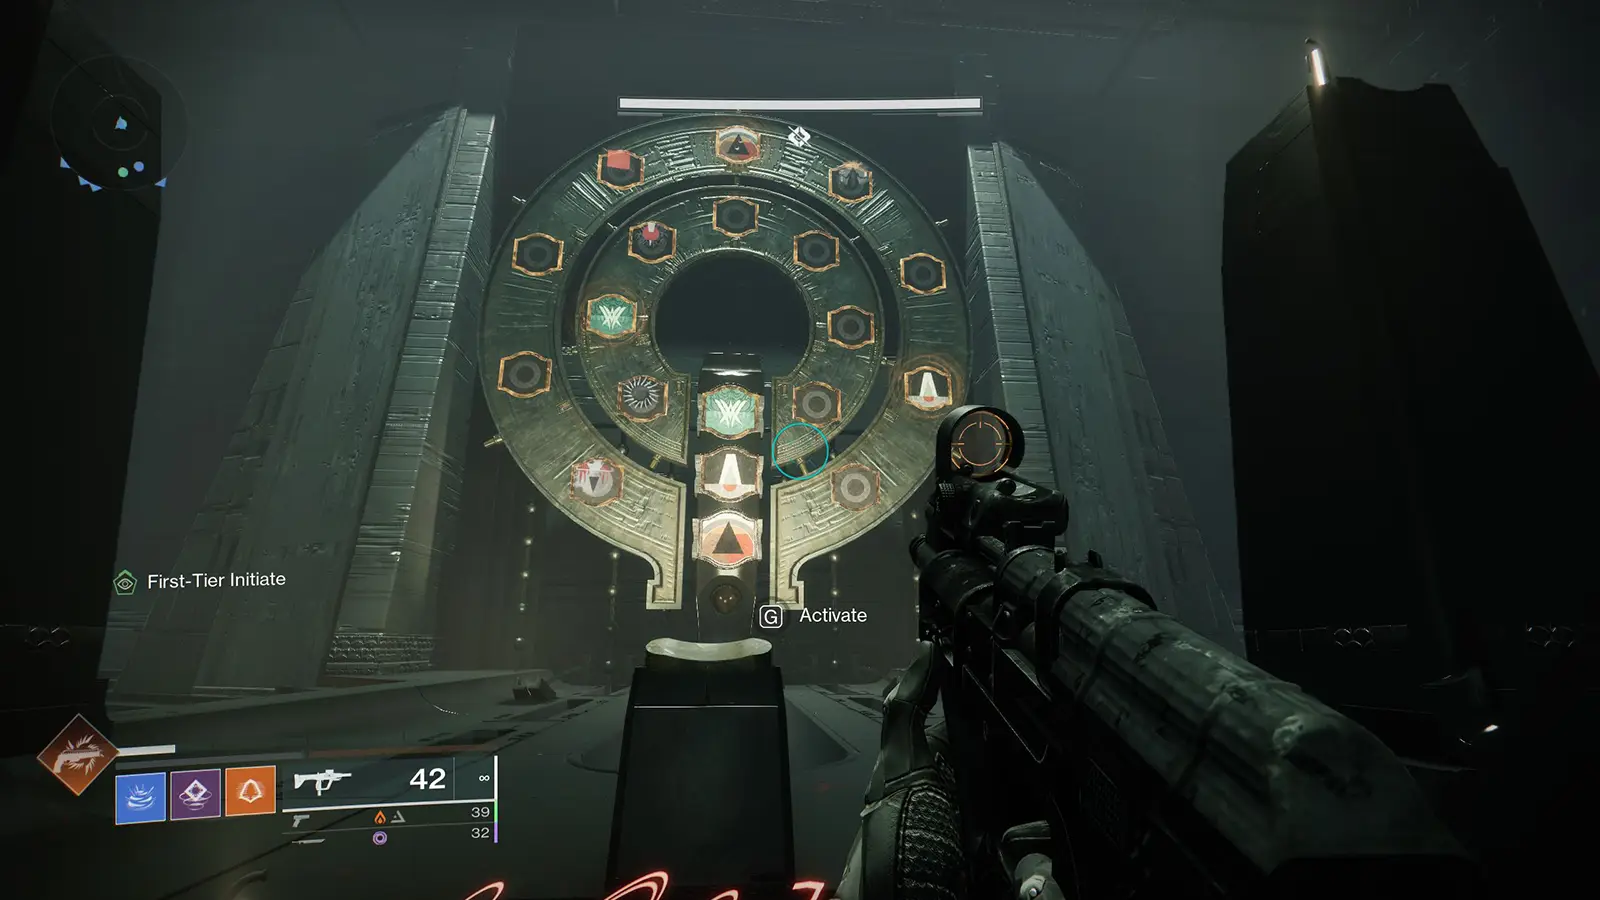
To complete this step, look for a table with scattered papers. Walk up to it and pick up the Hidden report to move forward. Once you’ve grabbed the report, you’ll need to enter a code into the Pyramid’s machinery—which is a giant wheel located on the far left of the room—inside the base camp.
Enter the following code by shooting the symbols on the wheel:
- Savathûn Symbol
- Enter Symbol
- Pyramid Symbol
The correct code to input here is “Savathûn Enters the Pyramid.” Entering this progresses the quest and unlocks the next steps.
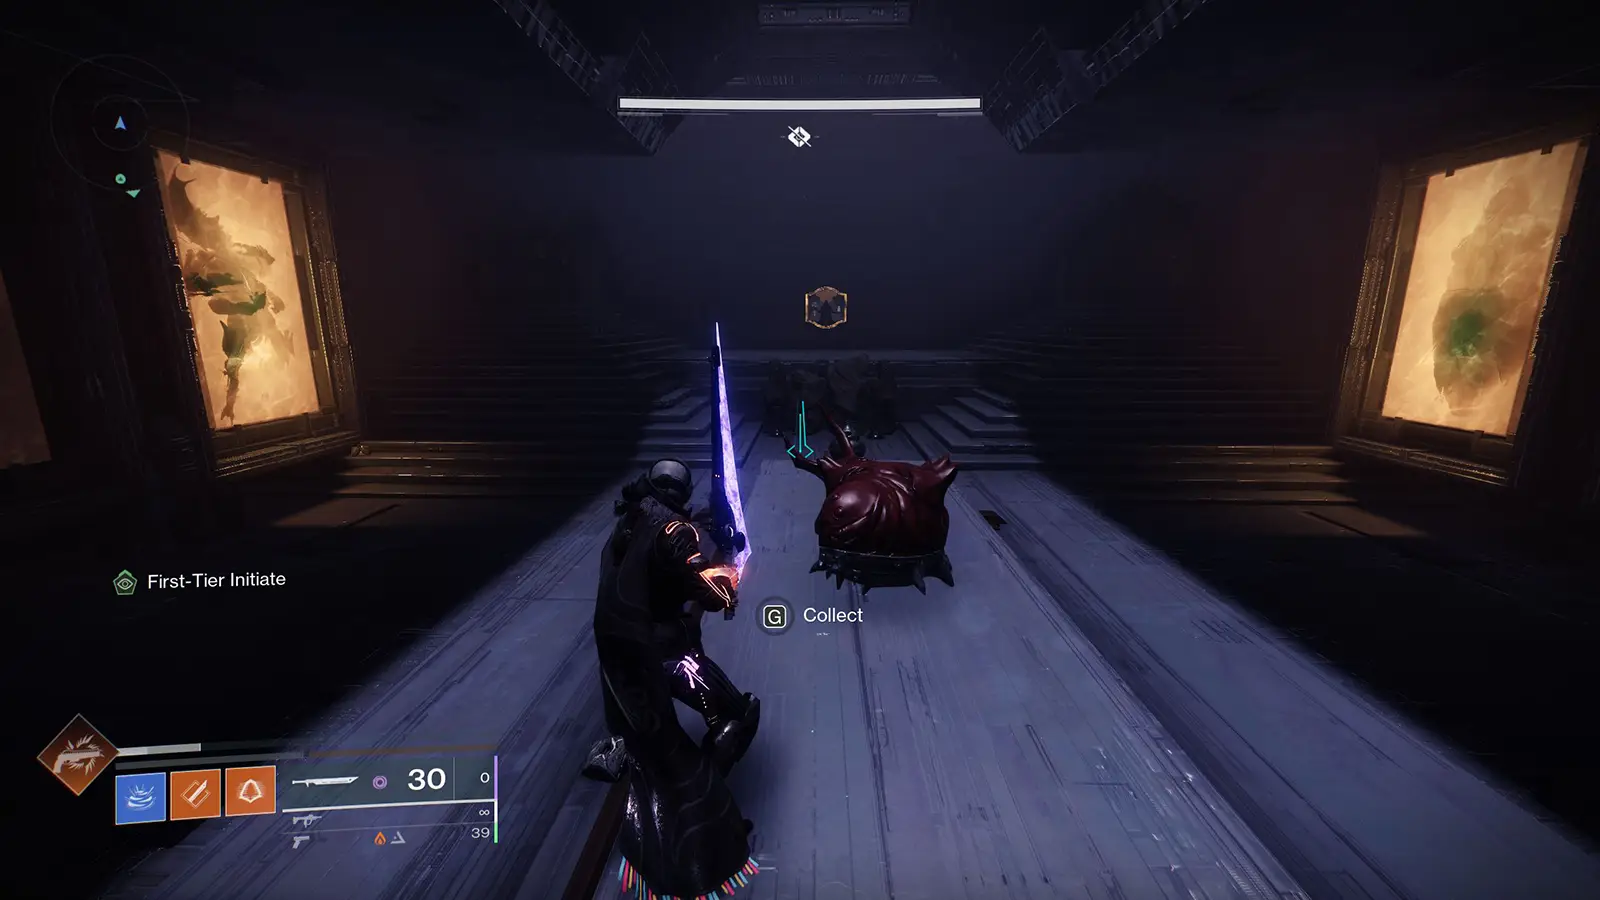
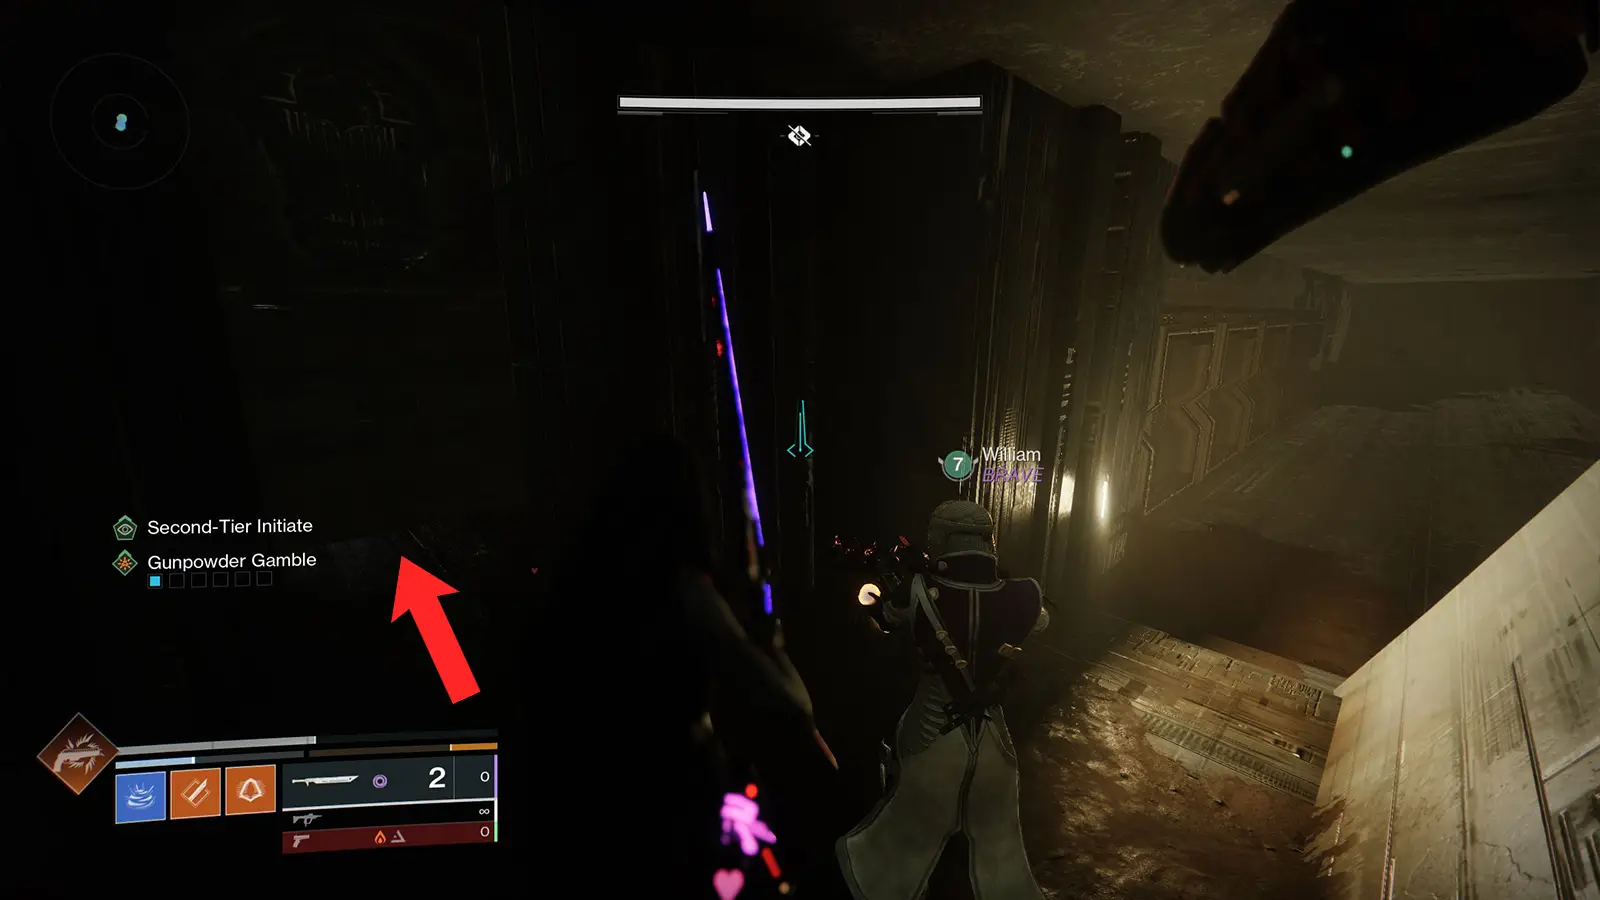
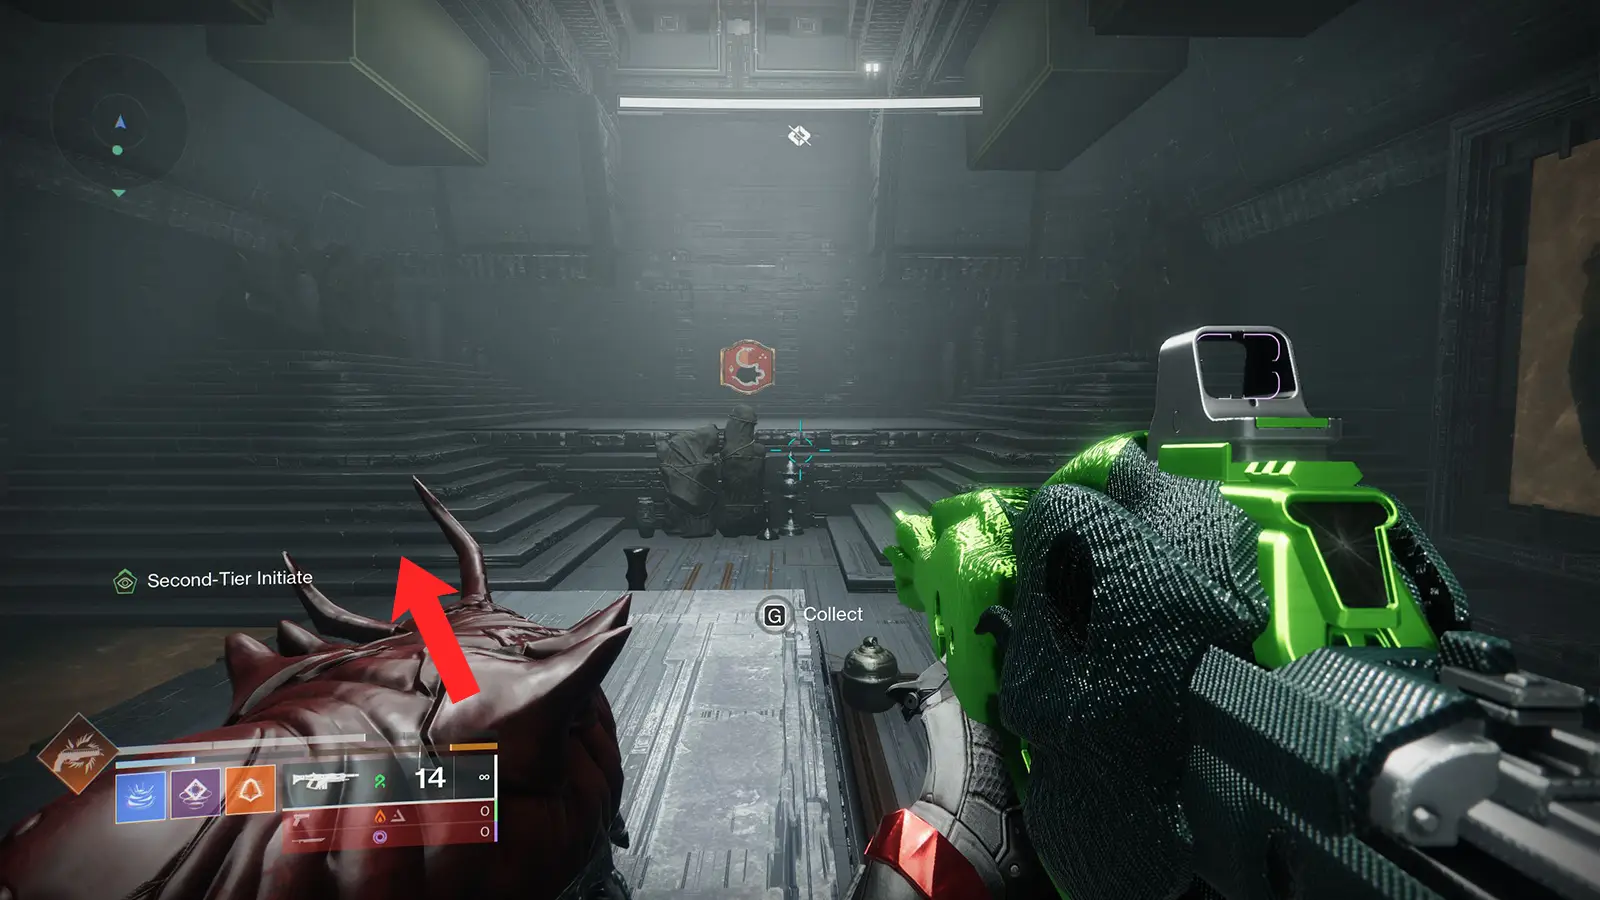
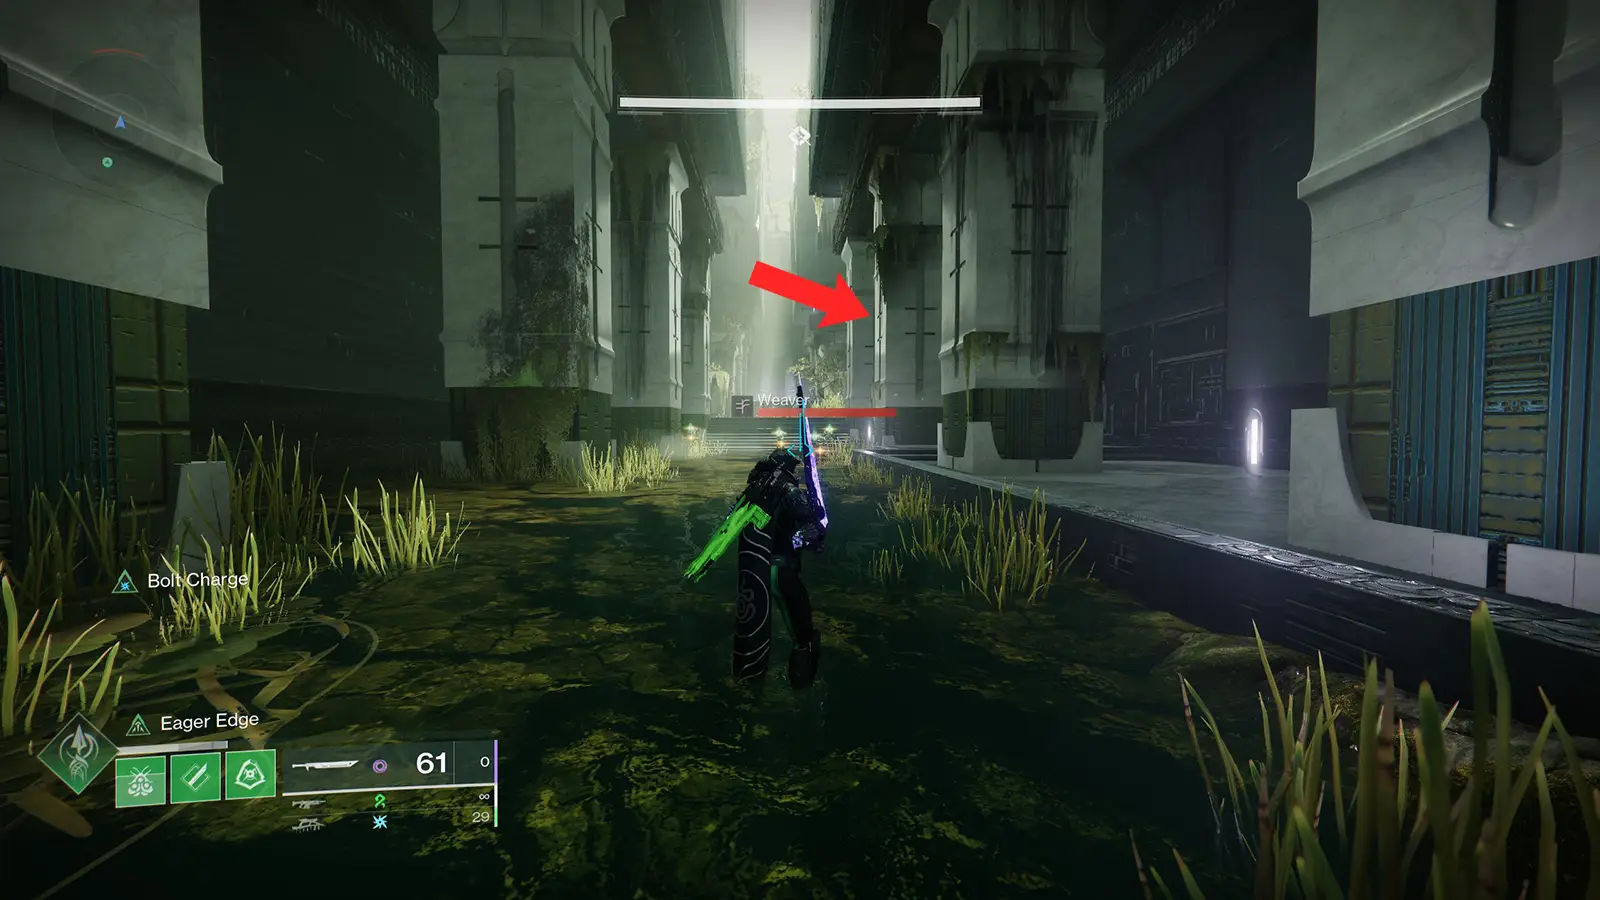
Step 3: Find Hidden Worms
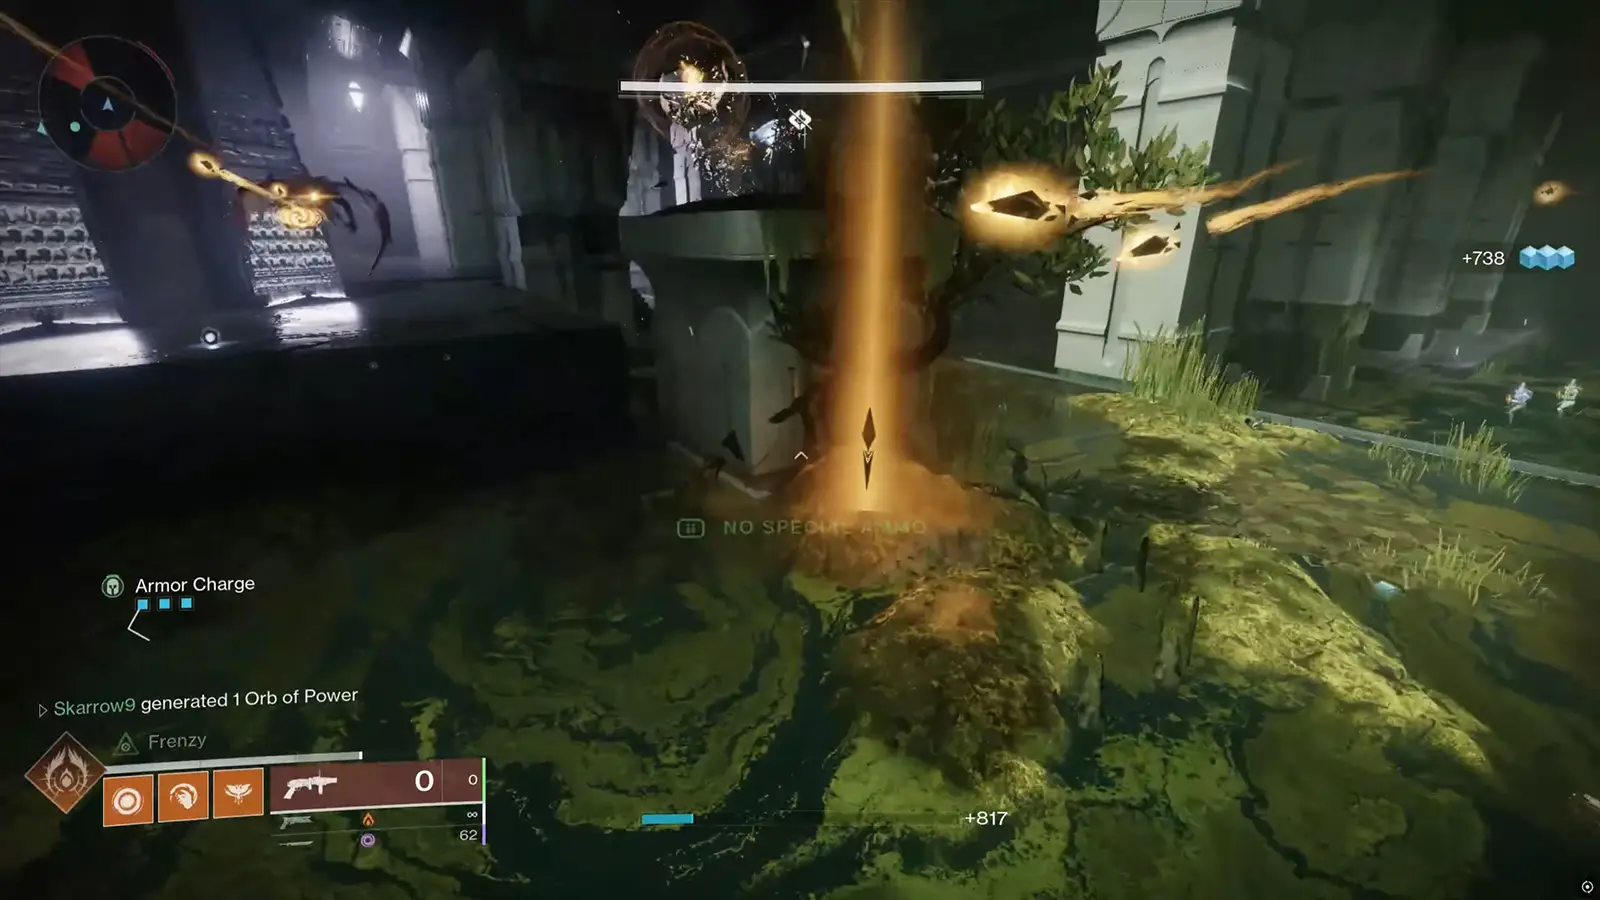
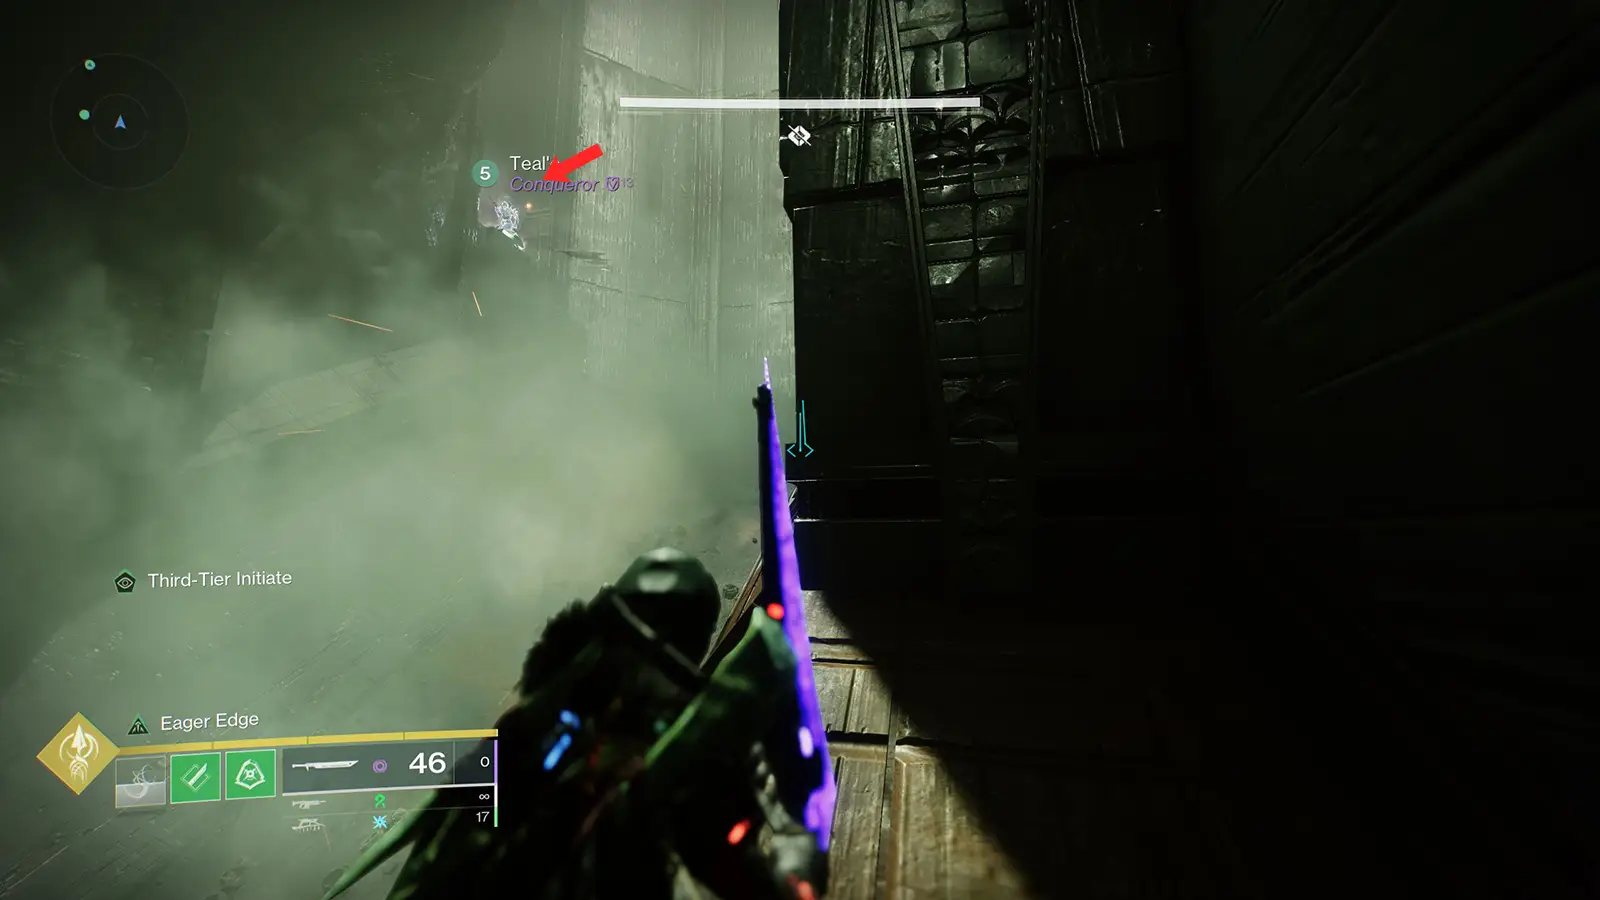
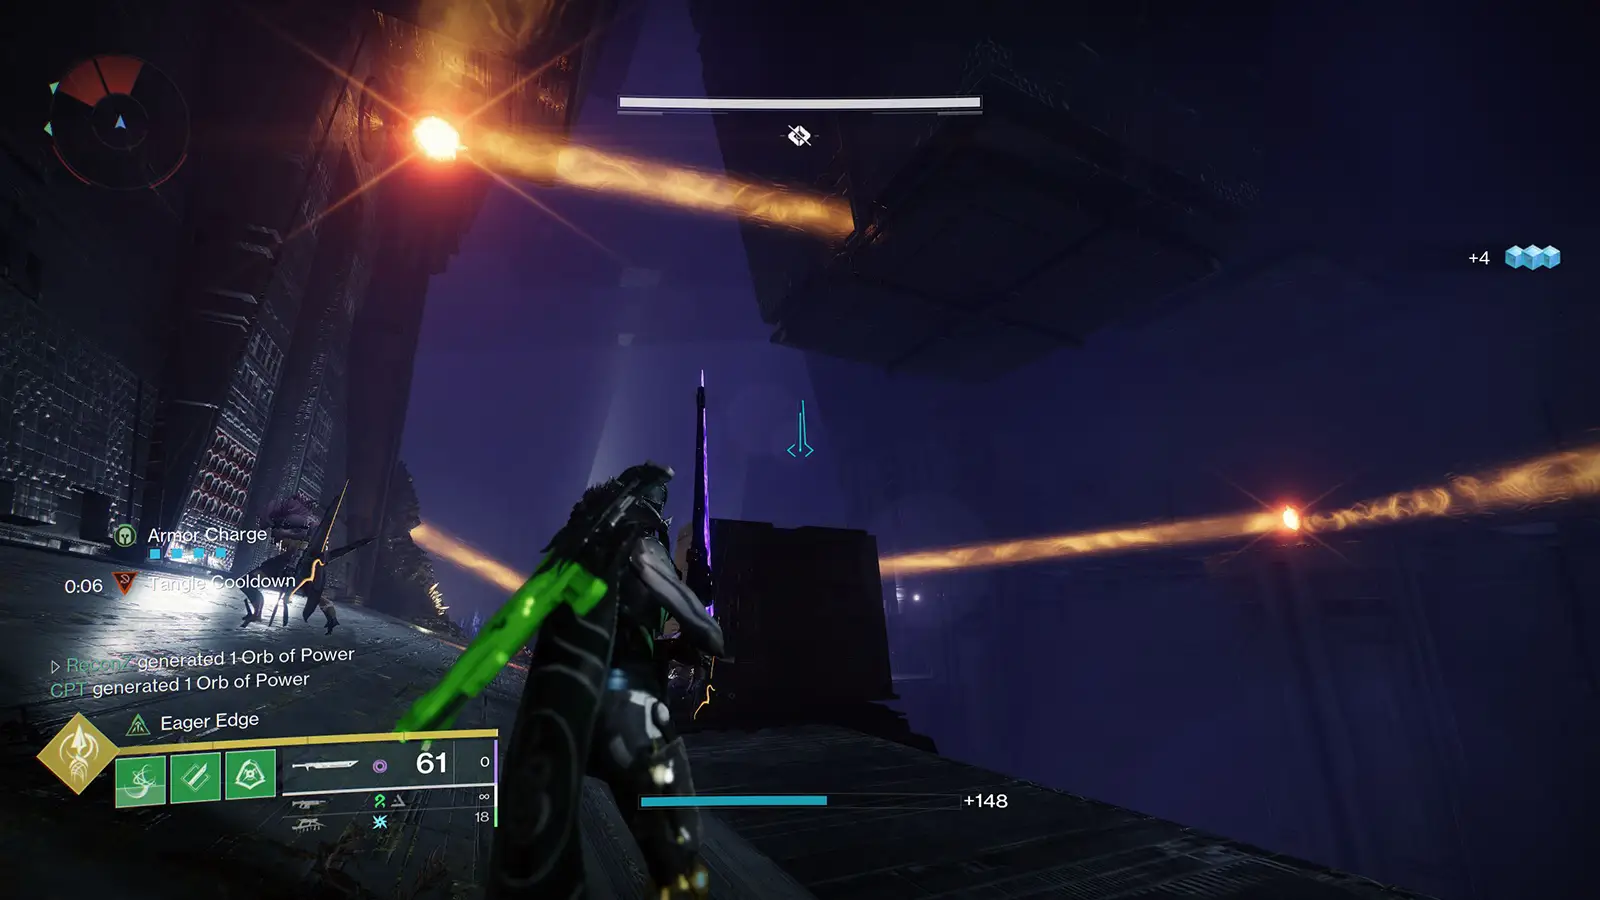
Now, things get more interesting. Your next task is to find three hidden Hive Worms, which were part of Rhulk’s experiments, and defeat a group of Dread enemies who are analyzing Pyramid technology.
Worm #1 Location:
After leaving the Hidden Base Camp, you’ll cross a bridge. Underneath the bridge, there’s a secret platform where you’ll find the first Worm.
Look at the back wall near the Worm, there should be a Witness symbol. Take note of this, as it will be important later.
Worm #2 Location:
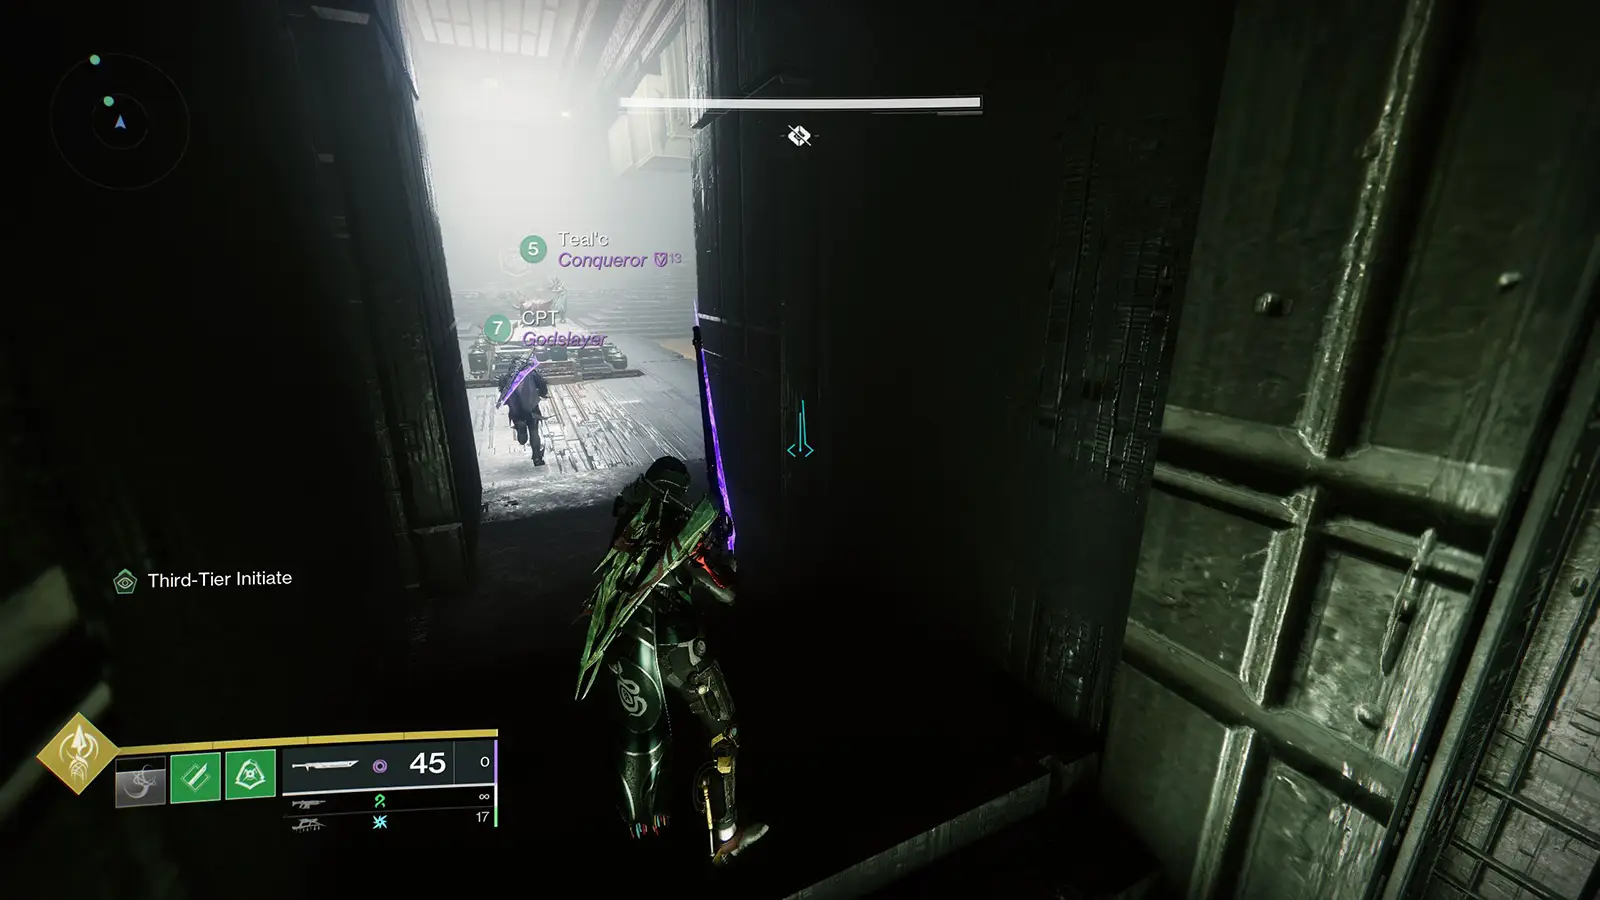
Continue through the dungeon until after the first encounter. You’ll reach a large cavern with Pyramid structures and Dread enemies after the maze. Normally, players would proceed through the right-side door, but instead, head to the back right corner.
Shoot the door to open it, similar to the ones seen in the final boss fight. You’ll find the second Worm inside. The symbol near this worm is the Give Symbol. Again, write it down.
Worm #3 Location:
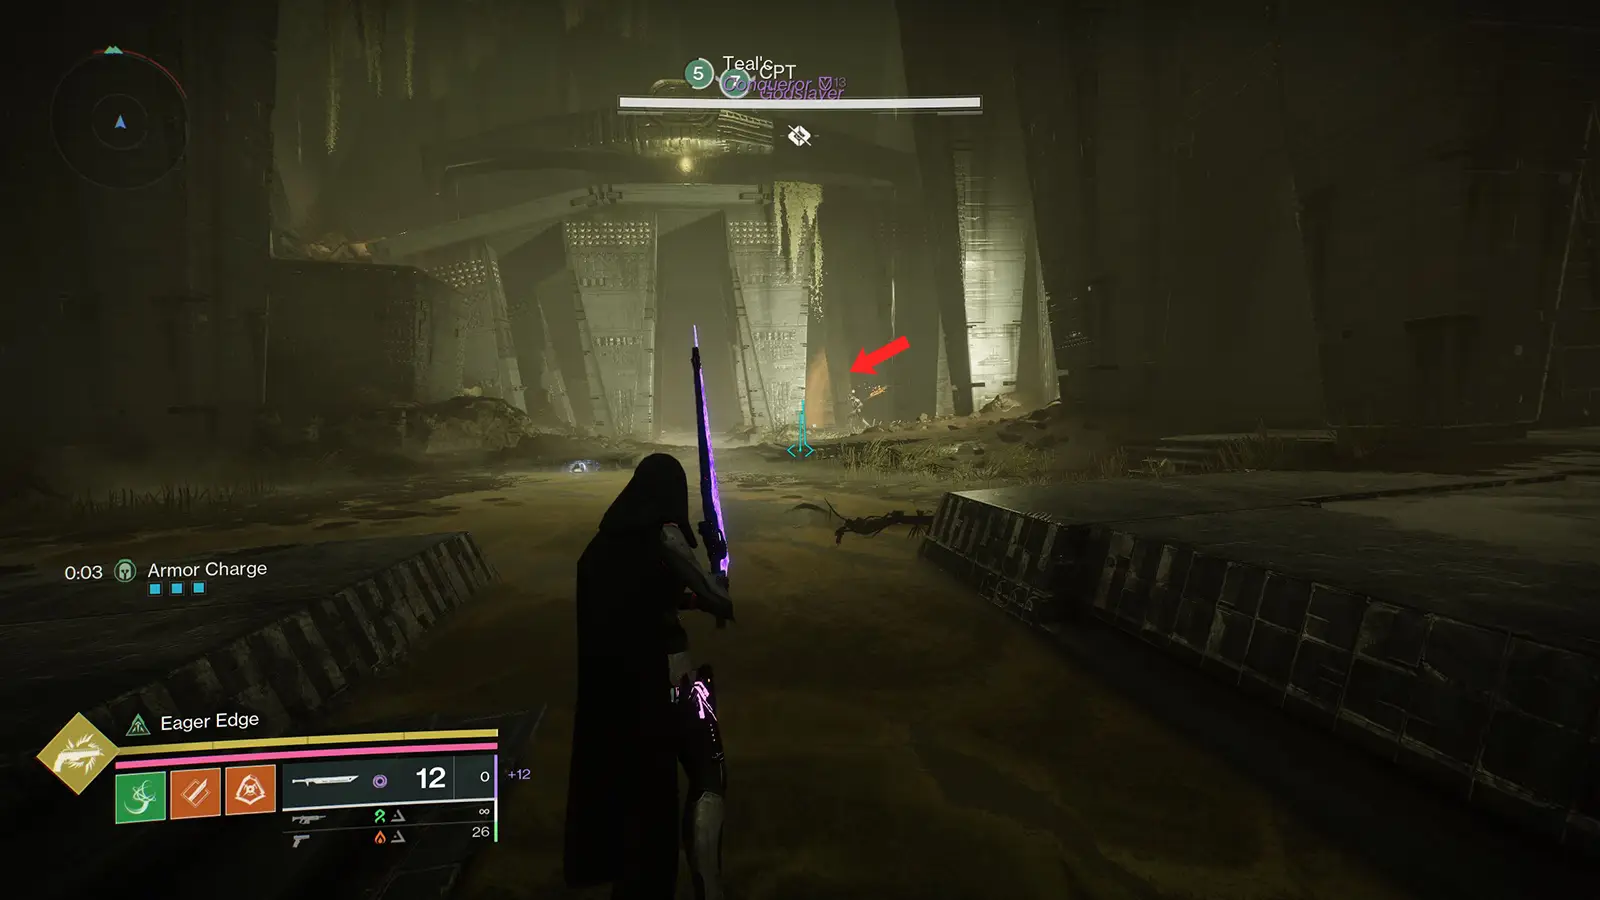
Progress through the dungeon until after the second encounter, leading up to the mini-encounter before the final boss. In this area, look toward the left side, where you’ll find a door that can be interacted with.
Open it, and you’ll find the third Worm. The symbol near this worm is the Darkness Symbol.

Step 4: Enter Another Code
With all three worms collected, it’s time to go back to the Hidden Base Camp and enter another code. Use the symbols you found next to the worms and enter:
“Witness Gives Darkness.”
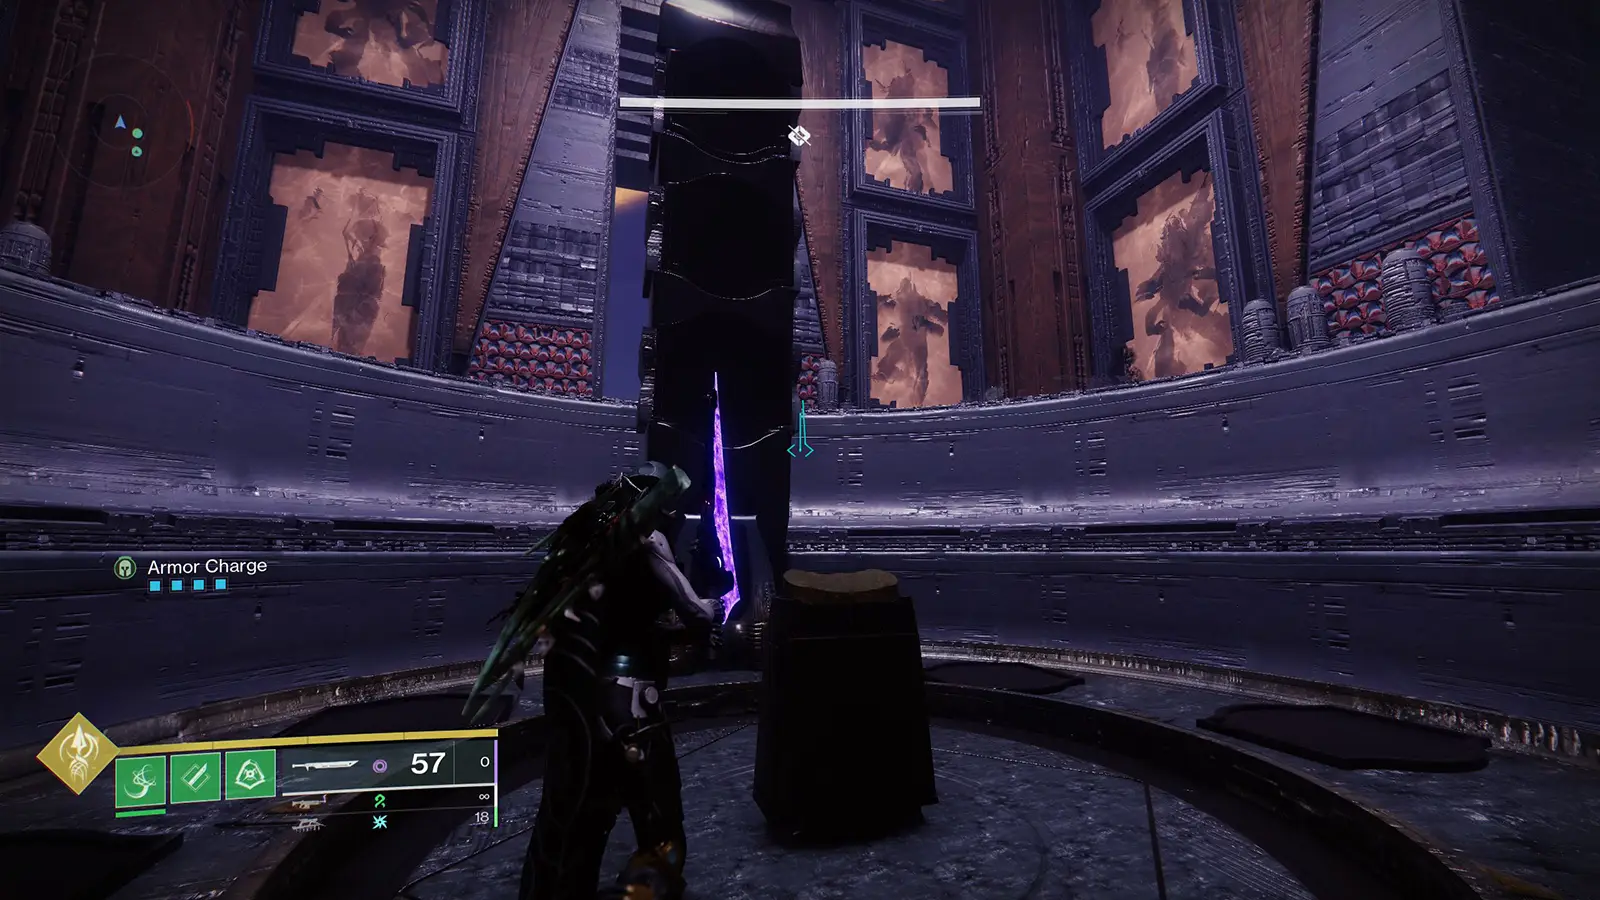
Once this is done, a message about the Pyramid shifting will appear. This opens up a new puzzle in the dungeon. Now, go back into the dungeon and make your way toward the first traversal section. Here, see a bunch of Dread enemies as well as a Hive Shrieker.
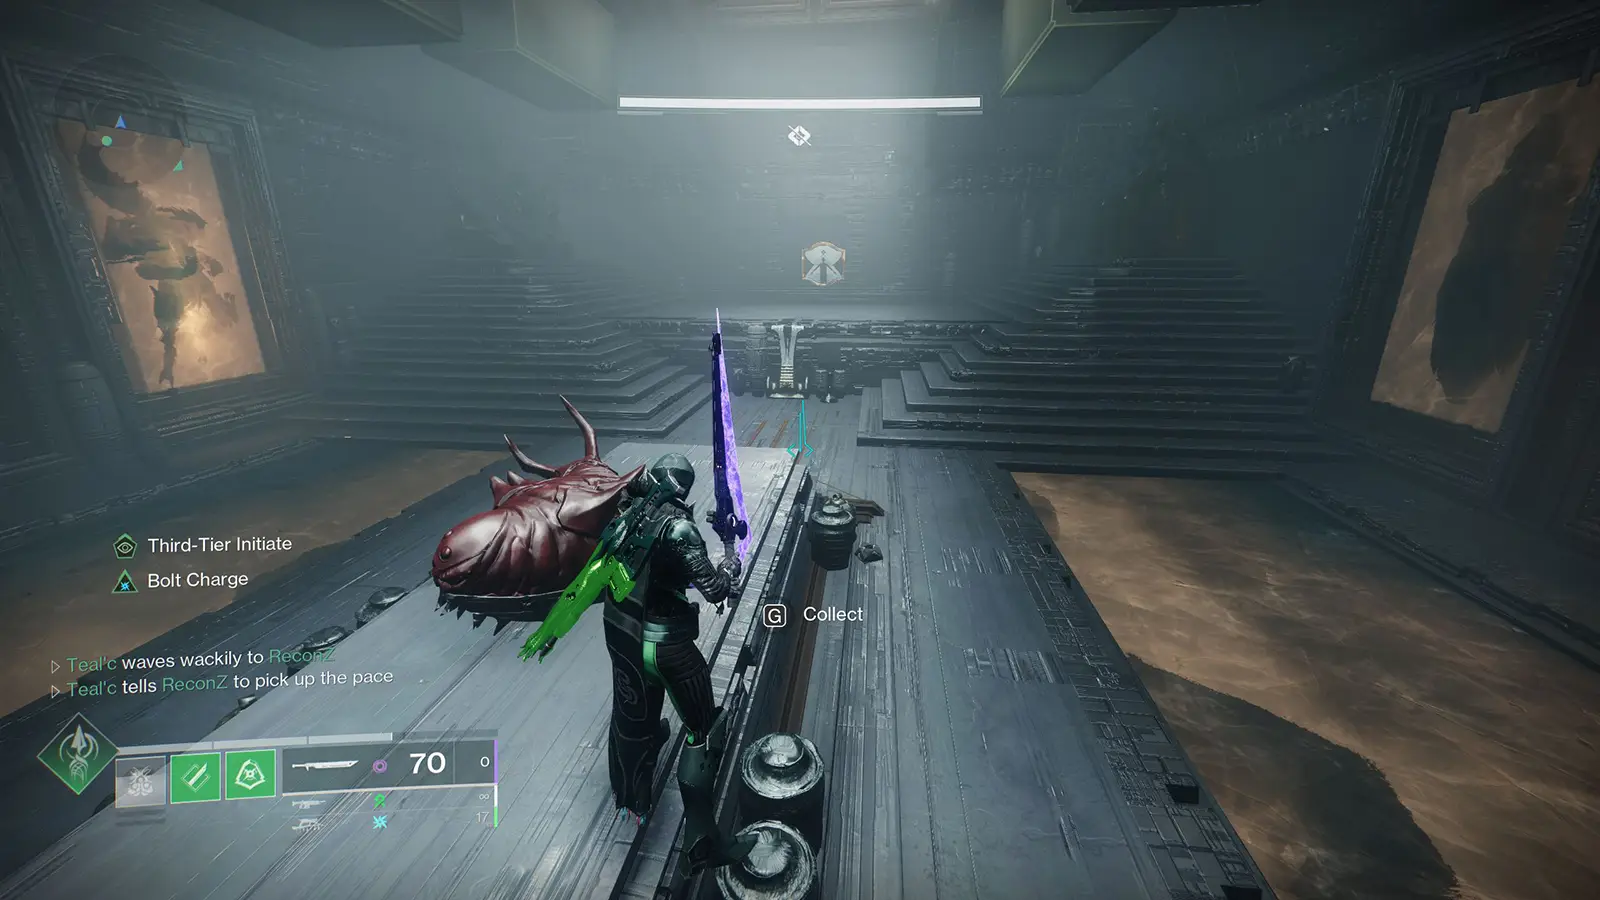
Defeat them and collect Knowledge Fragments, which are scattered on the ground. These work just like the Knowledge mechanics in Vow of the Disciple. Once you collect enough, deposit them on the giant orange plate in the back of the room.
When this is done, a door behind the plate opens, revealing a scannable terminal. Interacting with it completes this step.
Step 5: Complete the Dungeon Again
This step requires you to complete the dungeon once again. However, to make things easier, you can simply grab a checkpoint of the final boss and complete it and it will progress the quest.
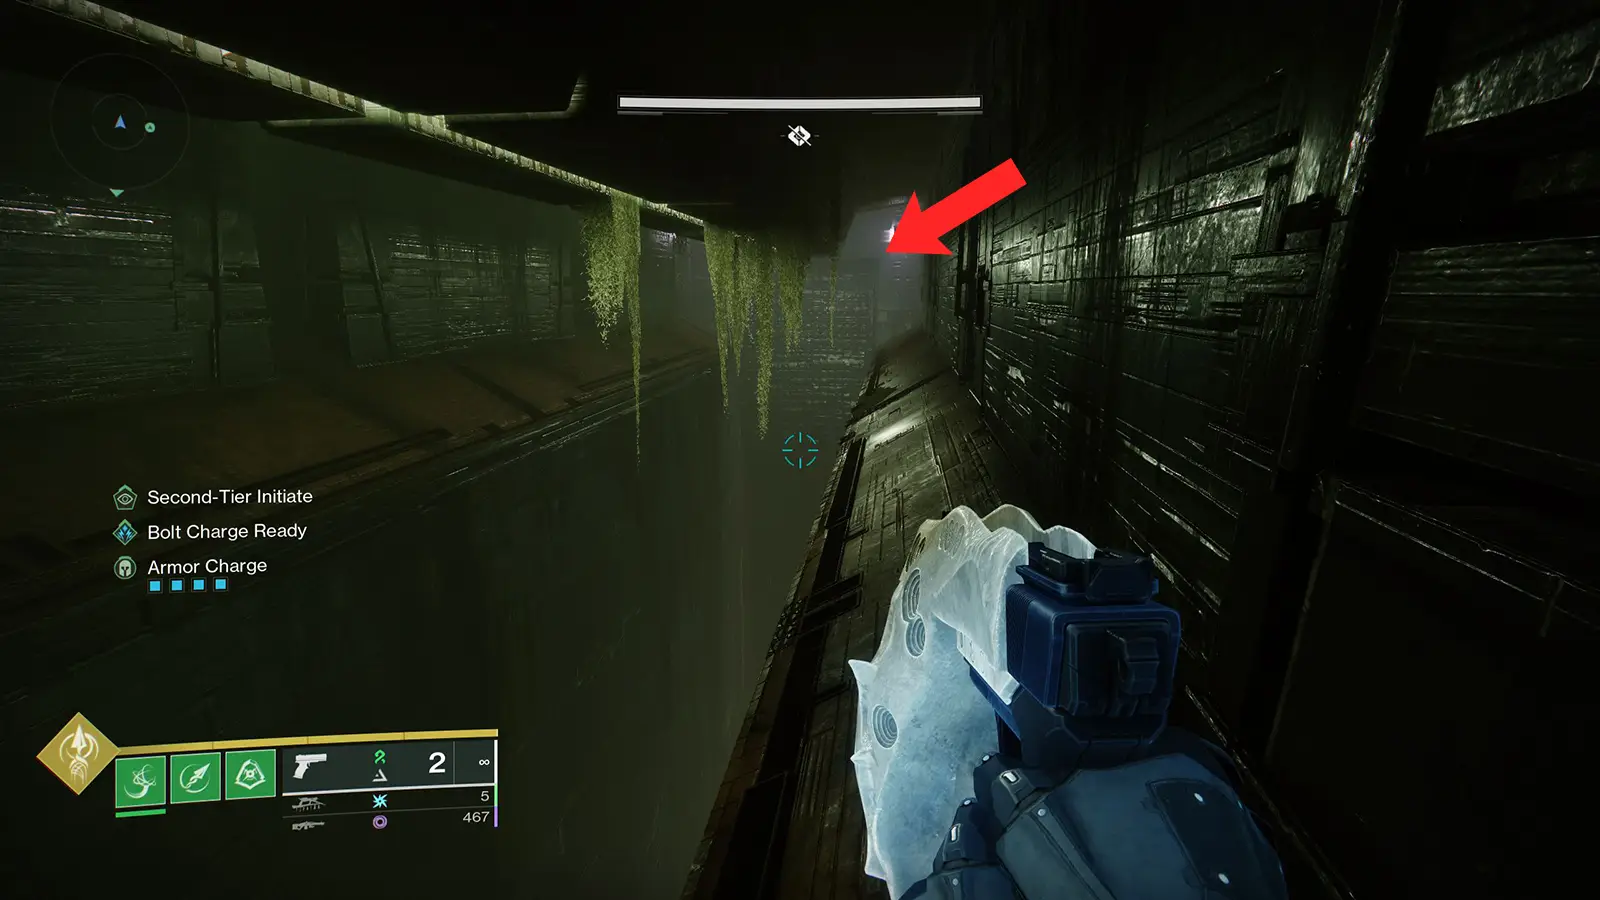
Step 6: Find Another Hidden Report, Locate Three More Hive Worms, and Discover Hive Secrets
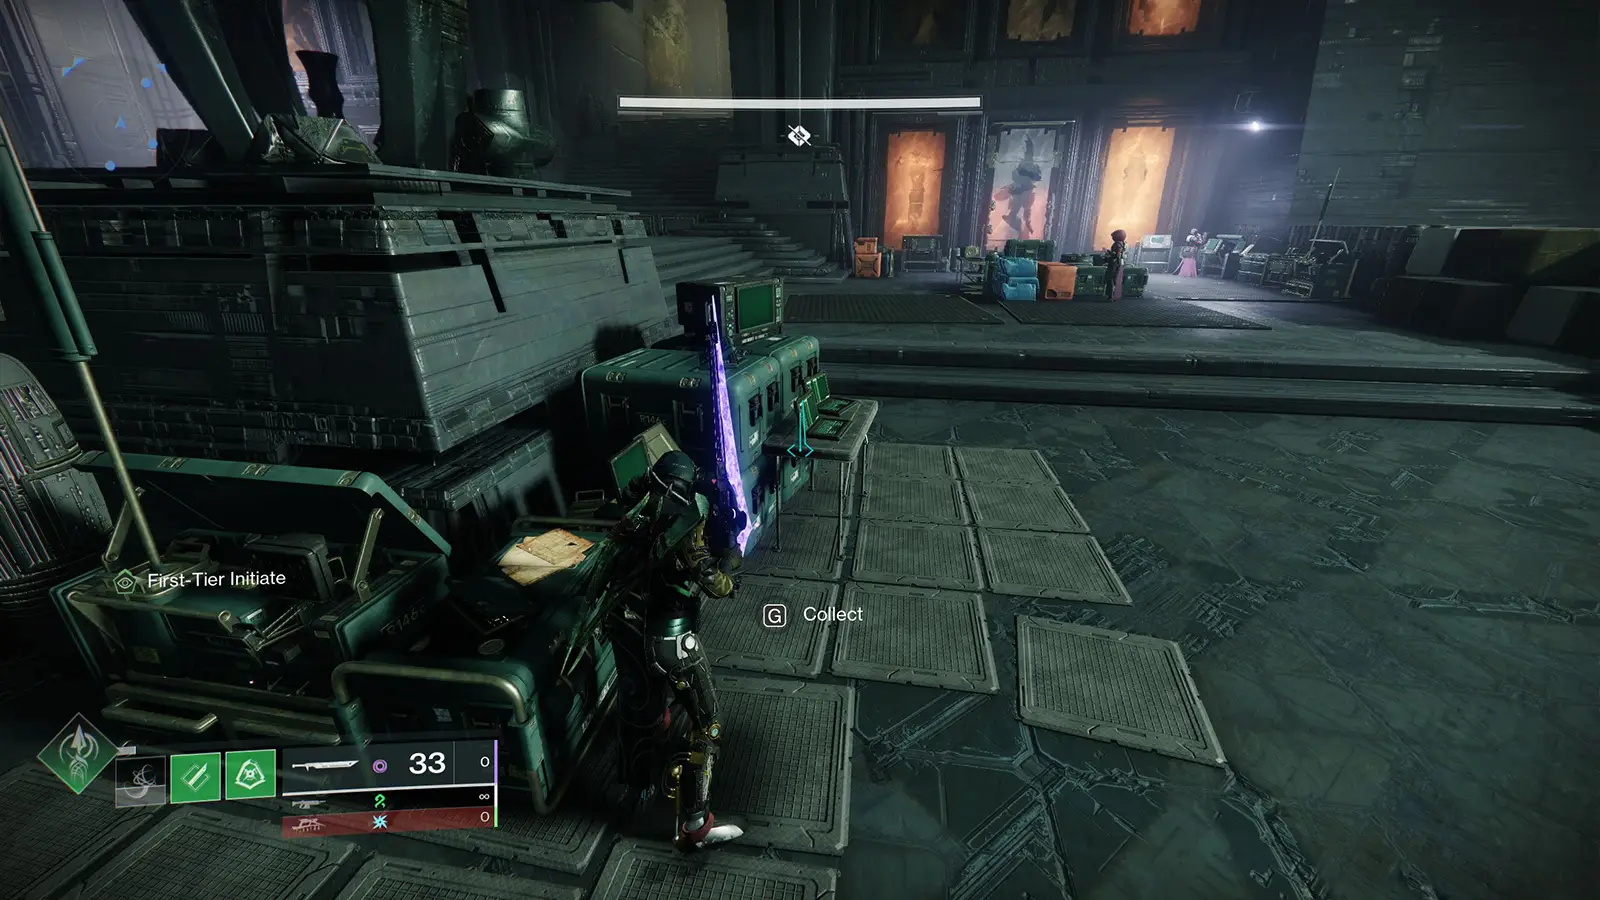
Return to the Hidden Base Camp at the start of the dungeon to collect another Hidden report. This report is found on one of the crates surrounding a large structure in the middle of the room.
The next task involves collecting three more Hive Worms, each linked to a specific symbol:
Worm #4 Location:
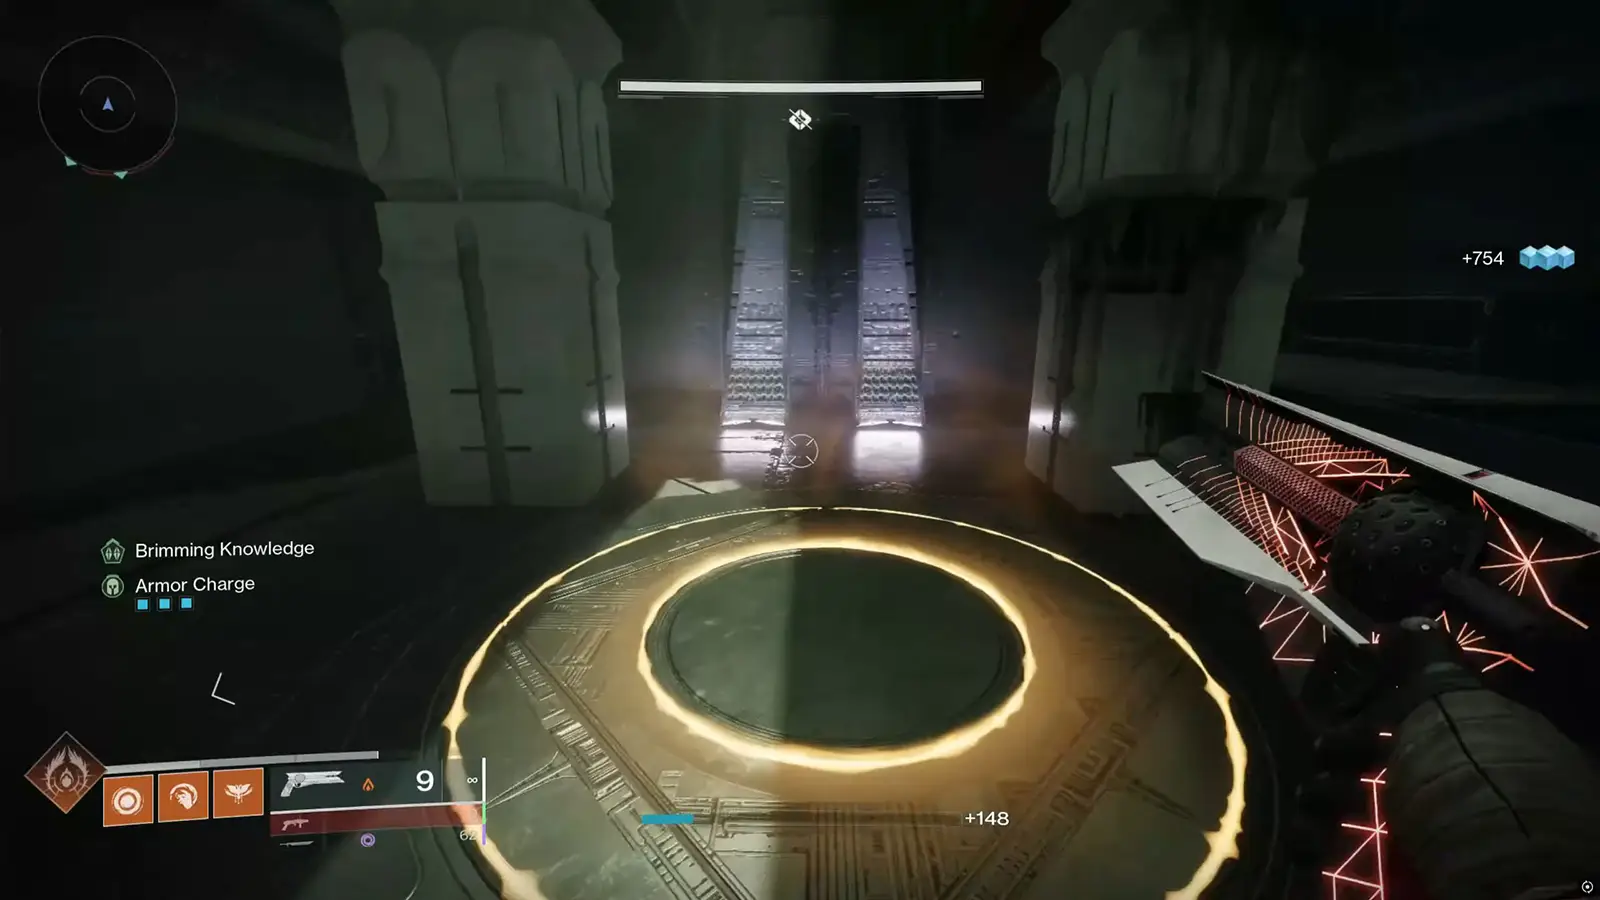
The fourth worm can be found before the first encounter, shortly after crossing the bridge. Clear the room with the first set of enemies, including two Subjugators. Enter the next area, where you need to drop down in a very combat cube-like structure.
Drop down through the red light, and you’ll see a text prompt on your screen that says, “Activate”. Activate and it will open a hidden door behind you. In this room, you’ll find the fourth worm. The symbol near this worm is the “Hive” symbol.

Worm #5 Location:
This worm is located before the rolling ball section after the first encounter. In this area, there is a large pit in the middle with two straight ledges on either side. At the end of this section, near the exit, players need to hug the wall to activate a hidden pressure plate. Once activated, you’ll see the plate moving downwards revealing a new entrance to the room.
In this room, you’ll find the fifth Hive worm with the symbol “Grief.“

Worm #6 Location:
The final worm in this set is found after the second encounter, in the first room with the giant Hive worm corpses. Instead of staying on the ground floor, players should continue following the stairs upwards. There will be a locked door that can be opened by shooting it.
Behind this door, you’ll find the sixth worm, along with the “Snake” symbol displayed on the wall.
Once all three worms are obtained, players should return to the Pyramid device at the Hidden Base Camp and enter the following code:
“Hive Grief Snake.”
Activating this sequence triggers a message about the Pyramid ship shifting.
Step 6.5: Discovering Hive Secrets
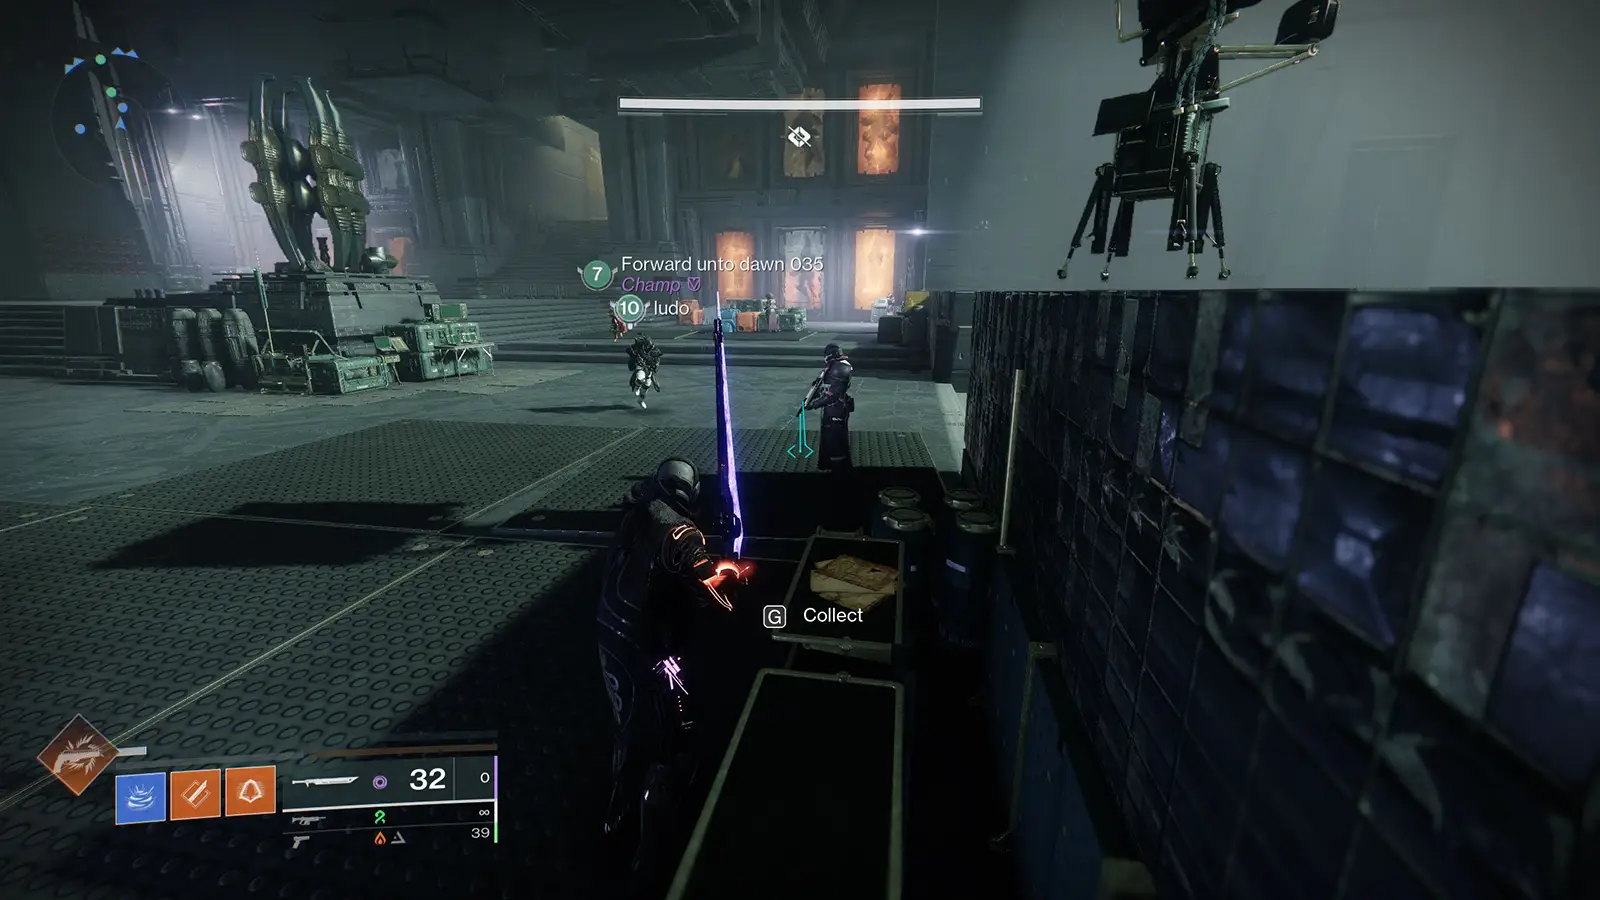
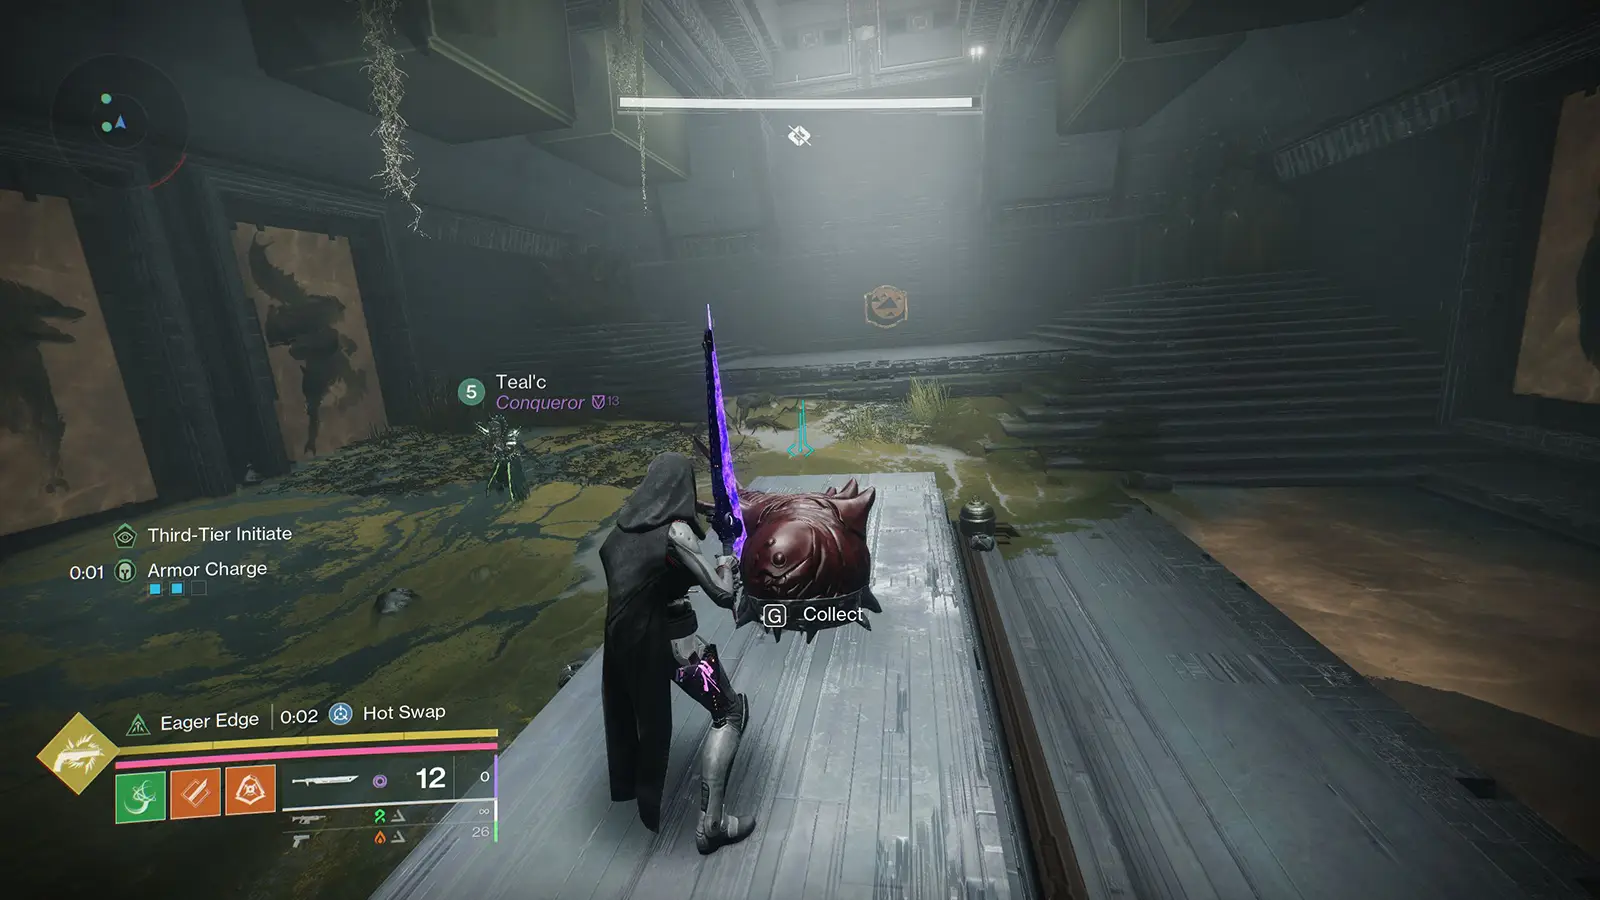
To progress, return to the area where Hive Worm 6 was found. The room now contains multiple Hive Shriekers. Defeat the Hive Knights found in this area and they will drop explosive Hive Worms. These worms need to be carried to a small cave beneath the top ledge and deposited.
Deposit the Hive worms, and it’ll make a big explosion, opening a new entrance. Enter the room, activate, and it will give you another piece of Pyramid Data.

Step 7: Complete the Dungeon Again
Once more, you need to complete the Sundered Doctrine dungeon. To speed up this step, players can get a final boss checkpoint and defeat Kerrev, The Erased.
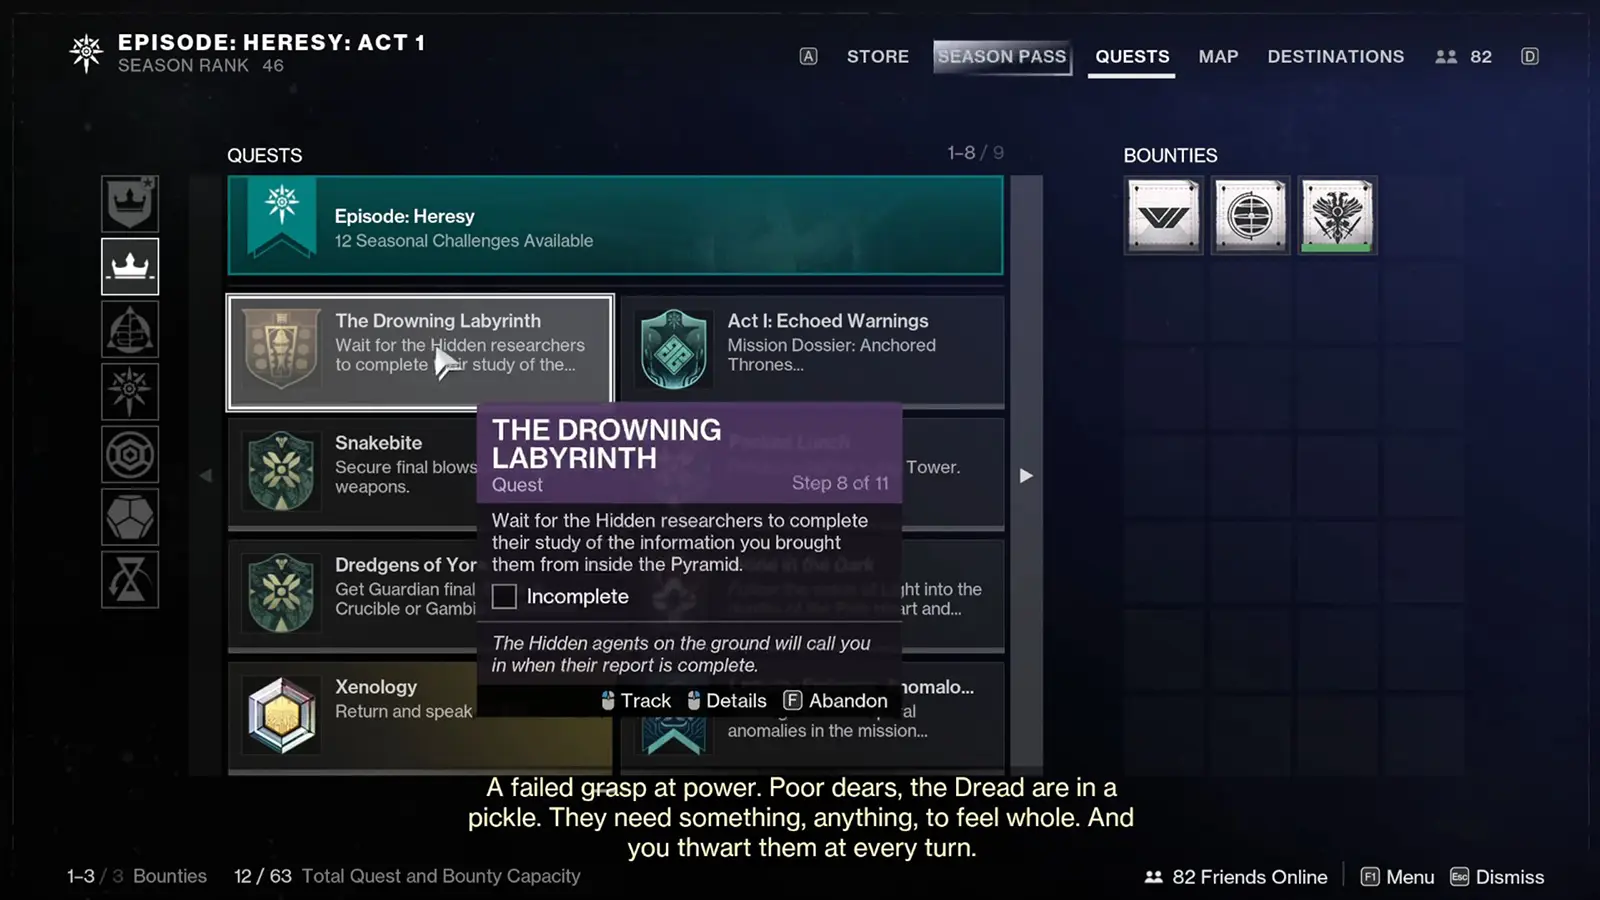
Step 8: Wait for Hidden Researchers Again
At this point, the quest halts progression once more, requiring players to wait for the Hidden researchers to study the new Pyramid data. This suggests that more quest steps will become available following another weekly reset.
Step 9: Find Last Hidden Report, Locate Three More Hive Worms, and Find the Control Chamber
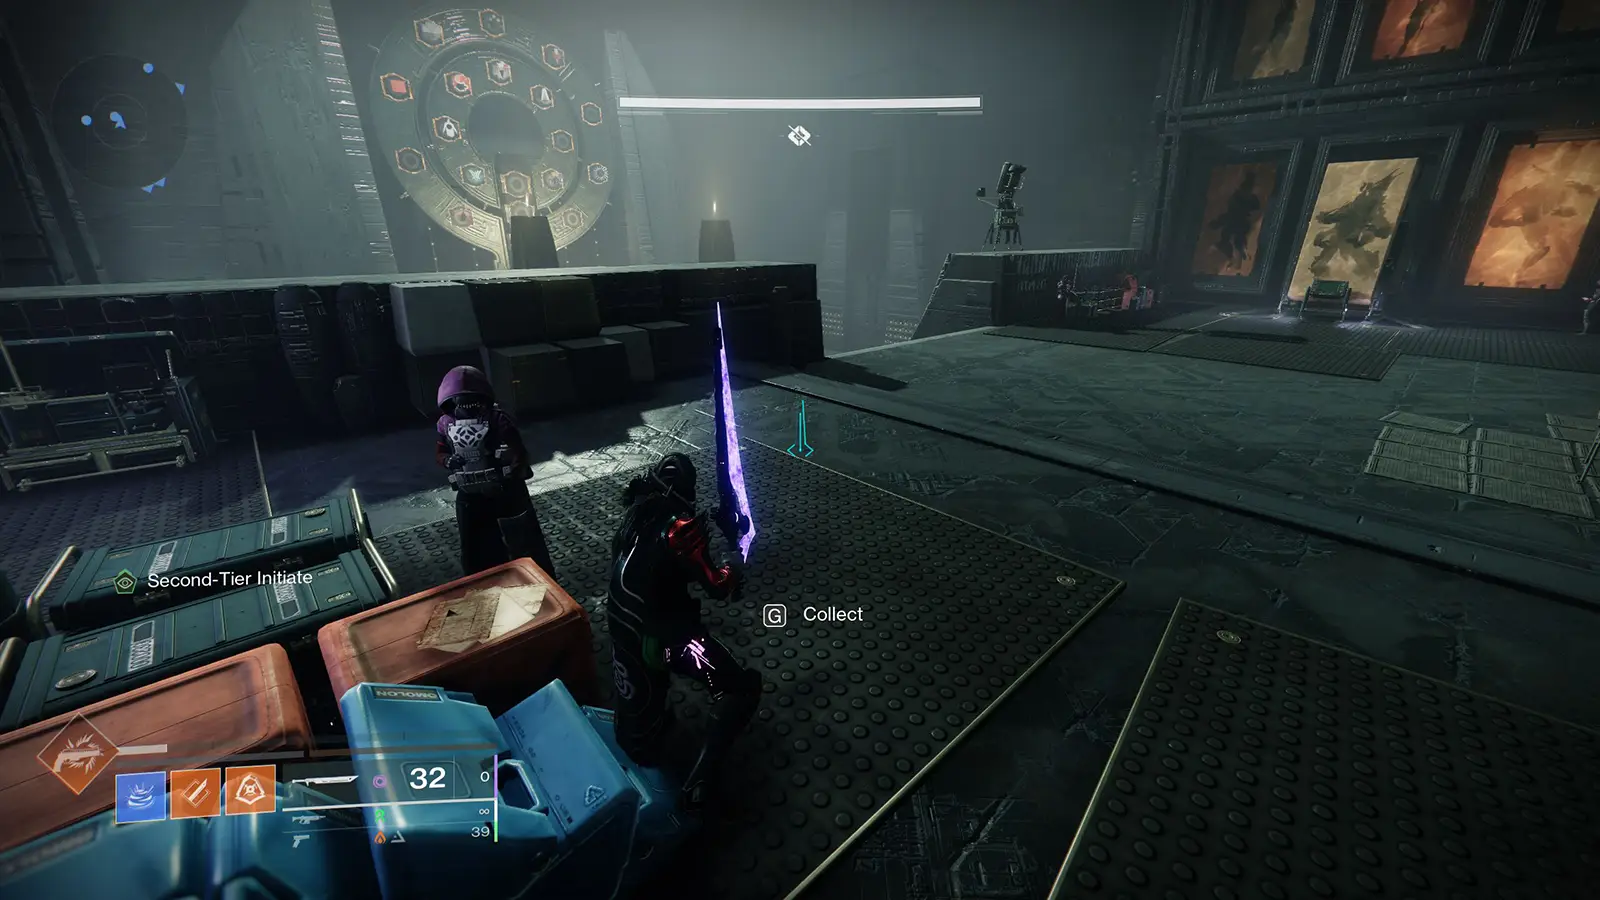
The first thing you need to do is head back to the Hidden base camp at the start of the dungeon where you’ve been picking up reports. This time, when you enter, turn to your left. You’ll see a Warlock and a Hunter standing near a stack of crates.
The third Hidden report is sitting on one of the boxes near the Hunter. Pick it up to move on to the next objective.
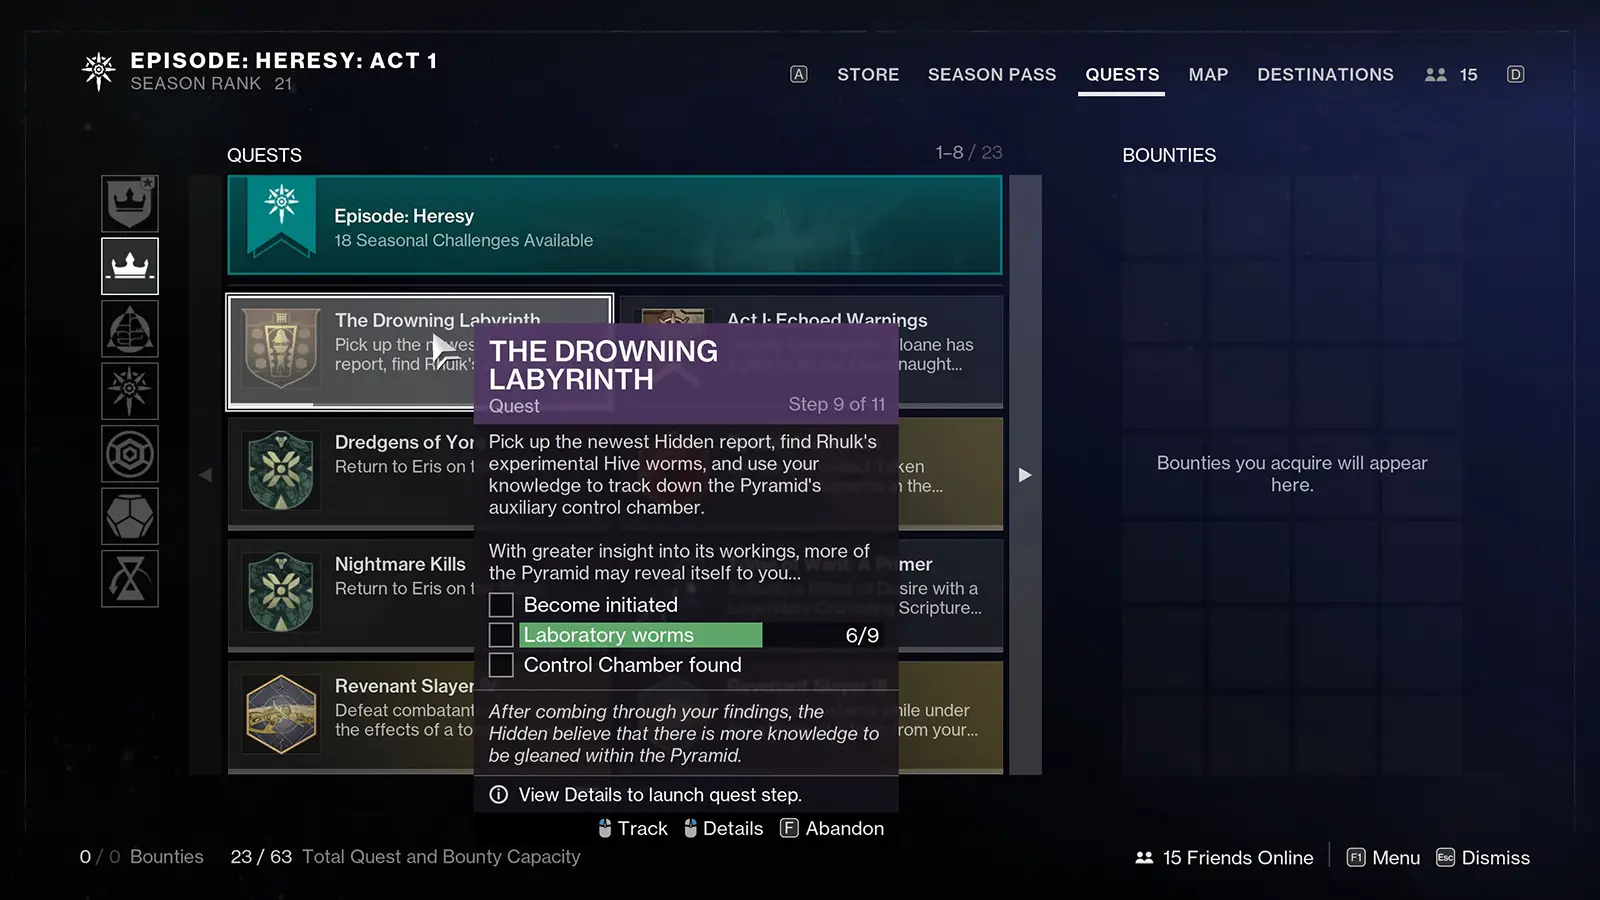
Next, you need to find three more Hive worms, just like before.
Worm #7 Location:
The seventh worm is located before the first encounter. When you reach the second traversal section, where you encounter a Subjugator, from the middle of the area turn right. There’s an invisible platform floating in the air.
It will only become visible when you get close, so carefully jump onto it. Once you’re on the platform, you’ll see a narrow opening ahead with a ledge. Jump on it and shoot the door to open it. Inside, you’ll find the seventh Hive worm, and the symbol it reveals is Guardian.
Worm #8 Location:
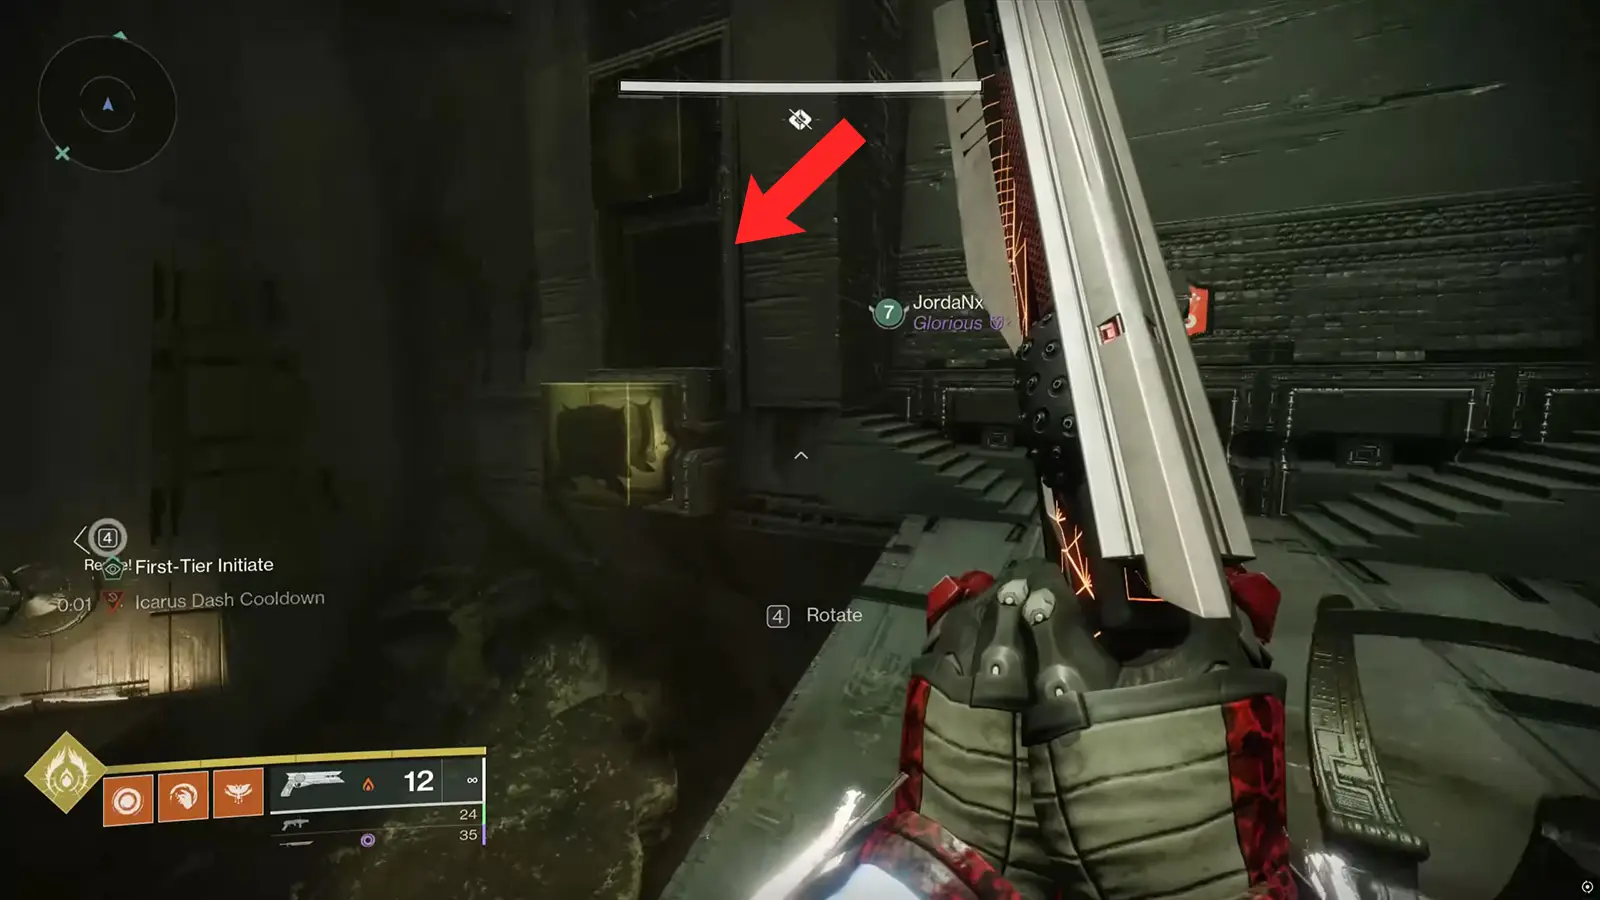
The eighth worm is located after the first encounter, in the green-ish room where you have to avoid a giant spiky ball rolling down from above. To find it, you’ll need to climb up to the top left of the area. There are small ledges on both sides of the alleyway that you can use to reach the top.
Once you’re there, you’ll see a prompt that says “Activate.” Interacting with this will open a hidden door, and inside, you’ll find the eighth Hive worm, which has the symbol Remember.


Worm #9 Location:
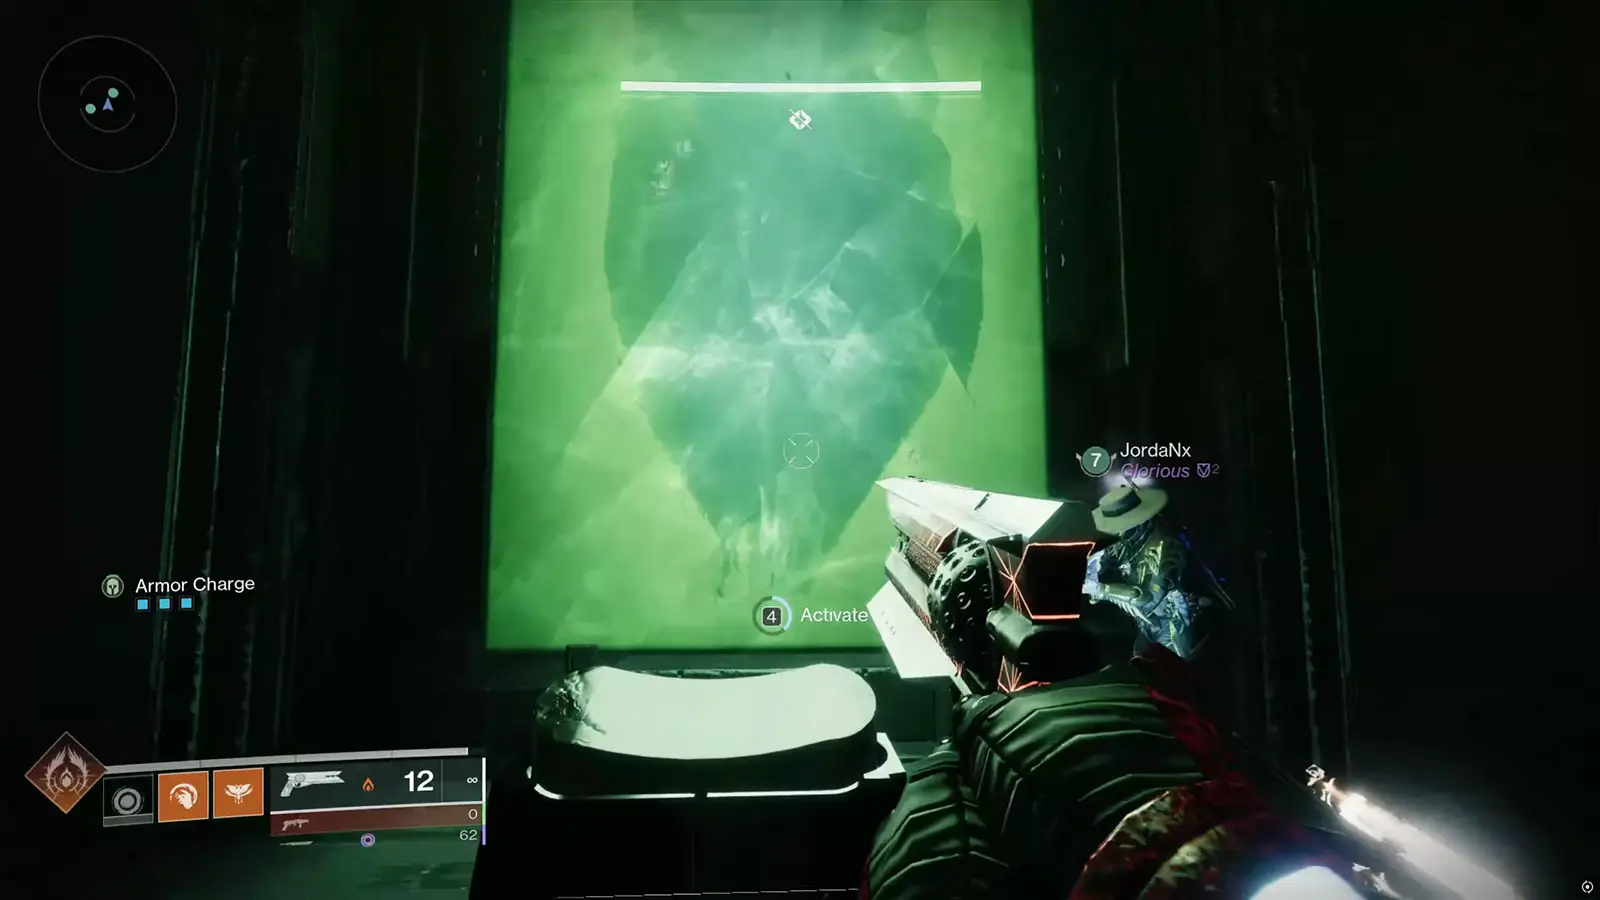
The last worm is located right before the final boss fight. Once you’ve aligned the Worm and Enter lenses (the same area where you can find the second secret chest), make you way to the next room, but don’t shoot the usual door to the right.
Instead, make your way to the far right end of the room, where you’ll see another “Activate” prompt. Interacting with this will open another hidden door. Inside, you’ll find the ninth and final Hive worm, which has the symbol Fleet.

Step 9.5: Enter the Code & Solve the New Puzzle
Now that you’ve gathered all three worms, you need to return to the Hidden base camp once again. This time, you’ll have to enter a new code on the wheel. Enter the following code:
“Guardian Remember Fleet“
Once you input the symbols, you’ll see another message saying that something inside the Pyramid is shifting again.
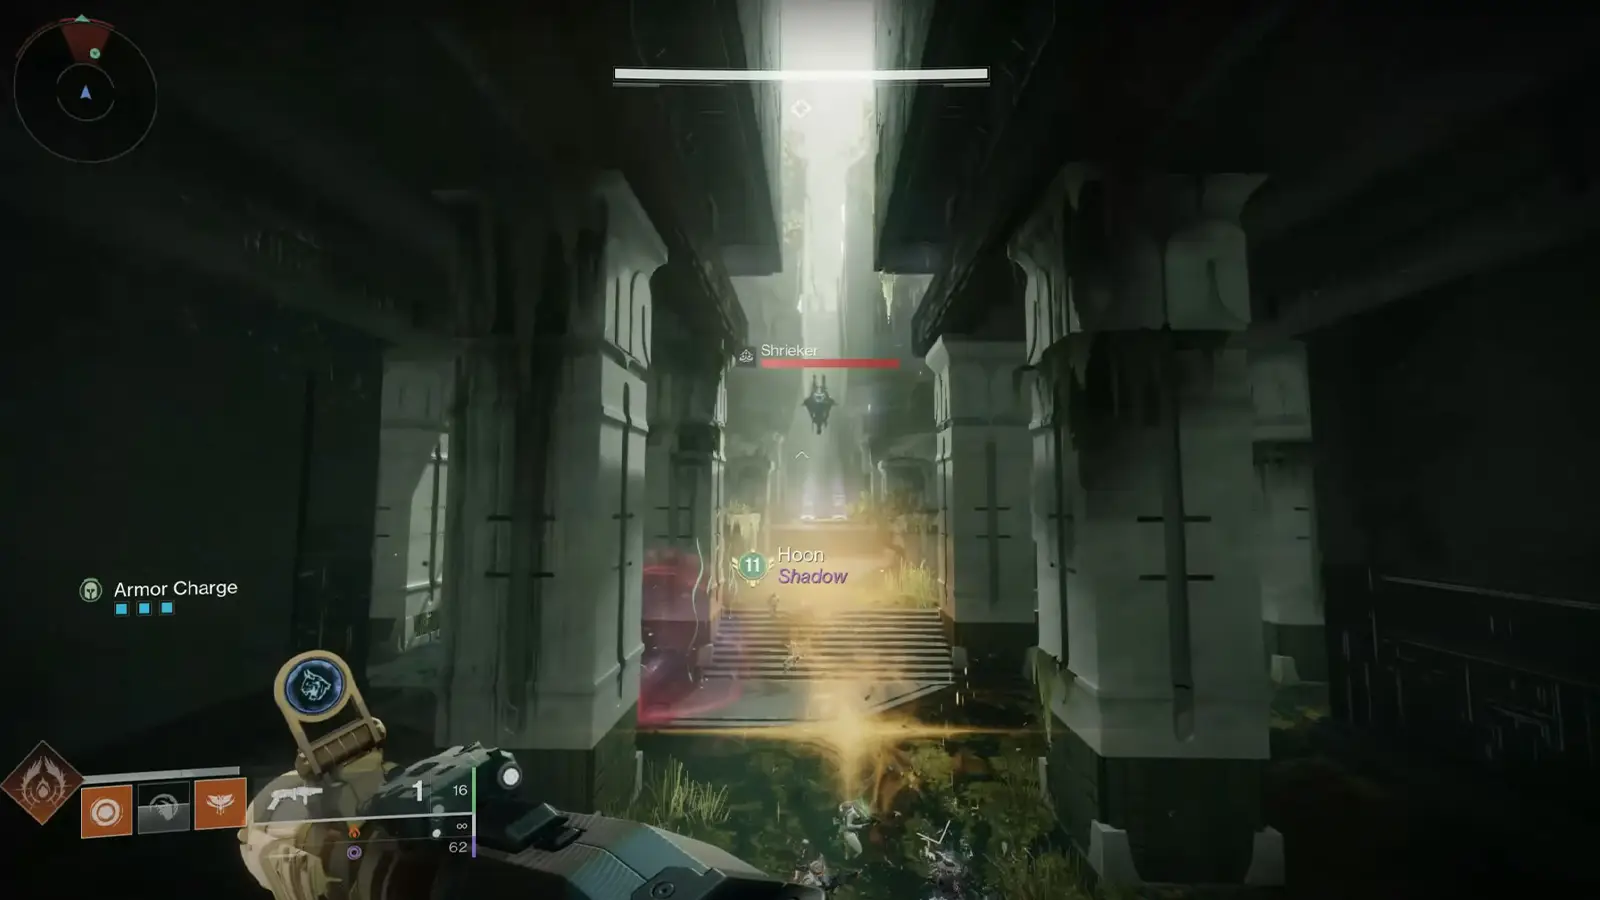
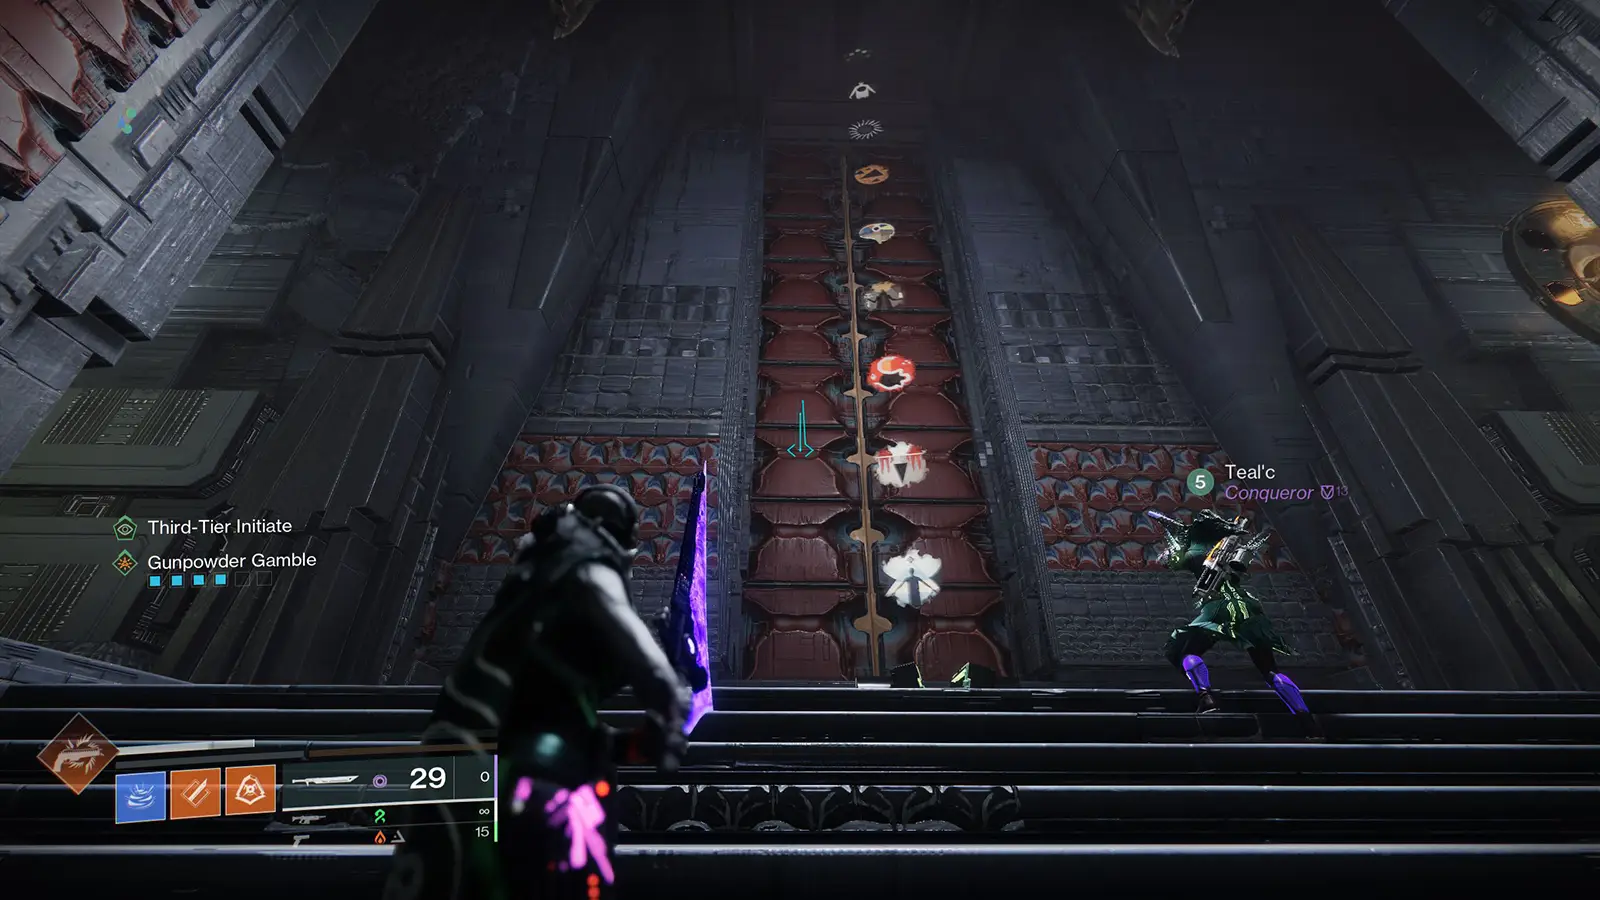
Now, you need to solve another puzzle to continue. Head toward the huge cavern area that you reach after the maze and the first encounter. In this room, you’ll now find a bunch of lenses, Hive Shriekers and Hive Knights. Defeating the Hive Knight will drop a lense. There’s a door that requires you to align the lenses properly in order to open.
The trick here is to make sure that the lenses are positioned so that they light up the Worm symbol in the middle door. The Resonance energy source you need is located at the far right of the cavern. Once you’ve lined up the lenses correctly, the door will open. Just like the previous steps, you’ll need to interact with the object inside to progress.
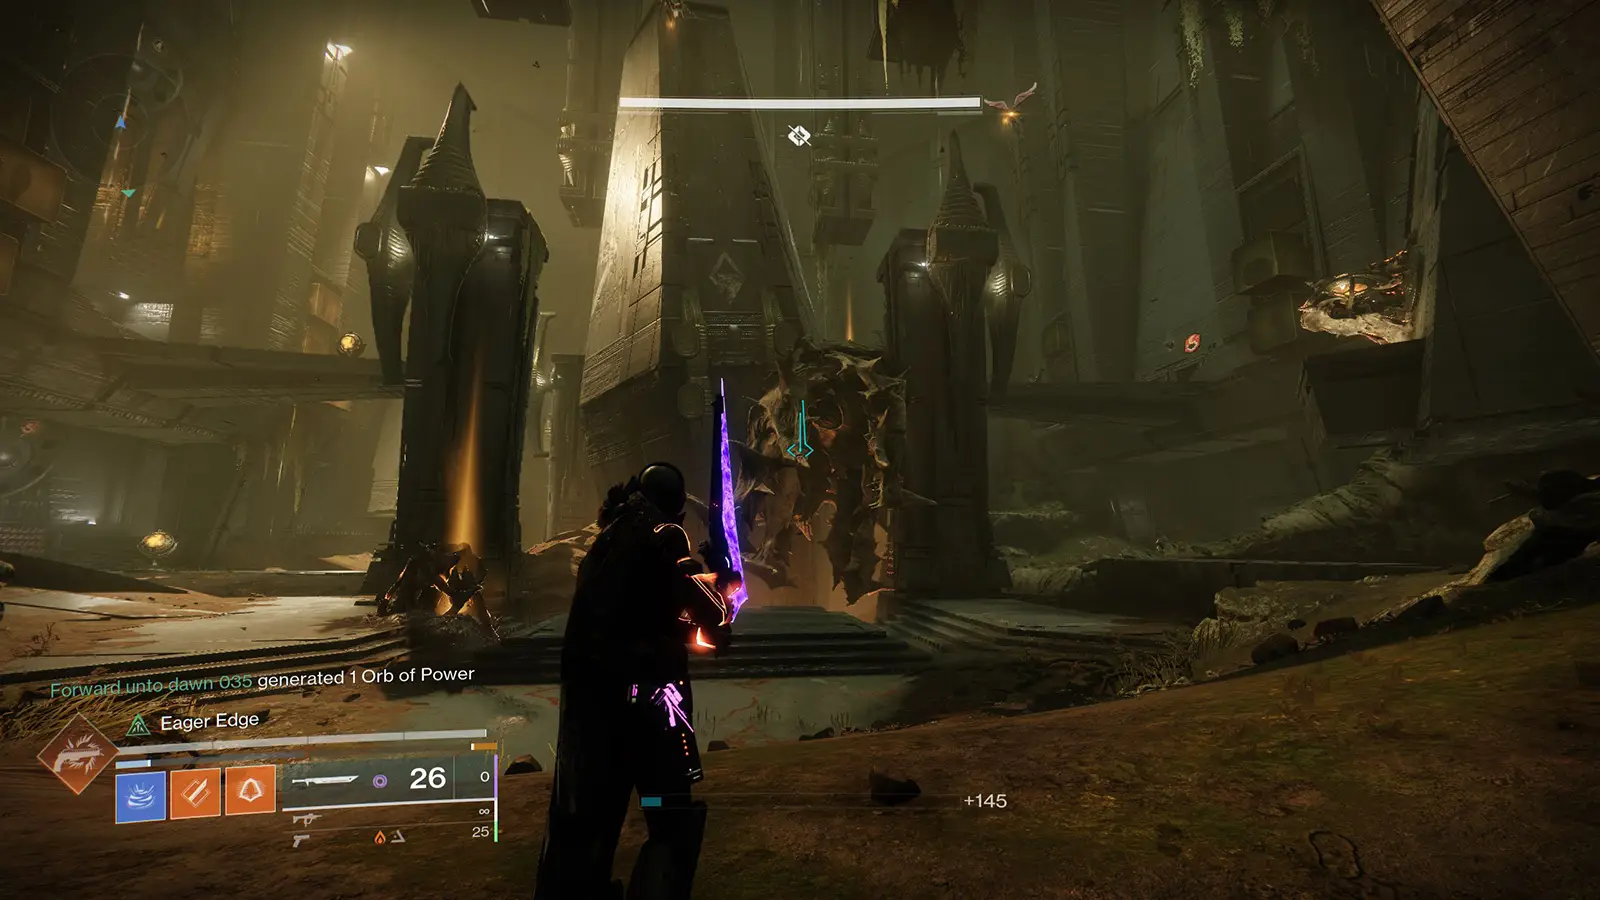
Step 10: Complete the Dungeon
Once you’ve finished the puzzle, the next step is to complete the dungeon in the same instance. This means you can’t leave or reset your session, just continue through the dungeon like usual until you reach the final boss.
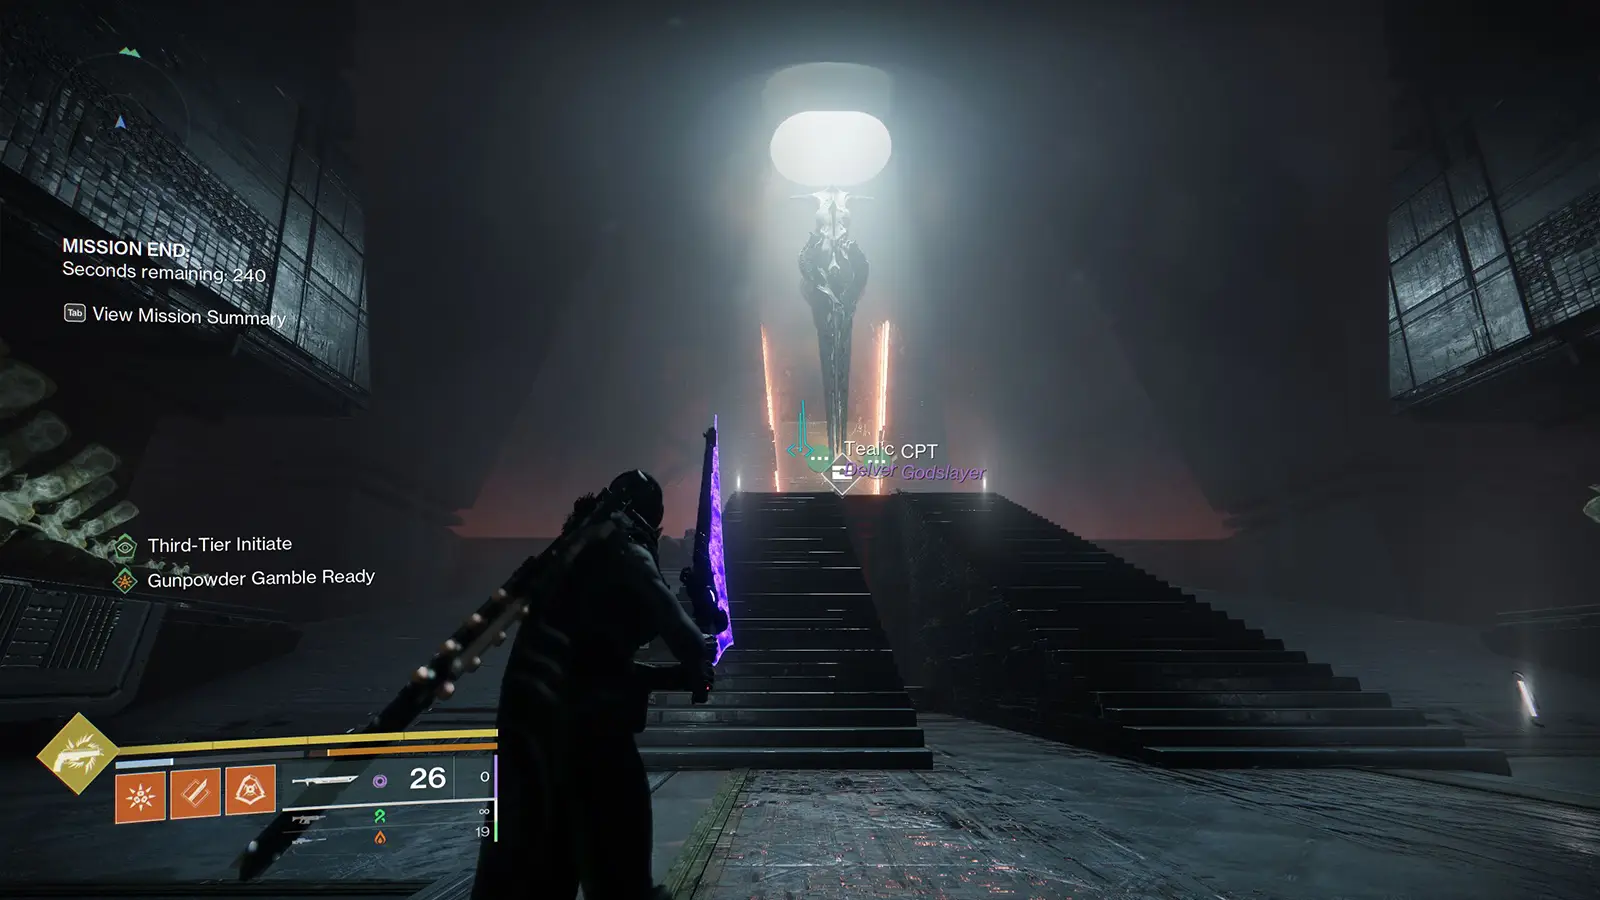
When you reach Kerrev, The Erased, defeat it just like you normally would. Don’t leave immediately after opening the final chest. Savathûn will begin speaking, you’ll see nine different symbols appear and then disappear. Once the symbols vanish, a huge door behind the final chest will open.
Inside, you’ll find a massive artifact. As you step inside this room, you’ll also hear dialogue from Oryx, The Taken King, and Savathun. Open the chest inside this room to complete the step.
Note
Opening the final chest will complete the dungeon triumph “Hidden Treasures” which allows you to focus Sundered Doctrine dungeon gear and unlock the Finality’s Auger’s exotic catalyst.
Step 11: Visit Ikora Rey in the Tower
The final step is to visit Ikora Rey in the Tower Bazaar. Visiting her will complete “The Drowning Labyrinth” questline.

And, there you have it! The complete guide for the new Sundered Doctrine questline. While you’re here make sure to check out our complete guide on how to unlock the new Barrow-Dyad exotic submachine gun and New Land Beyond exotic sniper rifle.
Don't miss the big stories. Make us your preferred source on Google to get breaking news, leaks, and exclusives first.