Looking for all the Anomalous Voices locations in Destiny 2 Encore exotic mission? Here’s a complete guide to finding every anomaly, with detailed directions for each location in the Epilogue Anomalous Voices questline.
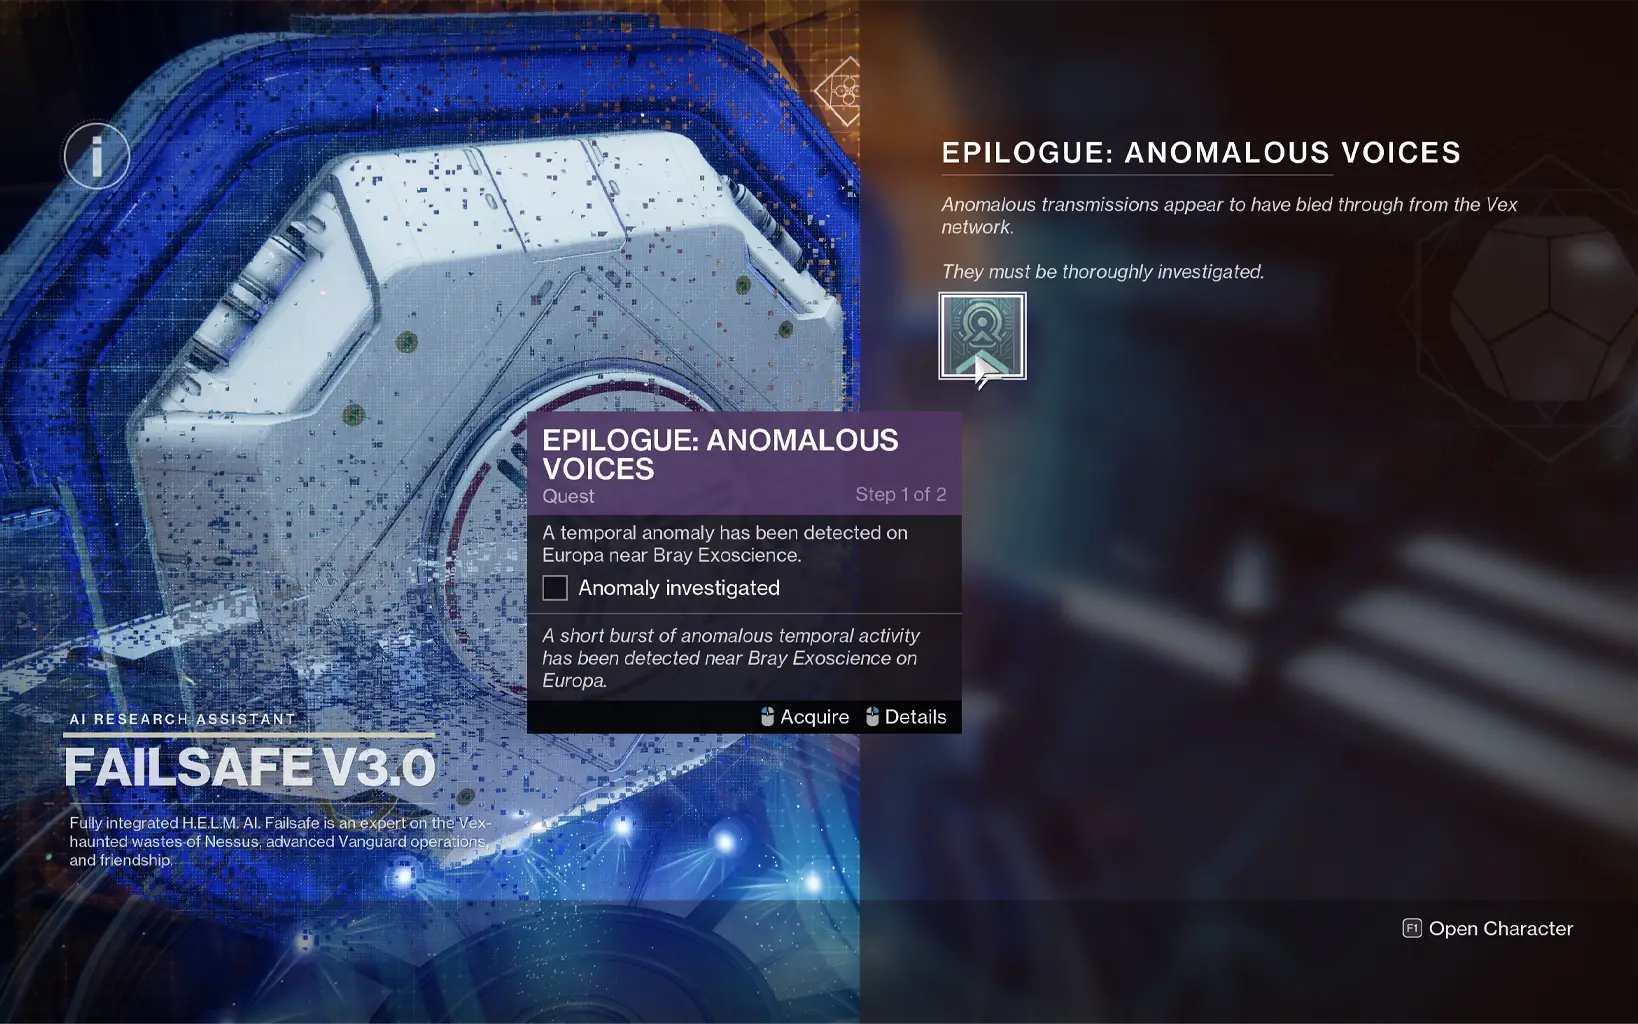
The third week of Episode Echoes Act 3 has just dropped in Destiny 2, bringing the main storyline of the first post-Final Shape episode to a close. But once you wrap up the weekly quest, a new questline becomes available at the HELM. Failsafe gives you a follow-up quest called “Epilogue: Anomalous Voices,” which requires you to find all hidden anomalies in the Encore exotic mission.
As part of this epilogue quest, you’ll need to track down eight anomalous voices scattered throughout Encore. If you’re aiming to find them all, you’ve come to the right place.
Though the Epilogue: Anomalous Voices quest can be a bit of a challenge, this detailed guide will walk you through each location step-by-step, ensuring you don’t miss any of these hidden collectibles. Let’s dive in!
Destiny 2 Encore: All Anomalous Voices Locations
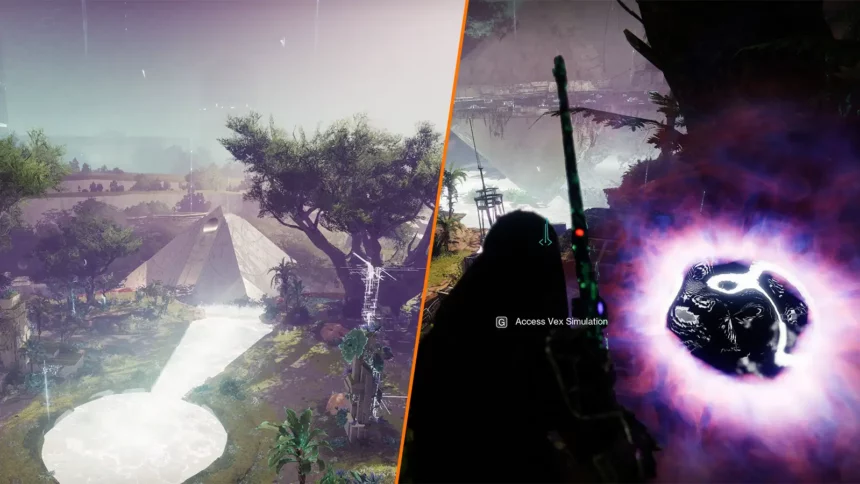
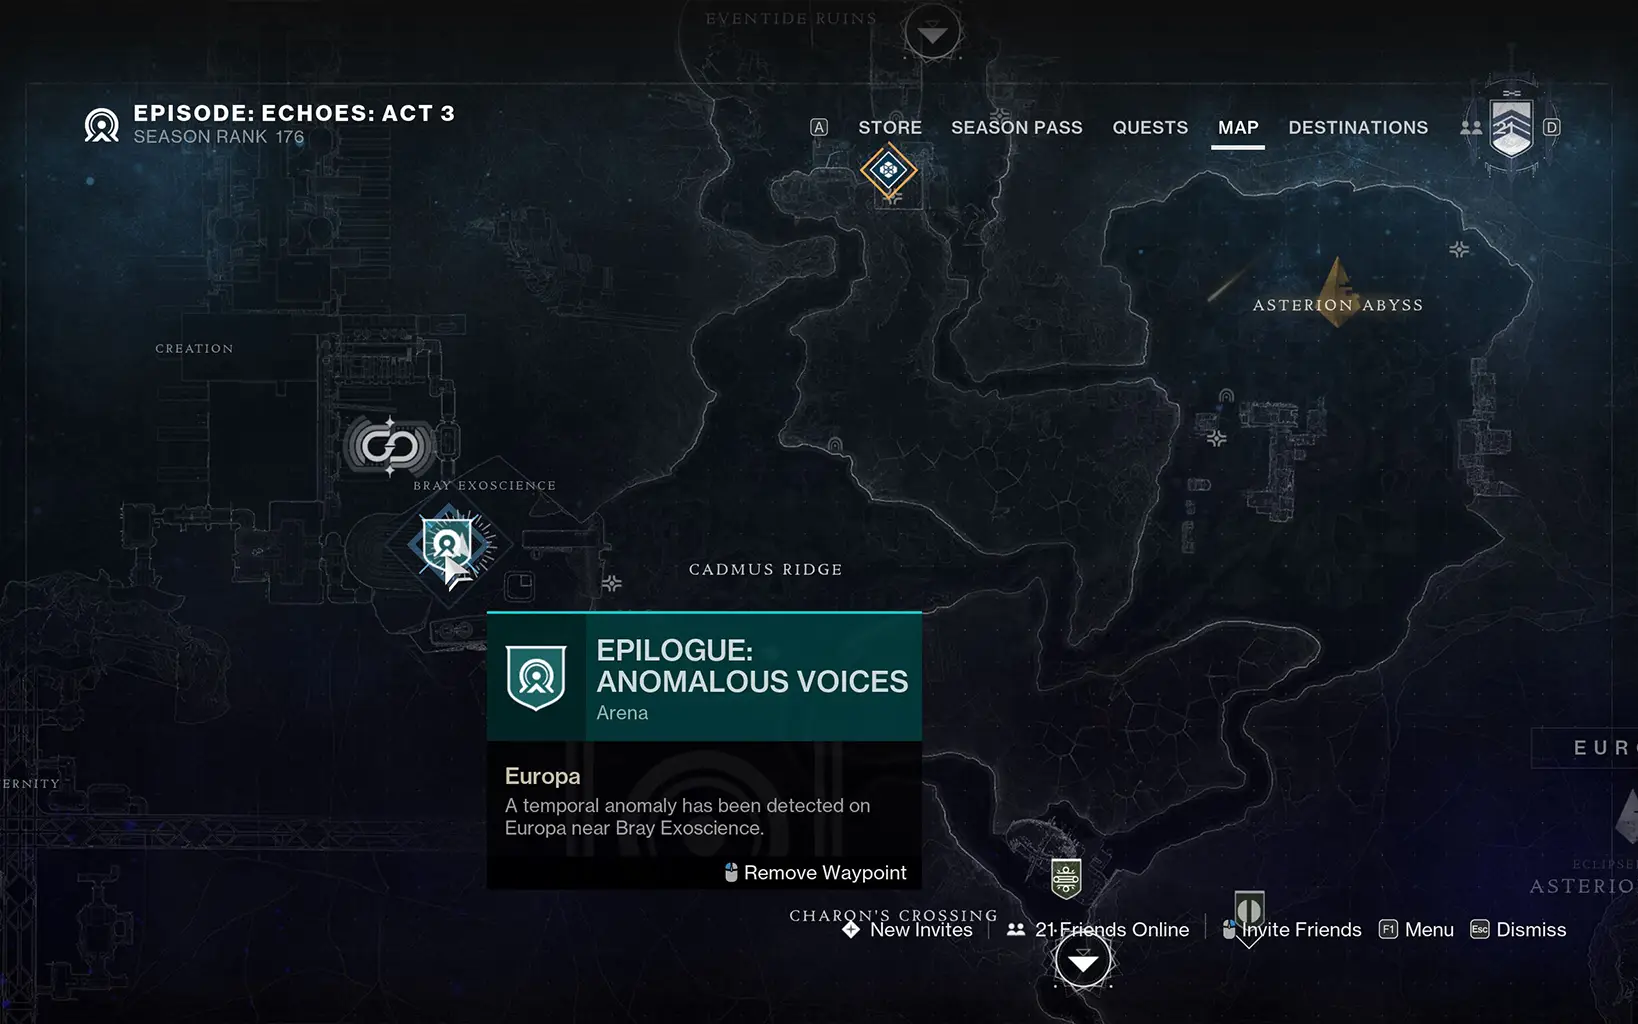
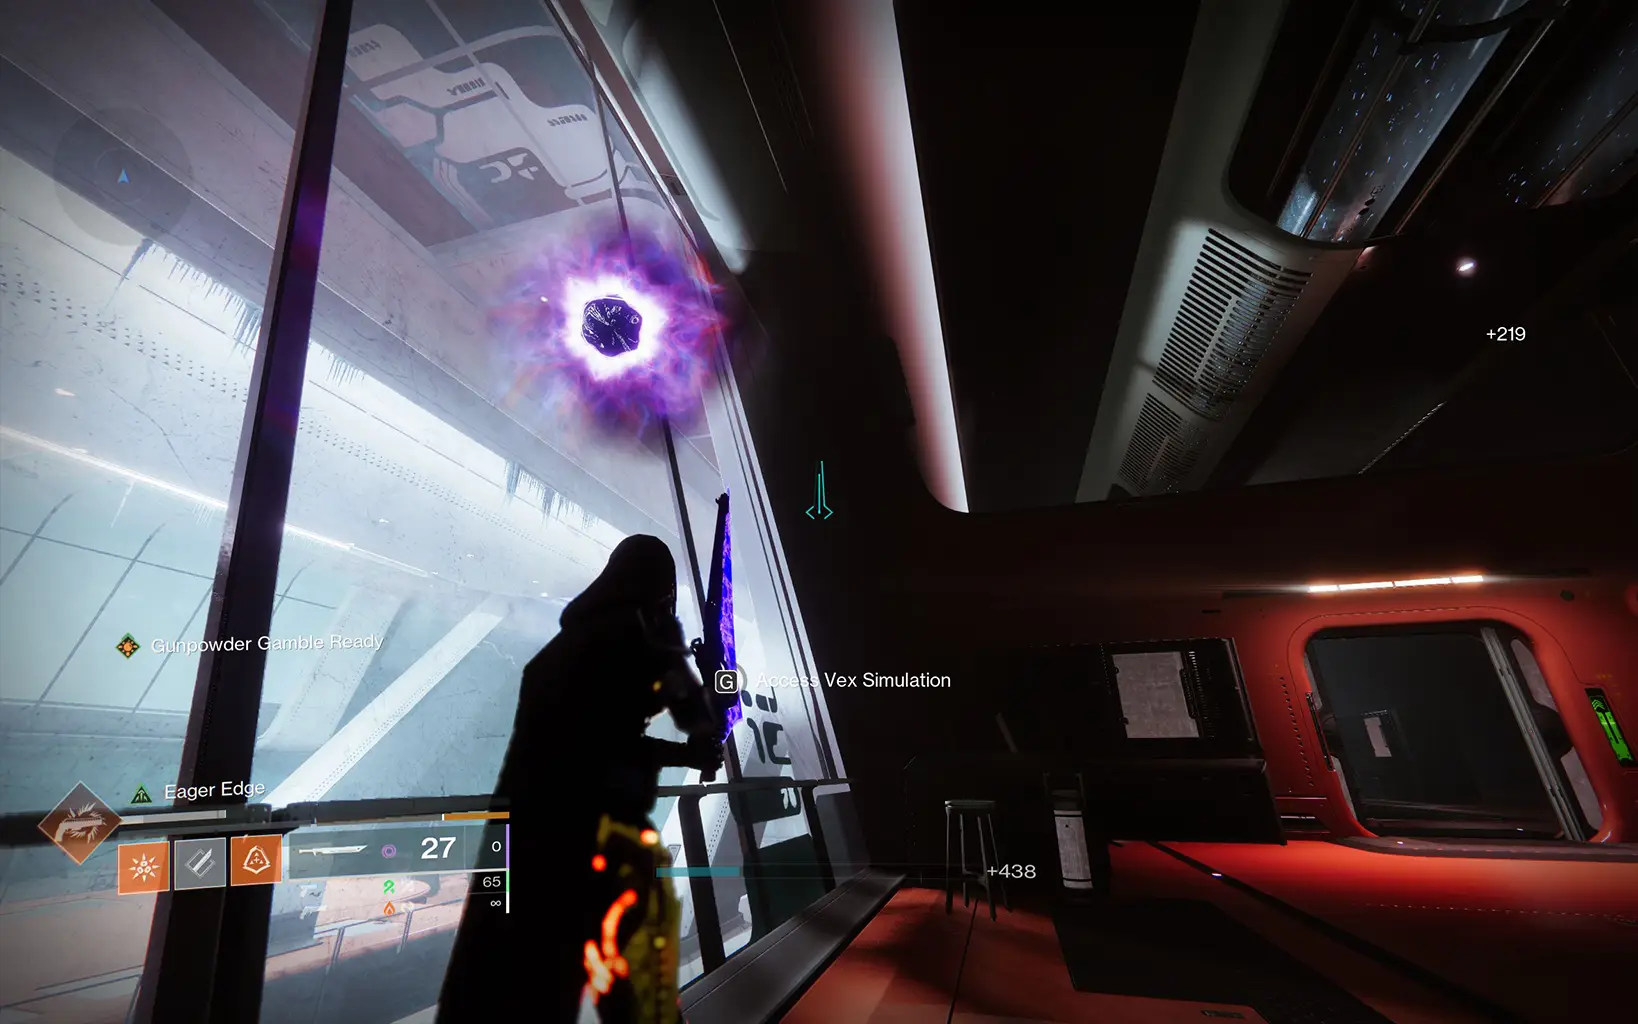
After picking up the quest from Failsafe, your first objective is to head to Europa, specifically the Bray Exoscience lab. Once inside, you’ll need to locate the first anomaly. Head to the room on the right, where you’ll encounter a couple of Fallen Dregs. Clear them out, and you’ll find the anomaly waiting for you, right next to the glass window.

After that, your questline will progress and you’ll need to find eight hidden anomalies in the Encore mission.
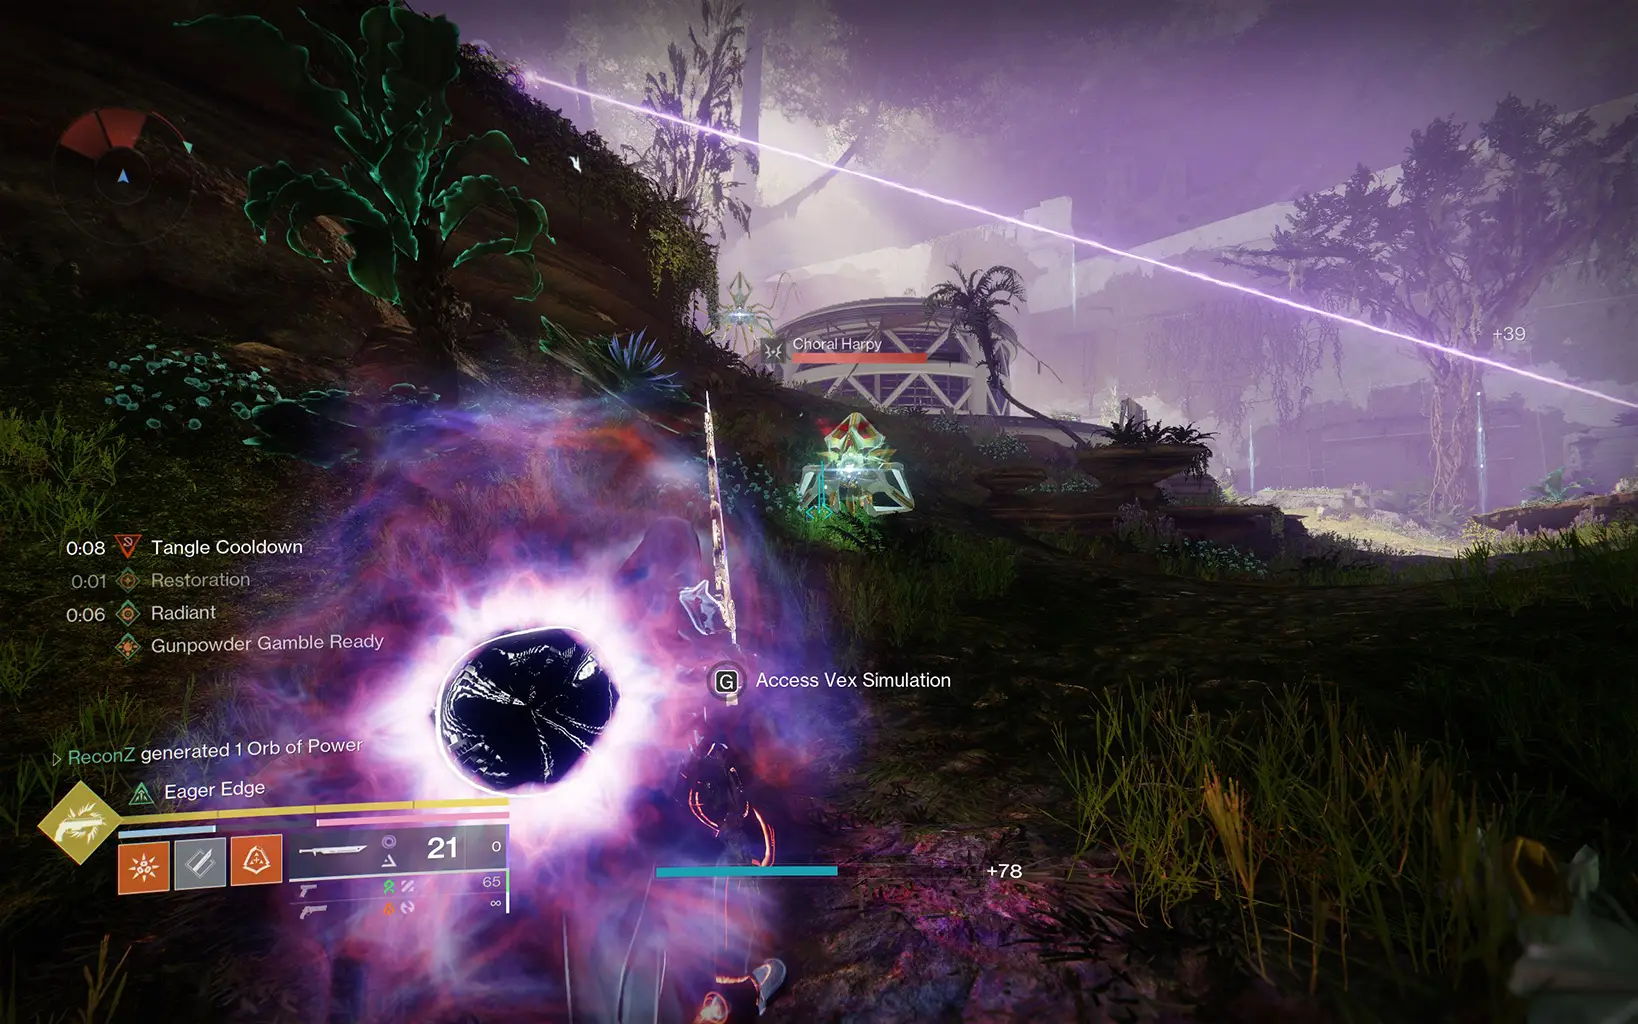
Destiny 2 Encore: 1st Anomaly Location
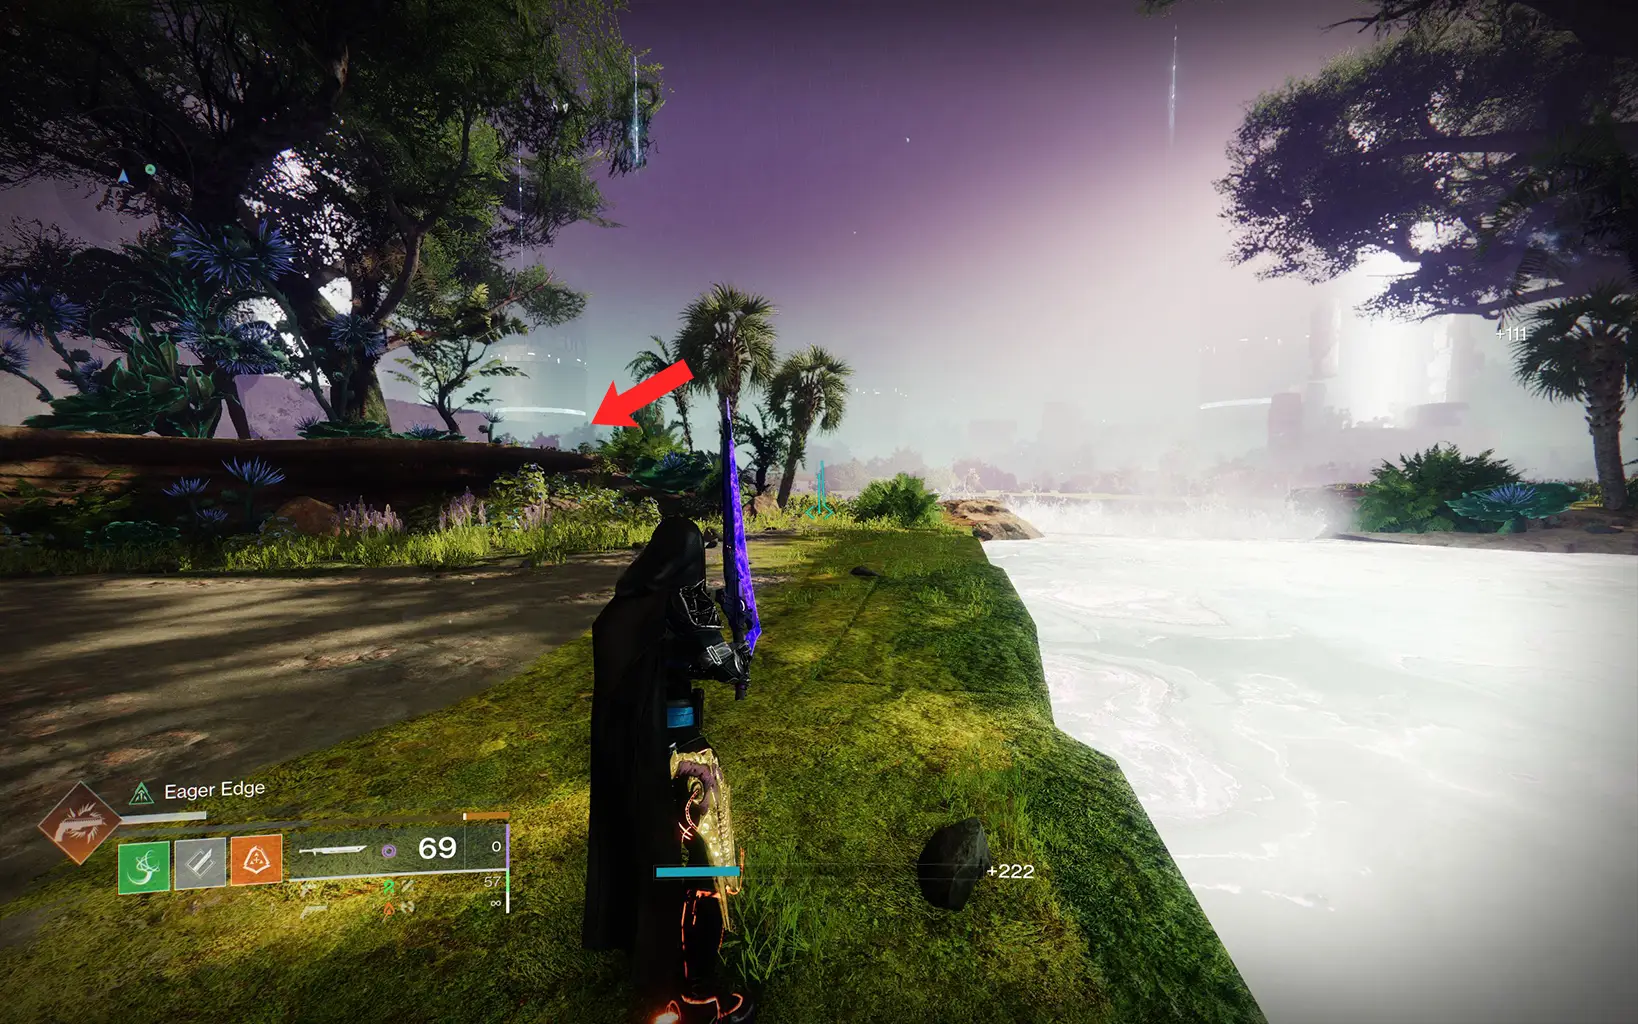
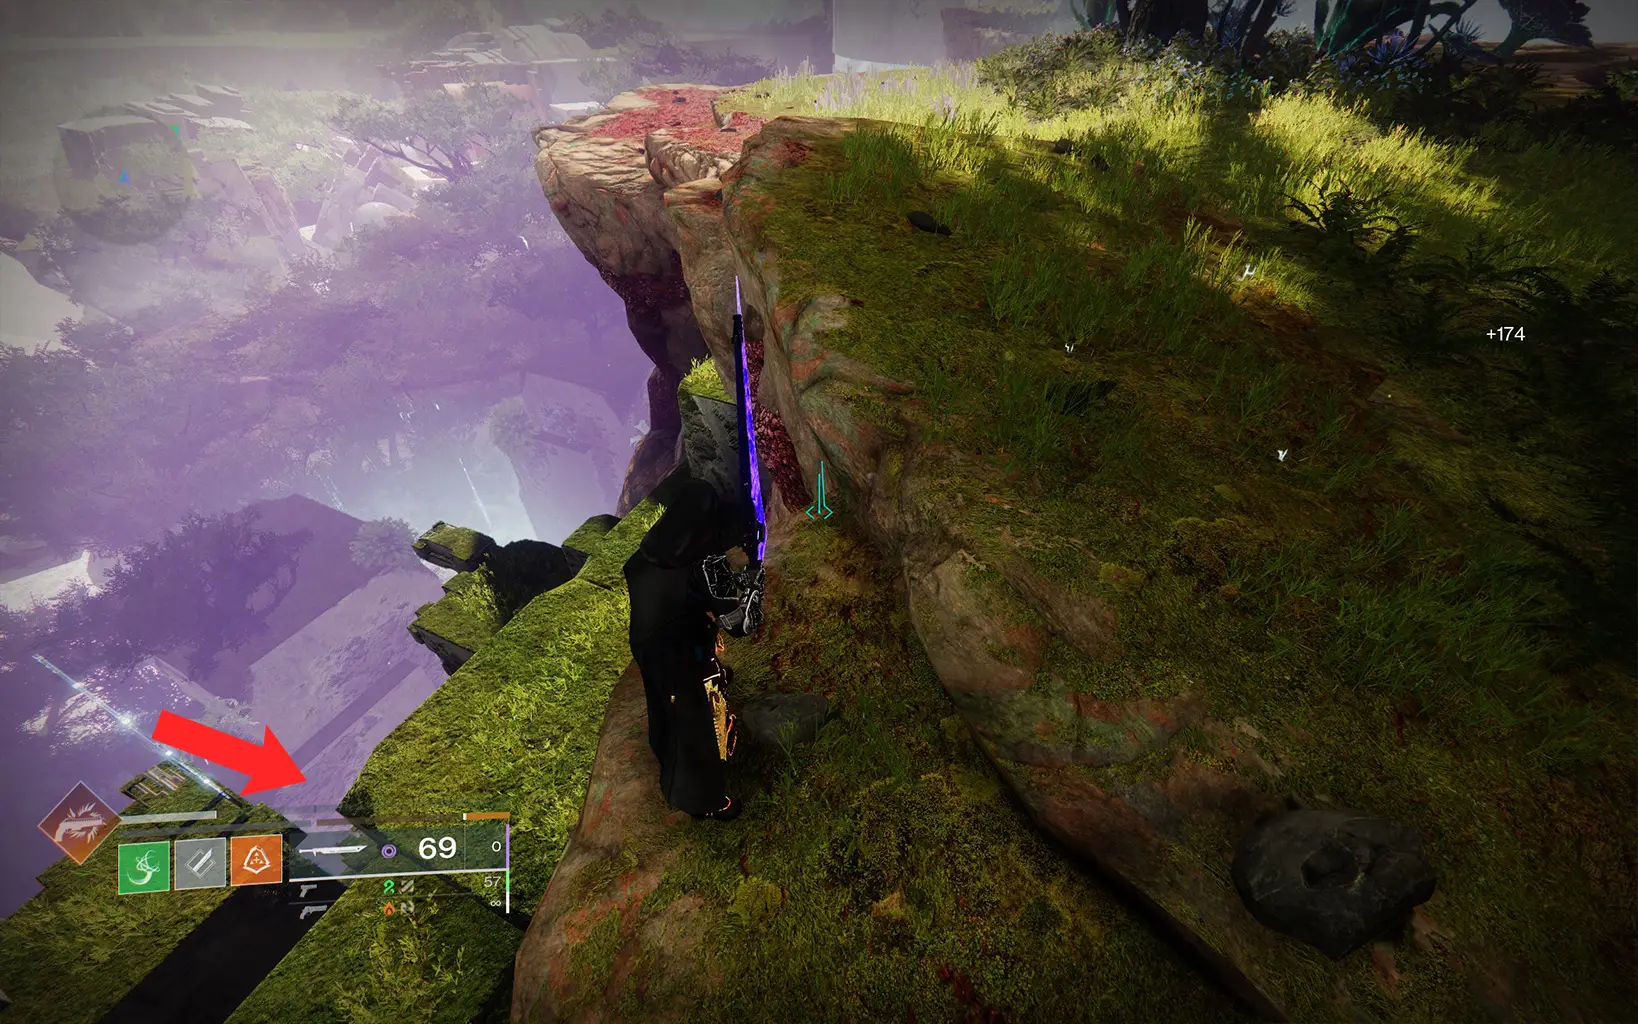
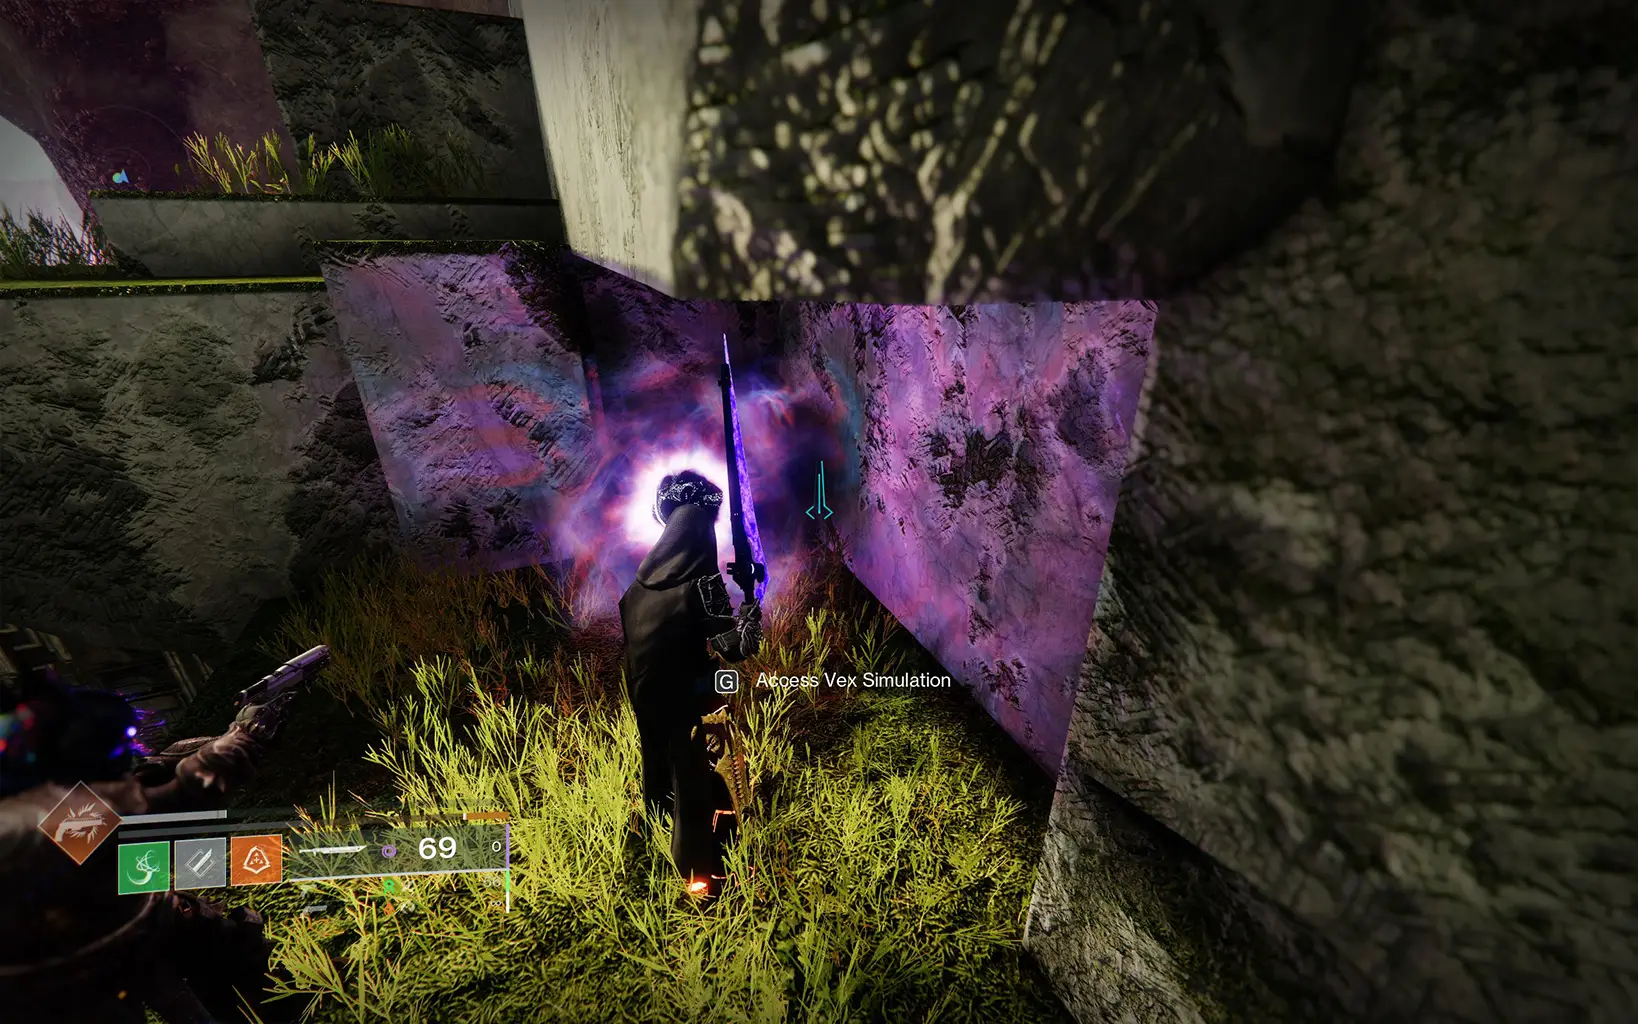
When you first load into the Encore mission, head to the far left side of the starting area. There, you’ll see a cliff, next to the Vex waterfall.
The anomaly is just off the edge, so be sure to carefully jump into the small platforms, avoiding any traps that will push you away. Interact to progress the quest.
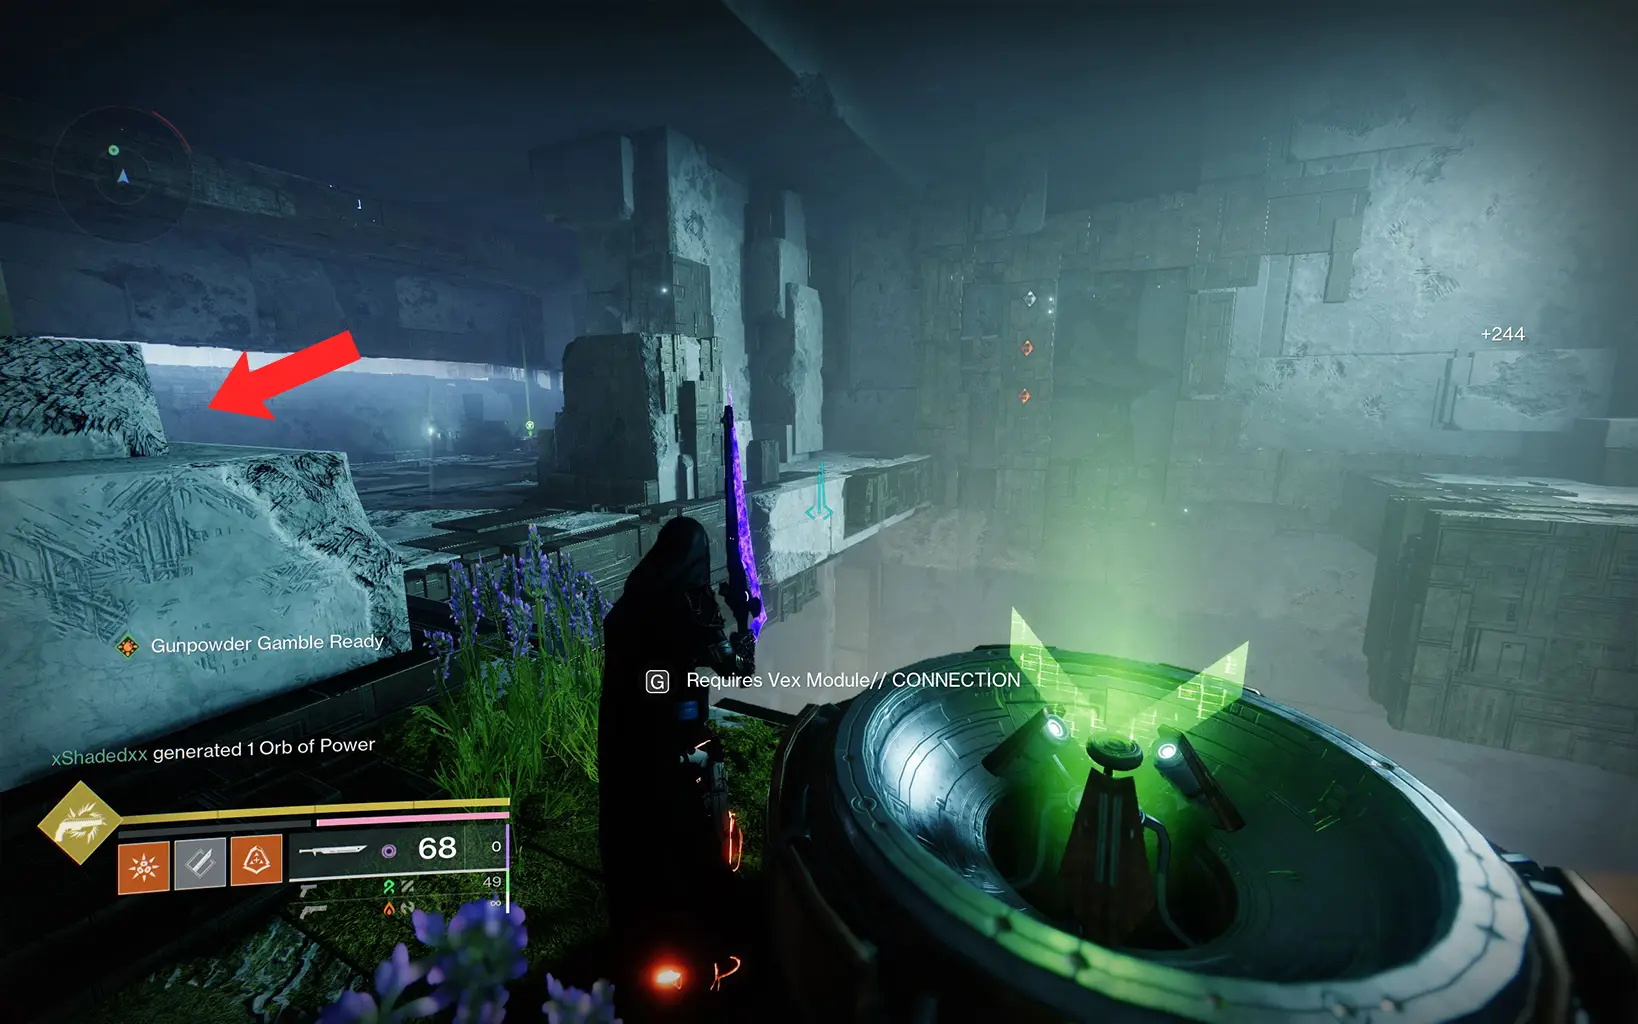
Destiny 2 Encore: 2nd Anomaly Location
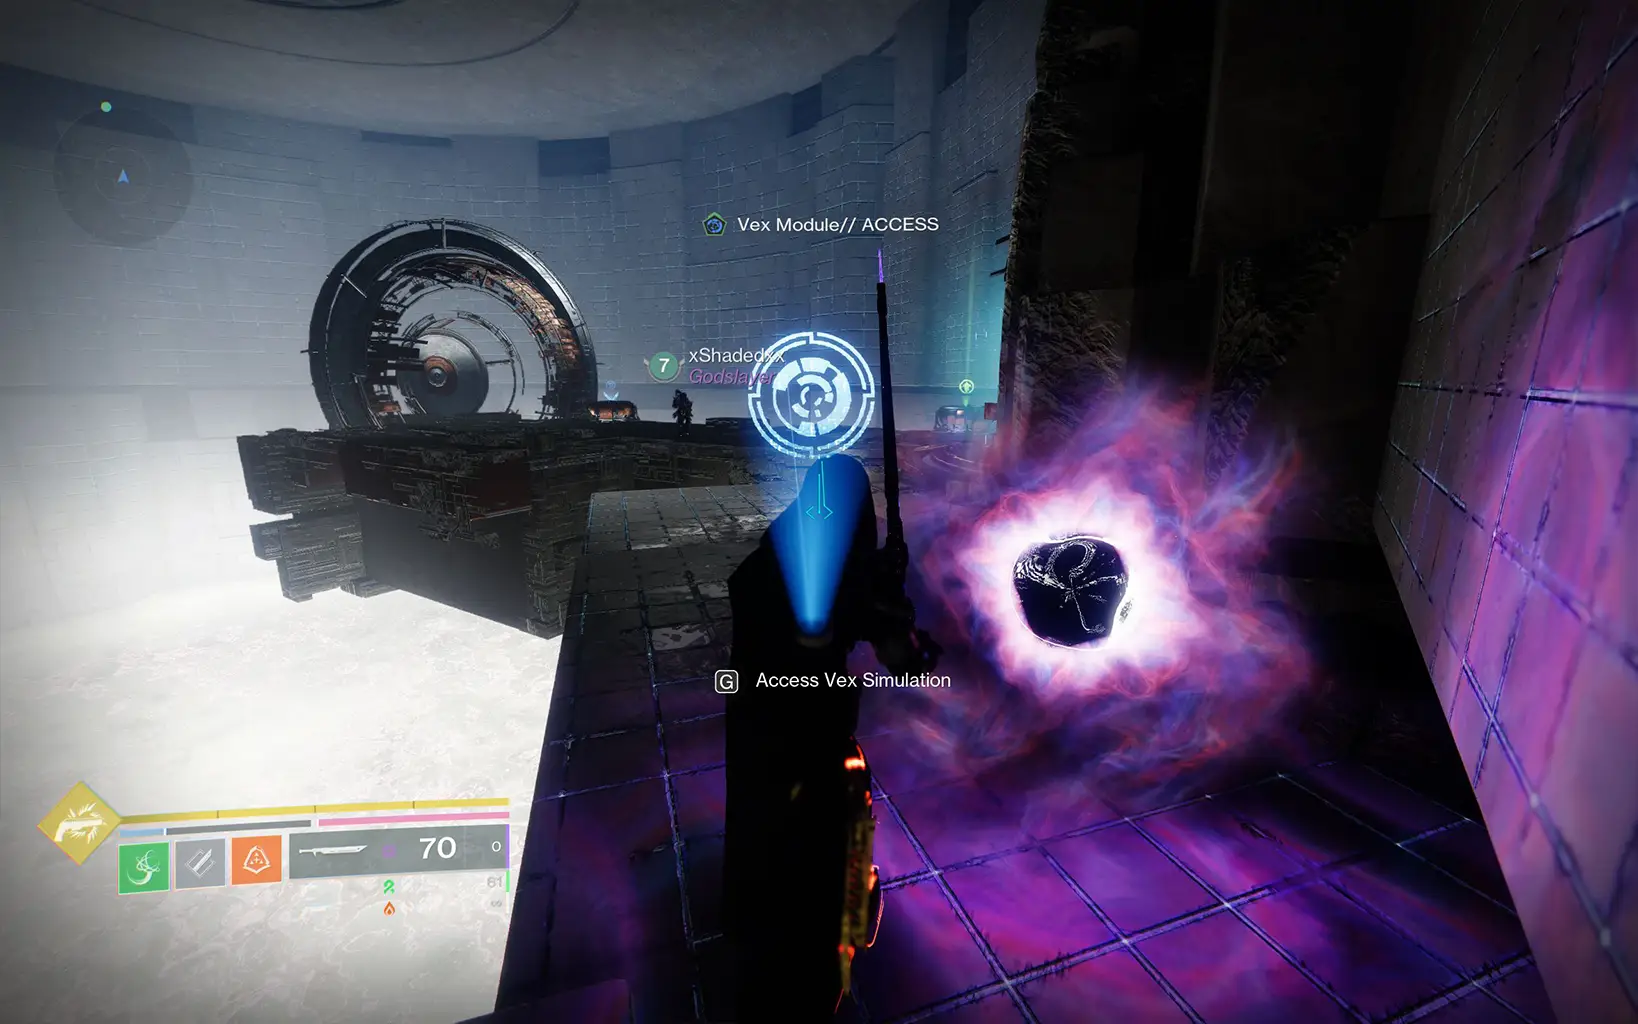
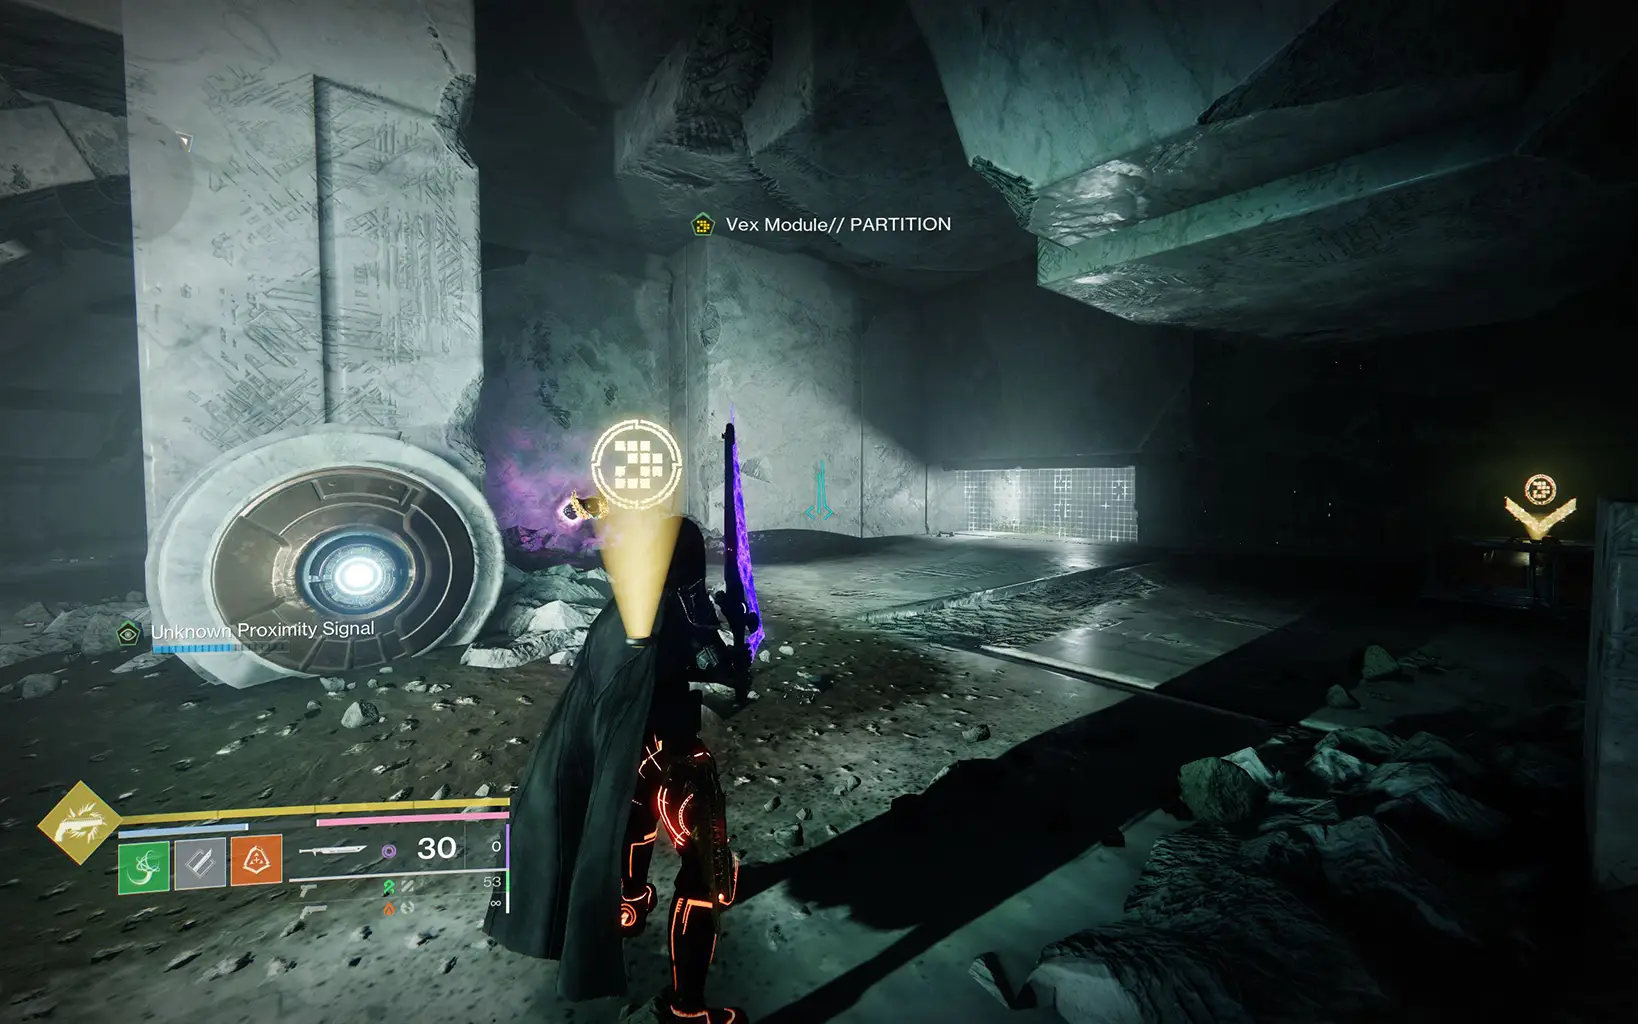
This is located in the first connection puzzle area. After you pick up the green Vex Module for the first time, head towards the far left wall where there’s the second Vex conflux.
Turn around and this purple anomaly should be tucked in a narrow passage between the wall and the second conflux. Interact to progress the quest.

Destiny 2 Encore: 3rd Anomaly Location
This anomaly is located in the room right before the first Planteray Piston. In the room where you defeat a Vex Minotaur that drops the yellow Vex buff, make your way to the far left corner of the room. The anomaly is hiding there.
Interact to progress the quest.
Destiny 2 Encore: 4th Anomaly Location
This anomaly is located right before you enter the Vex portal that drops you down to the first boss encounter. After you enter the portal, look to your close left, the anomaly will be floating there, slightly obscured by the surroundings.
It’s a straightforward grab but easy to miss. Interact to progress the quest.
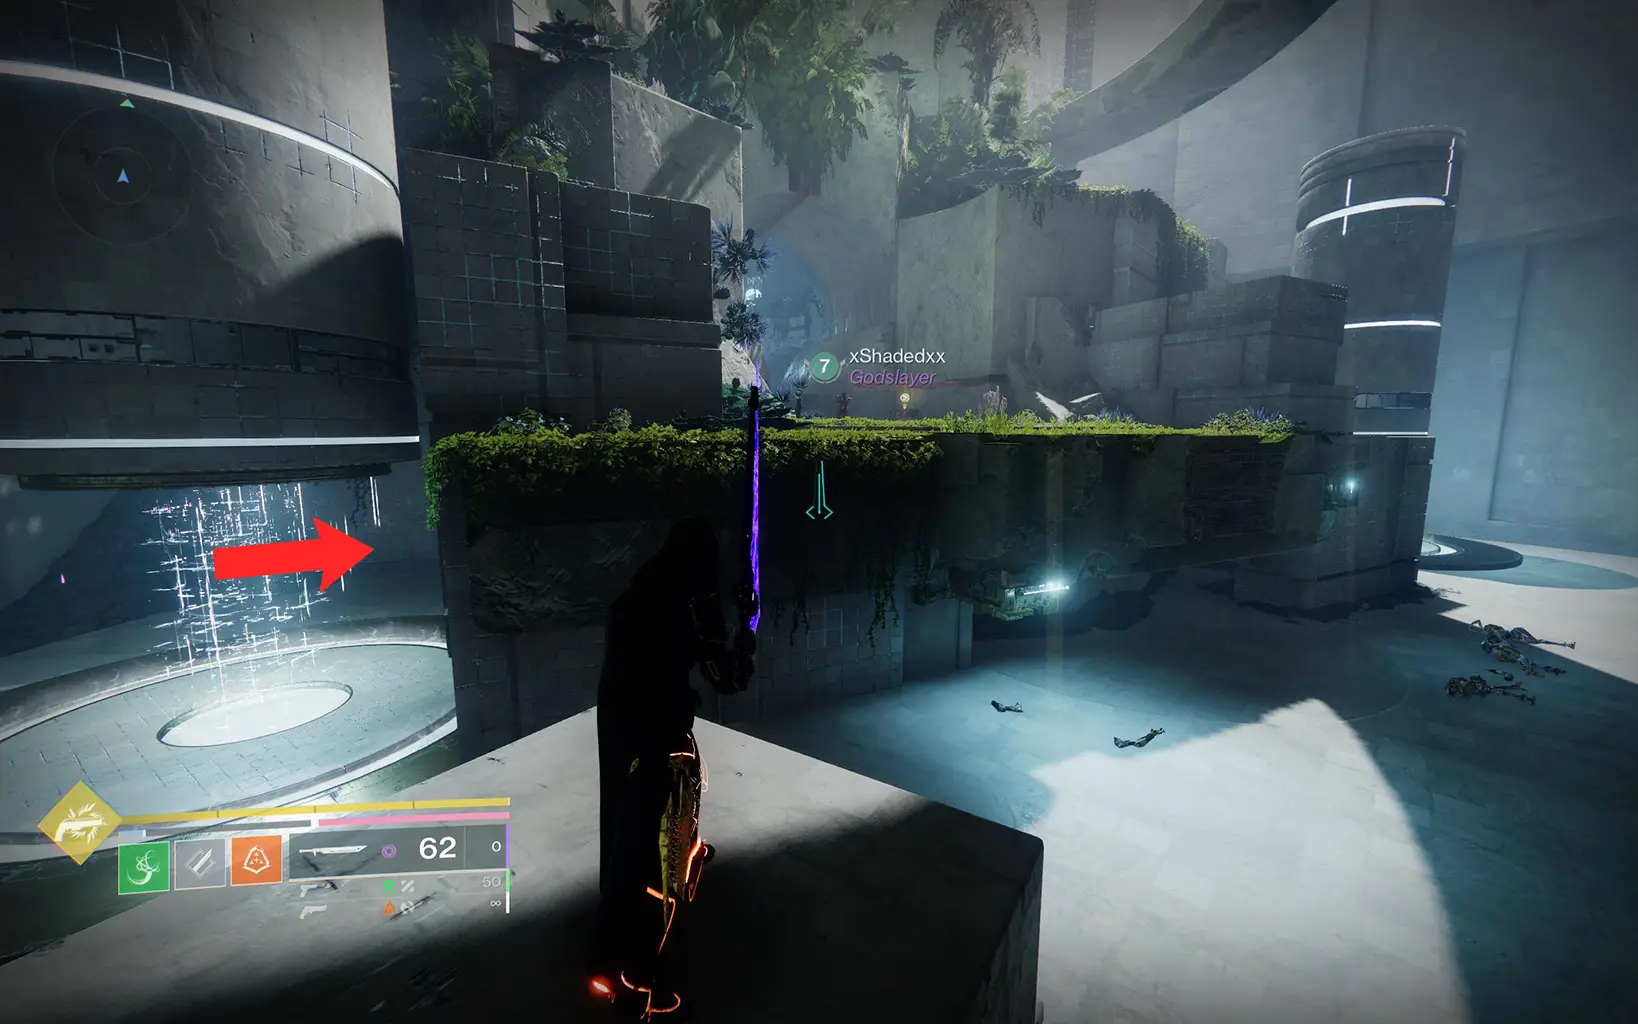
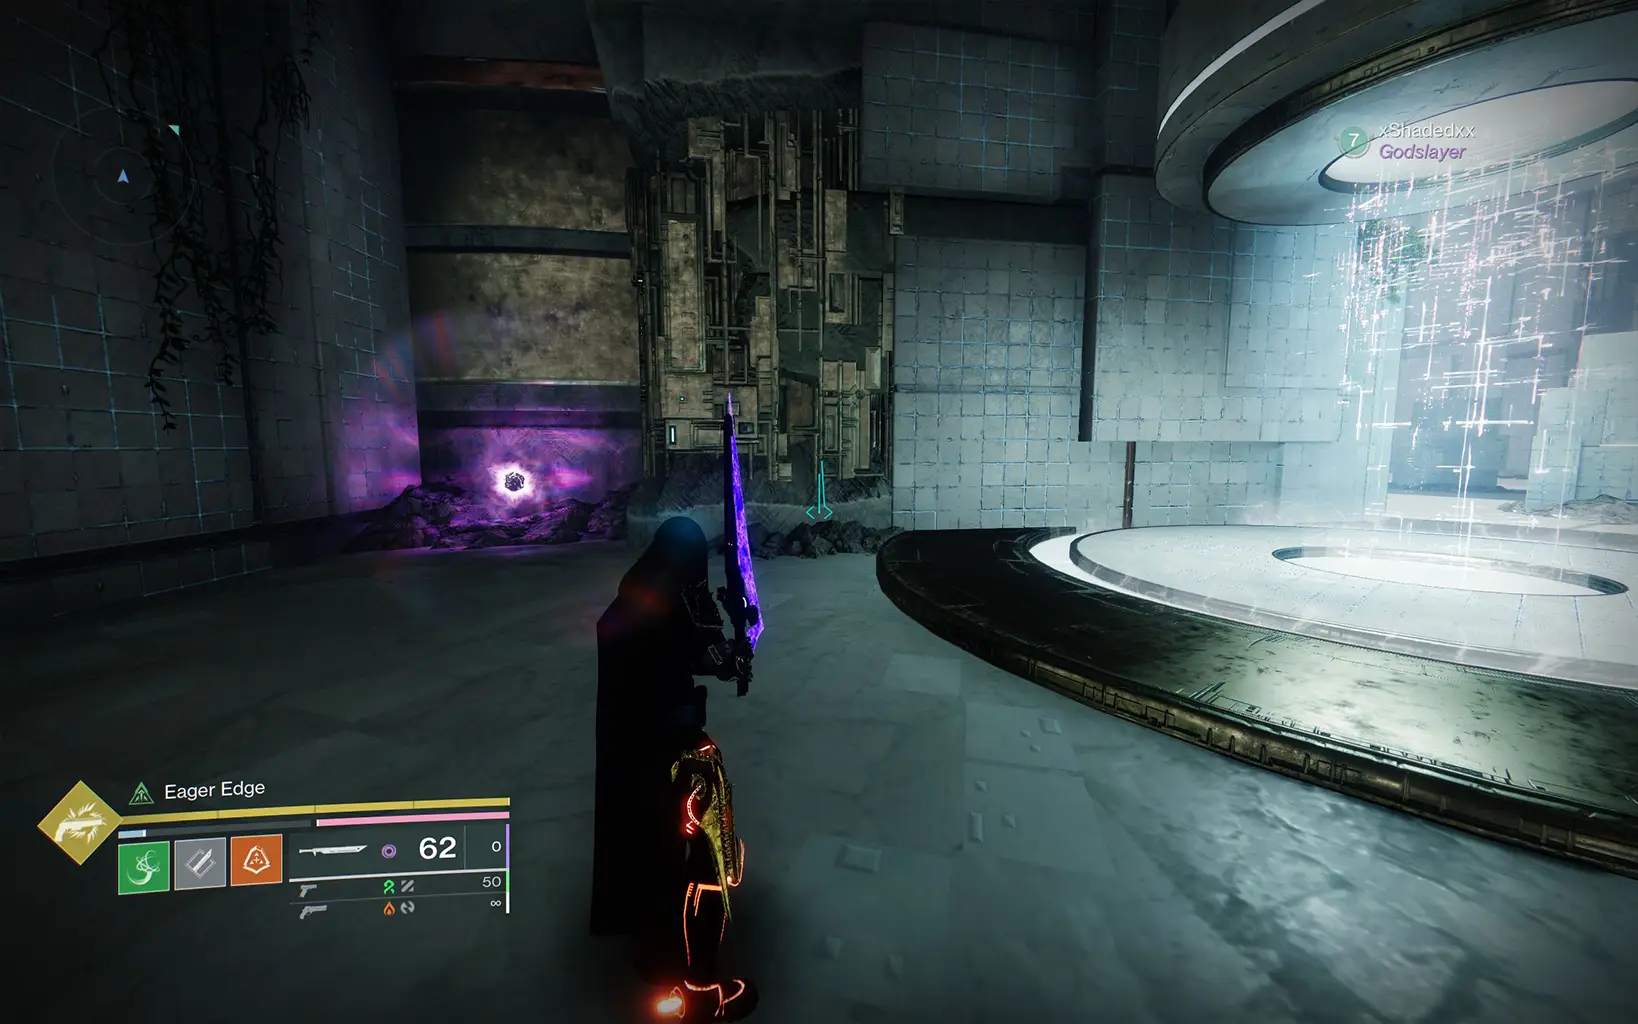
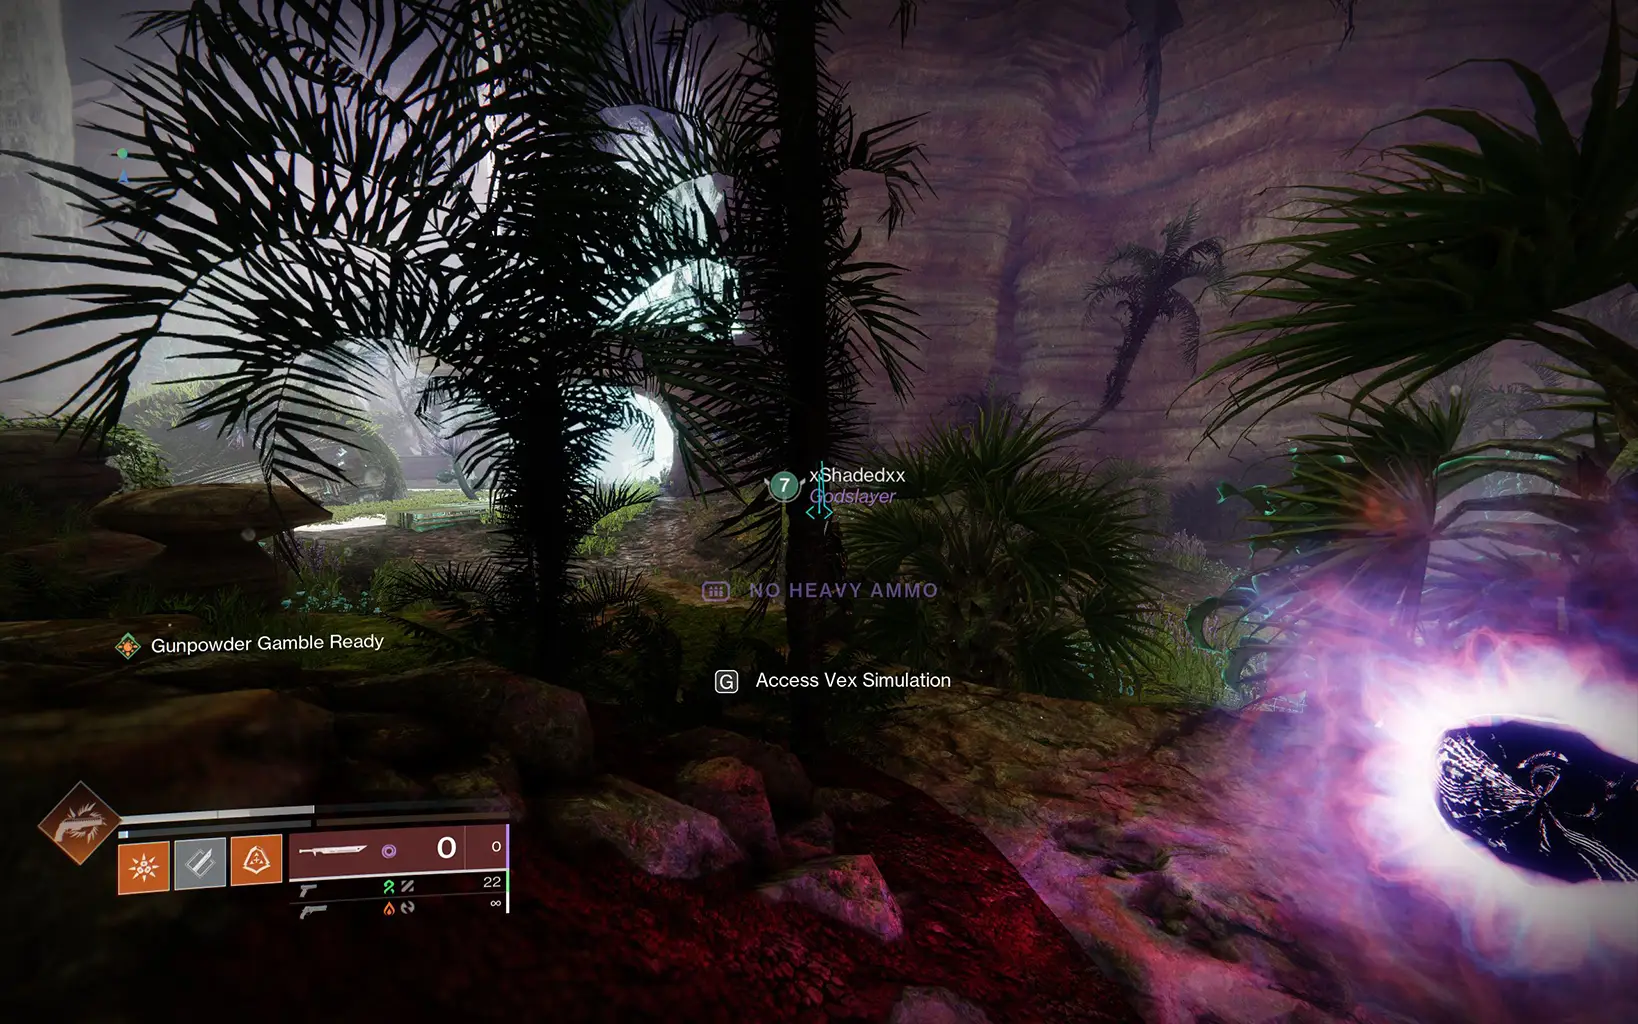
Destiny 2 Encore: 5th Anomaly Location
After defeating the first boss and crawling through the tunnel that follows, be sure to take a left. The anomaly is nestled among the leaves in this area.
Interact to progress the quest.

Destiny 2 Encore: 6th Anomaly Location
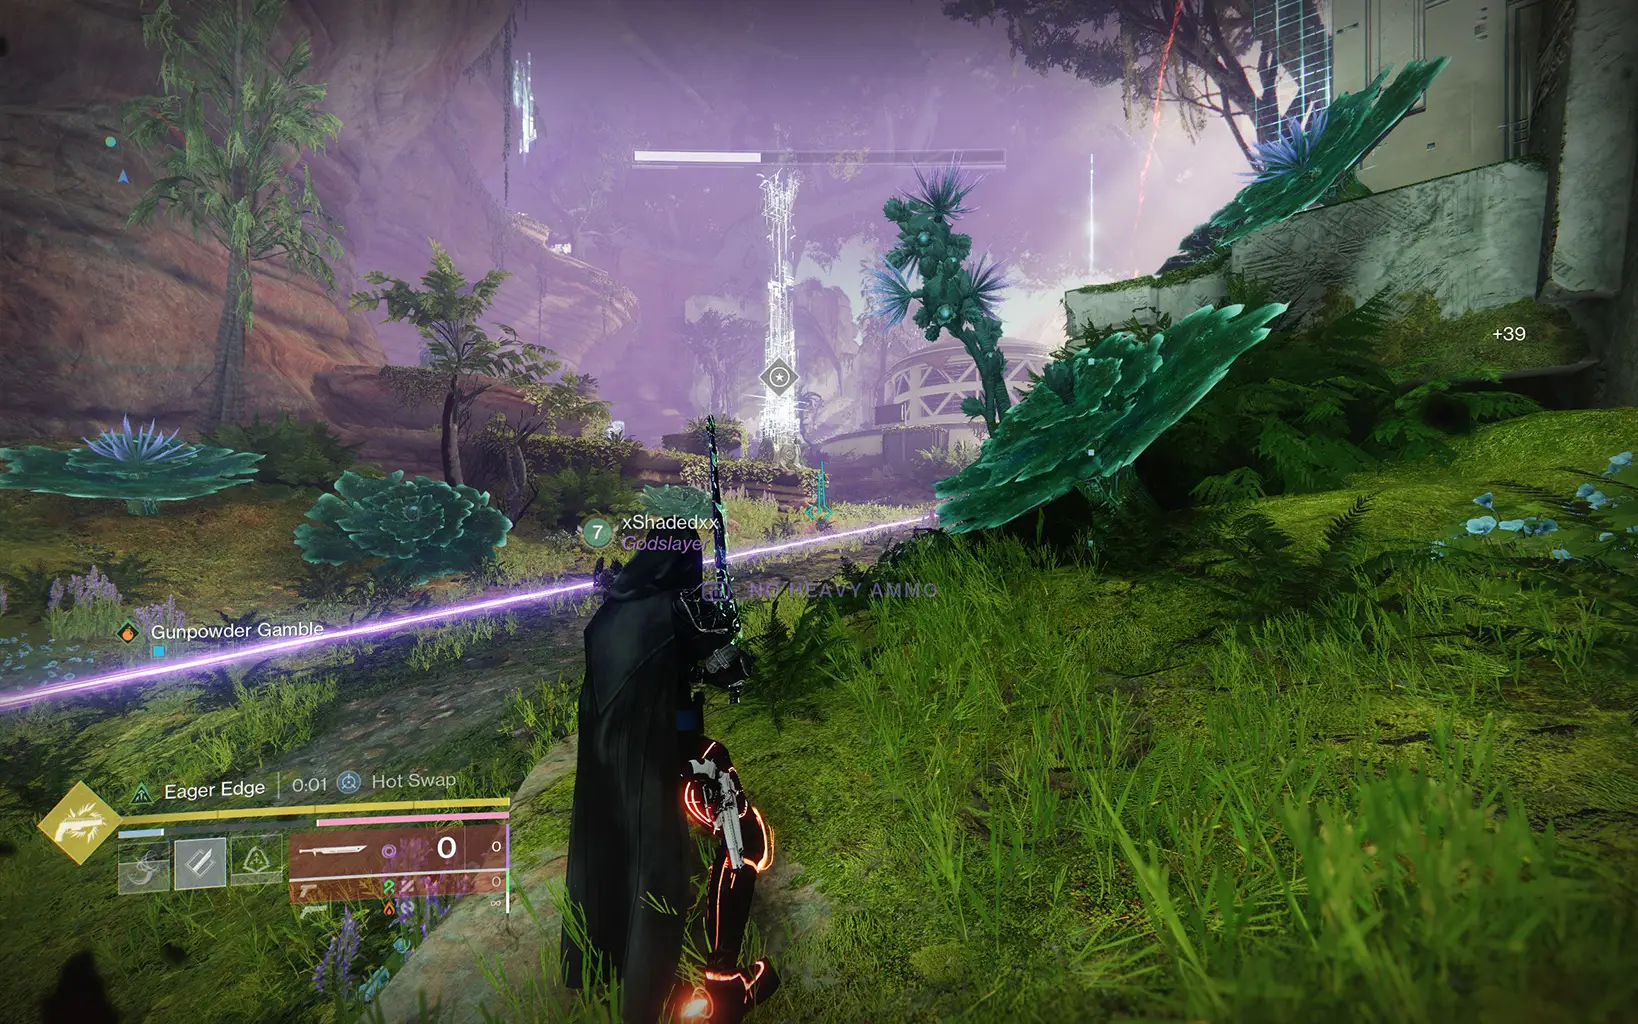
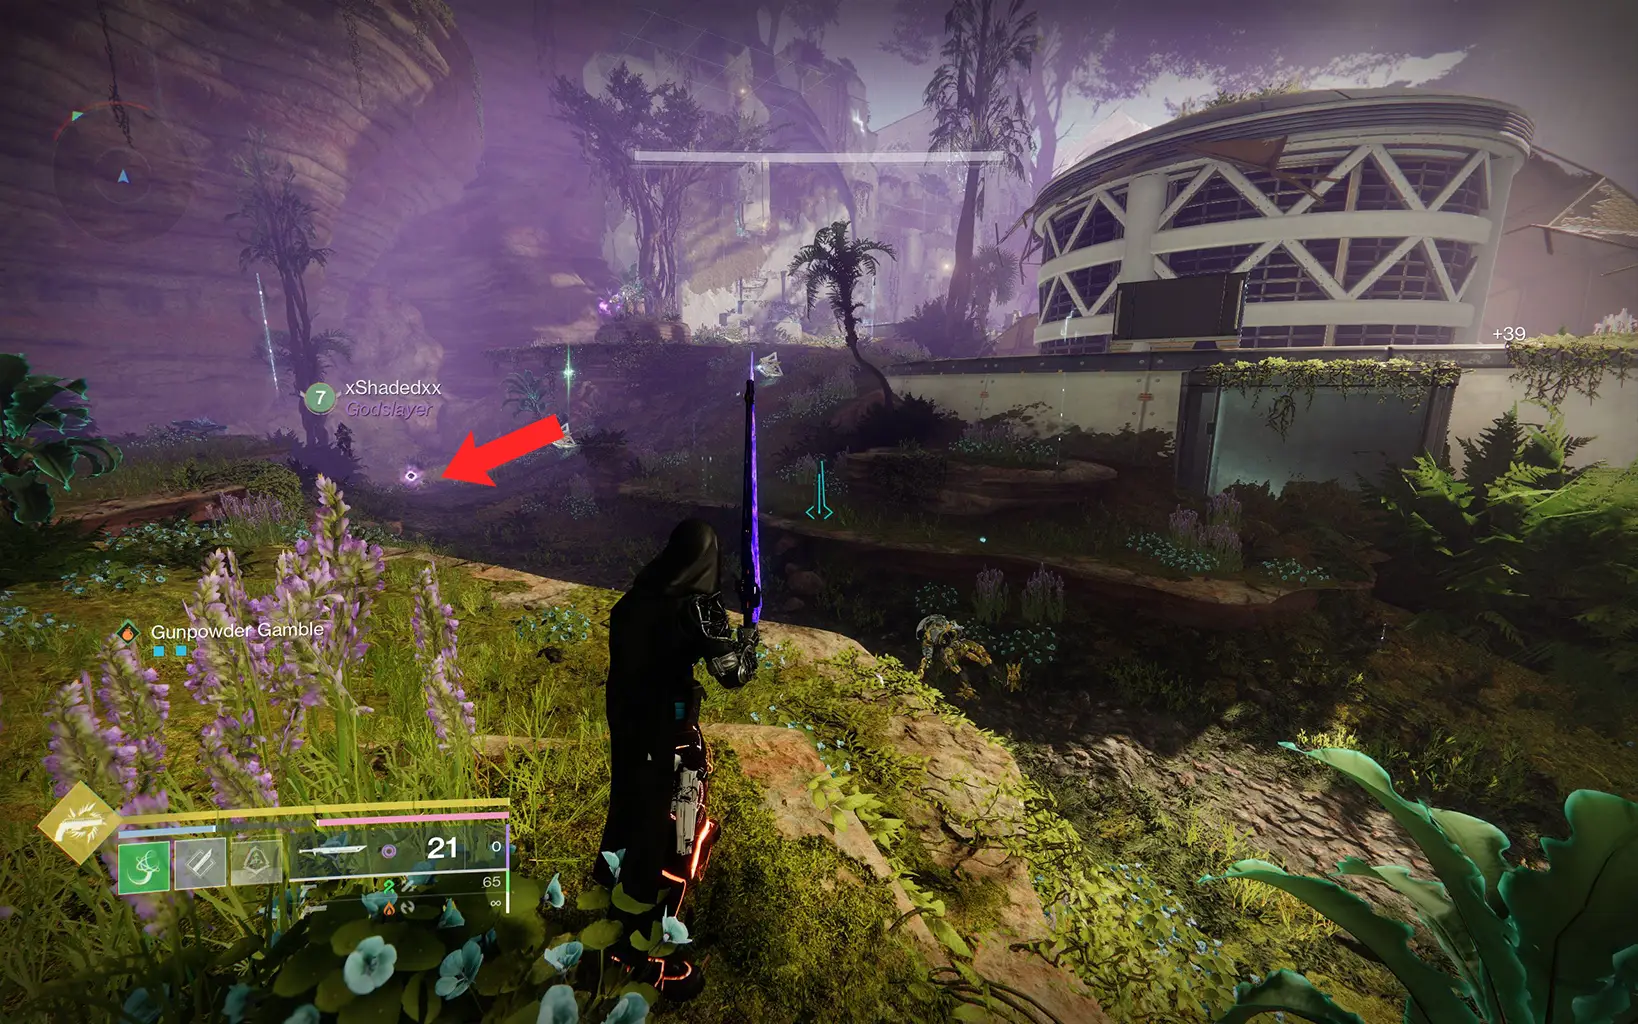
In the large combat arena with Wyverns, a dome-shaped Ishtar building, and the second Planetary Piston, head to the left side of the area. The anomaly will be there.
Interact to progress the quest.
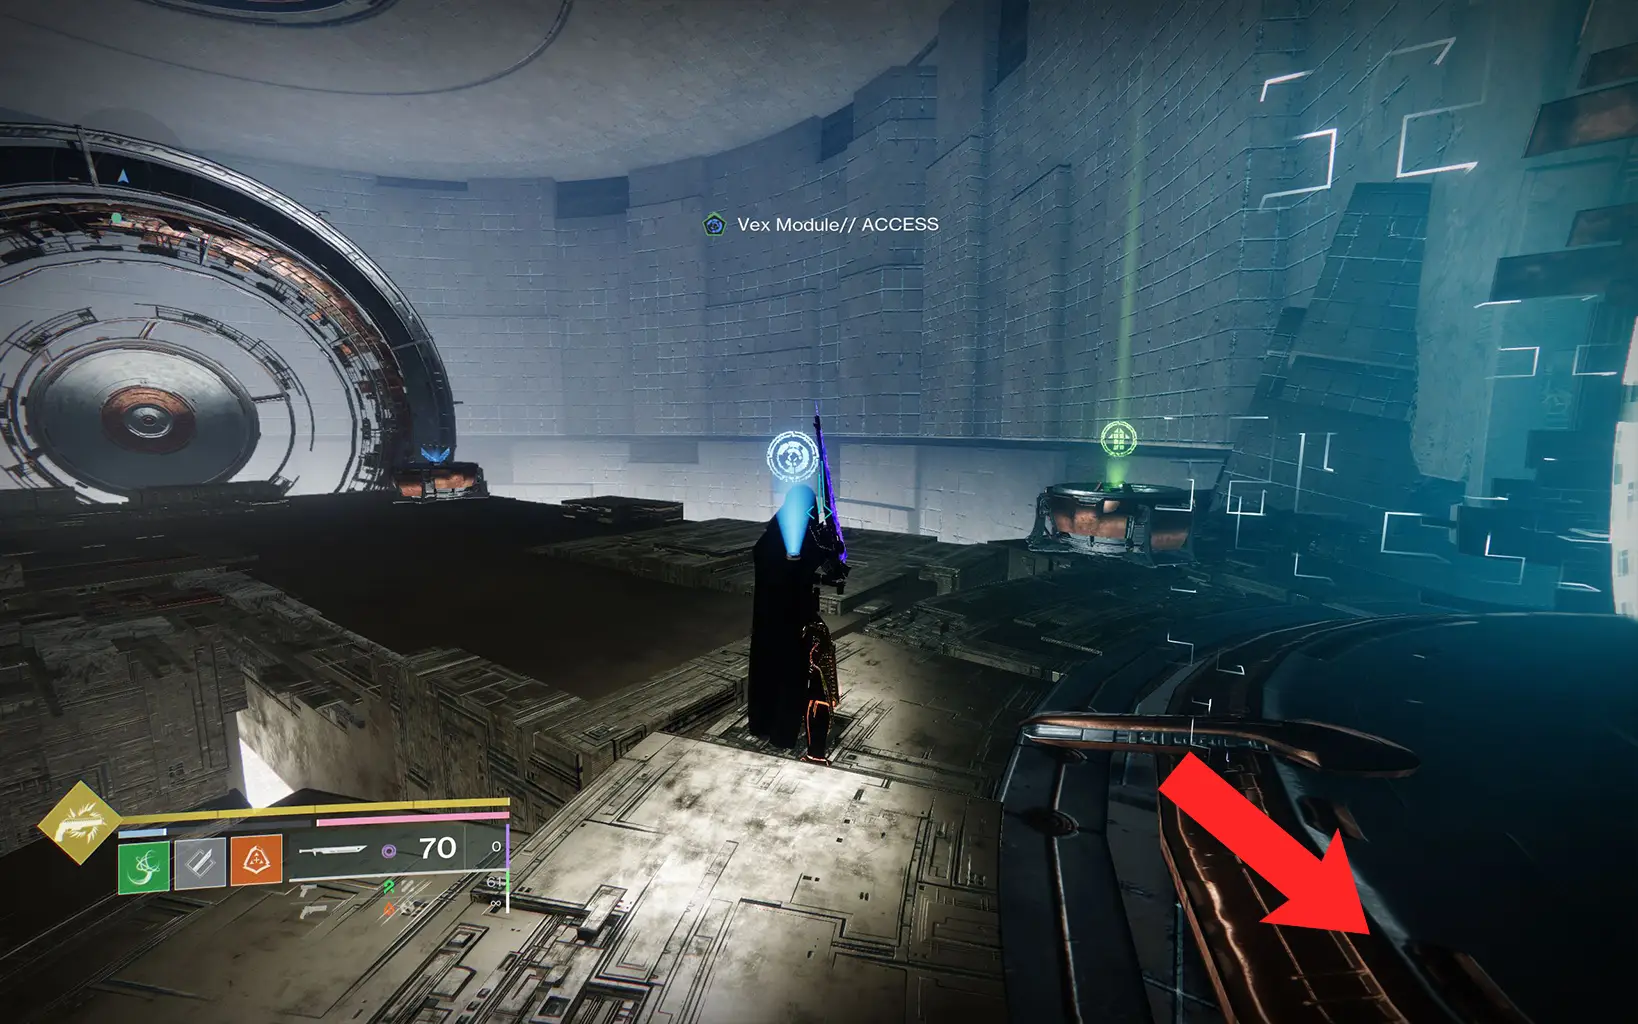
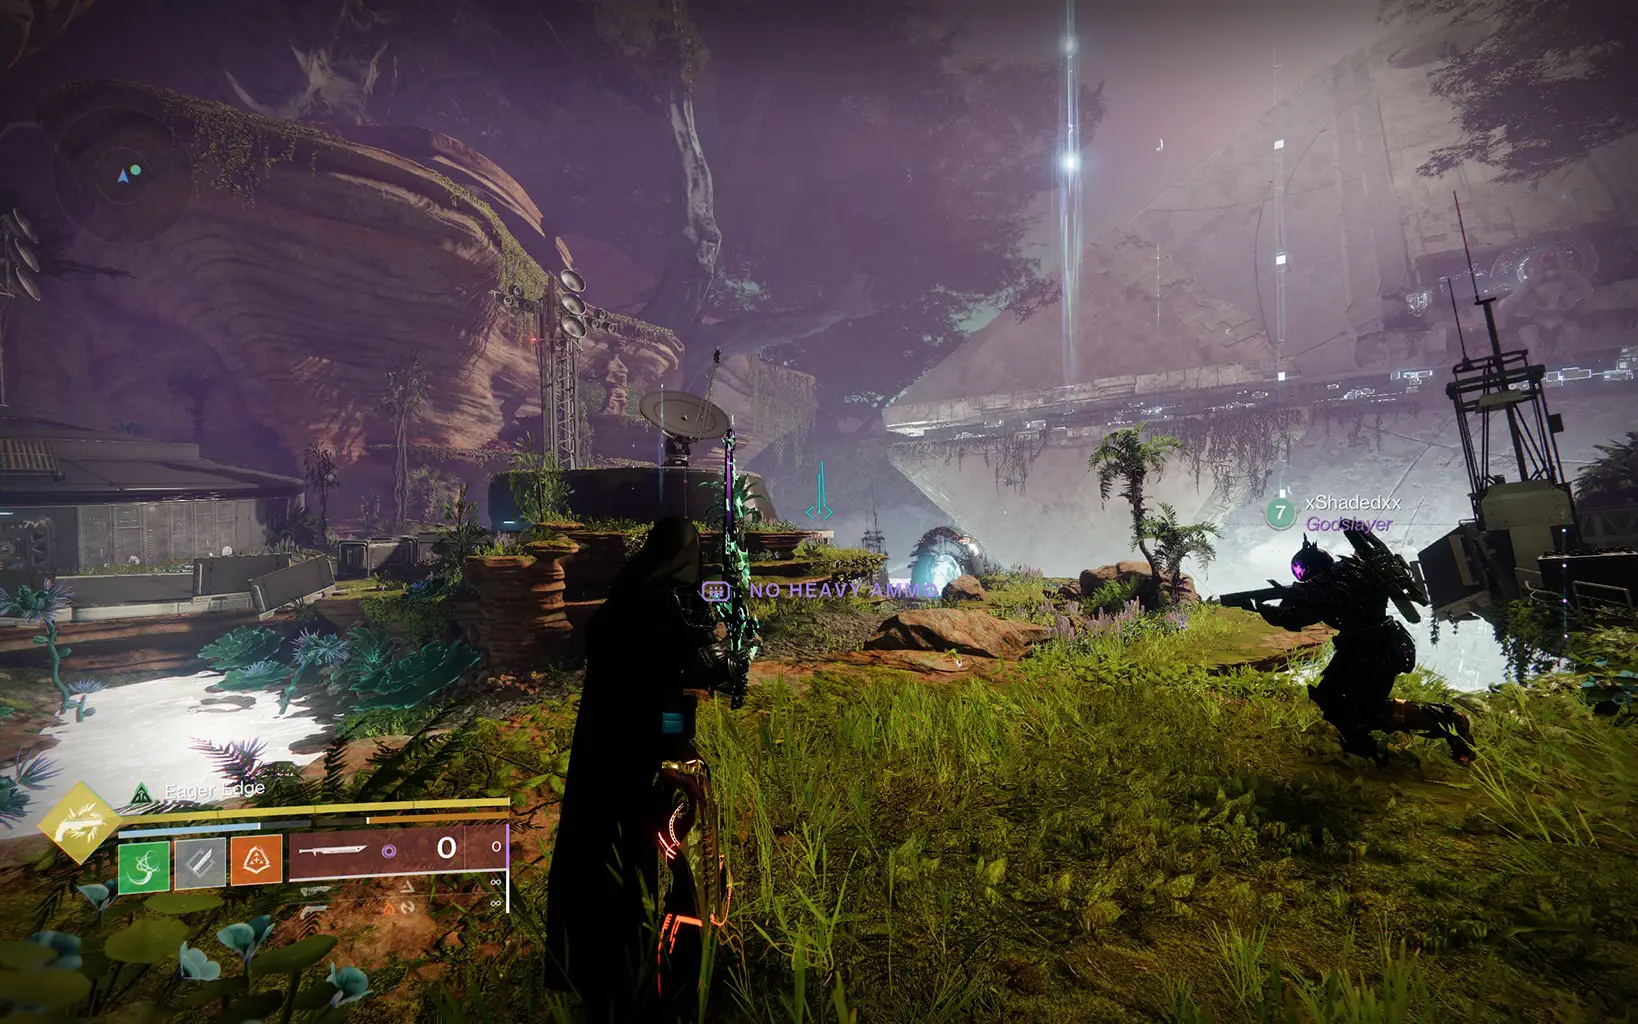
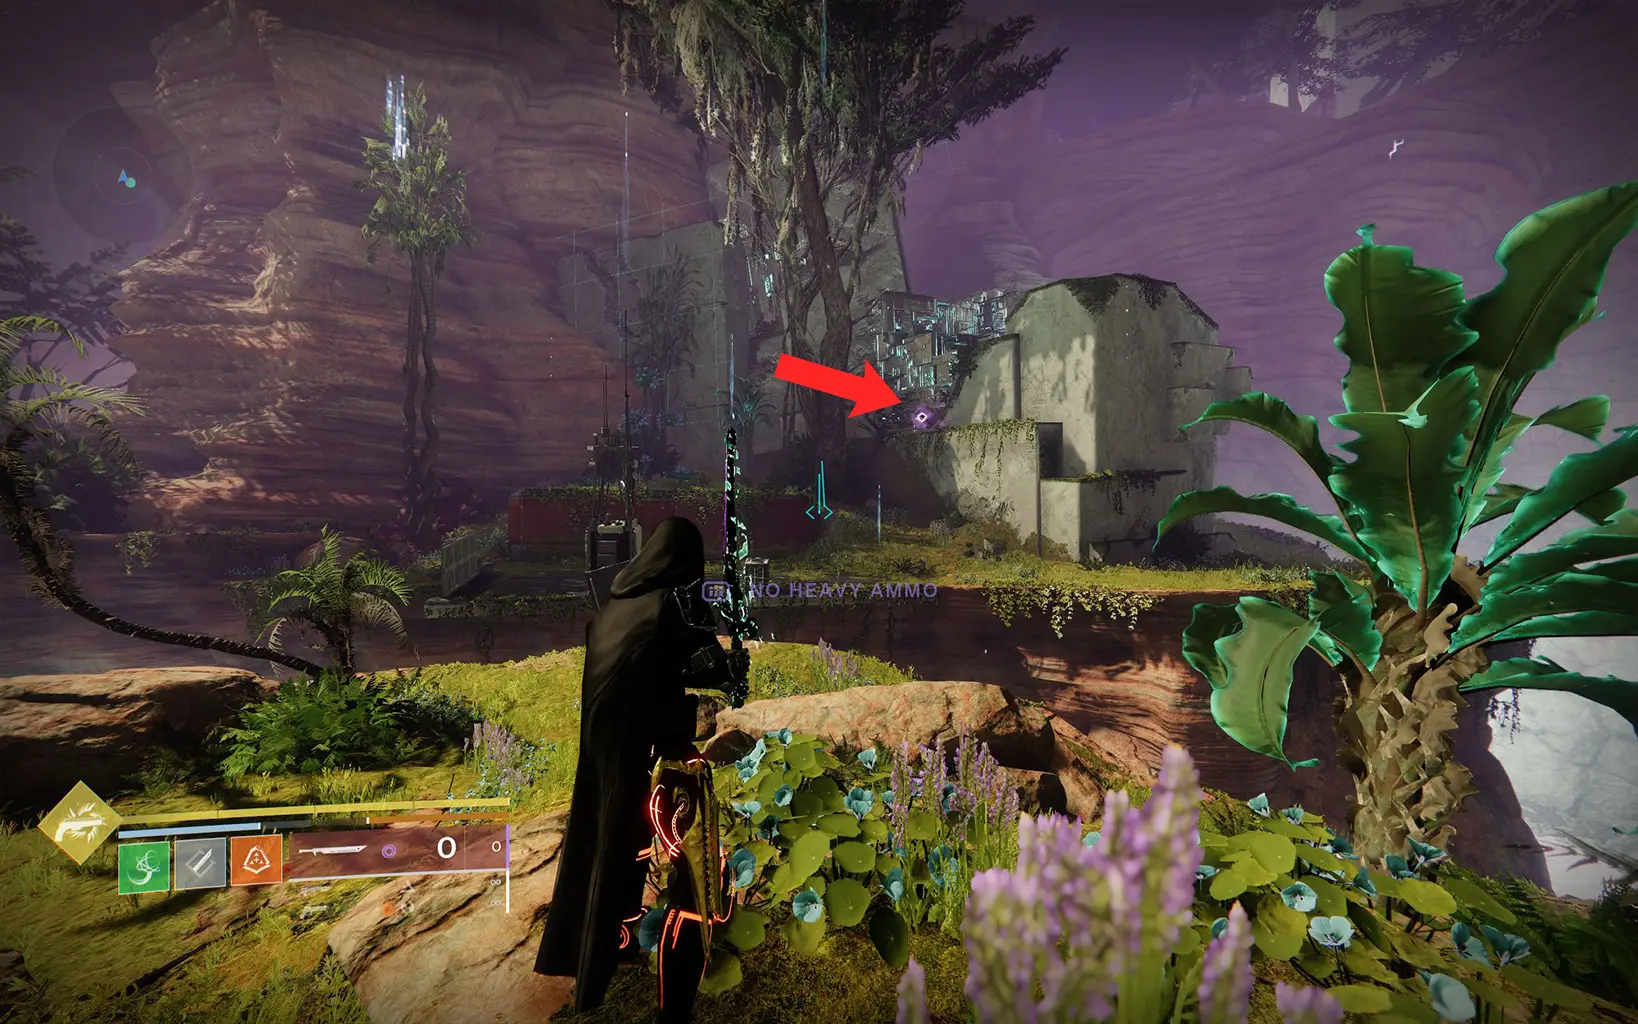
Destiny 2 Encore: 7th Anomaly Location
This is located in the next area where you defeat a Vex Hydra up in the air, and a beefy Cabal boss. Just before entering the portal that leads you to the lab, turn around. The anomaly will be sitting in a corner on the left-hand side. It’s a small area, so it can be easily missed.
Interact to progress the quest.
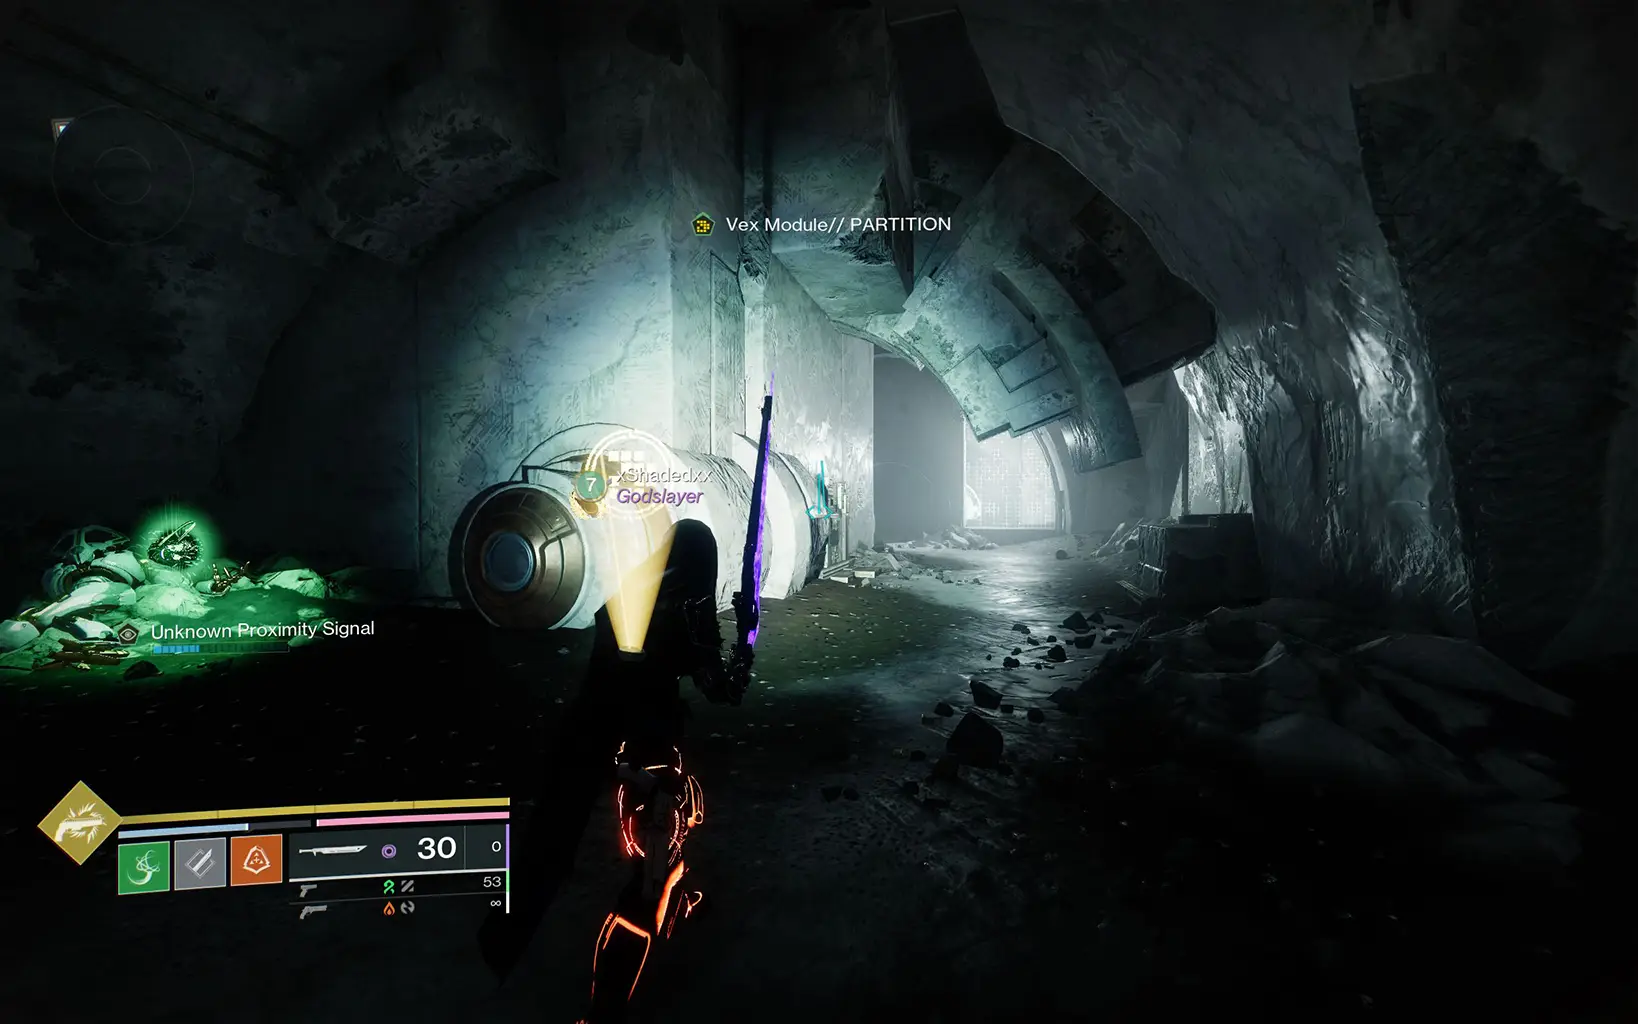
Destiny 2 Encore: 8th Anomaly Location
To get this final anomaly, you’ll need to activate the Vex conflux in the room with the dead Chiomas. Once you’ve done that, enter through the portal and go through the left portal that’ll lead you to the Deletion puzzle.
From there, continue unlocking the chest as usual. The anomaly should be in the room where you use the yellow module. Interact to progress the quest. Check out our complete guide on how to complete this puzzle that will also unlock one of the exotic catalysts for Choir of One.
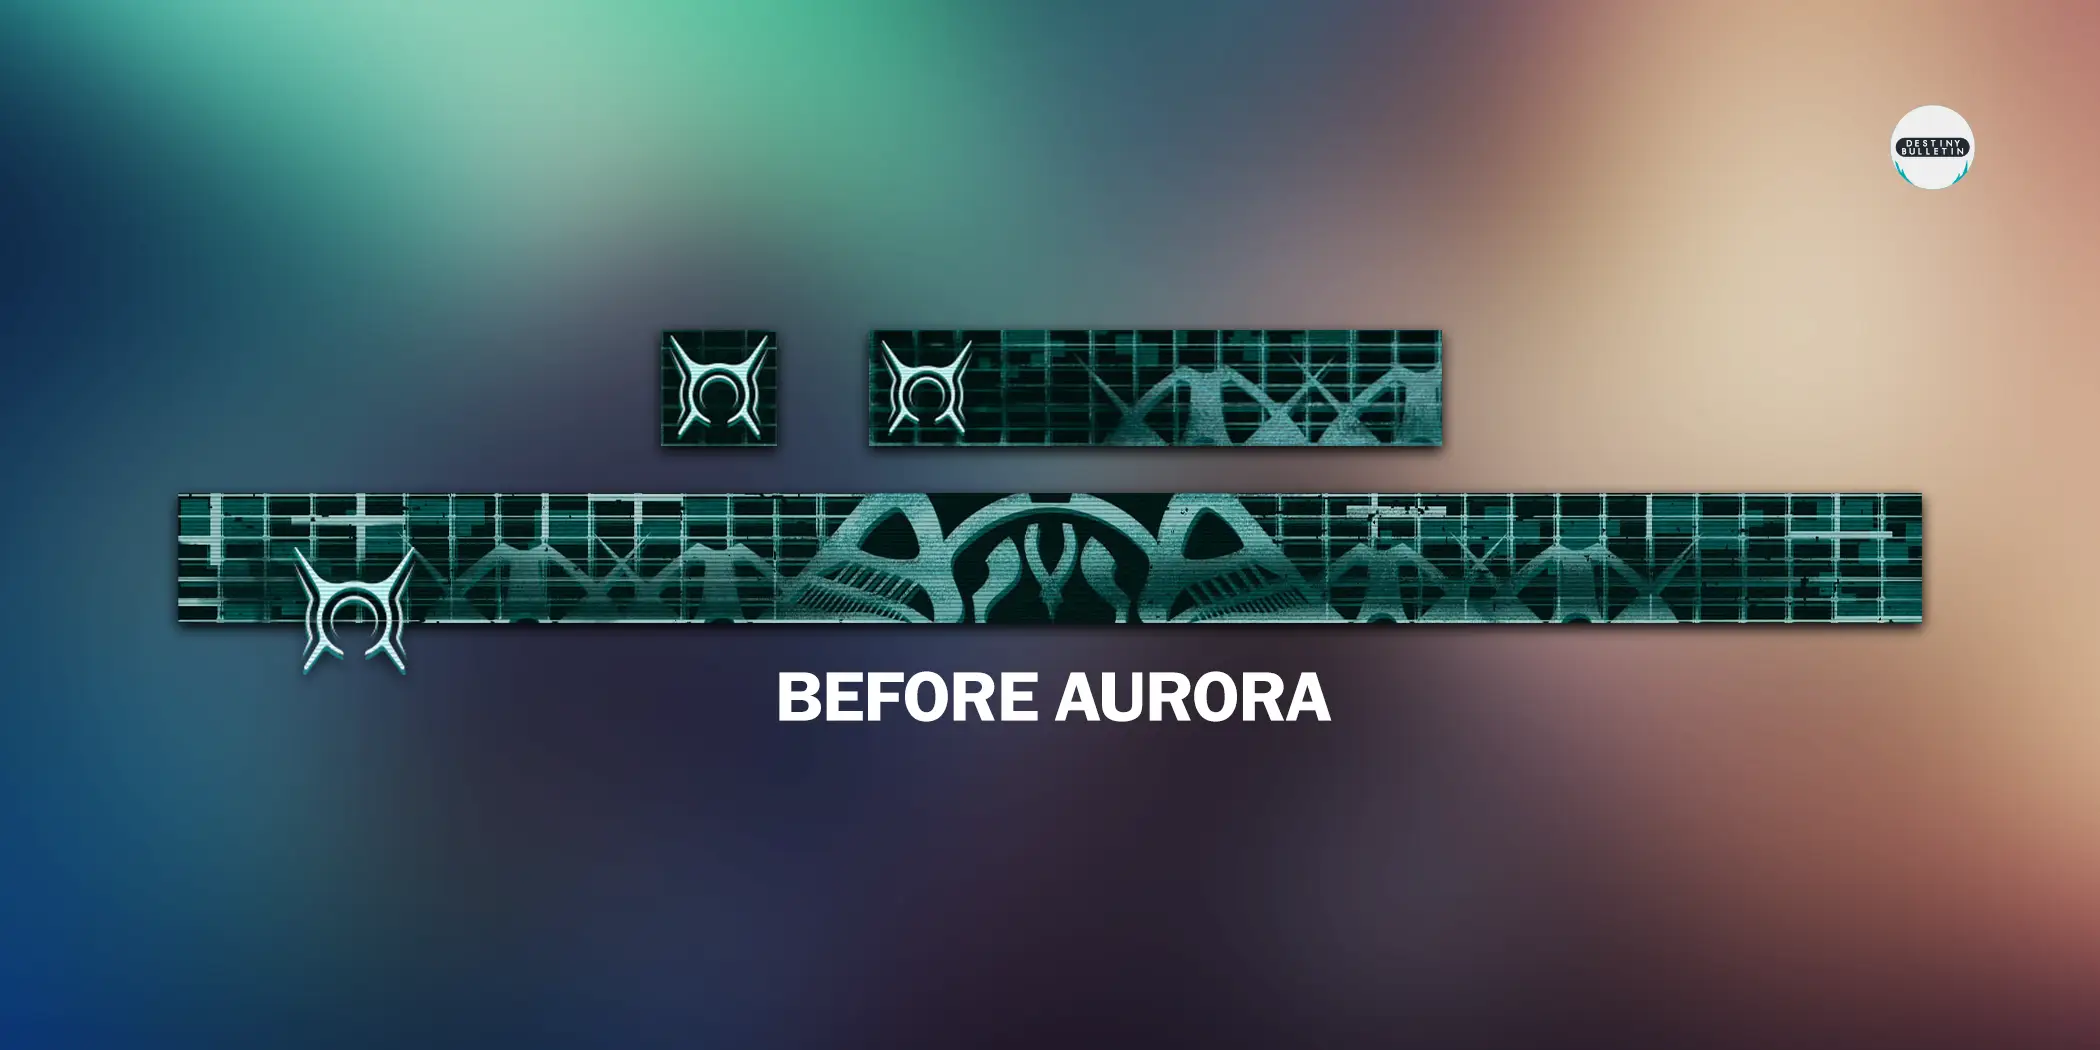
Destiny 2: How to get Before Aurora Emblem
To unlock the Before Aurora emblem in Destiny 2, you need to complete the Epilogue: Anomalous Voices questline. After you’ve interacted with all eight anomalies in the Encore exotic mission, the Before Aurora emblem will drop as a reward.
Here’s a preview of this emblem.
And… that’s it for this guide! While you’re here, make sure to check out our complete guide on how to unlock the new Choir of One exotic auto rifle.
Don't miss the big stories. Make us your preferred source on Google to get breaking news, leaks, and exclusives first.