Here’s our comprehensive guide on how to find all 12 anchor locations in Destiny 2‘s Desert Perpetual raid, unlock the Envoy’s Togs shader, and complete the “Map and Territory” questline.
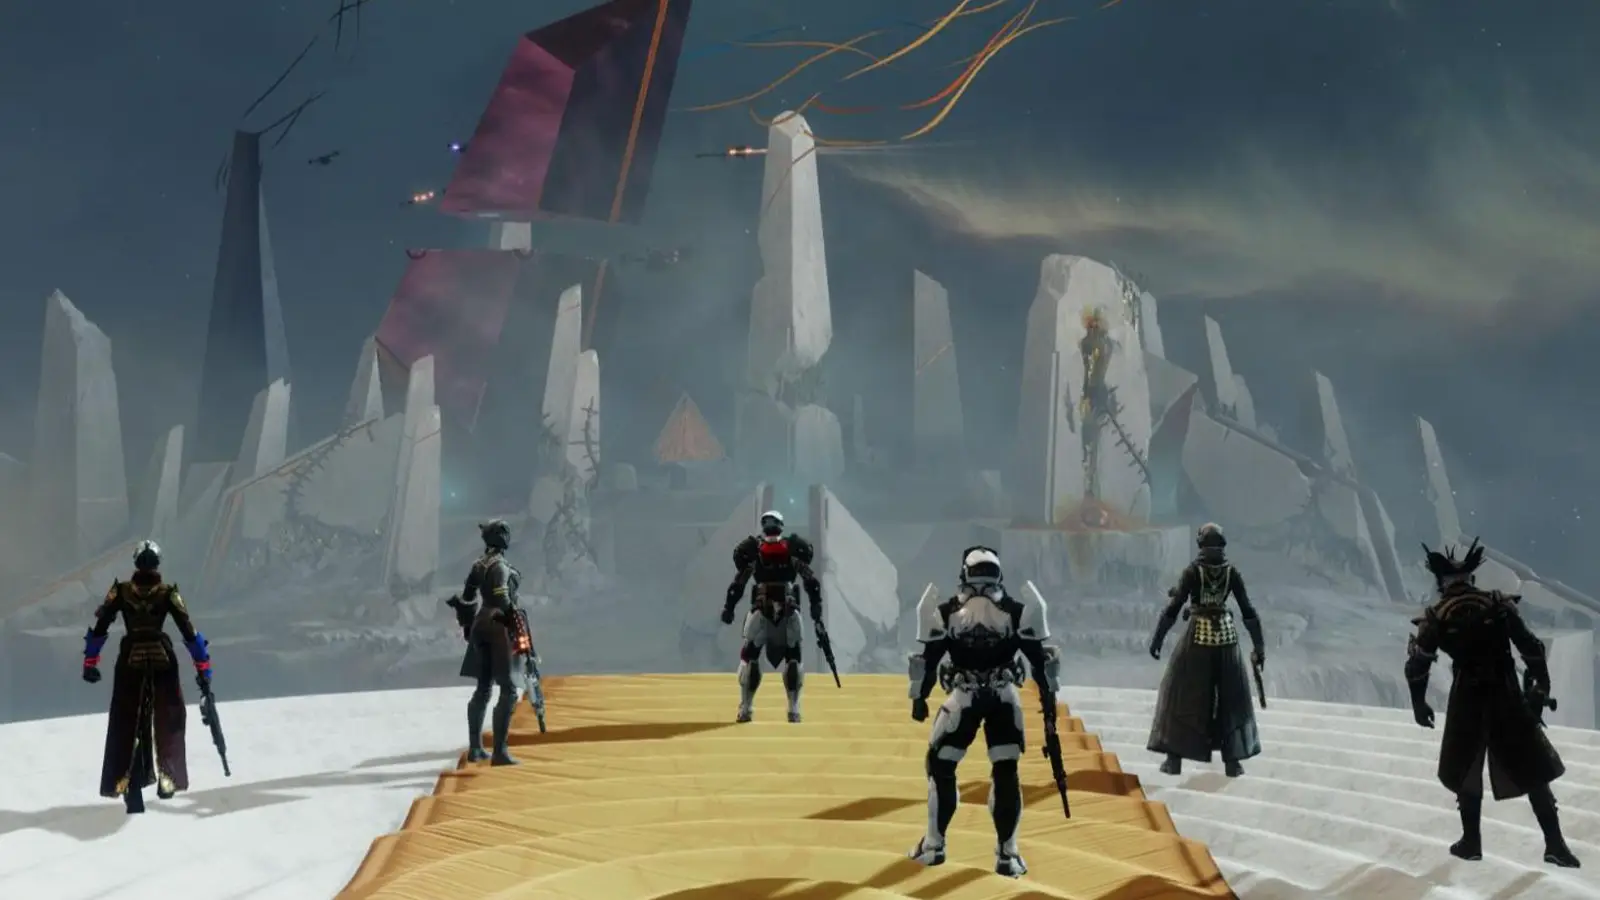
The wait is finally over! The Desert Perpetual, Destiny 2’s newest raid from the Edge of Fate expansion, is here. The raid takes place on Kepler and is themed around the Vex. There’s a ton of new gear to unlock, including the new Whirling Ovation exotic rocket launcher, new legendary weapons, and armor. (Check out the full raid loot table here)
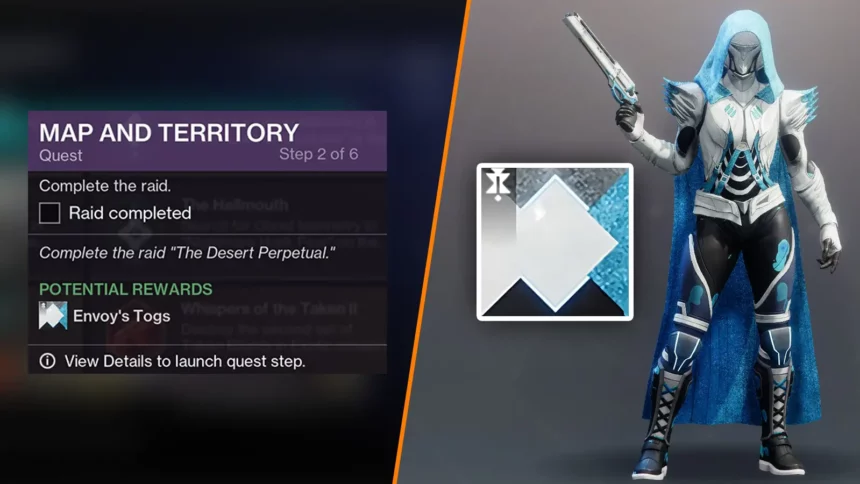
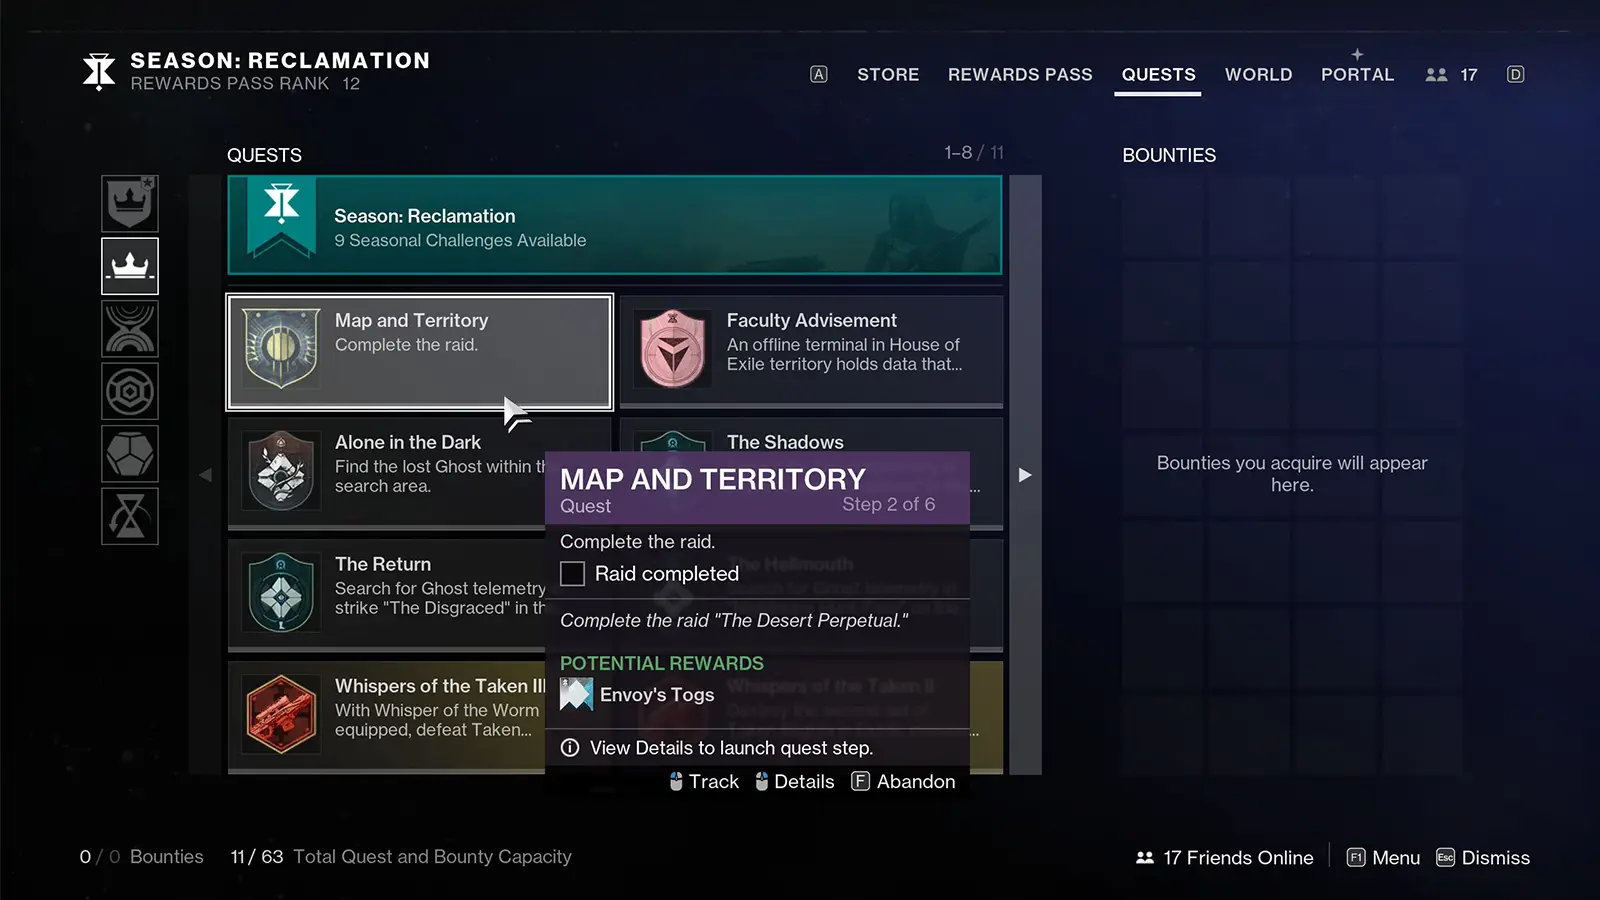
Like previous raids and dungeons, Desert Perpetual also comes with its own unique quest called “Map and Territory.” This quest sends you on a bit of a scavenger hunt inside the raid itself, tracking down anchor points.
In this guide, we’ll walk you through how to complete every step of the Map and Territory quest, including where to find every anchor location inside the raid.
Destiny 2: How to Get the Envoy’s Togs Shader
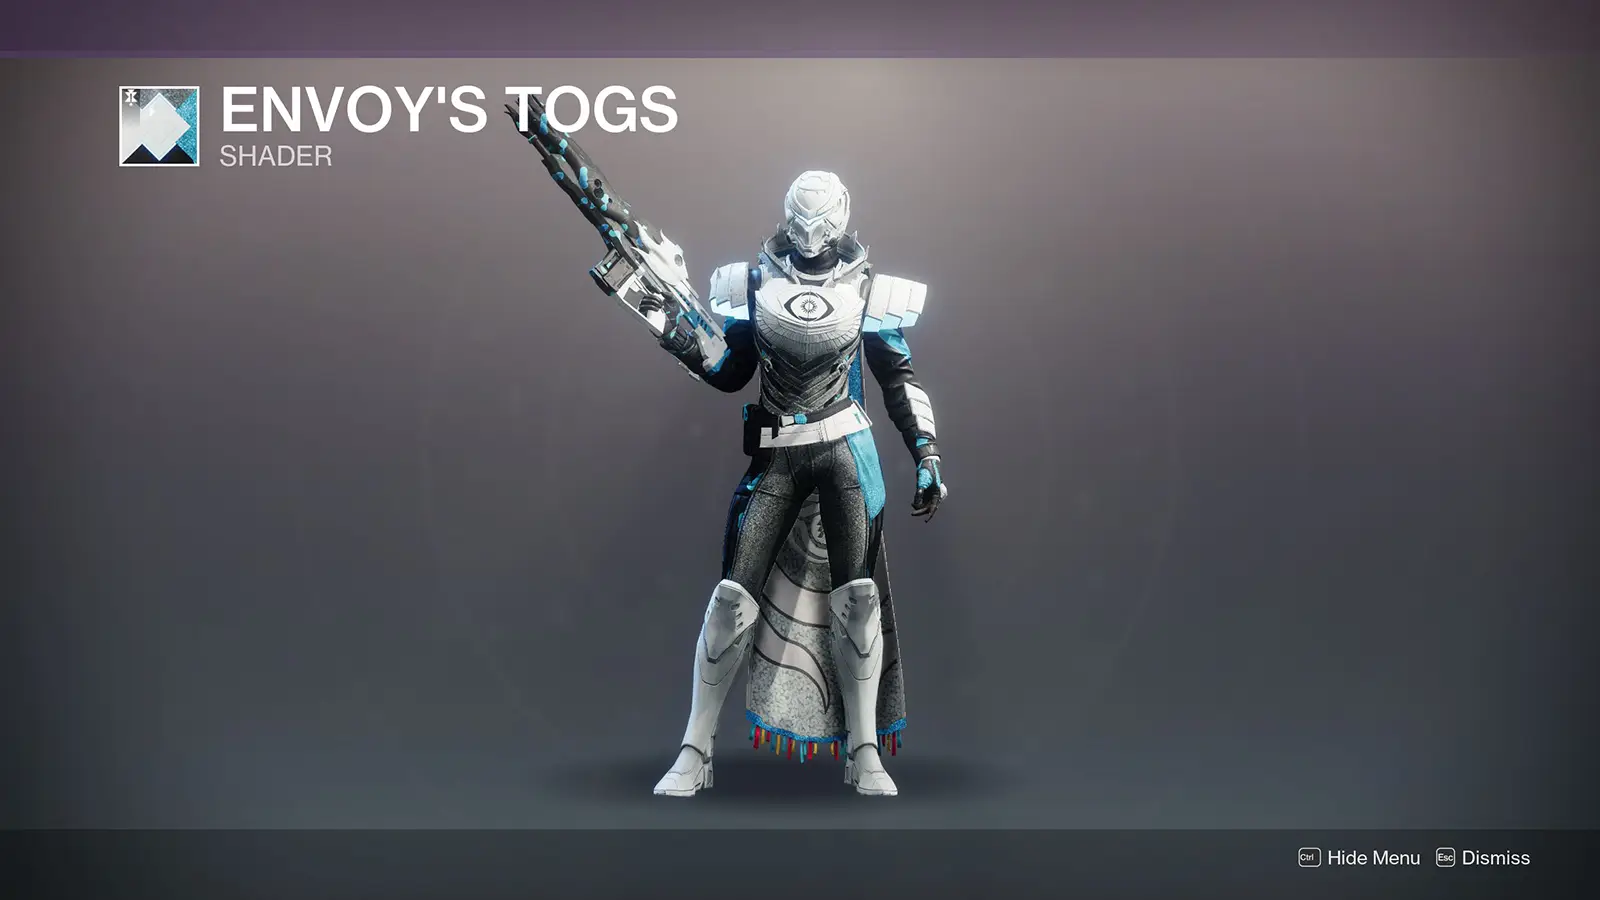
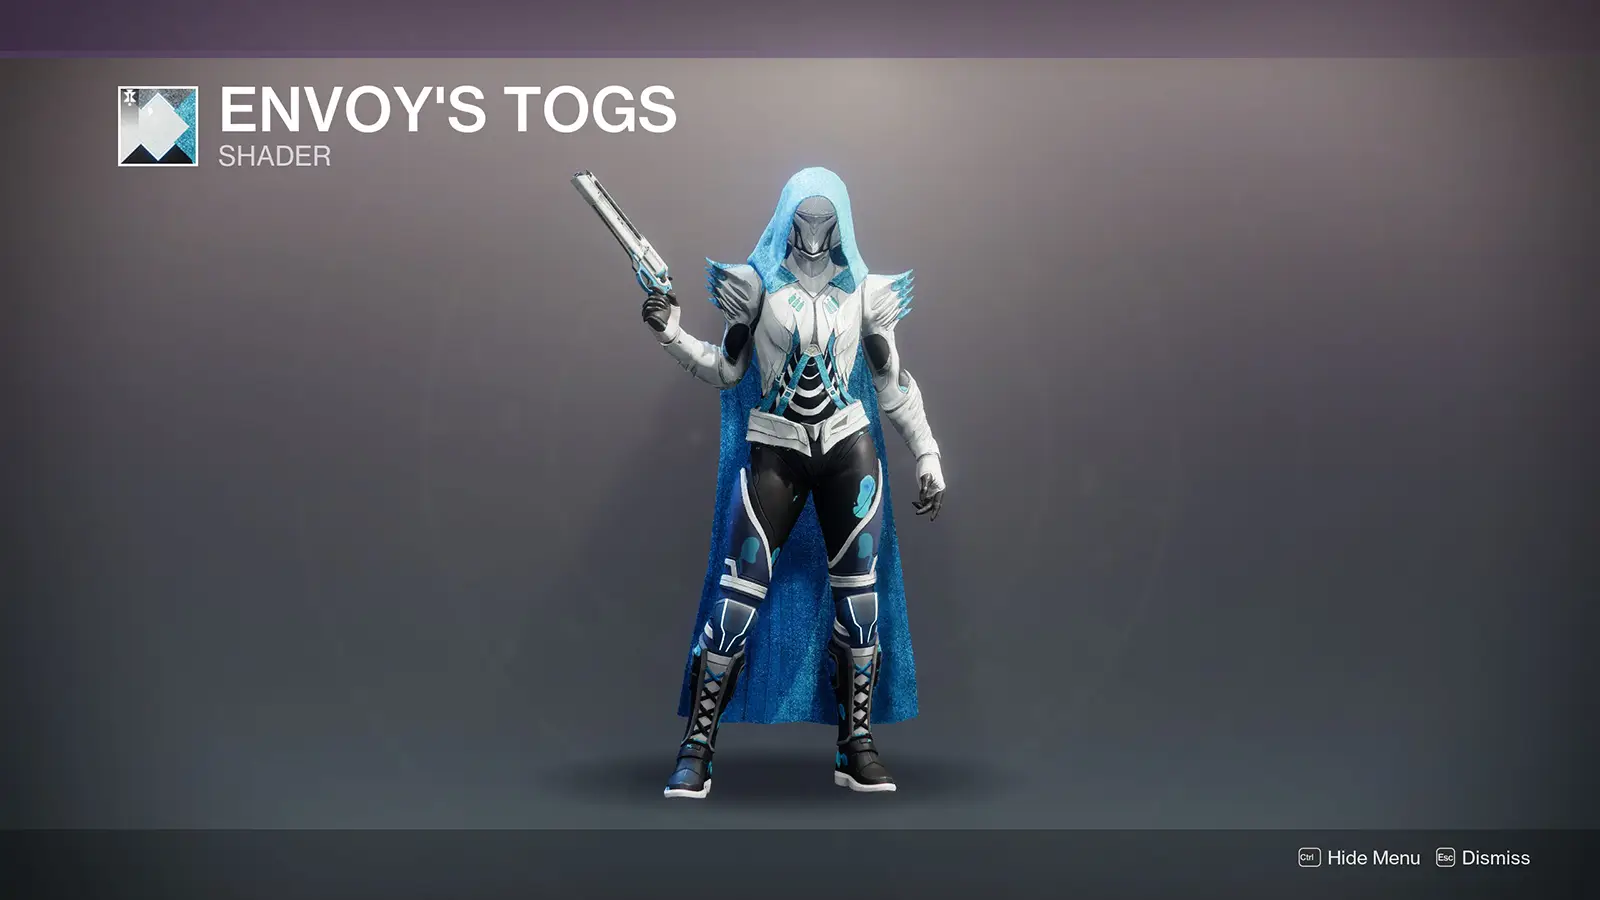
You can unlock the Envoy’s Togs shader by completing the “Map and Territory” questline available with the launch of the Desert Perpetual raid. This shader features vibrant blue, white, and black colors, similar to the OG Trials of the Nine shaders.
To unlock this shader, you’ll need to pick up the Map and Territory quest from Dean Rebecca on Kepler, complete the Desert Perpetual raid, and then track down the location and place all 12 hidden anchors scattered throughout the raid. Once you’ve done that, you’ll be able to claim the shader as a reward, along with some extra raid lore.
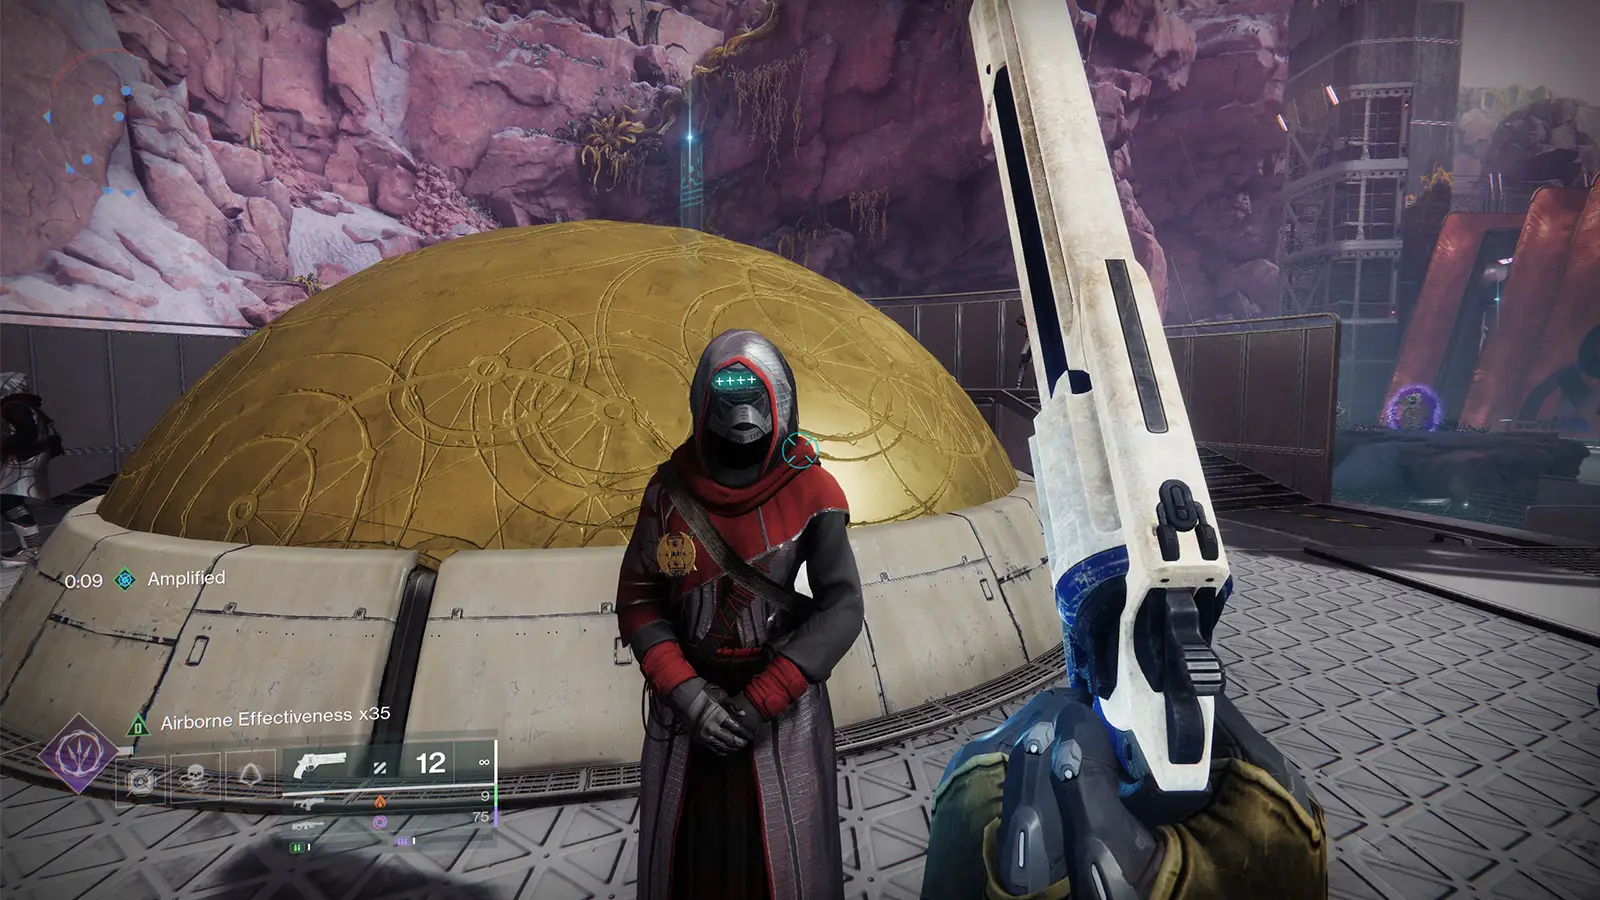
Here’s a preview of how this shader looks:
Destiny 2 Desert Perpetual: How to Start the Map and Territory Quest
First, head over to Kepler and visit Dean Rebecca in the main hub area. She’s got the “Map and Territory” quest waiting for you. Once you’ve grabbed it, your first task is to complete the Desert Perpetual raid. When you finish the final encounter, you’ll get an item called the Network Sensor.
This item kicks off the main part of the quest, which is all about planting those anchors around the raid.
Map and Territory Quest Guide
Step 1: Pick Up the Quest
This is pretty straightforward. Go to Dean Rebecca on Kepler to pick up the “Map and Territory” quest. This step just takes a minute.
Step 2: Complete the Desert Perpetual Raid
You’ll need to clear the raid from start to finish. This includes all three main encounters and the final boss. Once you open your loot chest at the end and interact with the vendor, you’ll receive the Network Sensor, which you’ll use for the anchor placements.

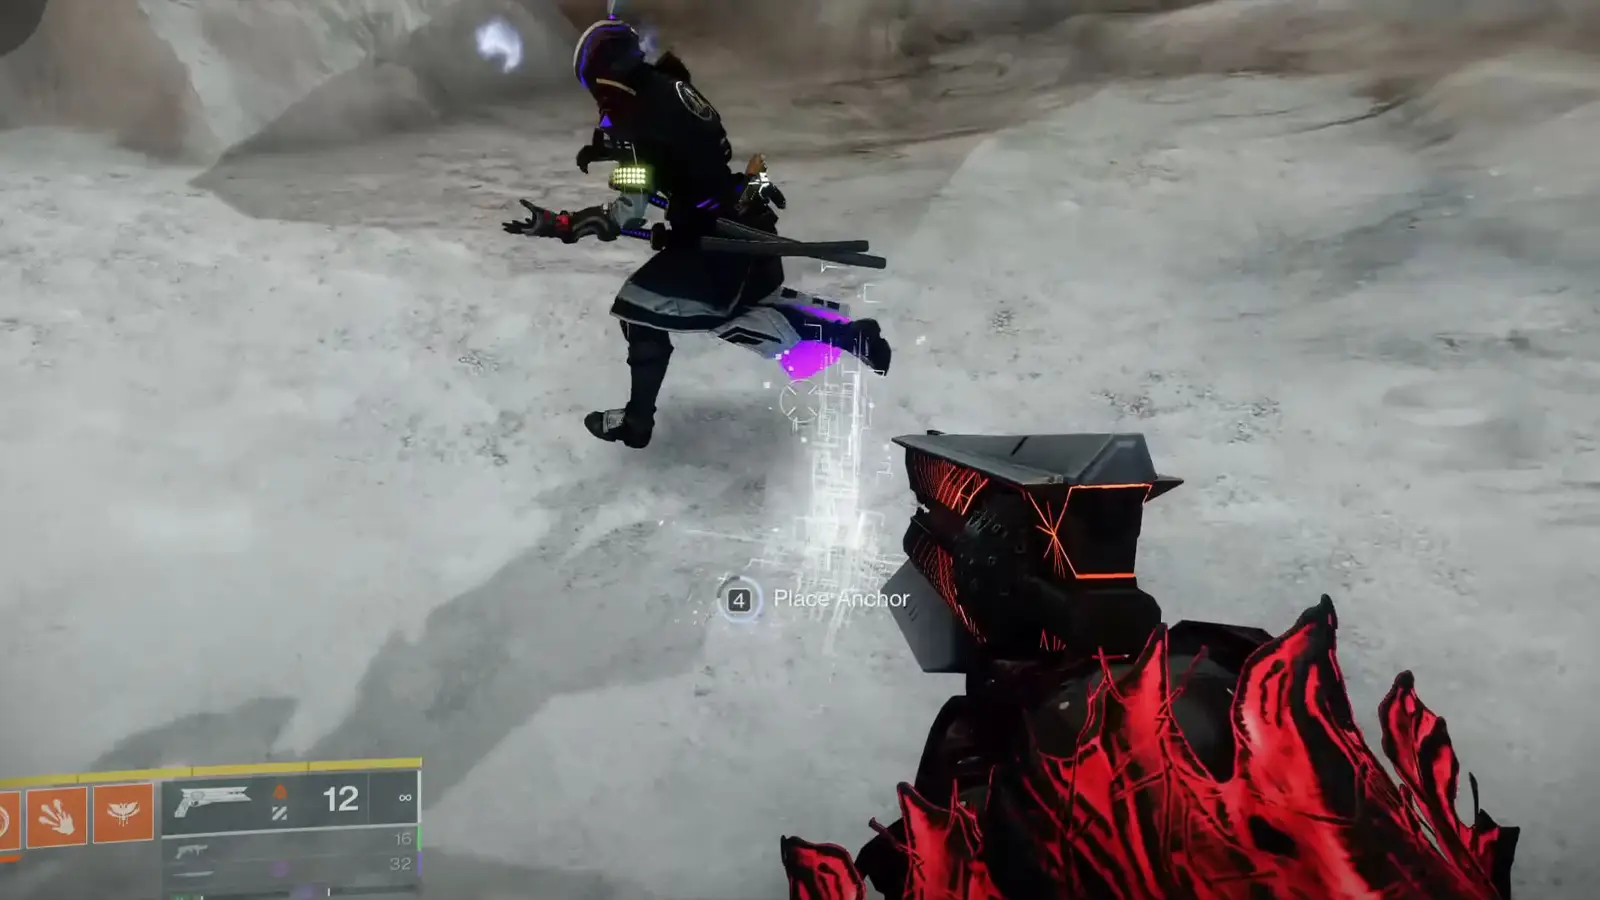
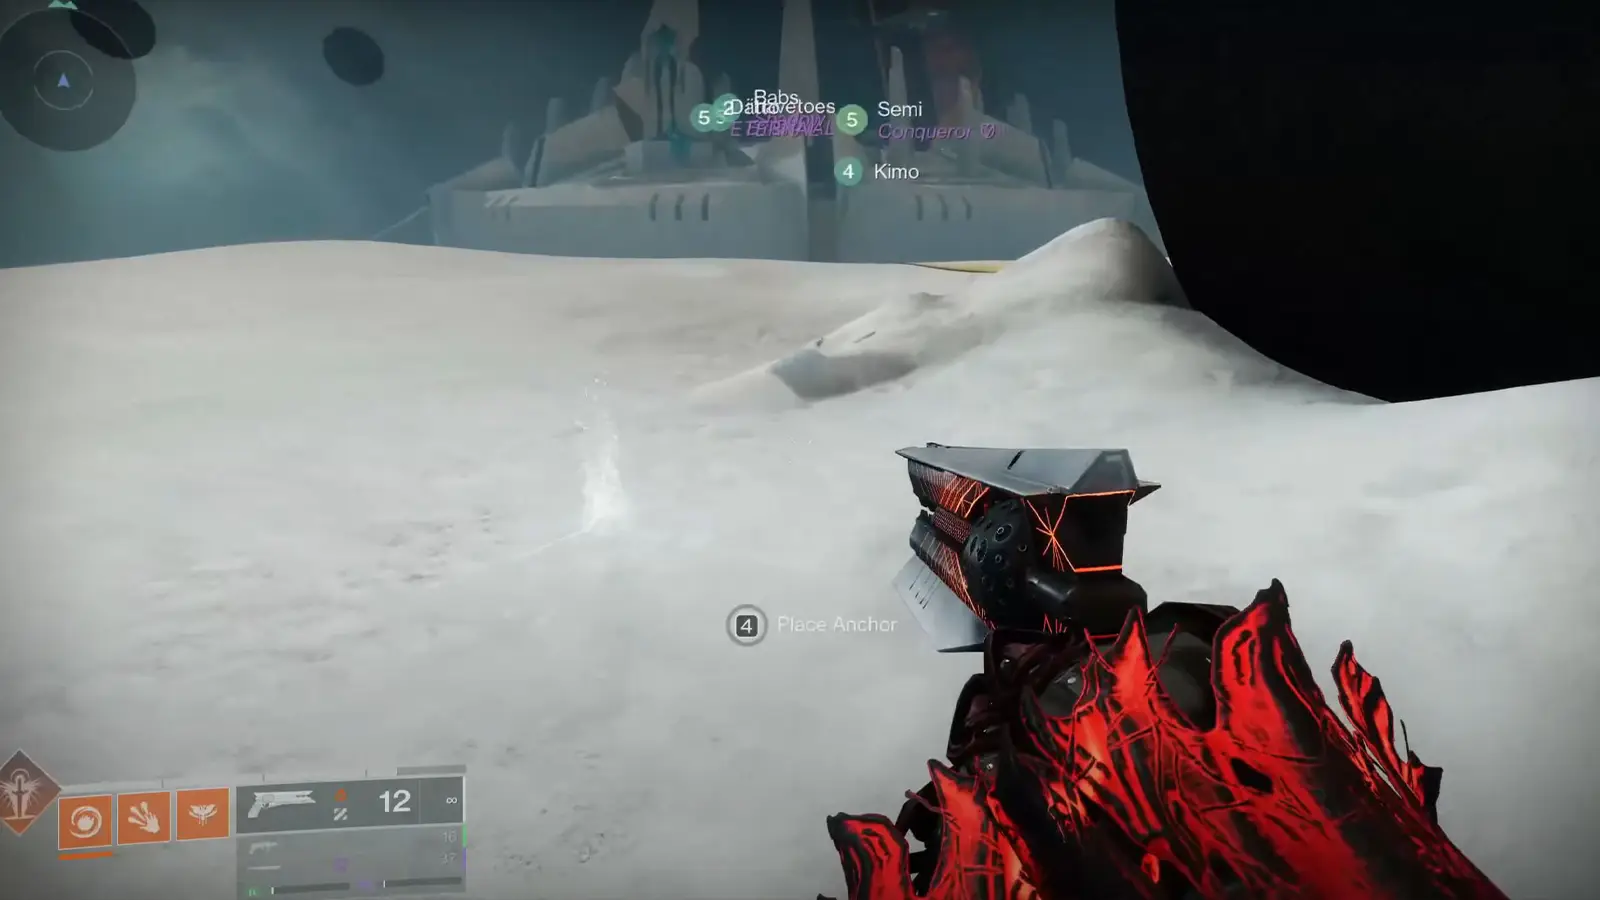
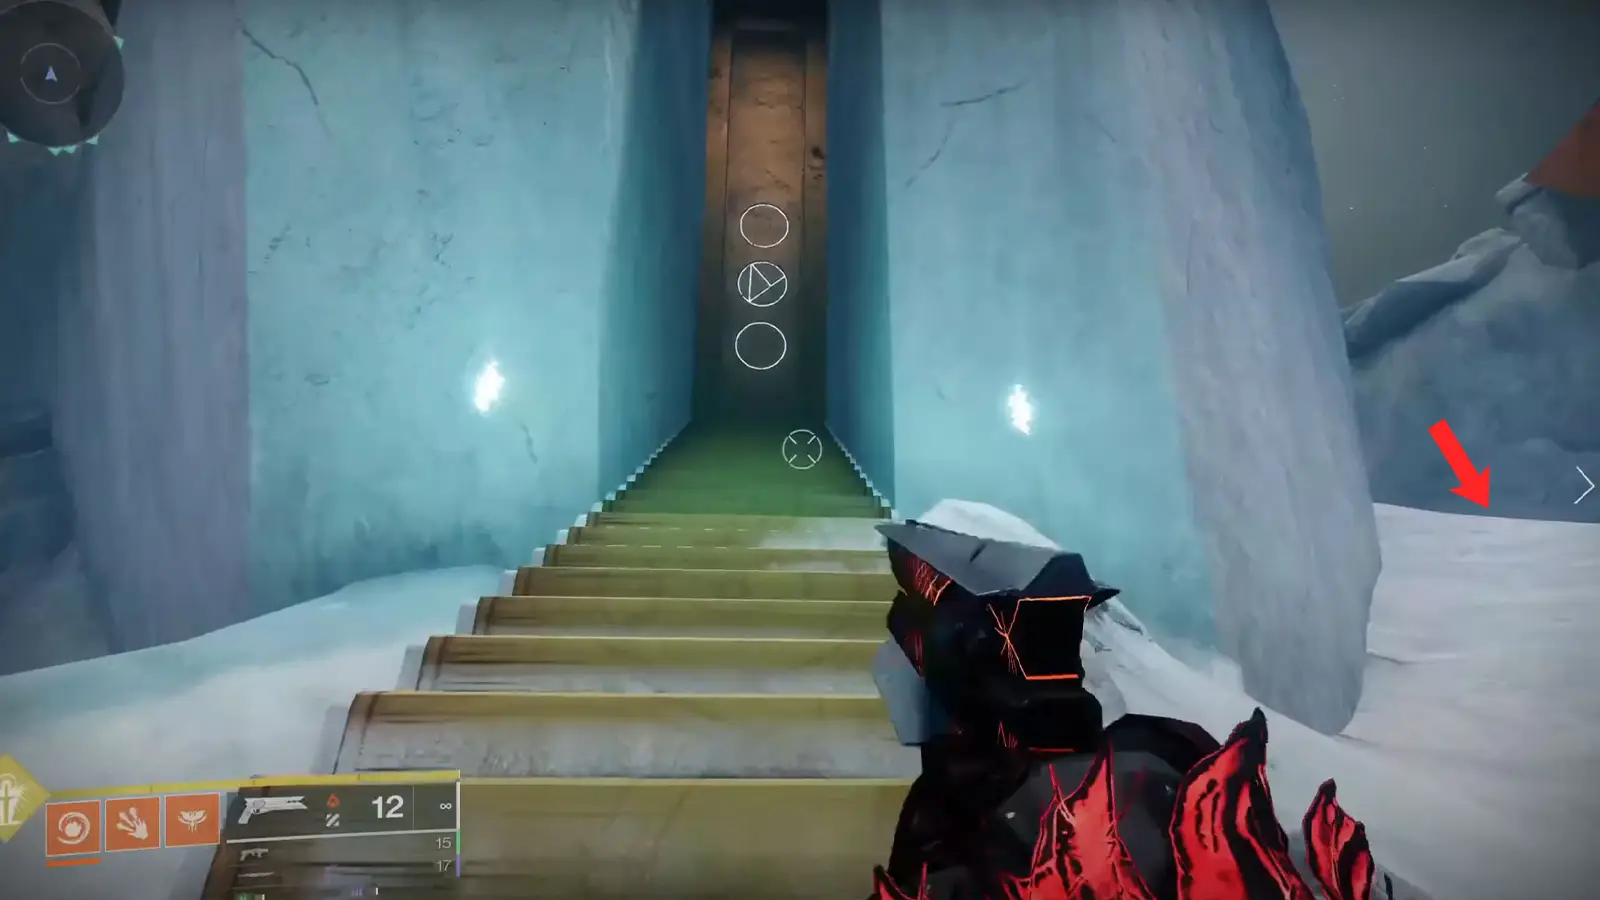
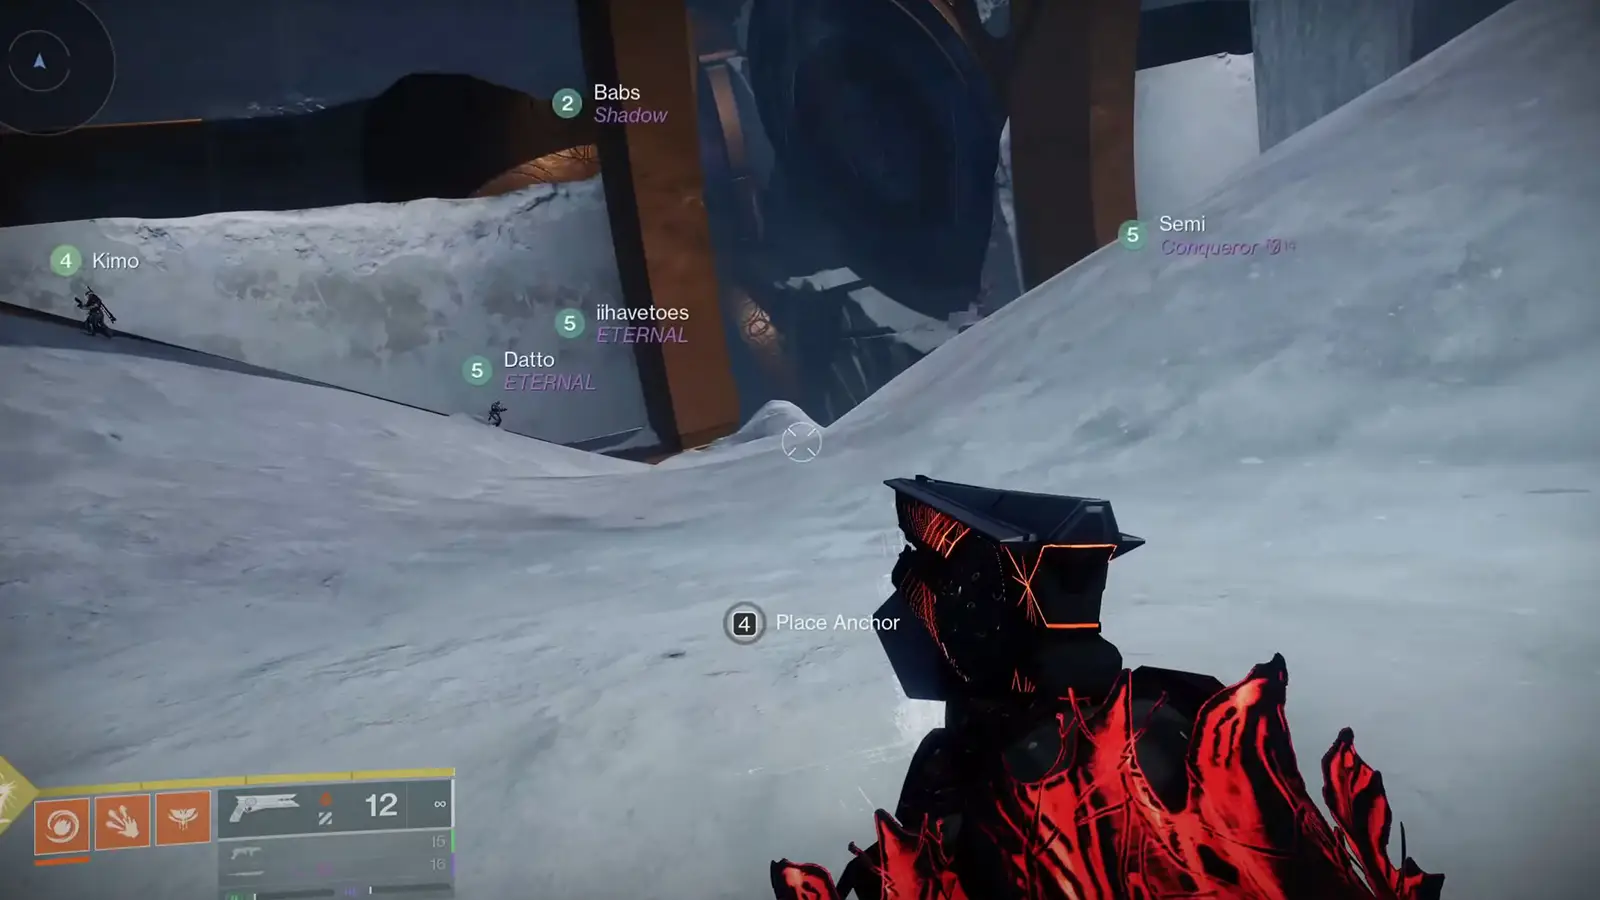
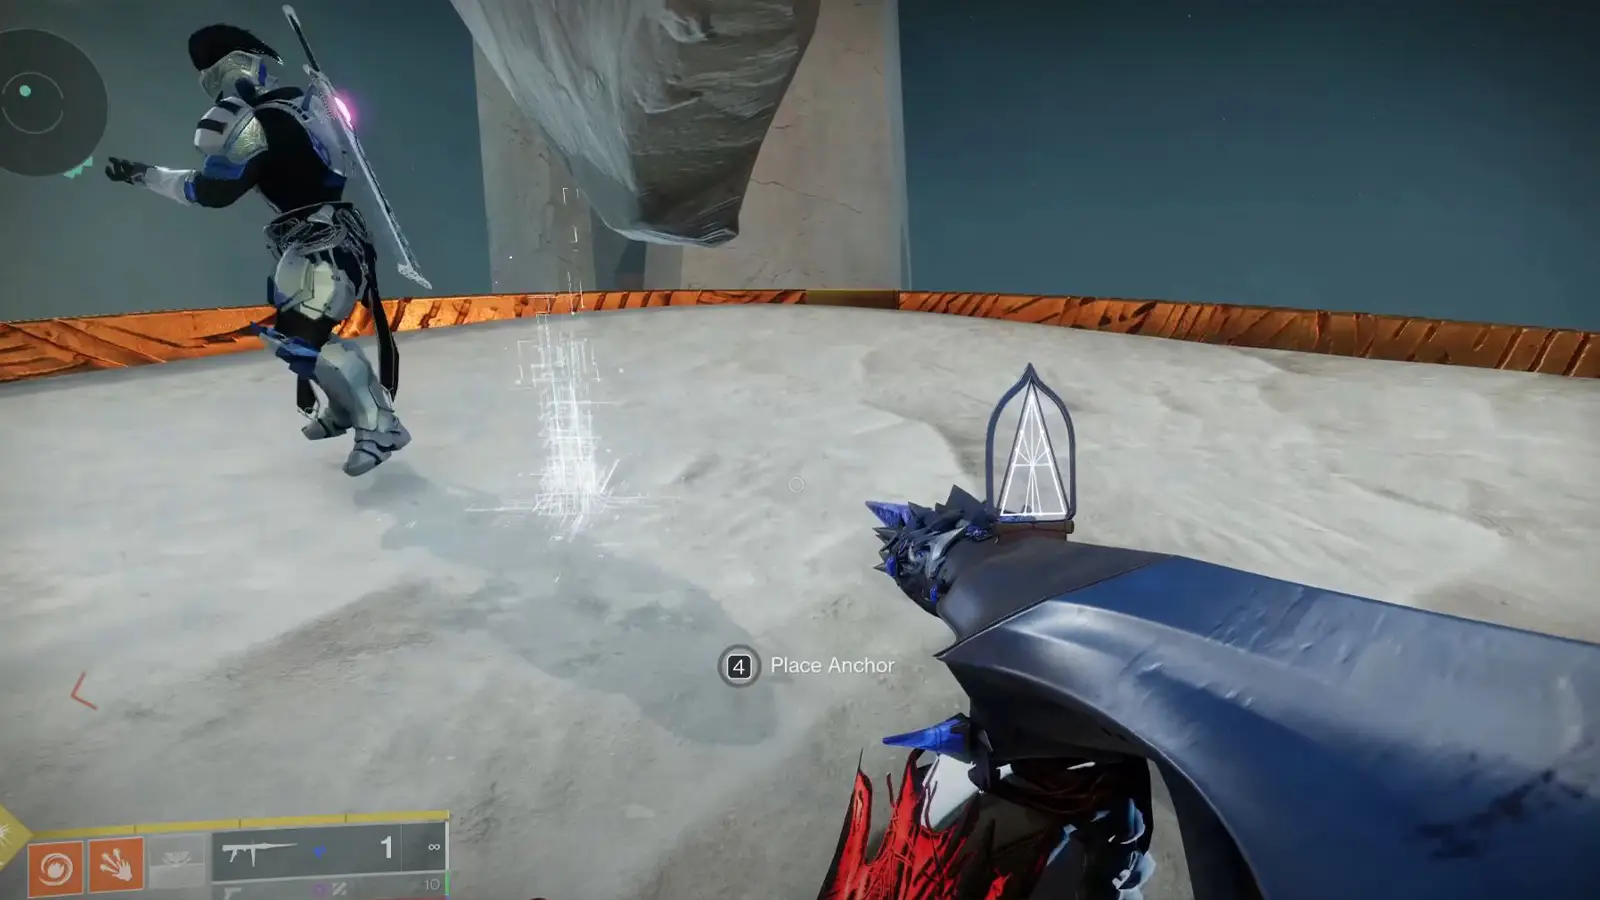
Step 3: Find and Plant All 12 Anchors
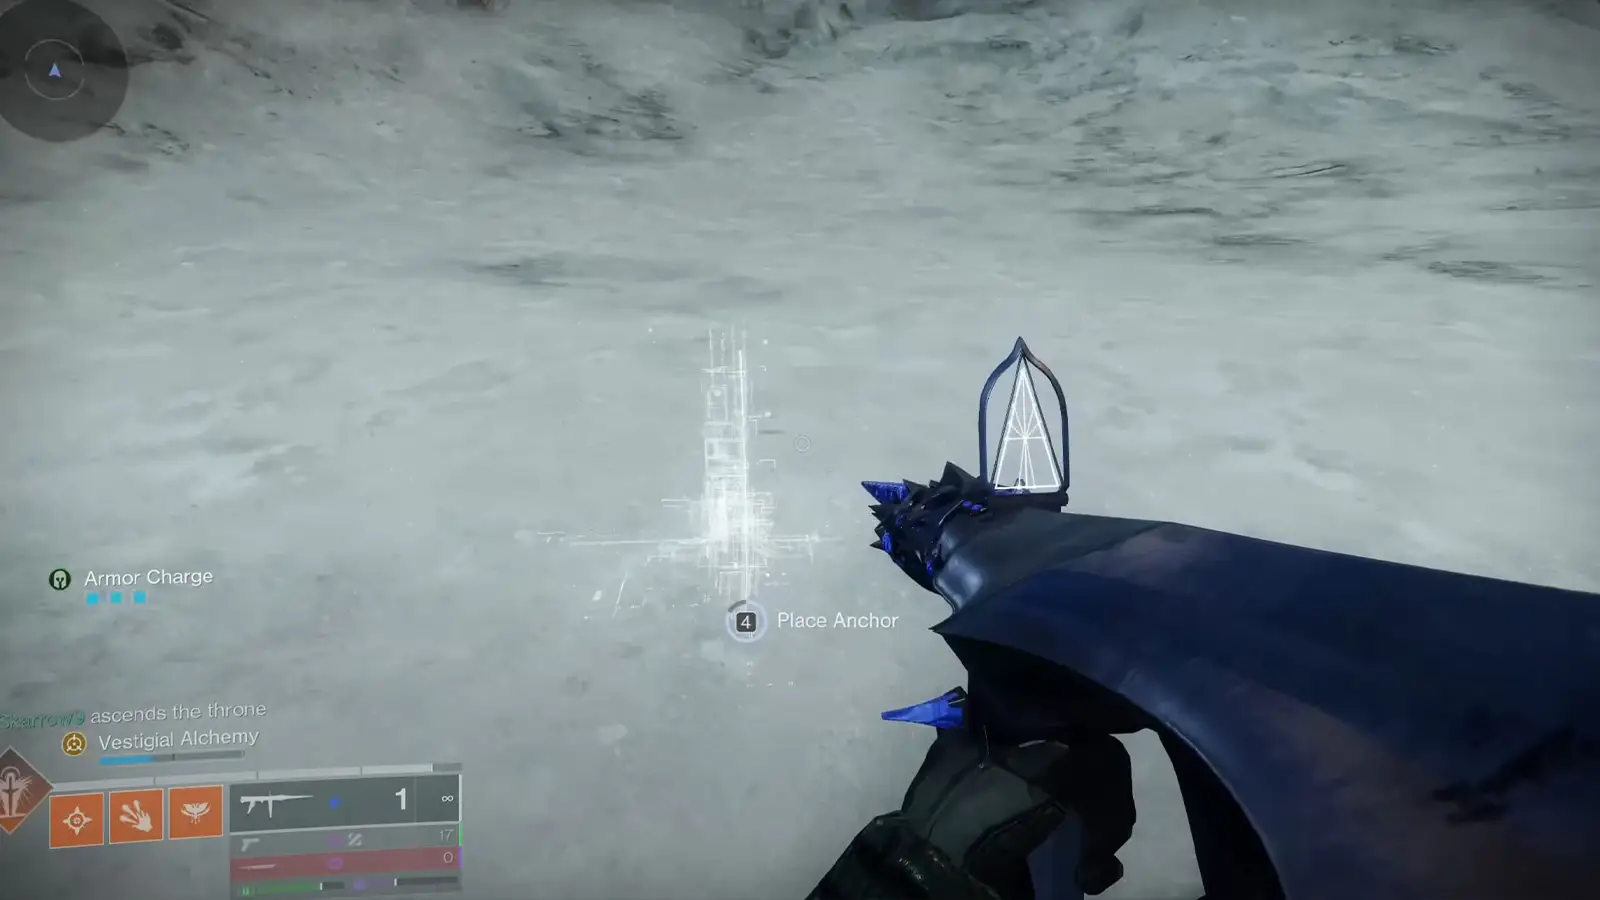
Here’s where the hunt begins. After finishing the raid, you need to place 12 anchors at specific locations scattered throughout the raid. These locations look like small Vex confluxes, glowing objects that stand out once you know what you’re looking for. Every anchor also gives you a bit of extra lore about the raid and the mysterious Nine.
Important
Some anchors can disappear if you open the boss door before picking them up, so grab them as you go!
All 12 Anchor Locations in the Desert Perpetual Raid
Now, let’s talk about where to find the exact locations for all 12 anchors in the Desert Perpetual raid. You can pick them up in any order. (huge thanks to Skarrow9 for finding these)
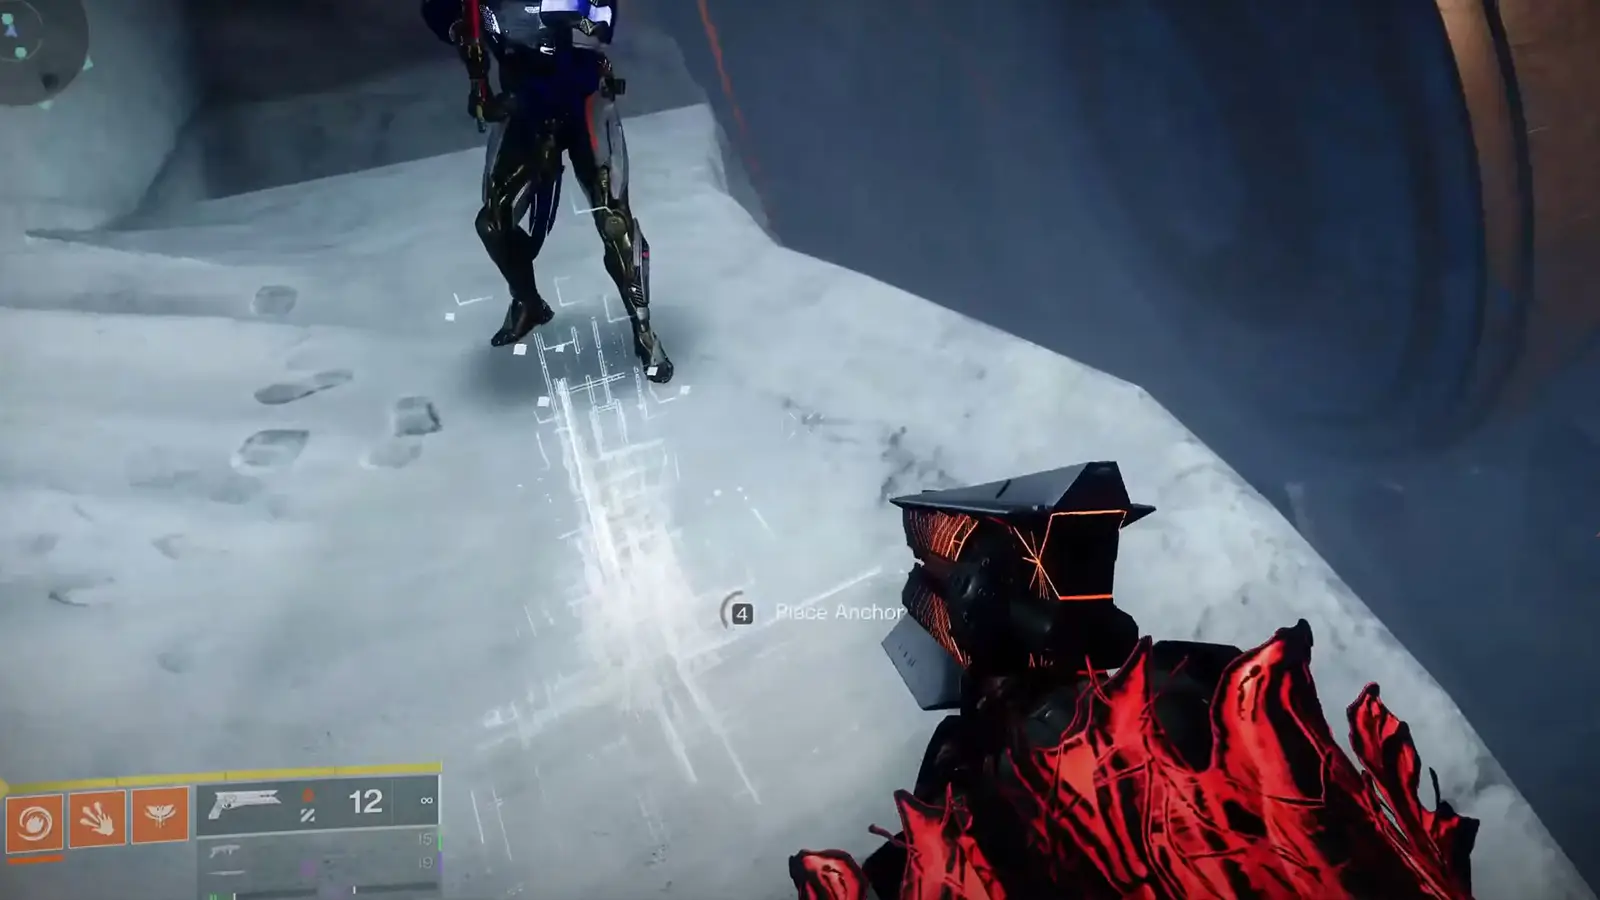
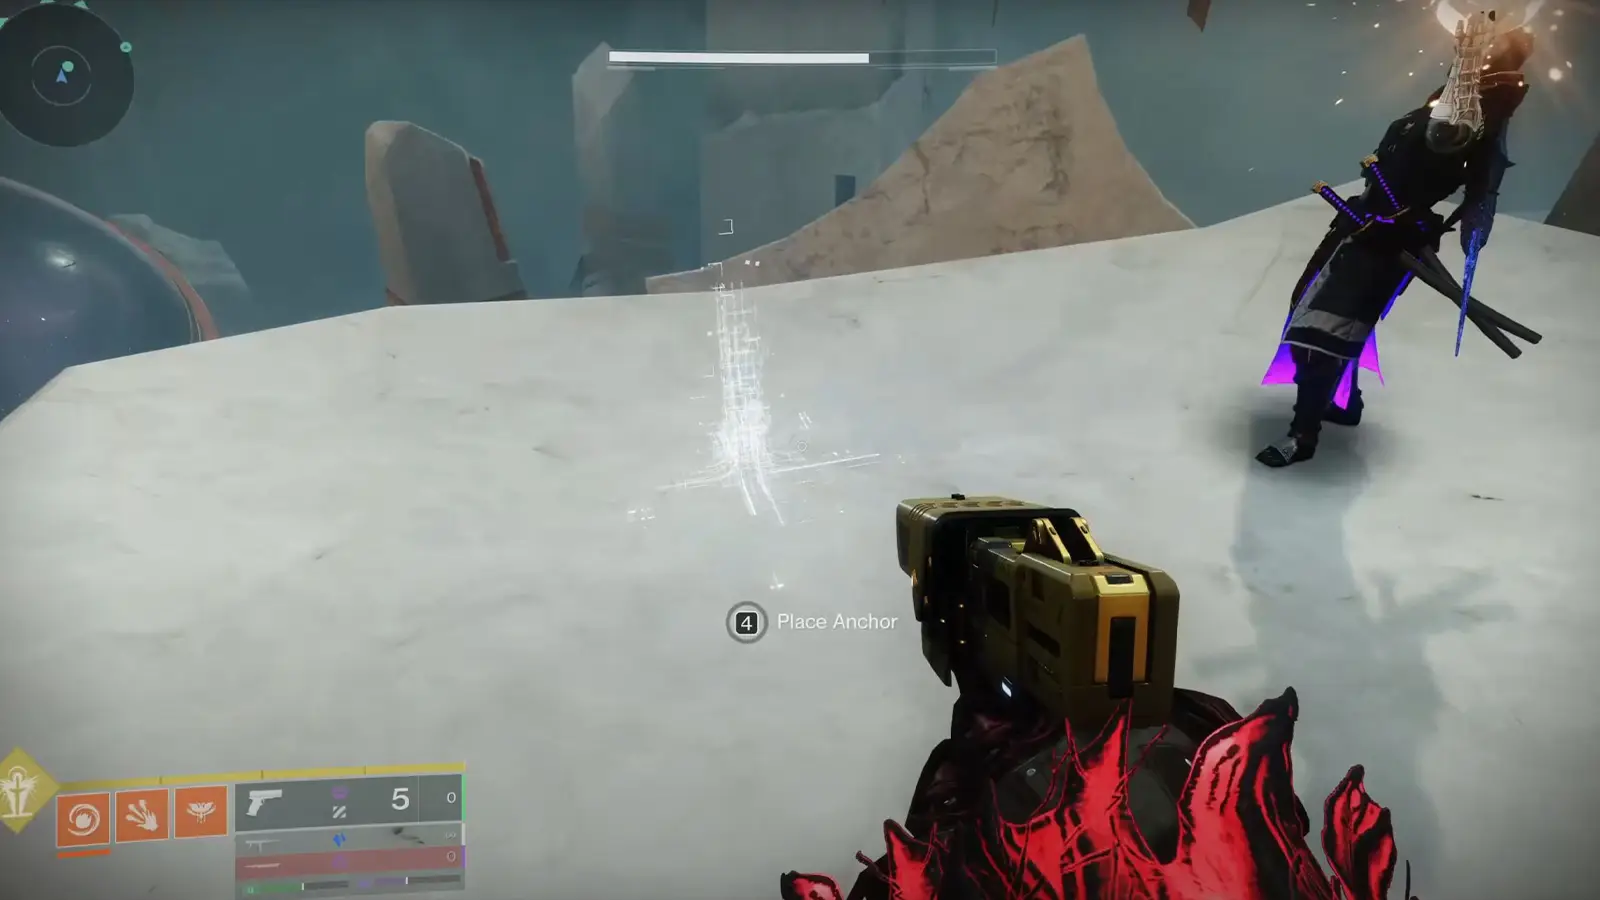
1. Spawn Location
The first anchor is located right underneath where you spawn in. Jump off the half-circle platform, and you’ll find the anchor location right beneath it.
2. Central Tower
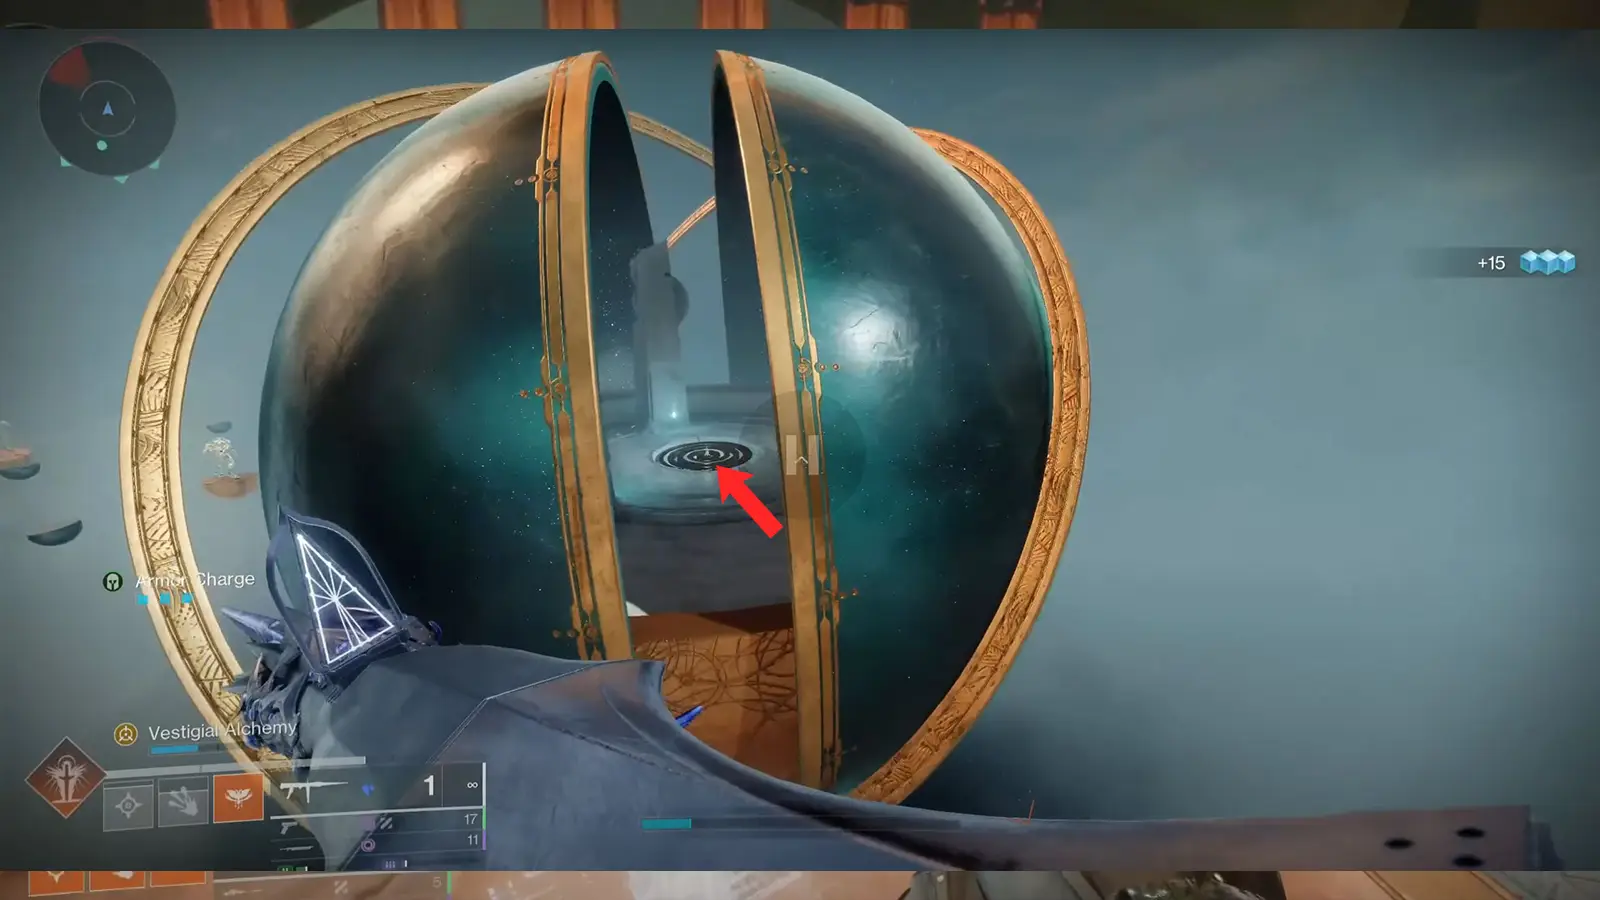
When you first spawn into the raid, you’ll see the big purple tower in the middle island where you choose which encounter to start. Use the elevator to climb up the tower. Once you’re up there, head to the left side of this tower (where the “All are engtangled” plate is), and look for a small pillar with a glowing Vex conflux on it.
Jump up, interact with it, and that’s your first anchor done.


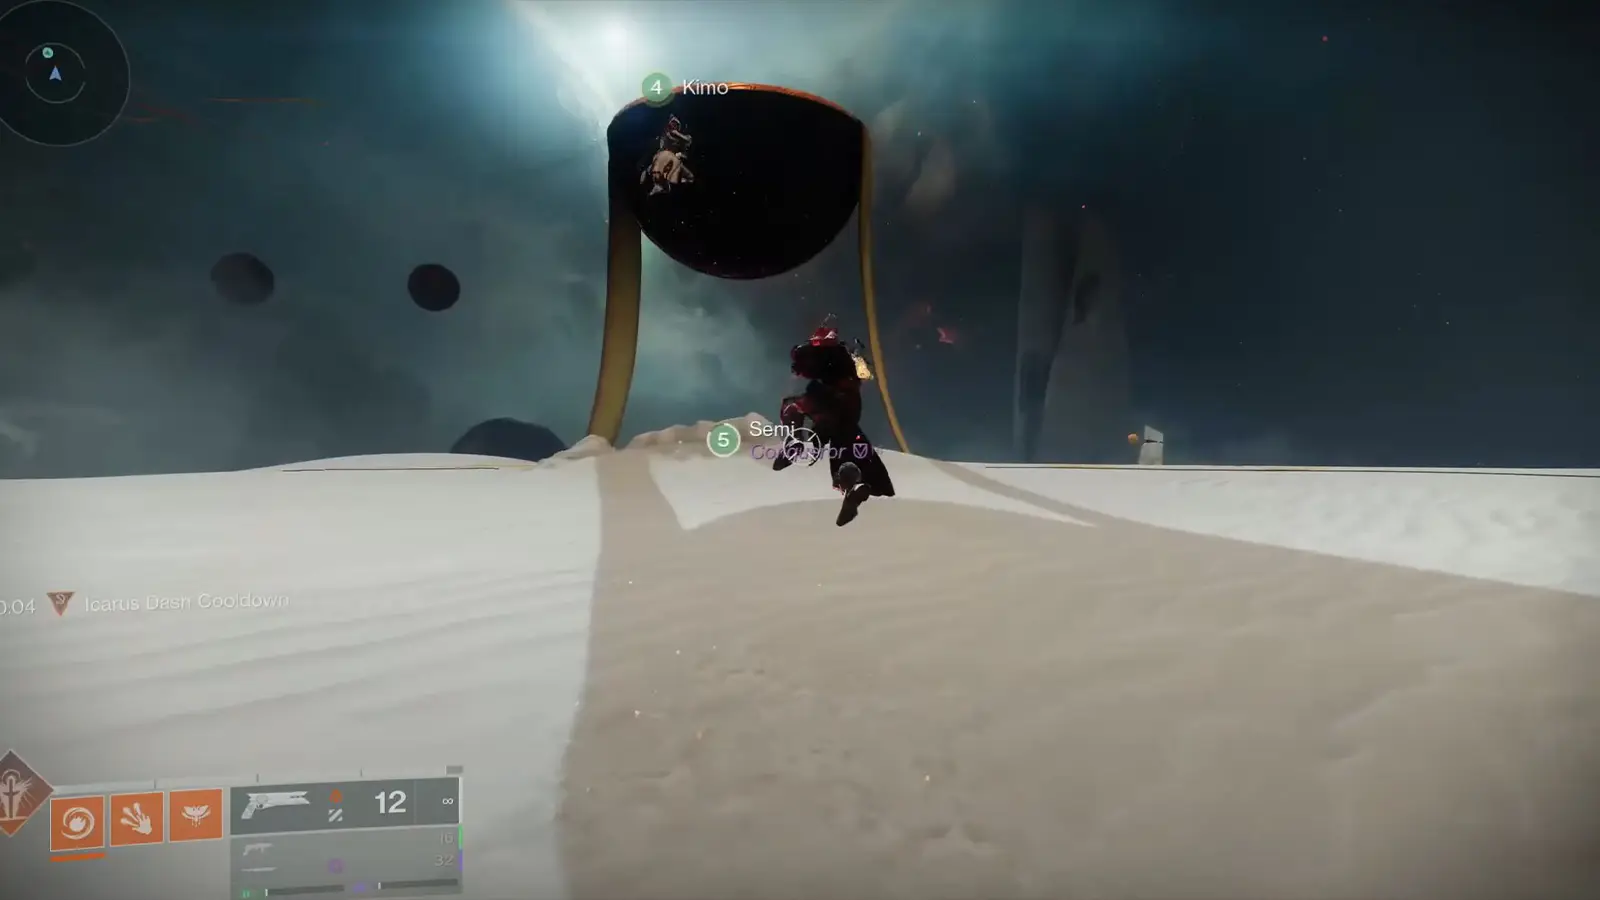
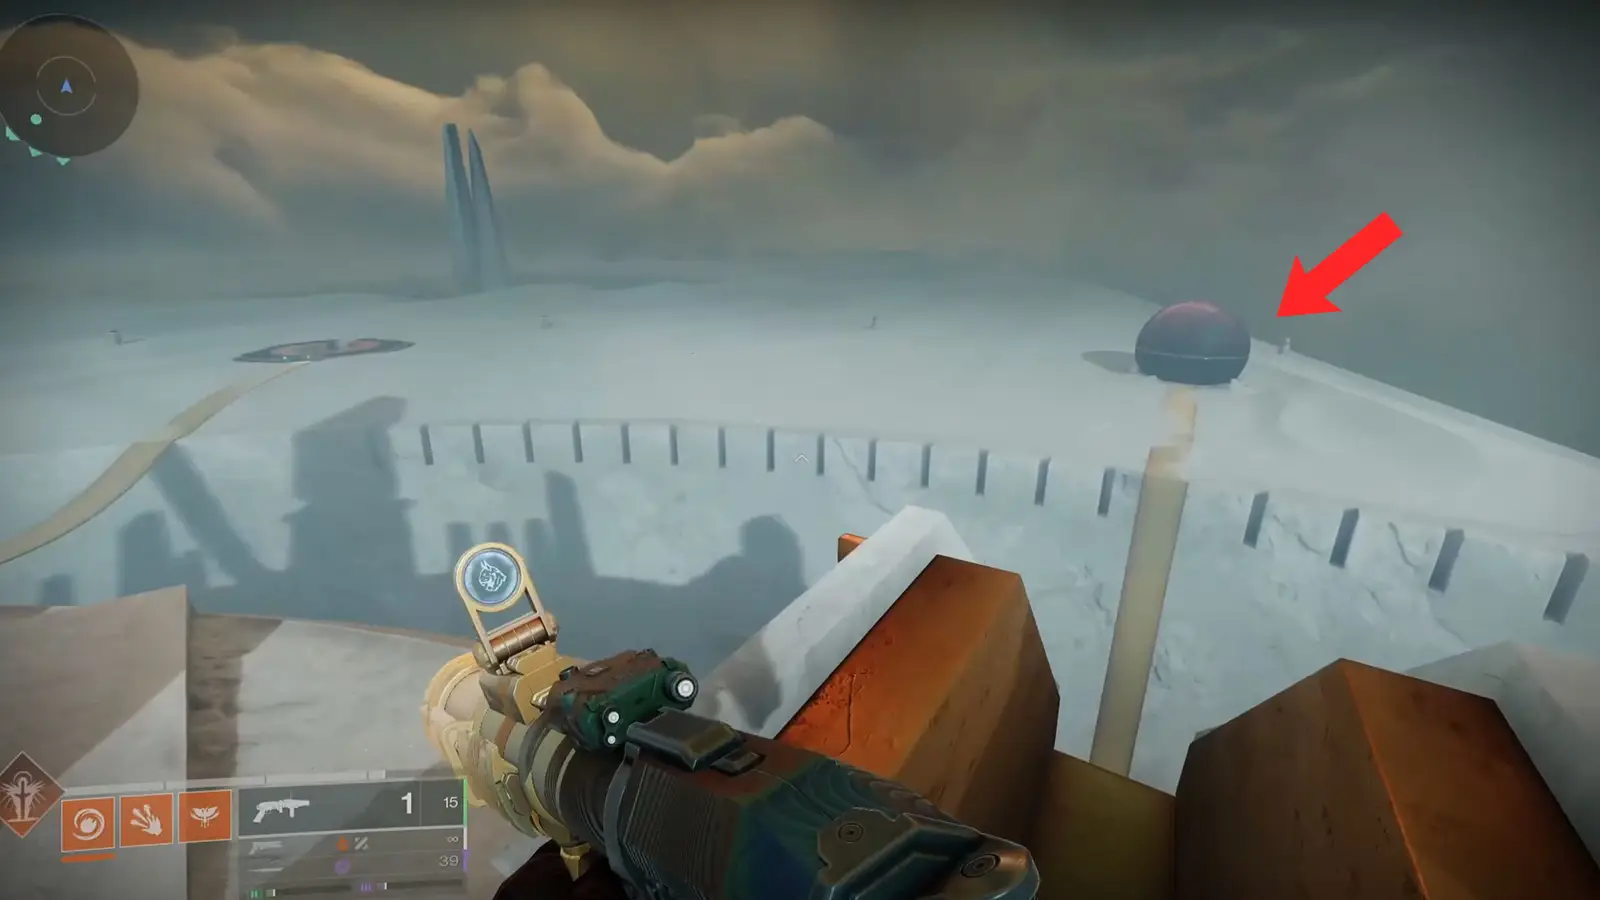
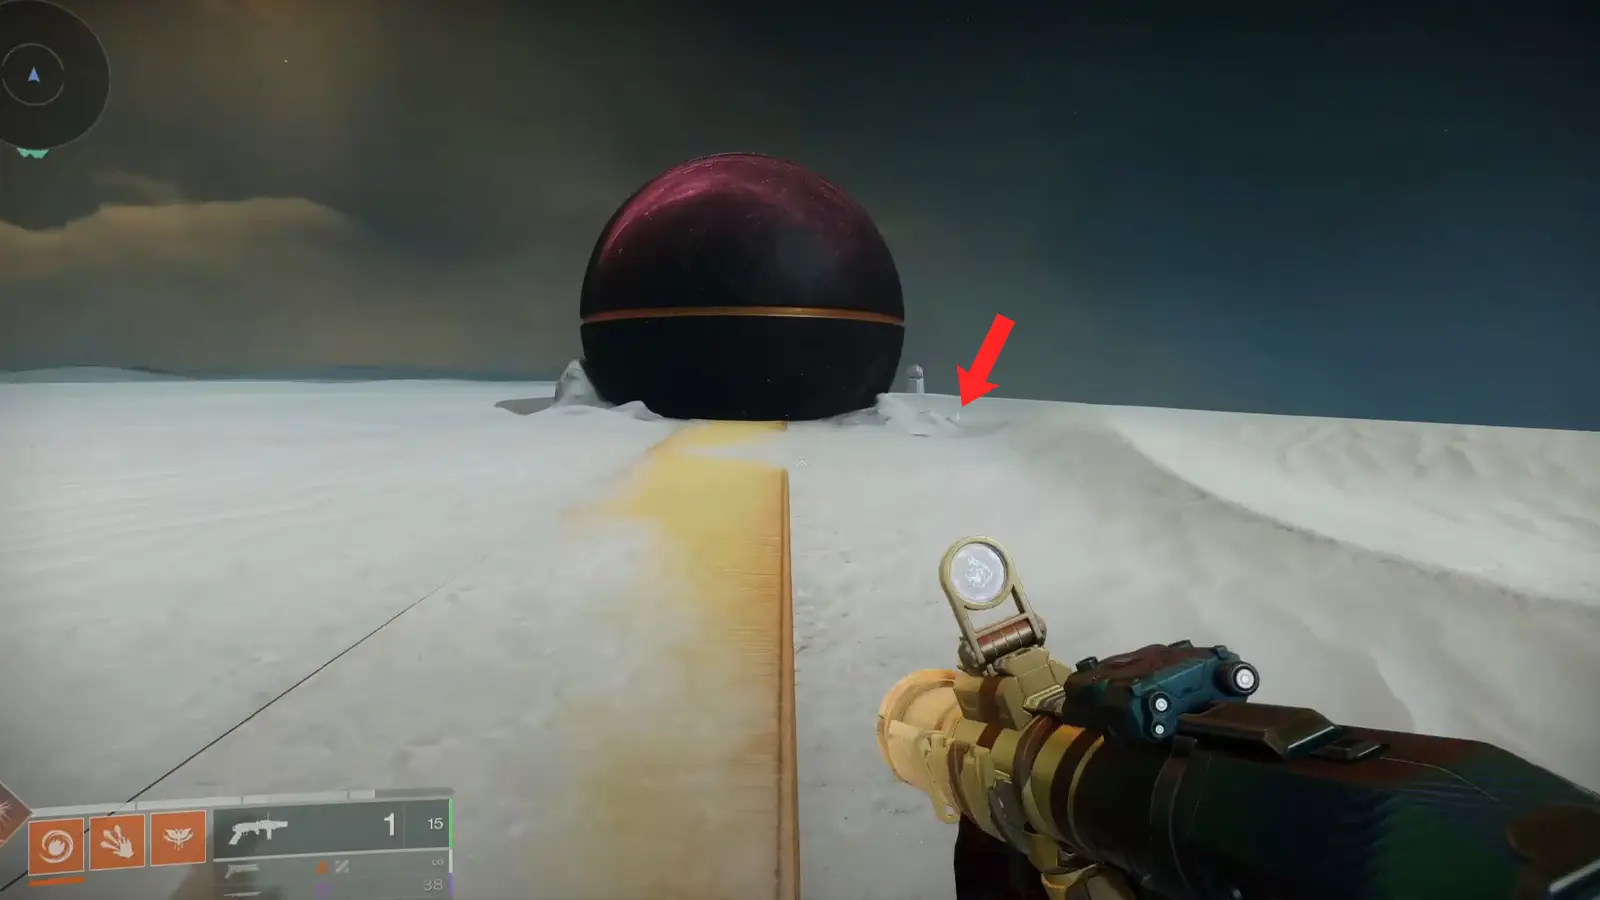
3. White Plains
From the central tower, head left out into the wide-open white plains area. Keep an eye out on the right side for a large ball sitting on the ground. The anchor is right next to this ball, easy to spot once you know where to look.
4. Hobgoblin Boss Tunnel
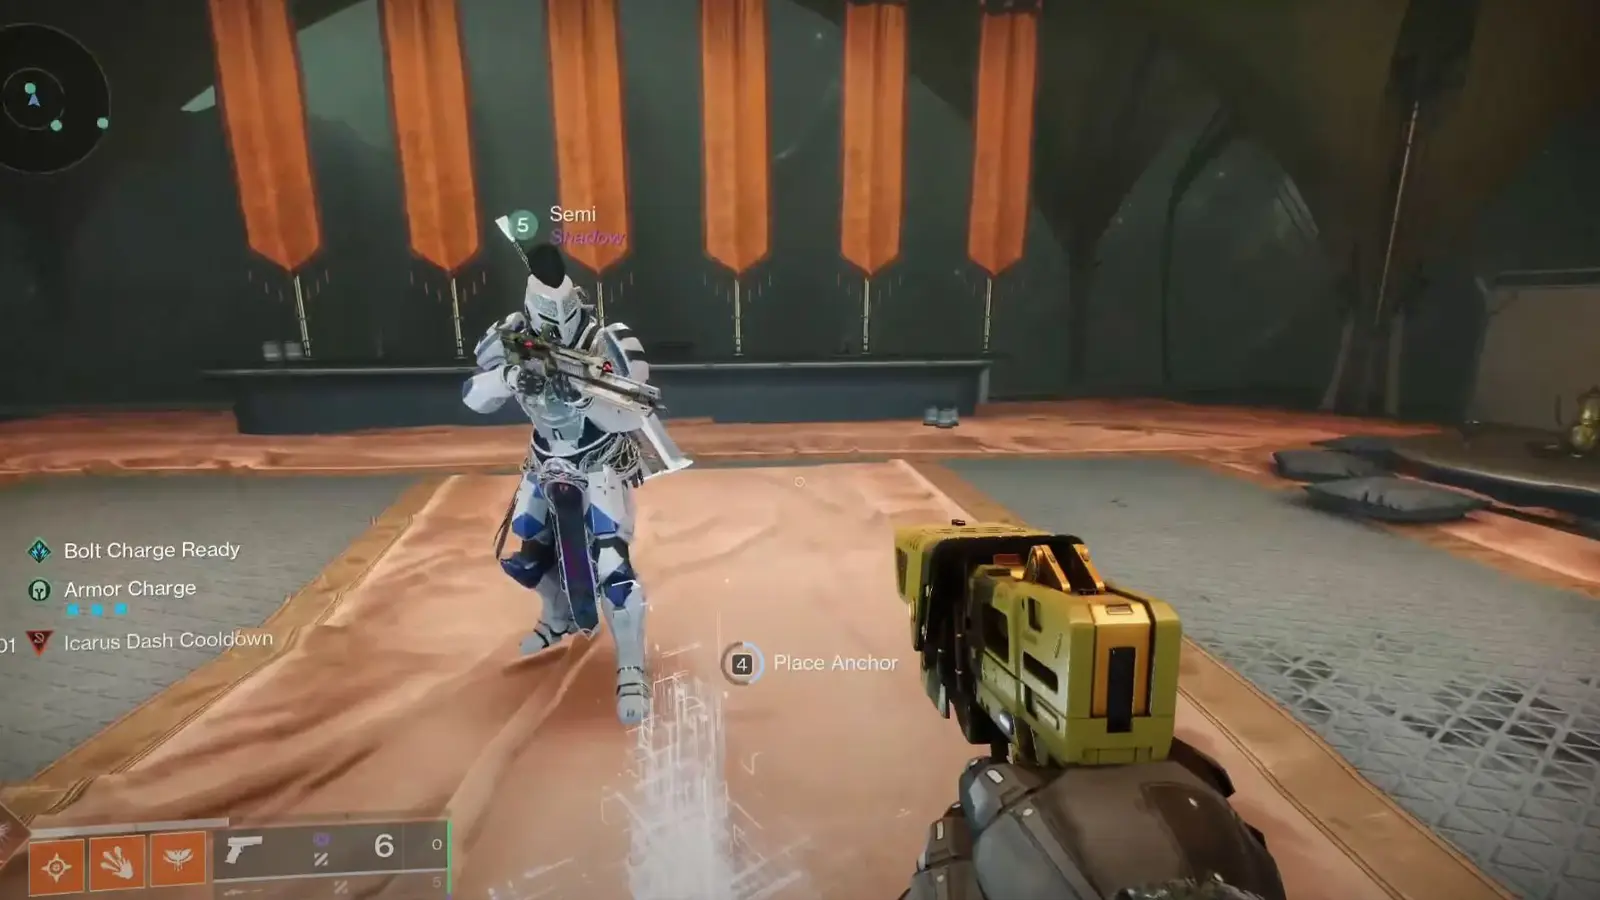
As you head toward the Hobgoblin boss encounter, you’ll go through a tunnel. About halfway through, stop and look to your right. There’s an anchor location tucked away right in the middle between the tunnel entrance and the boss door.
5. Hobgoblin Boss Door
Before you start the Hobgoblin boss fight, check the right side of the boss room entrance. You’ll see the anchor location there. Place it to progress the quest. Important tip: Don’t open the boss’s door until everyone in your fireteam has grabbed this anchor, as it can disappear when the encounter starts.
6. After Hobgoblin Boss
After taking down the Vex Hobgoblin boss, head toward the exit. Before you leave the boss’s room, look to the left of the exit door. The anchor is waiting for you there.

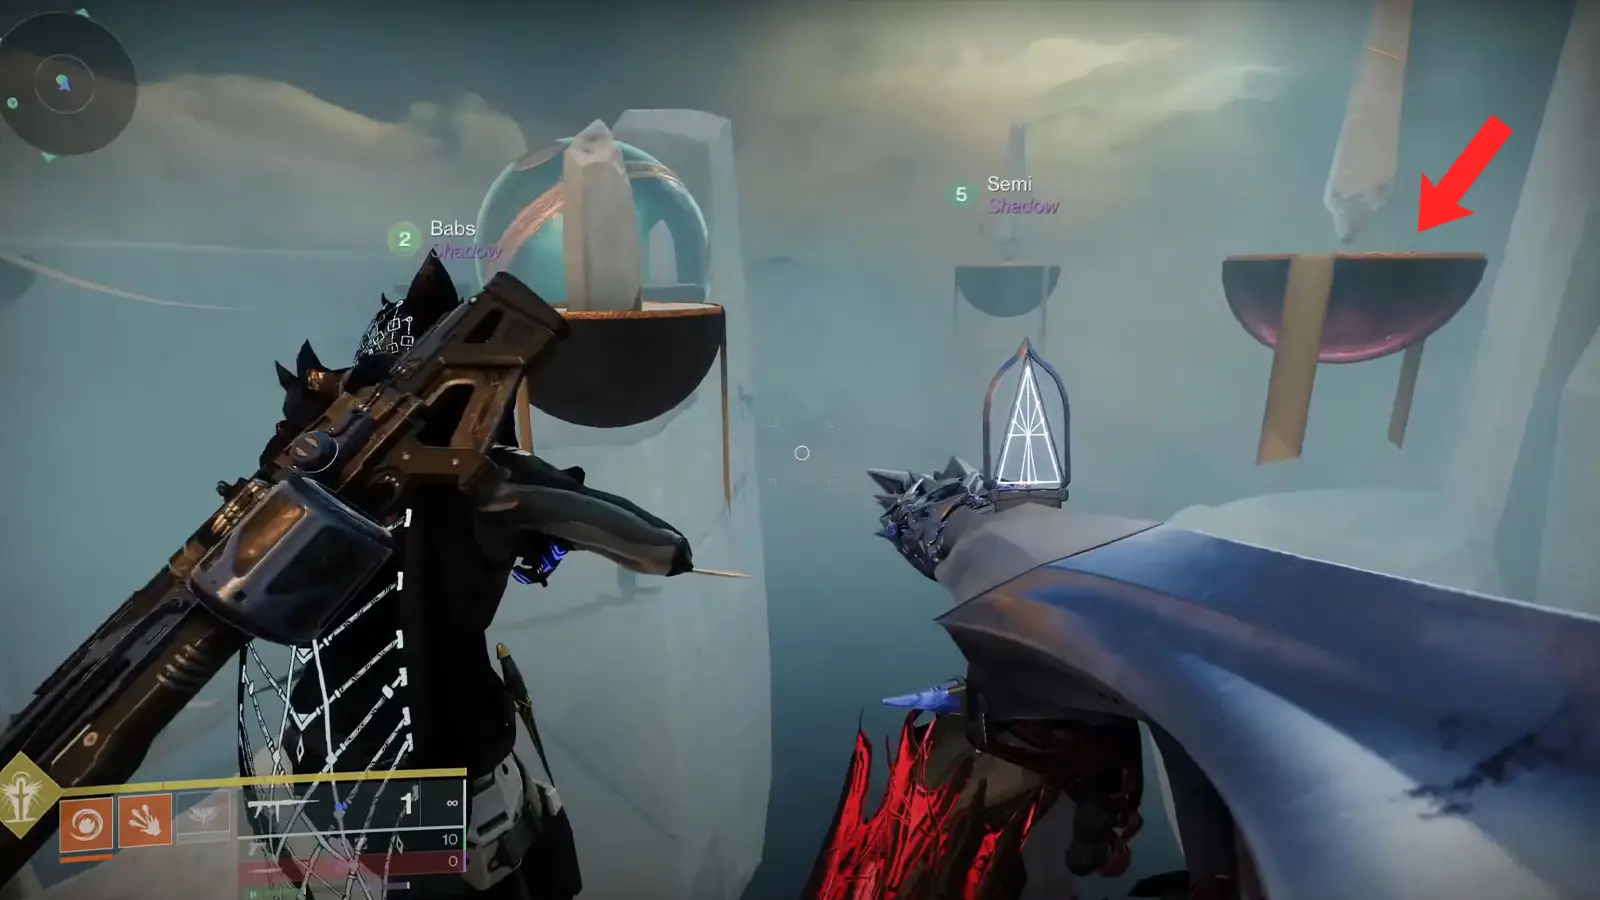
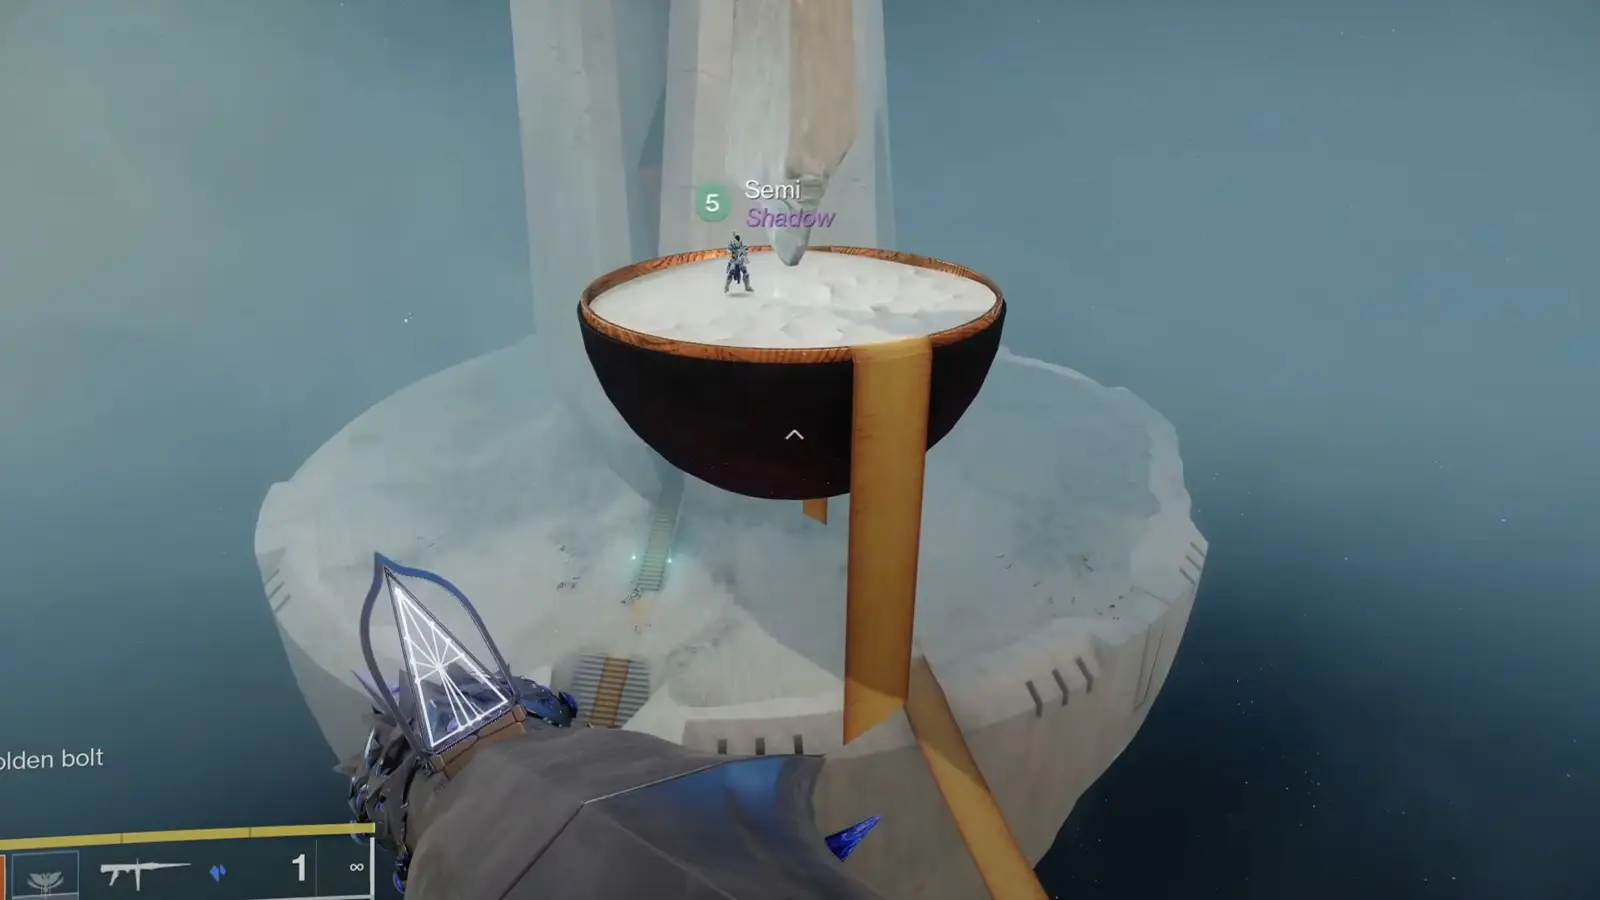
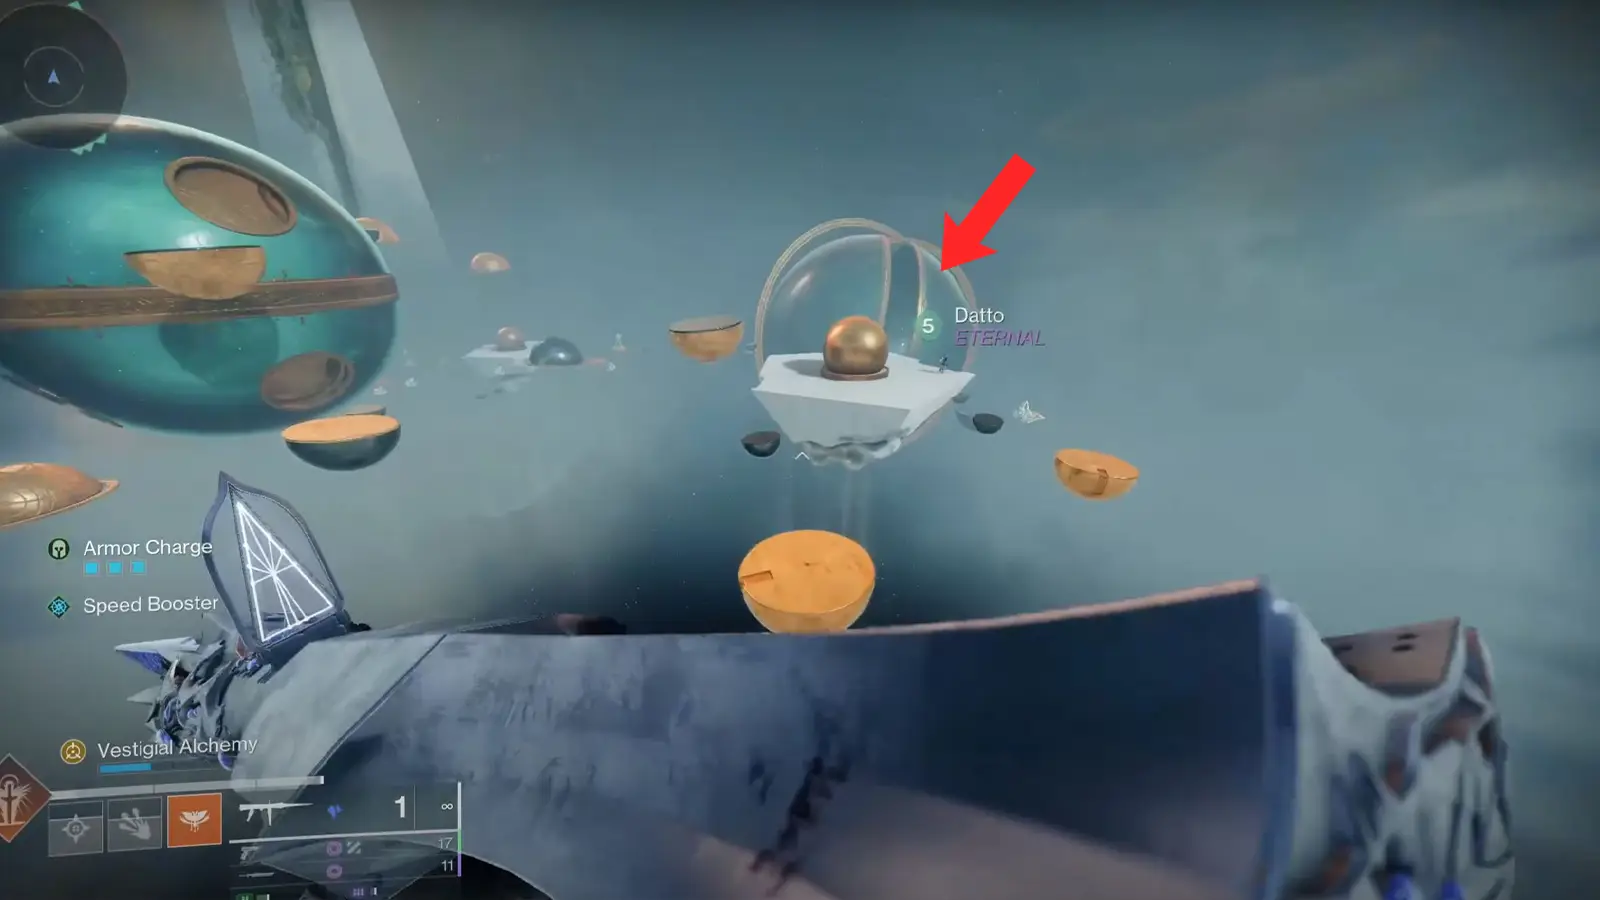
7. Hydra Boss Jump Puzzle
While making your way through the Vex Hydra boss door, you’ll reach a jumping puzzle that leads toward the boss room. Partway through this section, look ahead and you’ll see several large, curved white platforms floating in the sky; they look almost like half-circles.
The anchor you’re looking for is sitting on top of the platform.
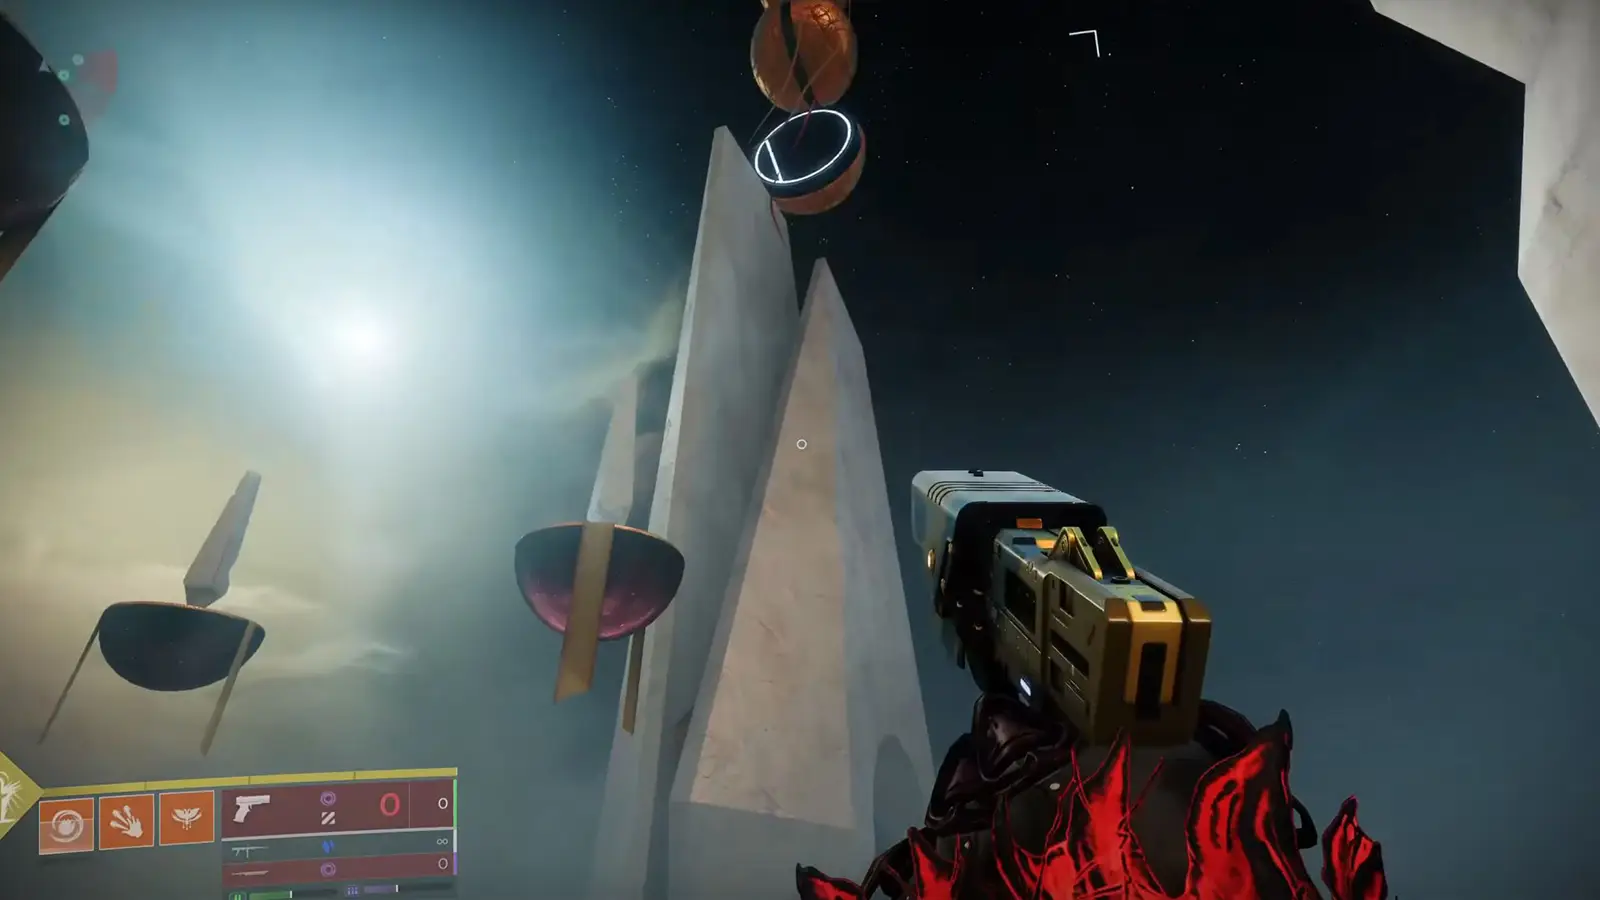
8. Hydra Jump Puzzle
From the exact same location, look ahead and you’ll see some floating half-circle platforms. Jump over to the second one, the one closest to the boss door, and you’ll find another anchor there.
9. After Hydra Boss
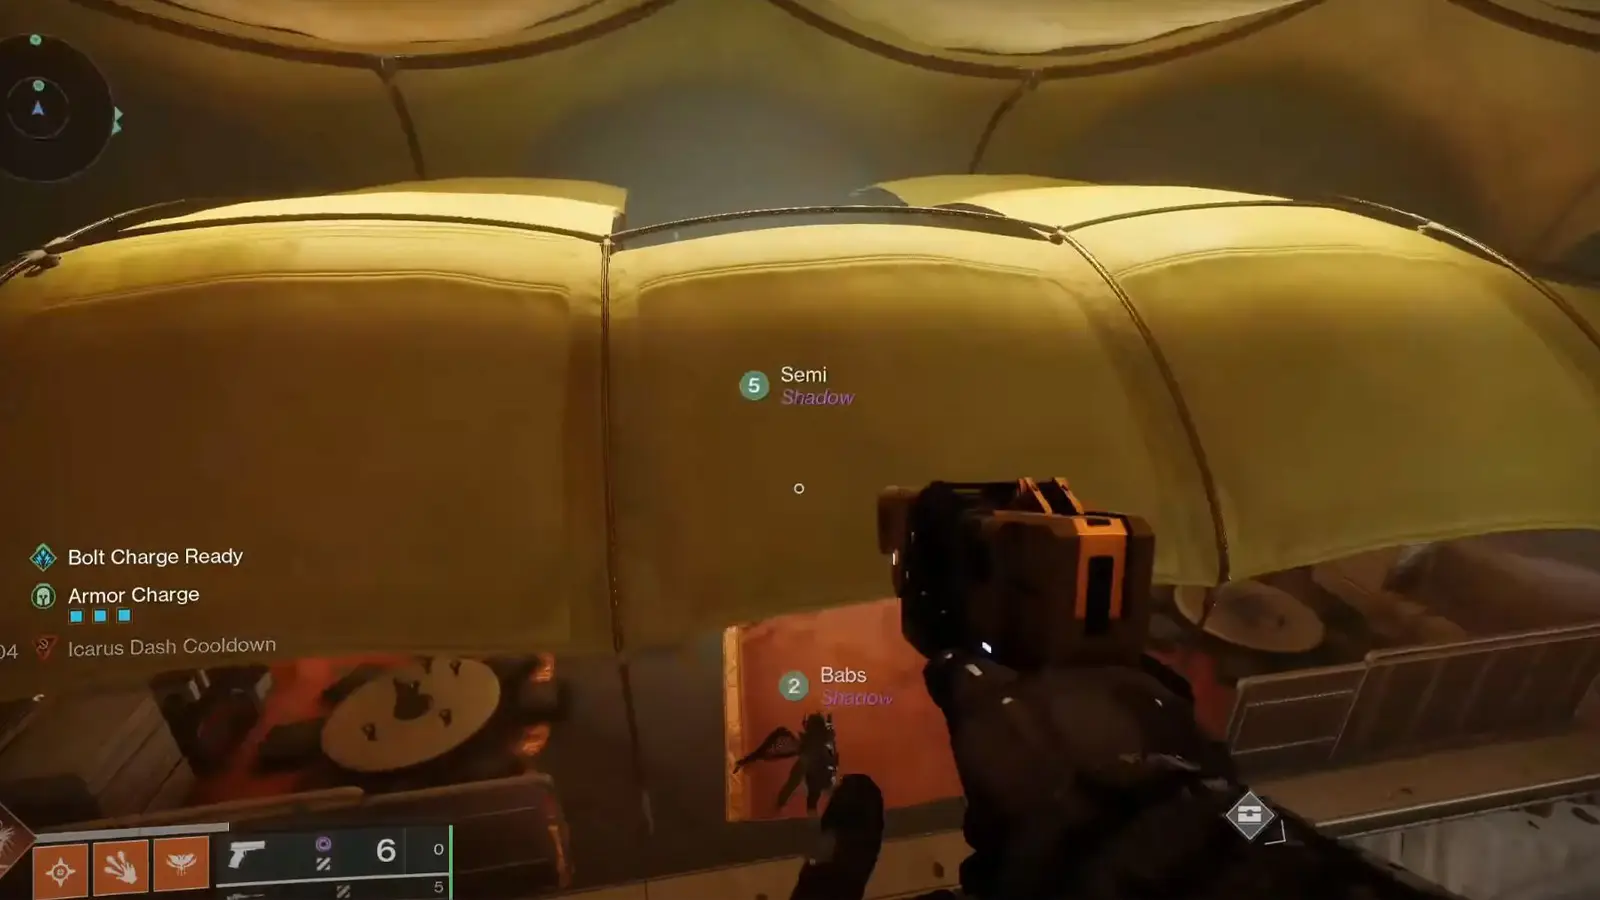
Once you defeat the Hydra boss, look in the back of the boss room under a golden tent. You’ll see another anchor tucked away there.
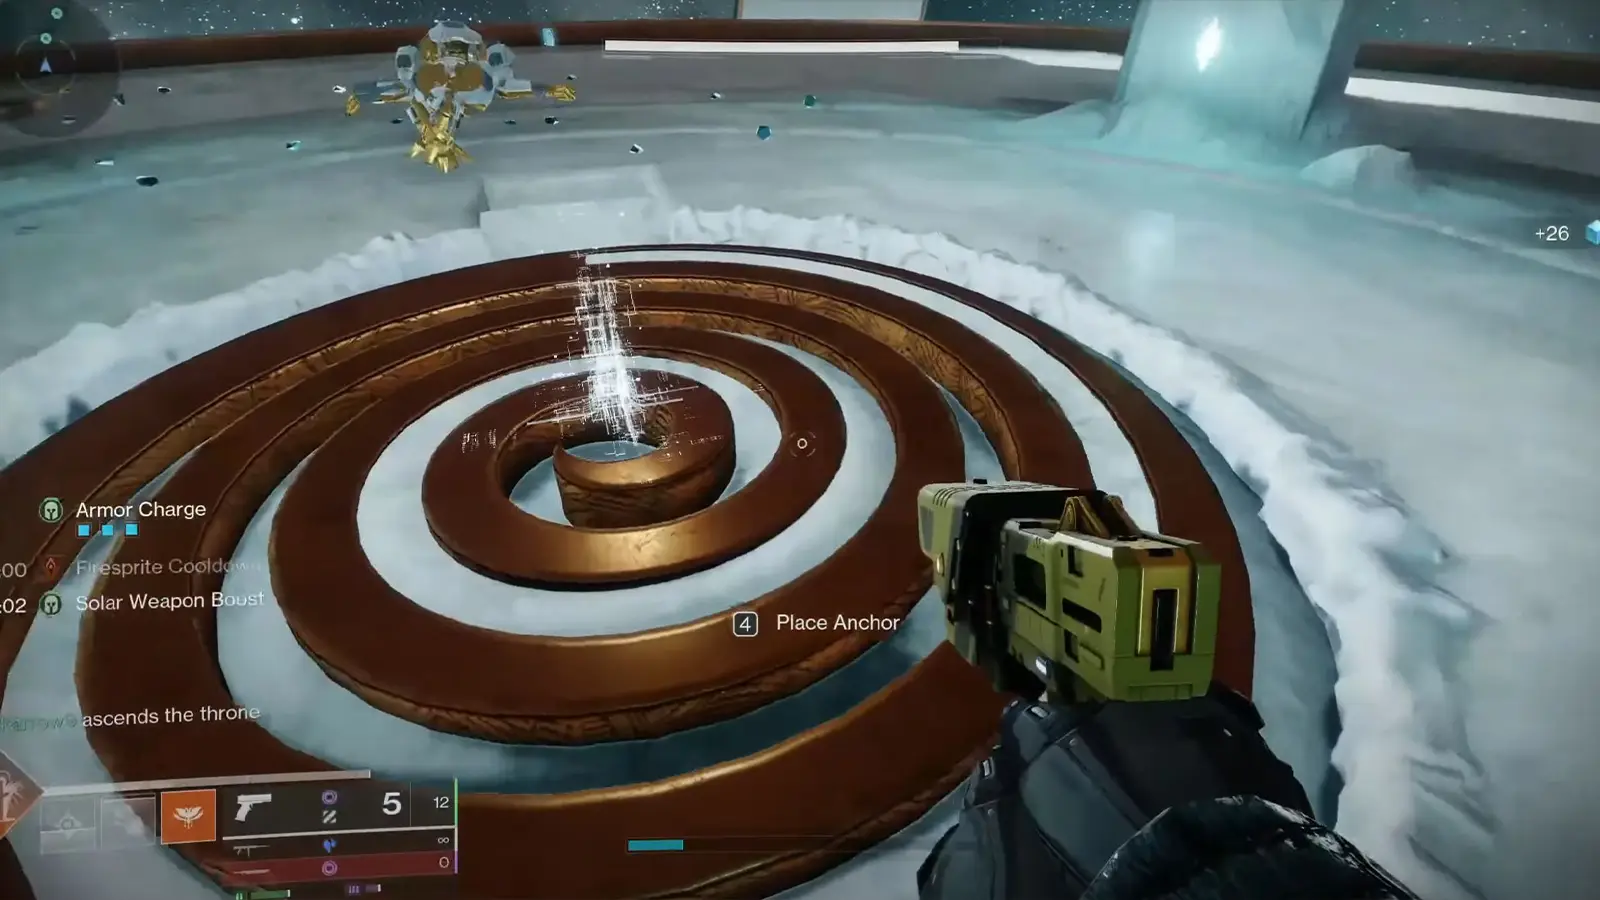
10. Wyvern Boss Jump Puzzle
When you’re working your way through the jumping section for the Vex Wyvern boss, take the path on the right. There’s a big, rotating circle with a slit in it. Jump through the slit and look in the center for a spiral design with the anchor sitting right in the middle.
11. Wyvern Boss Door
Before you head into the final Wyvern boss fight, look to the right side of the boss door area. The anchor is sitting around the side of the tower.
12. After Wyvern Boss
Once you’ve defeated the Wyvern boss and the loot chest appears, walk behind the chest. Your final anchor is right there. Place the anchor down to progress the quest.

After you’ve placed all 12 anchors, head back to the main area of the raid where you choose the encounter. Interact with the Simulant Ansimble vendor (Maya Sunderesh statue), you’ll finish the quest, and unlock the new Envoy’s Togs shader as a reward!
That’s it for this guide. While you’re here, make sure to check out our complete guide on how to complete the Desert Perpetual raid in Destiny 2.
Don't miss the big stories. Make us your preferred source on Google to get breaking news, leaks, and exclusives first.